Main Quest Walkthrough
Complete walkthrough for every main quest chapter. Follow along step-by-step with screenshots and strategies.
Prologue: Dead of Night
OVERVIEW
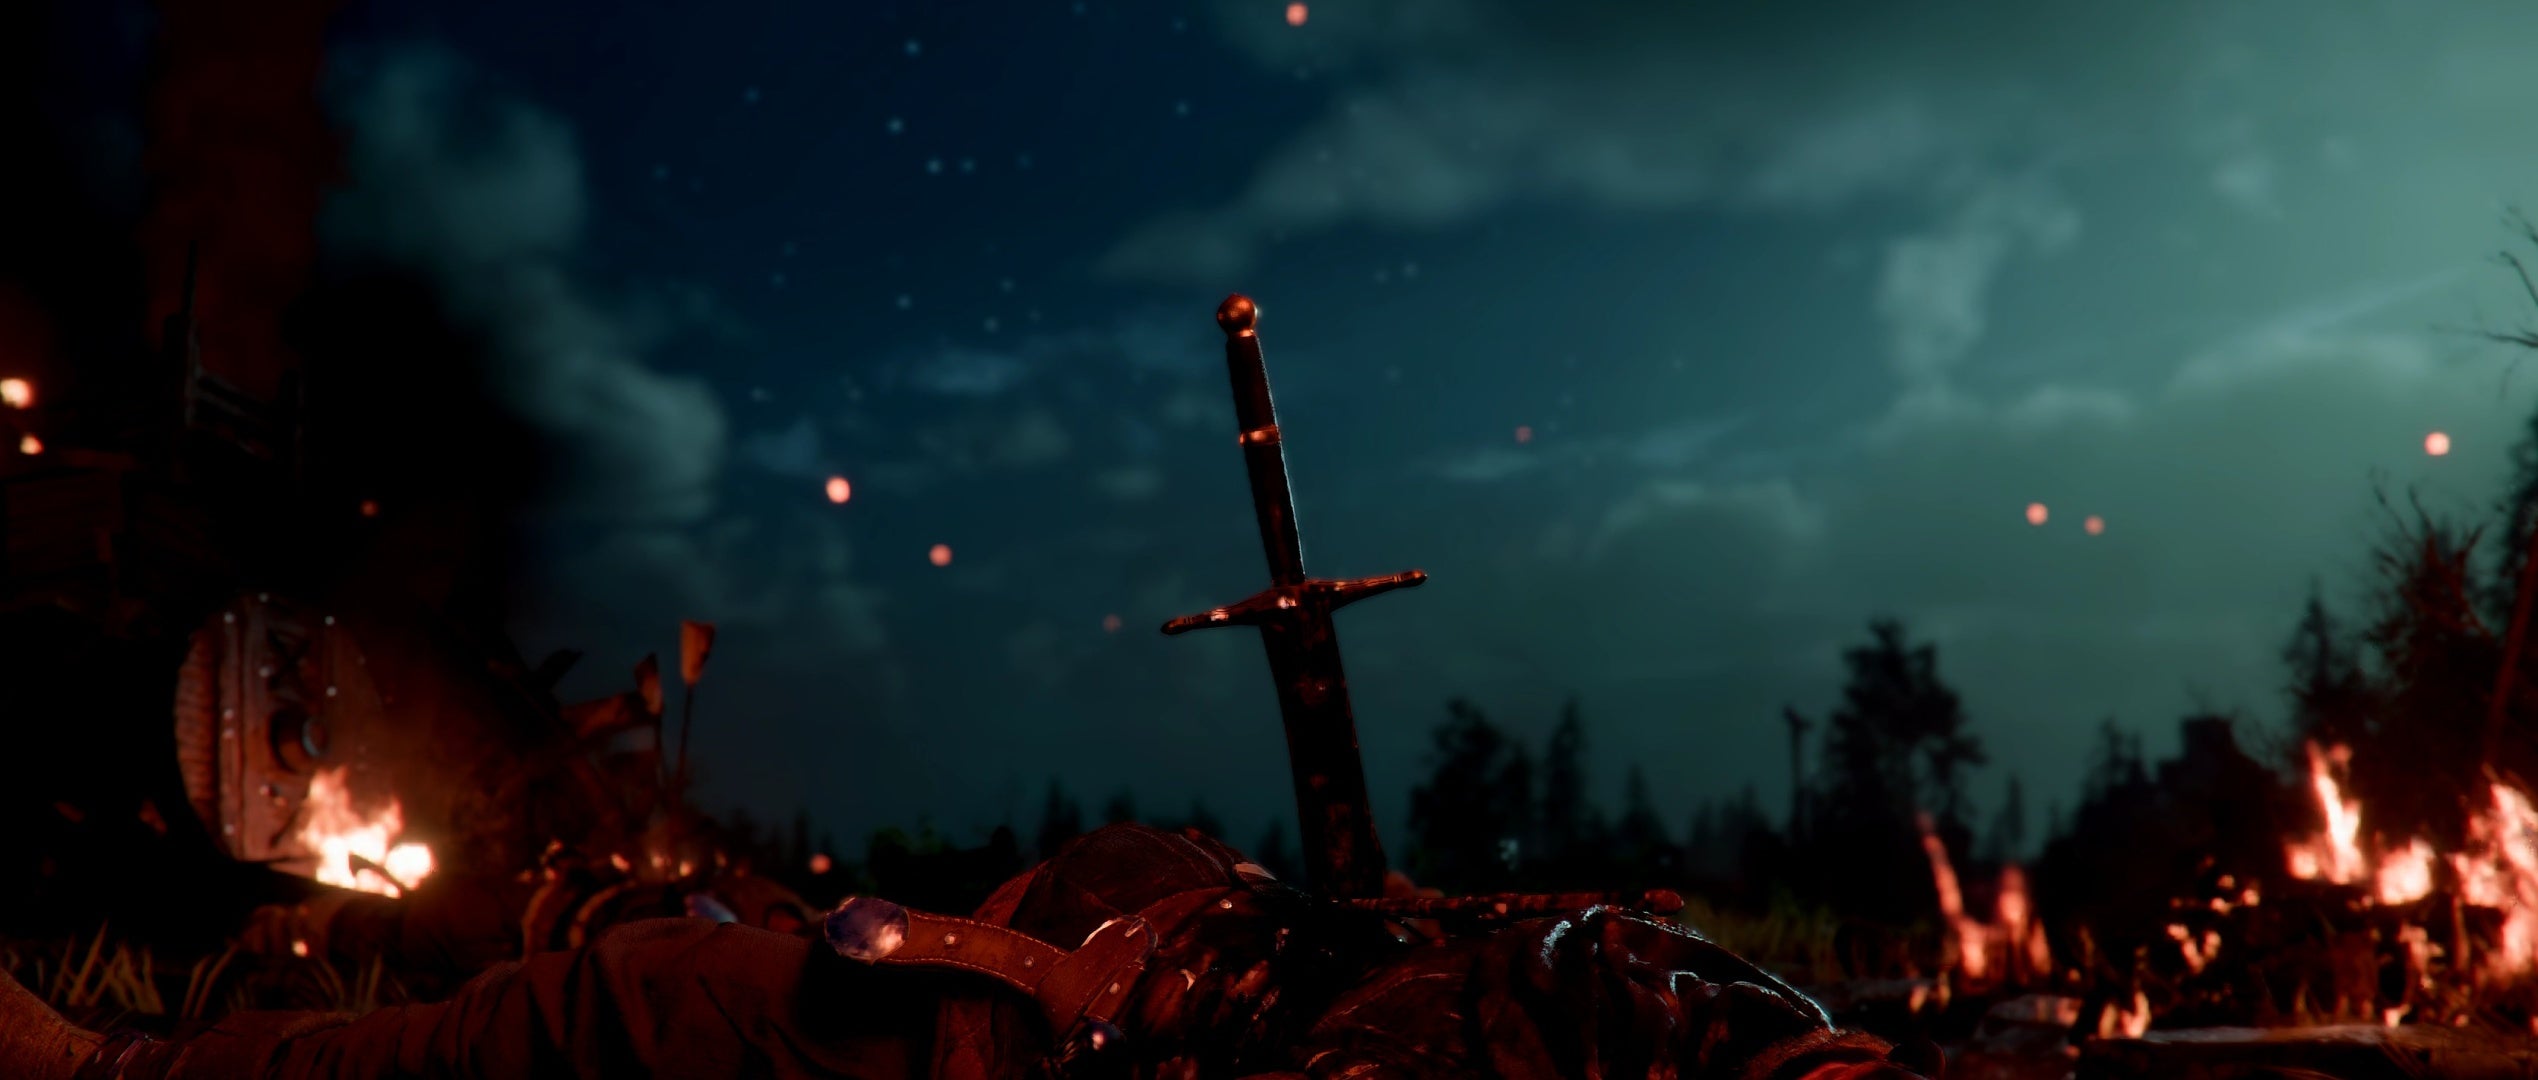
The Prologue introduces you to the Greymanes, a band of warriors reeling from a devastating ambush by the Black Bears. These opening hours establish the world of Pywel and teach you the fundamentals of combat, exploration, and traversal.
PROLOGUE QUESTS
The Prologue is split into two main quests:
- Ambush — Meet the surviving Greymanes, defend the camp from Black Bears, and face the rival leader Myurdin in a scripted boss fight.
- Unknown Space — Navigate the Corridor of the Void, learn key traversal abilities (precision jumping, climbing, Blinding Flash, lantern), then emerge in Pywel to meet Sebastian and ride to Hernand.
TIPS FOR THE PROLOGUE
- - Don't worry about inventory or exploration yet — you'll have plenty of time once Chapter 1 begins
- - Focus on learning the combat basics: positioning, blocking, and dodge timing
- - The Myurdin boss fight is designed to be unwinnable — just enjoy the story beat
- - After completing both quests, Chapter 1 begins immediately
NEXT: Chapter 1 — The First Encounter
Ambush Walkthrough
OVERVIEW
Your very first quest. Kliff, a battle-hardened warrior, leads the remnants of the Greymanes after being ambushed by the Black Bears. This quest doubles as a tutorial for movement, interactions, and melee combat.
UNFAMILIAR LANDS
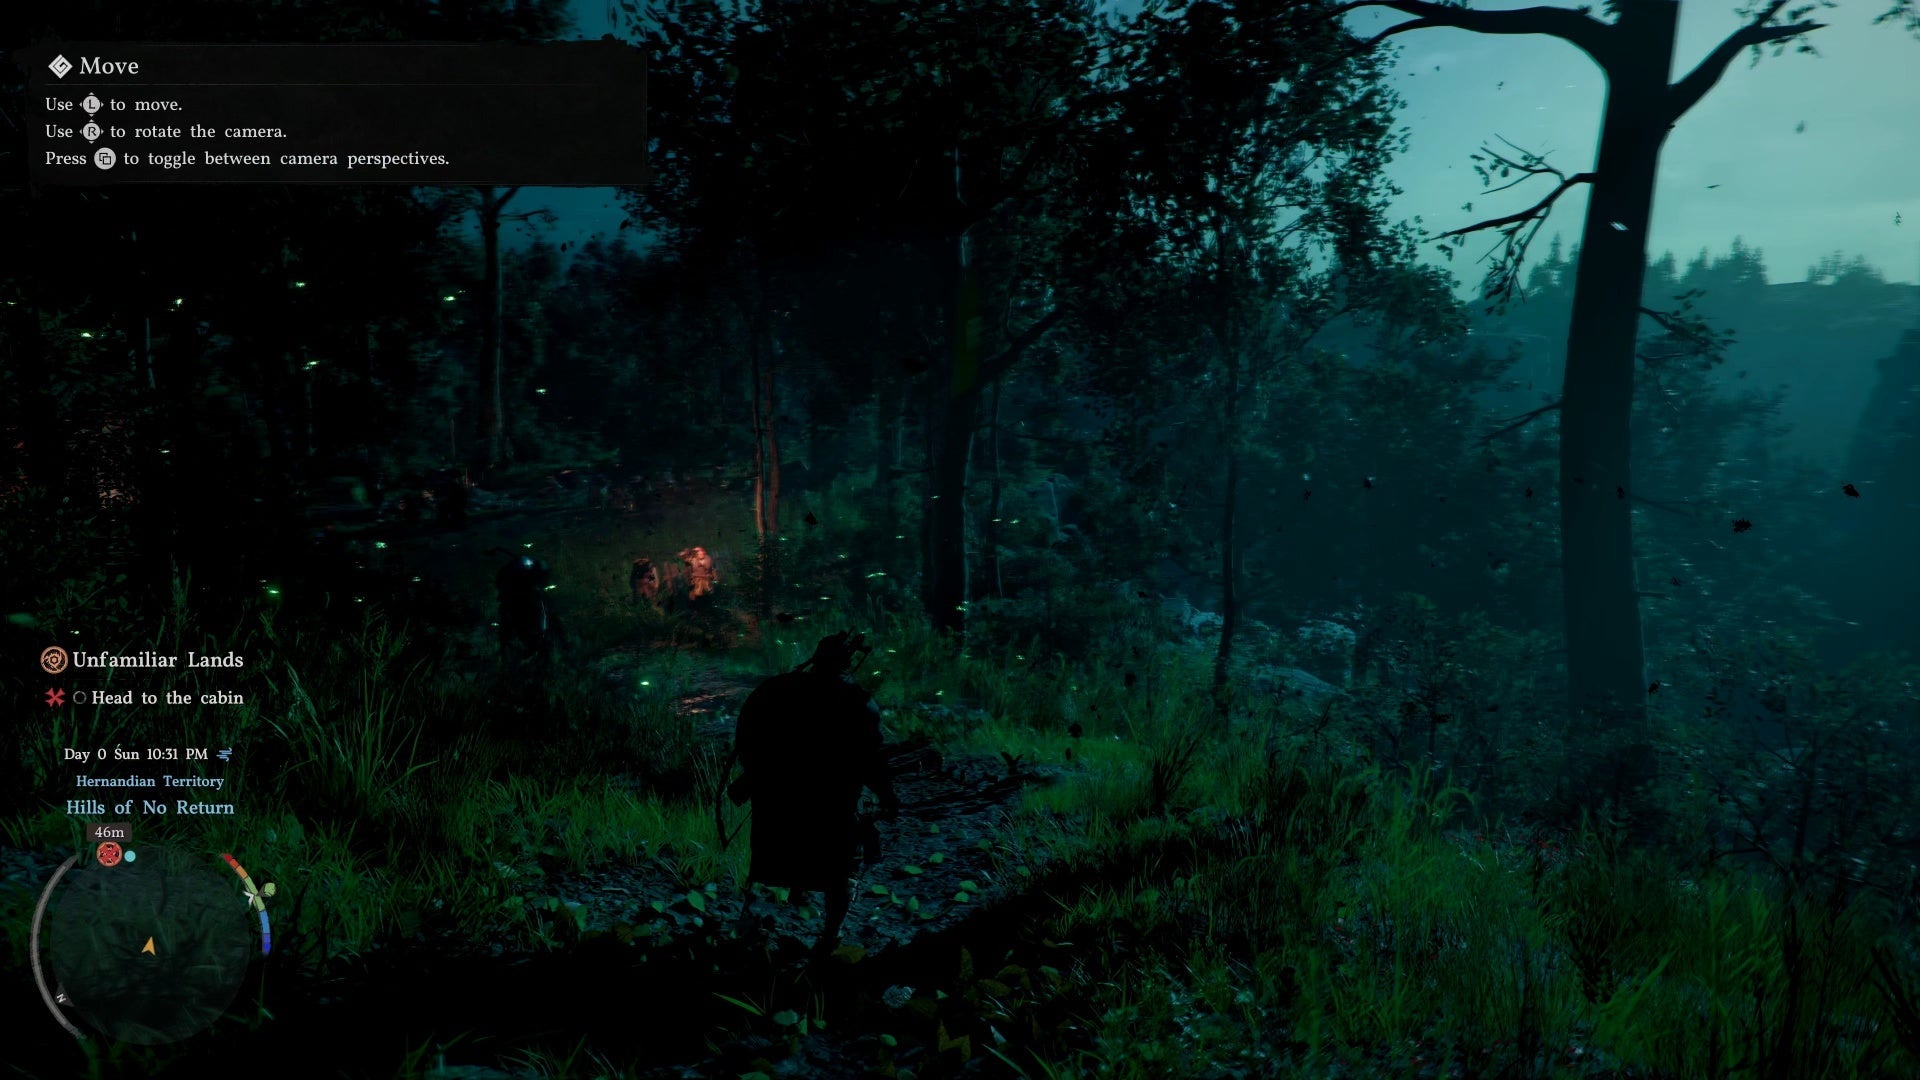
After the opening cinematic, head downhill toward the firelight and rendezvous with the Greymanes at a small cabin.
The camera sits higher than most RPGs by default. There's a first-person mode but it's sightseeing only. Movement is deliberate and weighty, similar to Red Dead Redemption 2.
TALKING TO YOUR CREW
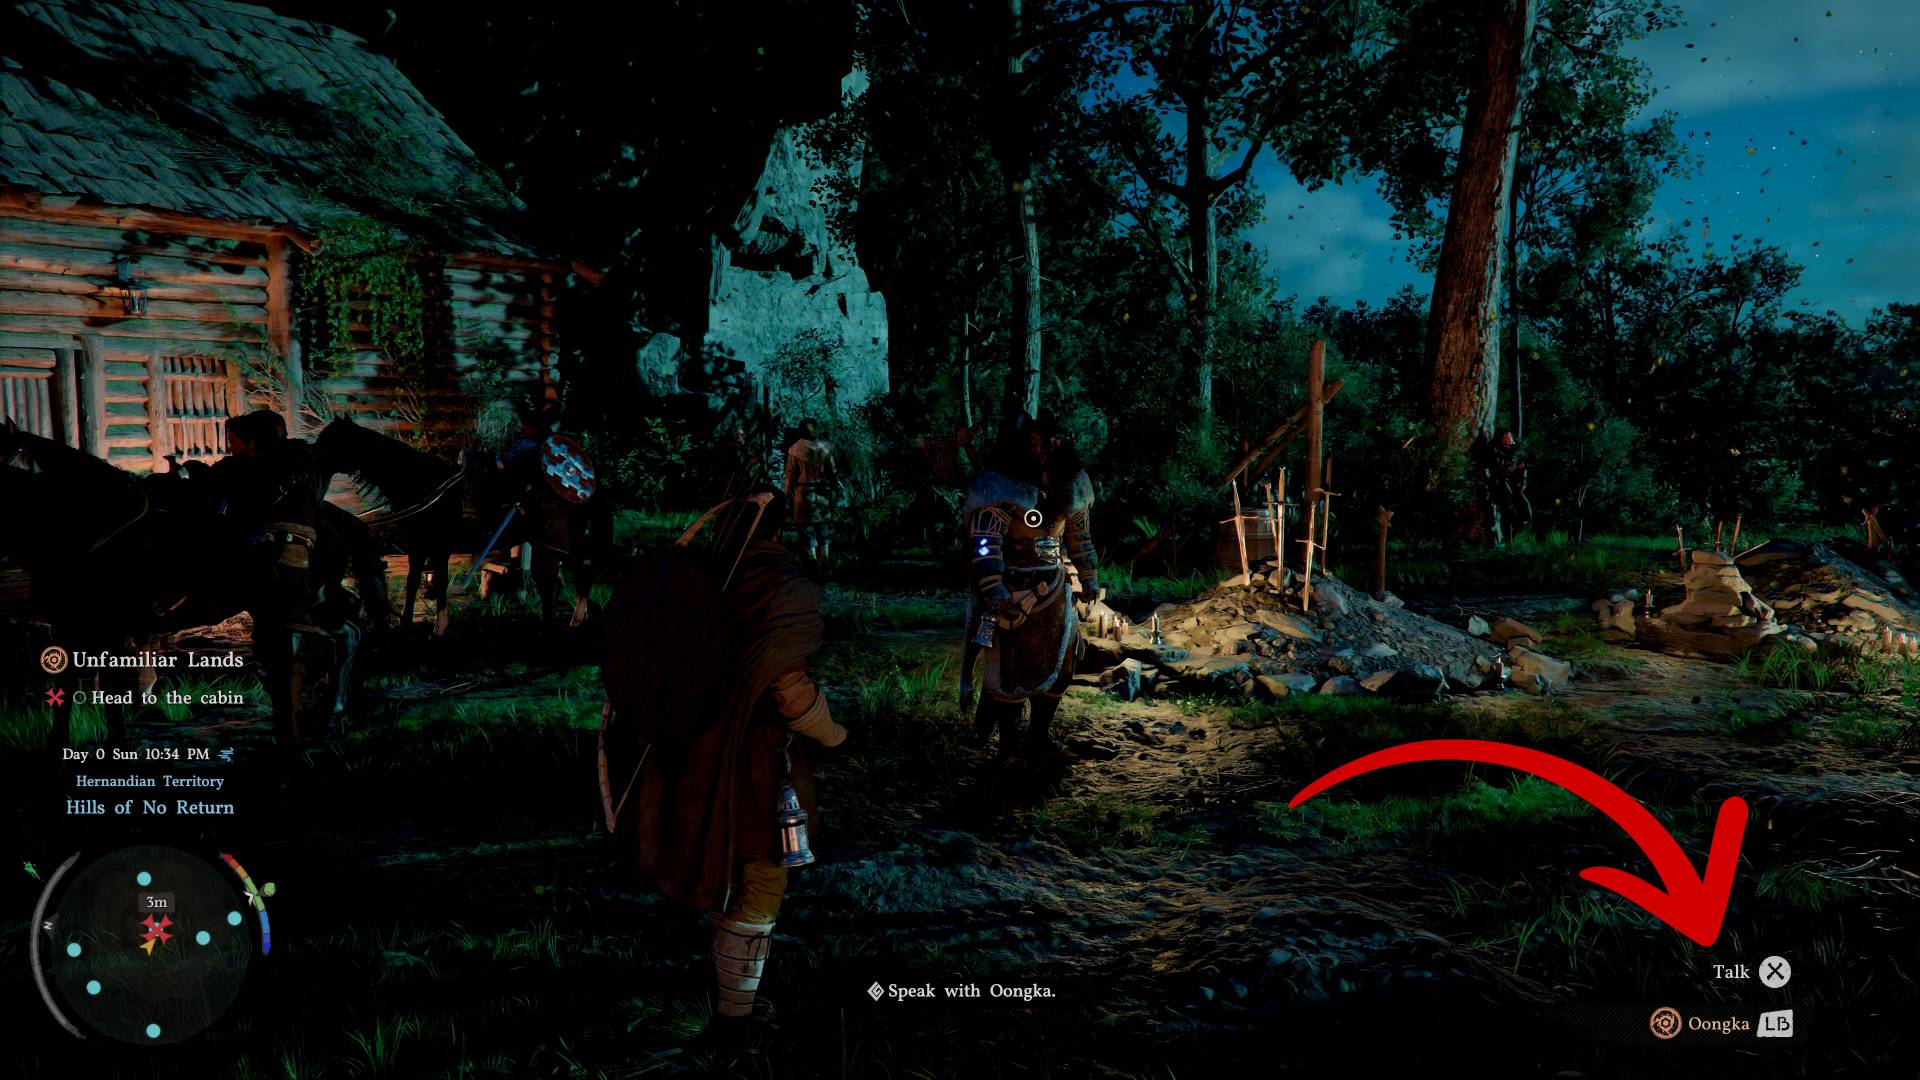
Check in with the surviving Greymanes:
- Oongka — the towering orc by the makeshift graveyard (swords stuck in the ground). He and Kliff share a quiet moment over their fallen brothers.
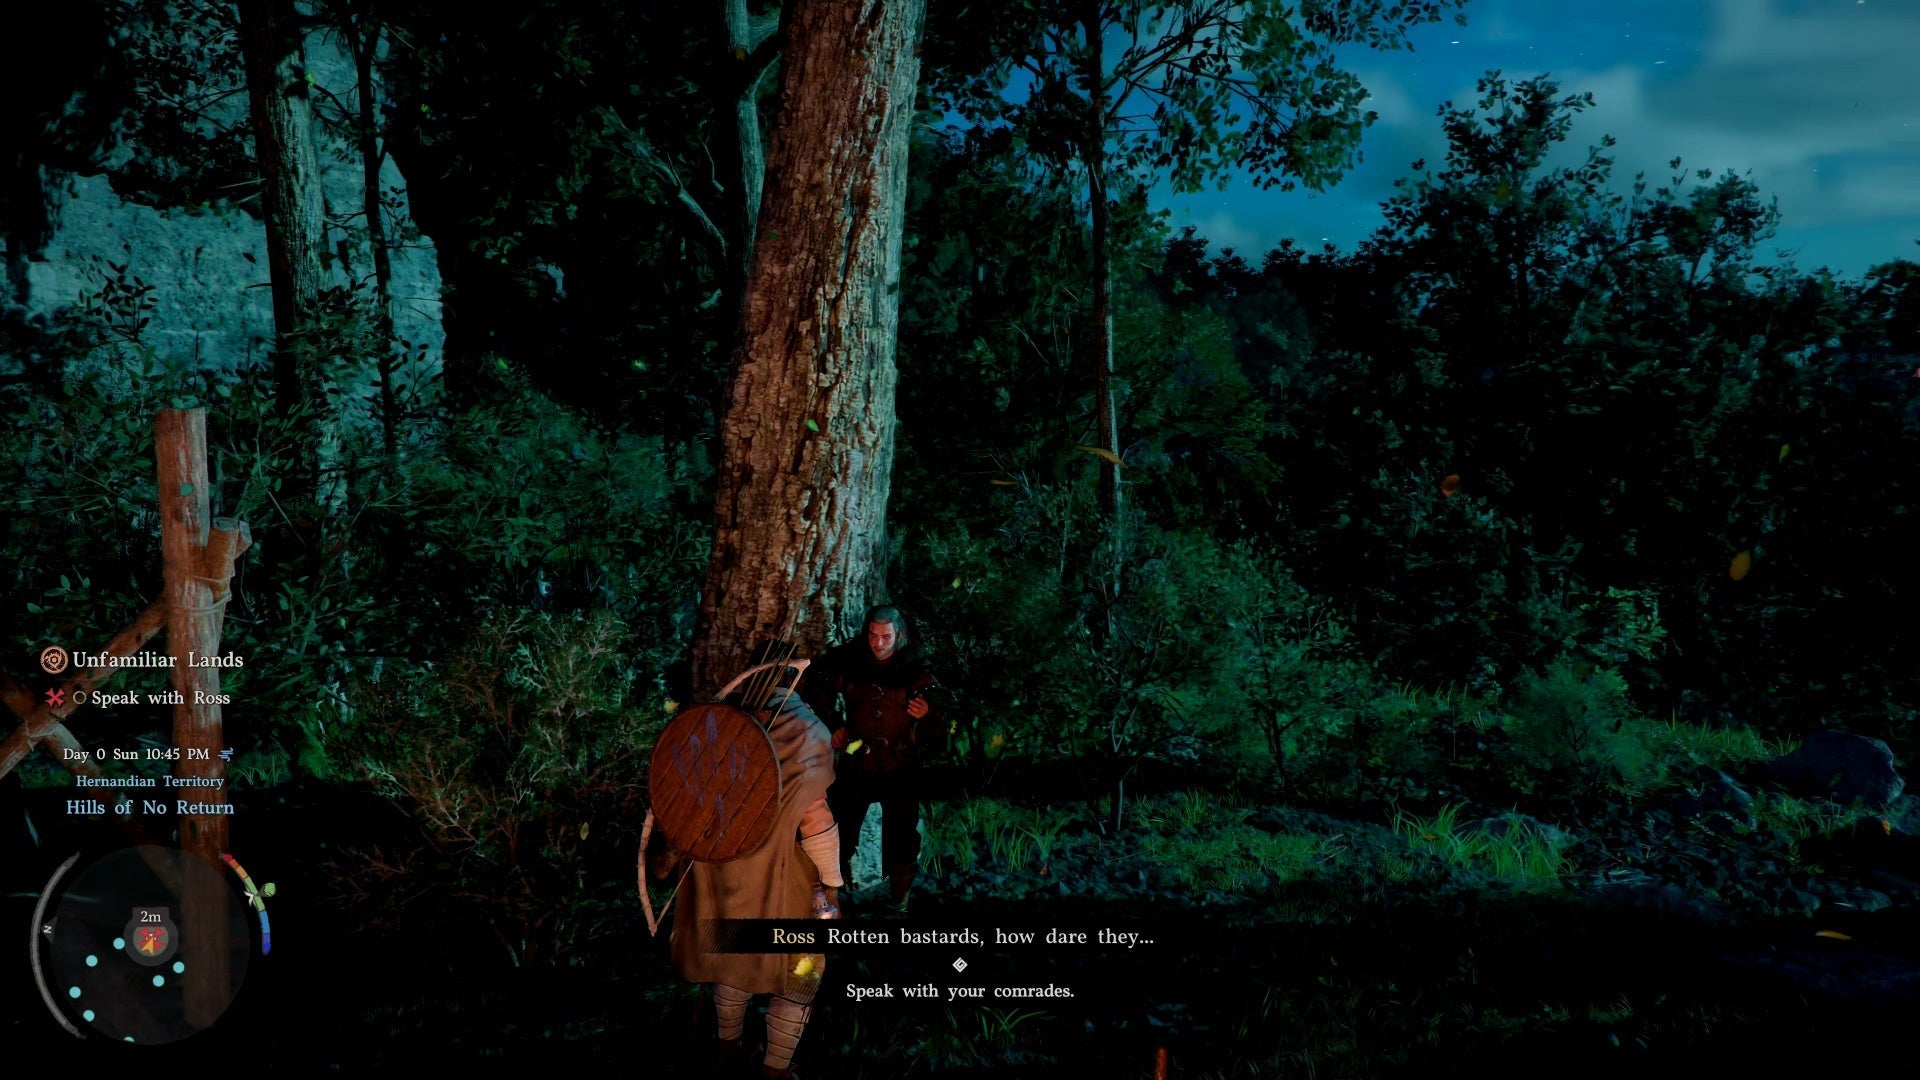
- Marius and Ross — both marked with orange dots on your minimap. If you can't interact, try adjusting camera angle or waiting for them to finish their conversations.
Once done, head into the cabin for a tense meal. The Black Bears return to finish the job.
COMBAT — IN ASHES
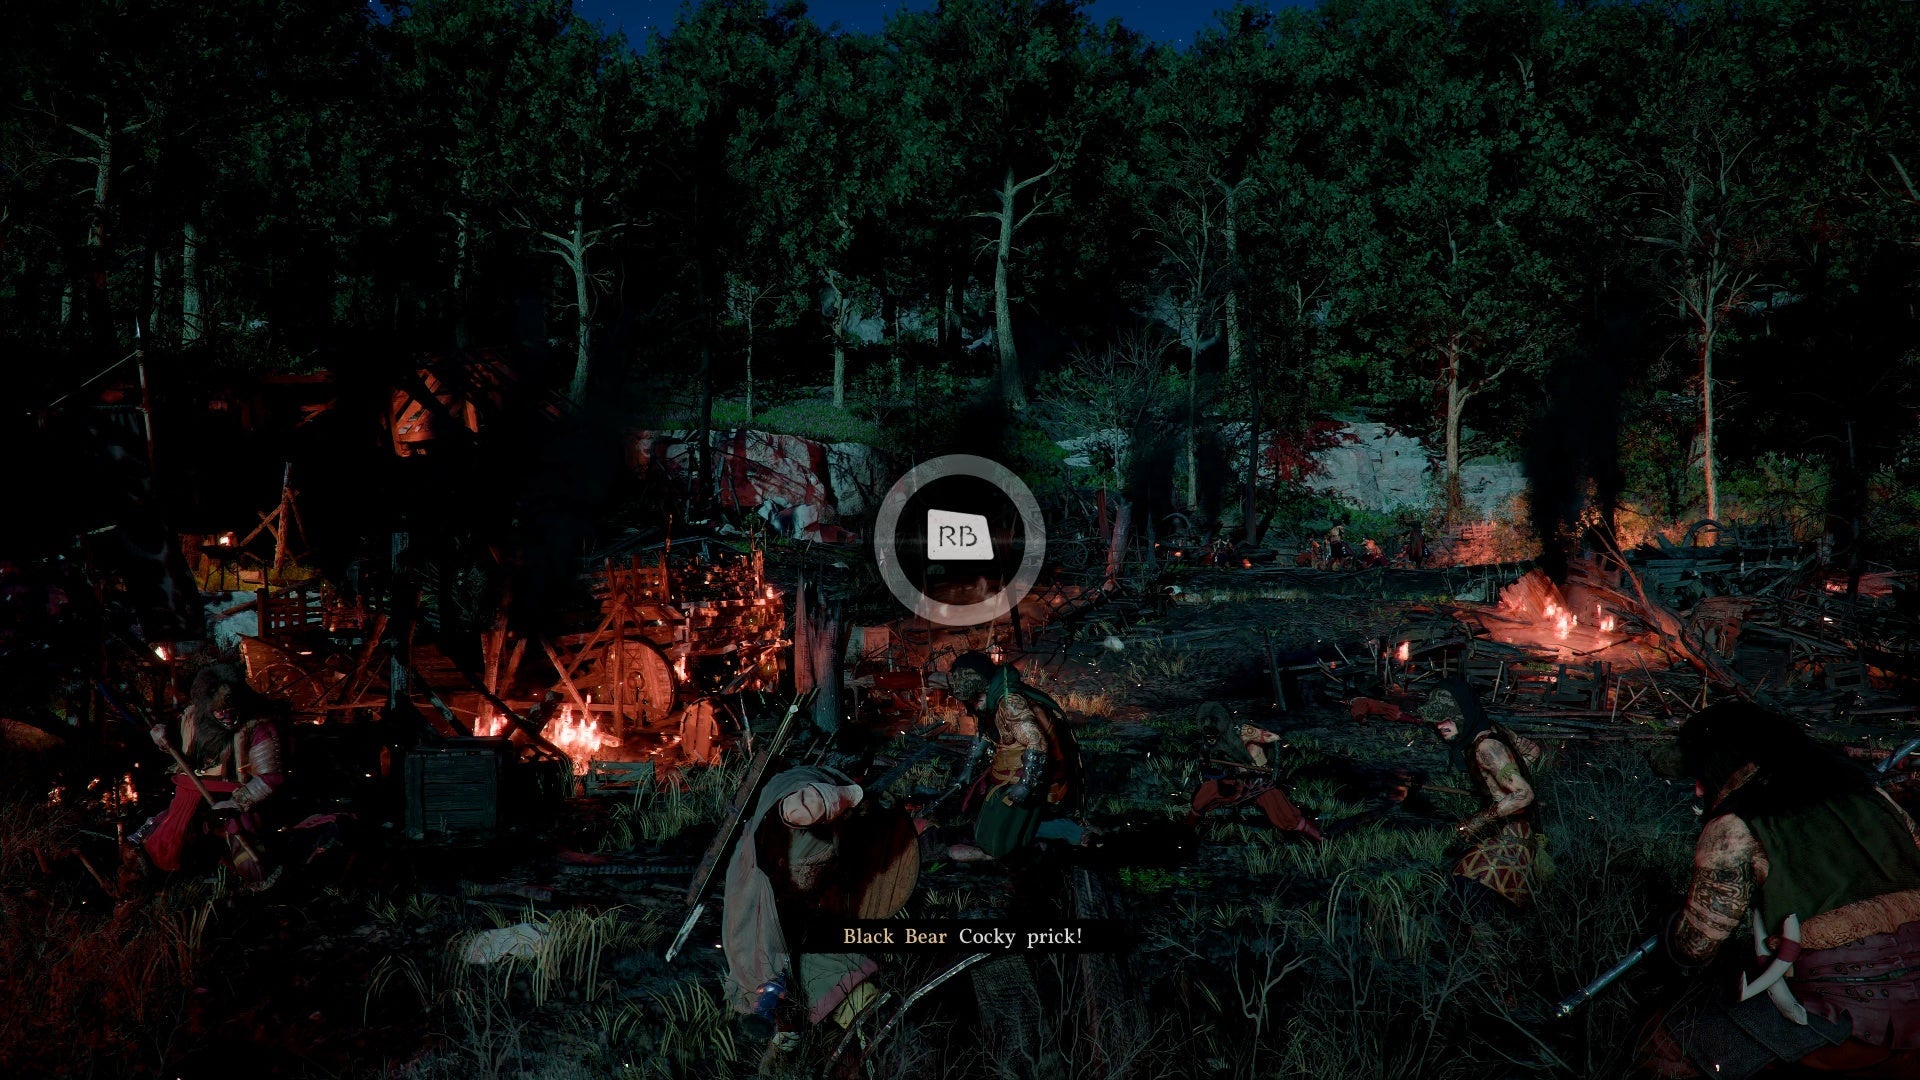
The battle kicks off immediately. Crimson Desert throws large groups at you from the start, so positioning matters. Don't get surrounded — keep moving and pick your openings.
Your task: rescue three Greymane companions scattered around the camp. You can't wander far — the game teleports you back.
RESCUING OONGKA
Just to the right of your starting position. A burning tree separates him from the fight, leaving you to handle roughly seven Black Bears solo.
Clear out the enemies, then move on.
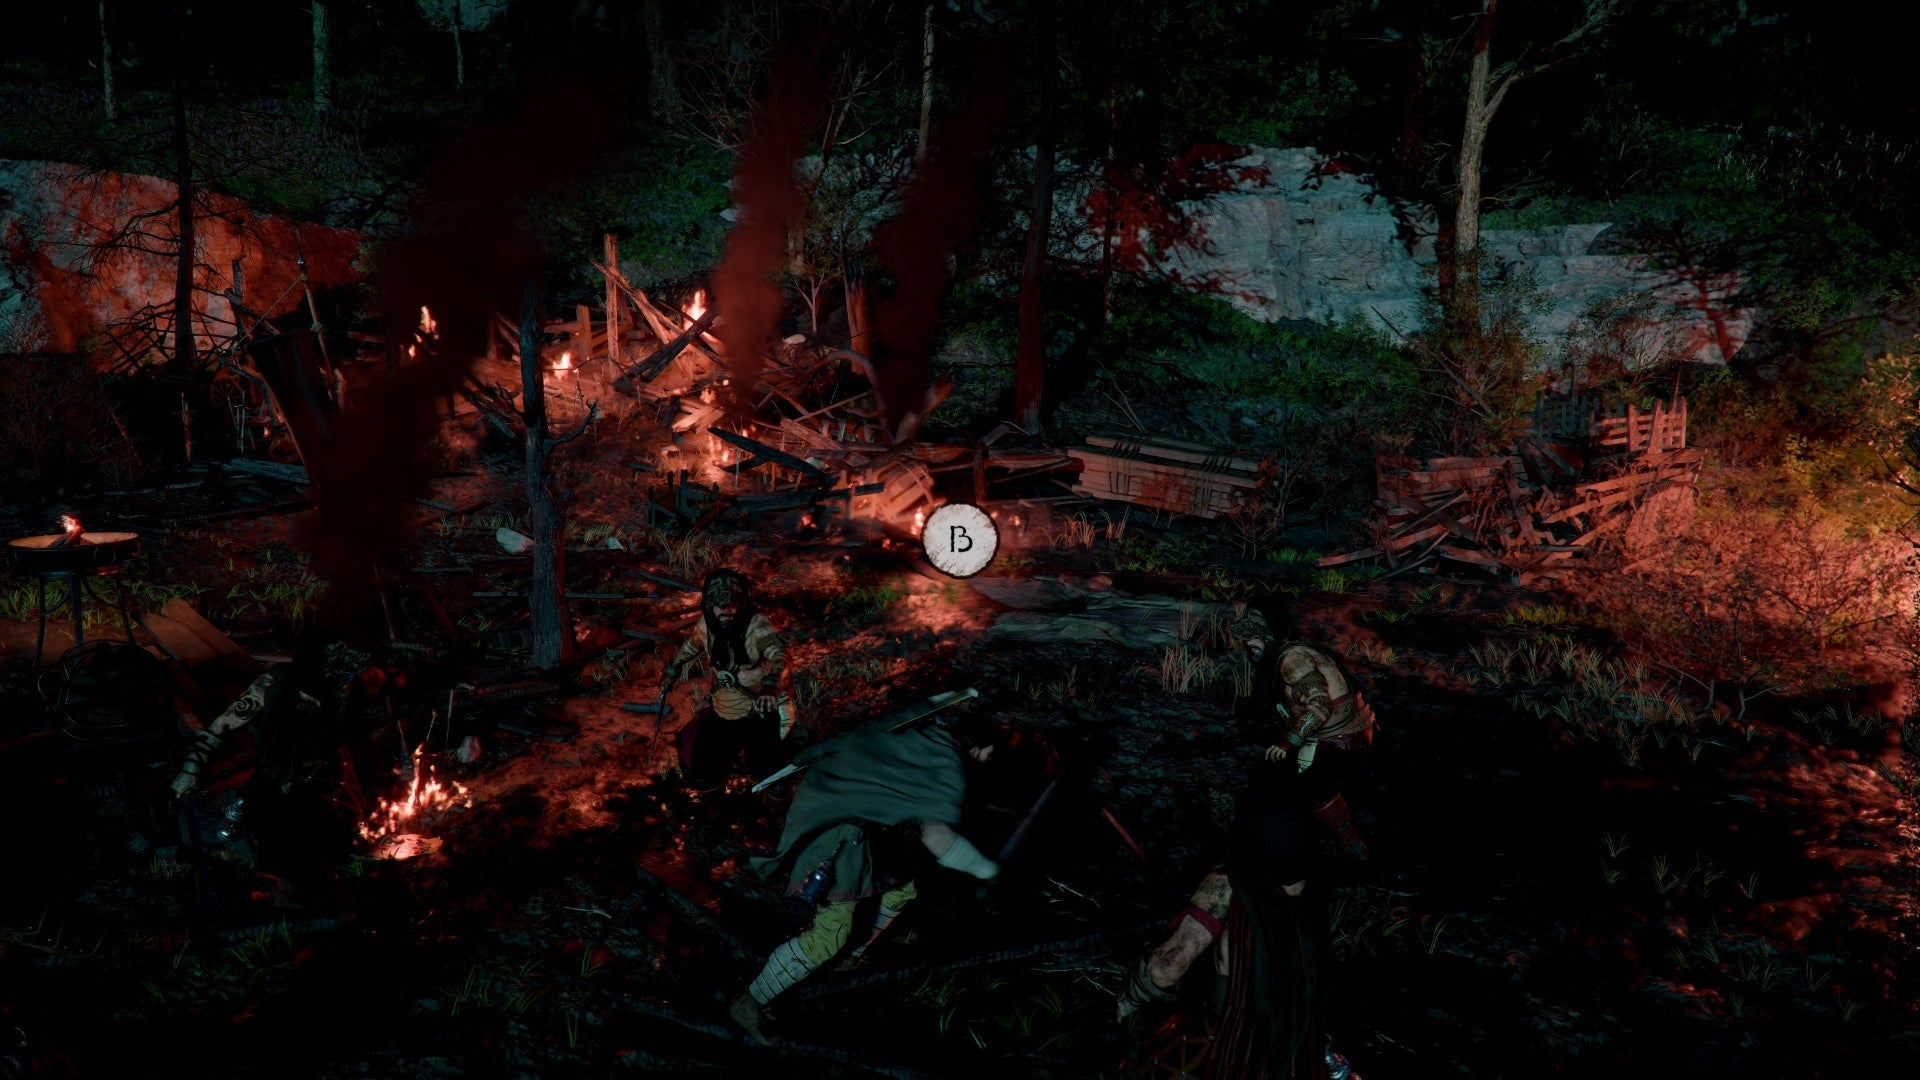
RESCUING NAIRA
Sprint through the burning trees to reach Naira, the archer. Four or five Black Bears surround her — none carry shields, so attack freely. Stay mobile and strike at openings.
RESCUING YANN
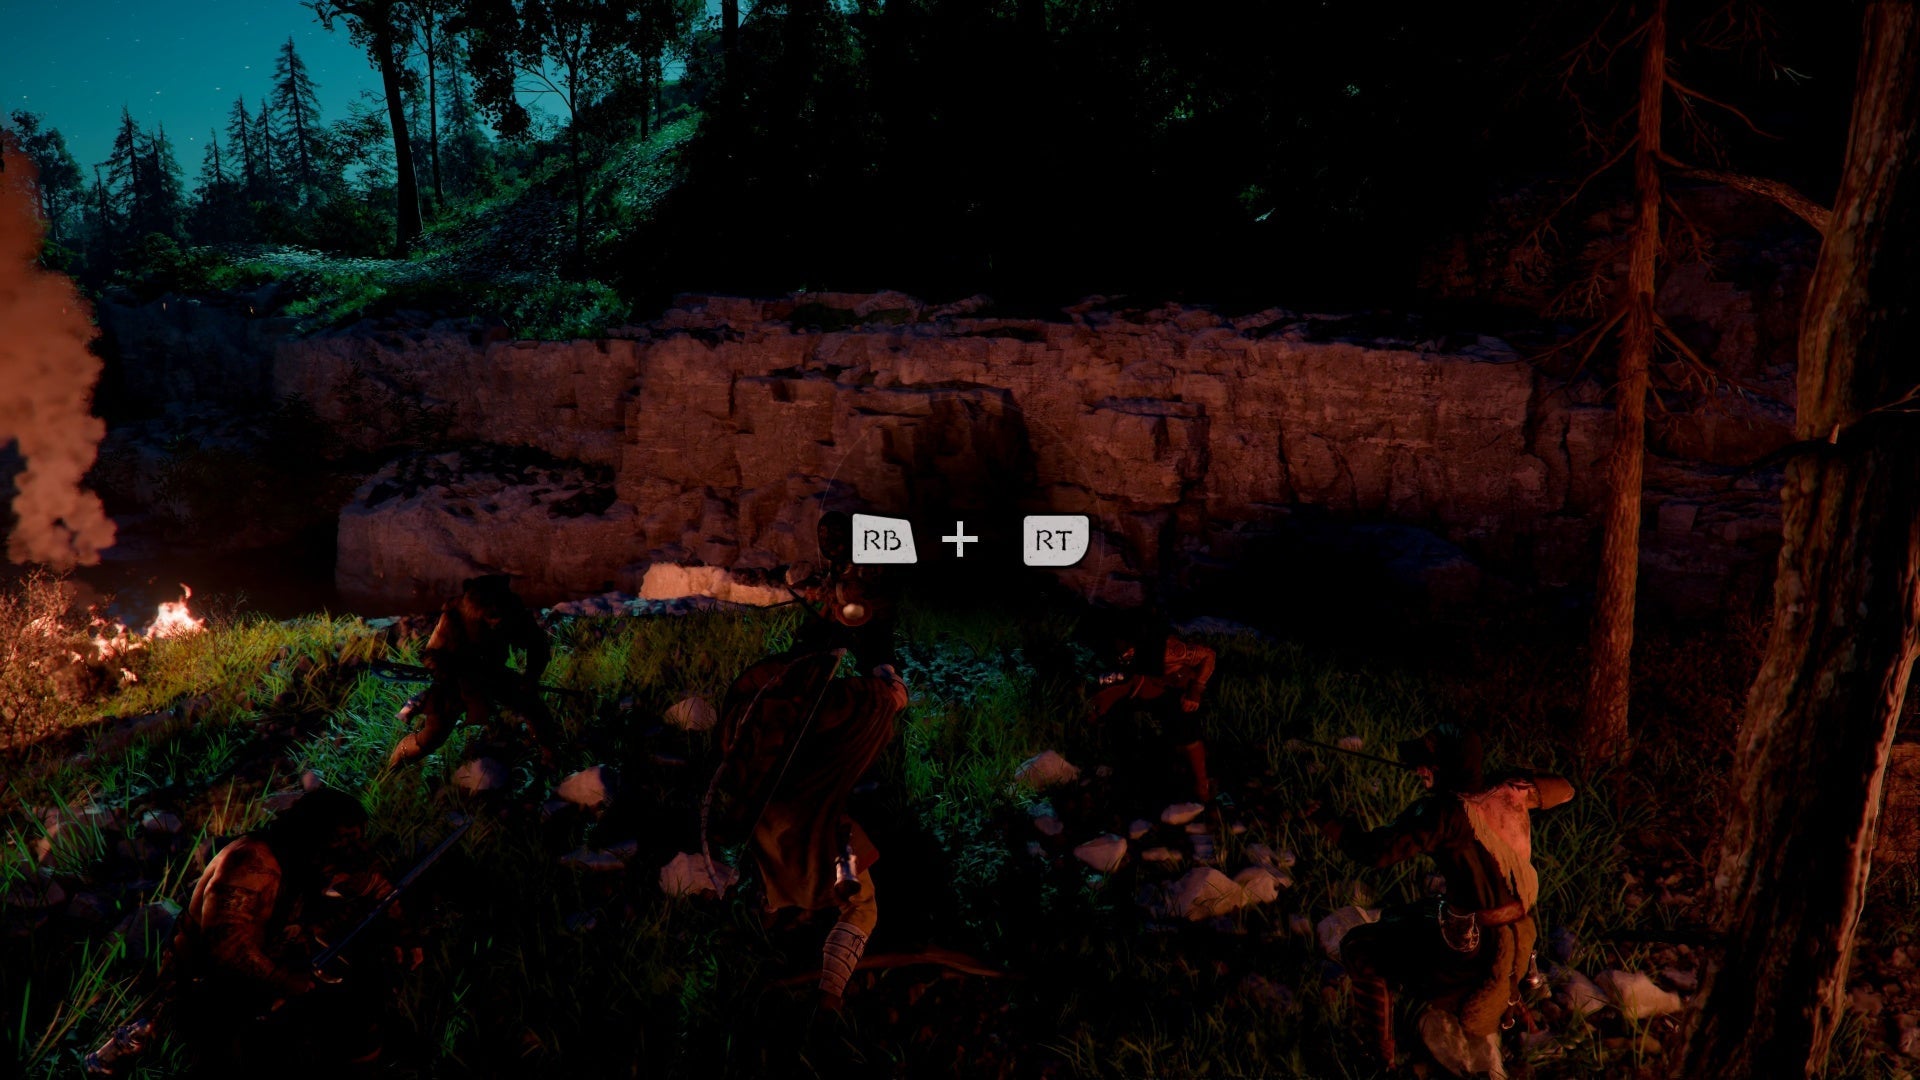
Head southwest to find Yann, the group's hothead. He gets knocked into the river, leaving you to clean up.
This introduces Turning Slash — a powerful area attack that costs Spirit (the green bar near health). You regenerate Spirit by landing hits or using consumables. It's your most valuable resource in tough fights.
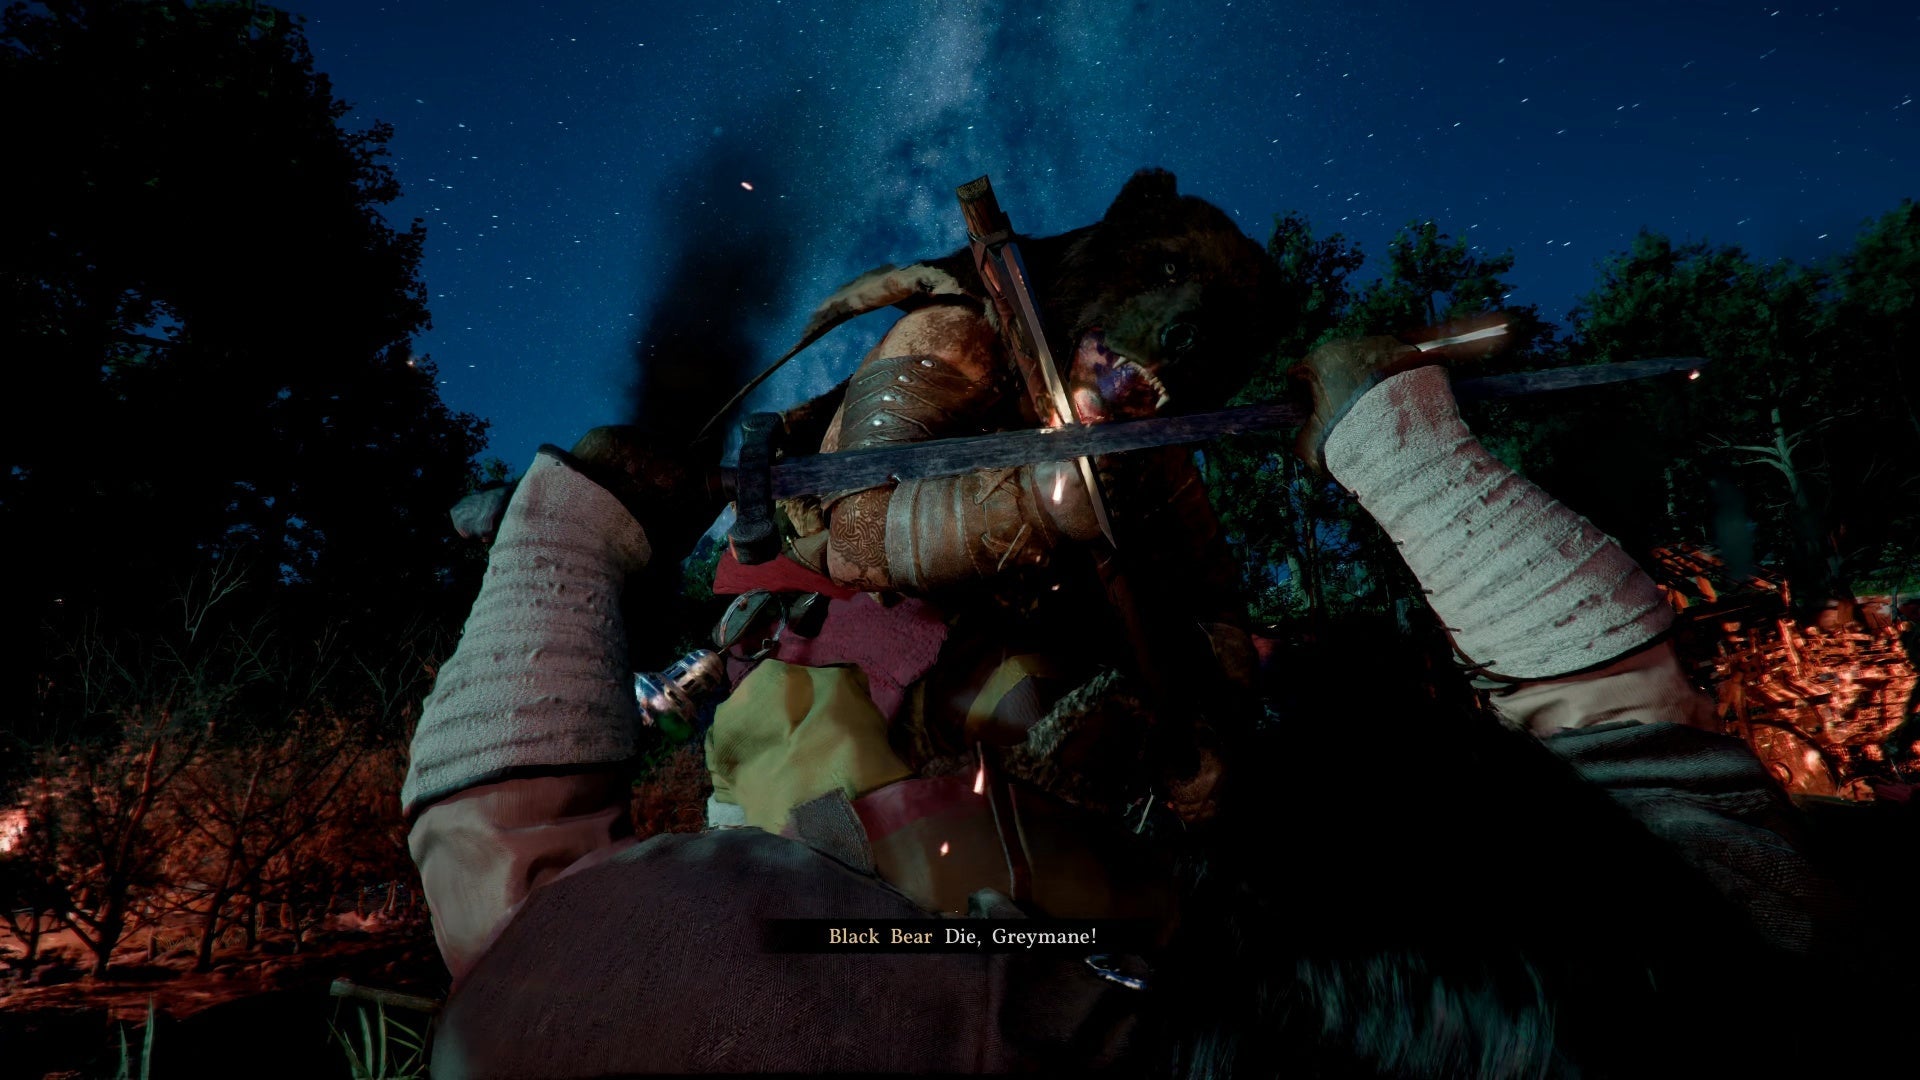
BOSS FIGHT: MYURDIN (SCRIPTED LOSS)
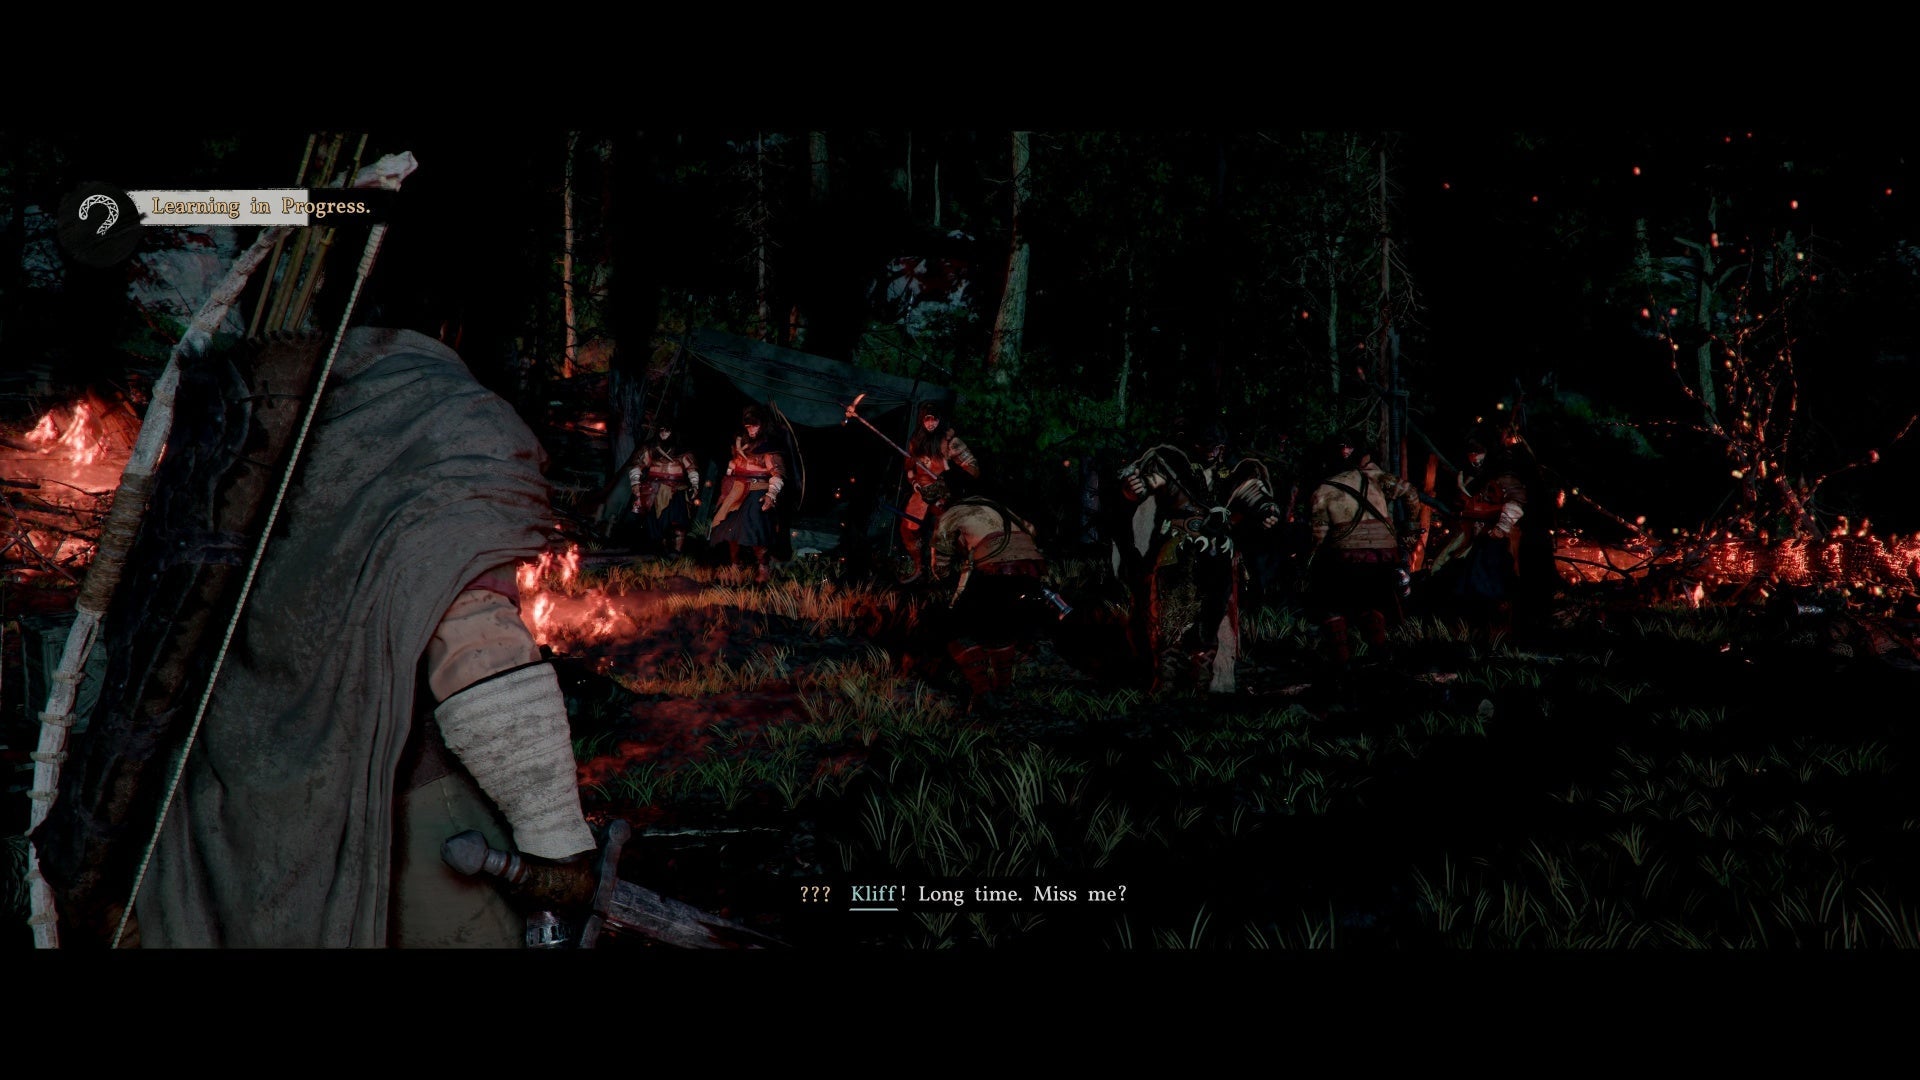
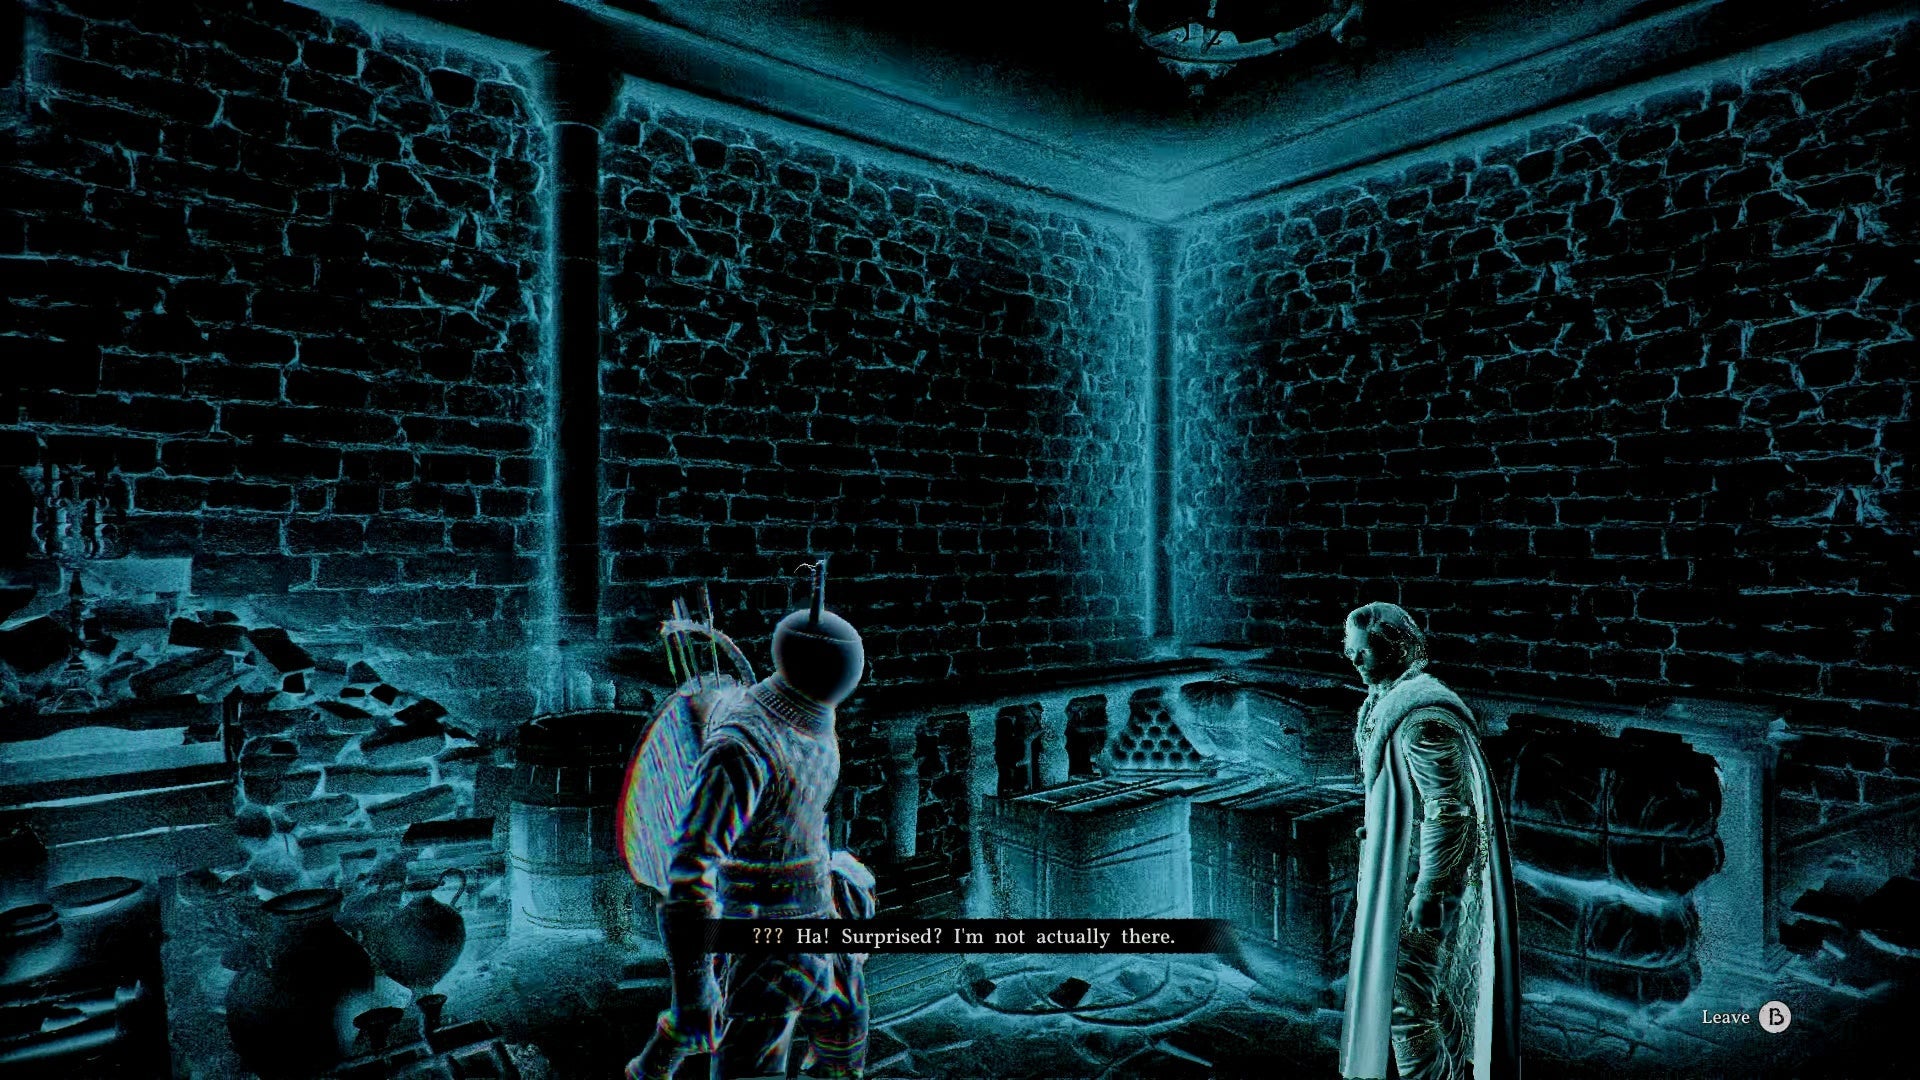
After saving all three, Myurdin the Black Bears' leader steps forward. You'll see a "Learning in Progress" prompt — Crimson Desert's observation system lets you learn skills and info just by watching. Watch for this throughout the game.
This fight is unwinnable by design. Fight hard, but don't worry when you fall. A cutscene plays and you're transported to a new location.
NEXT: Unknown Space Walkthrough
Unknown Space Walkthrough
OVERVIEW
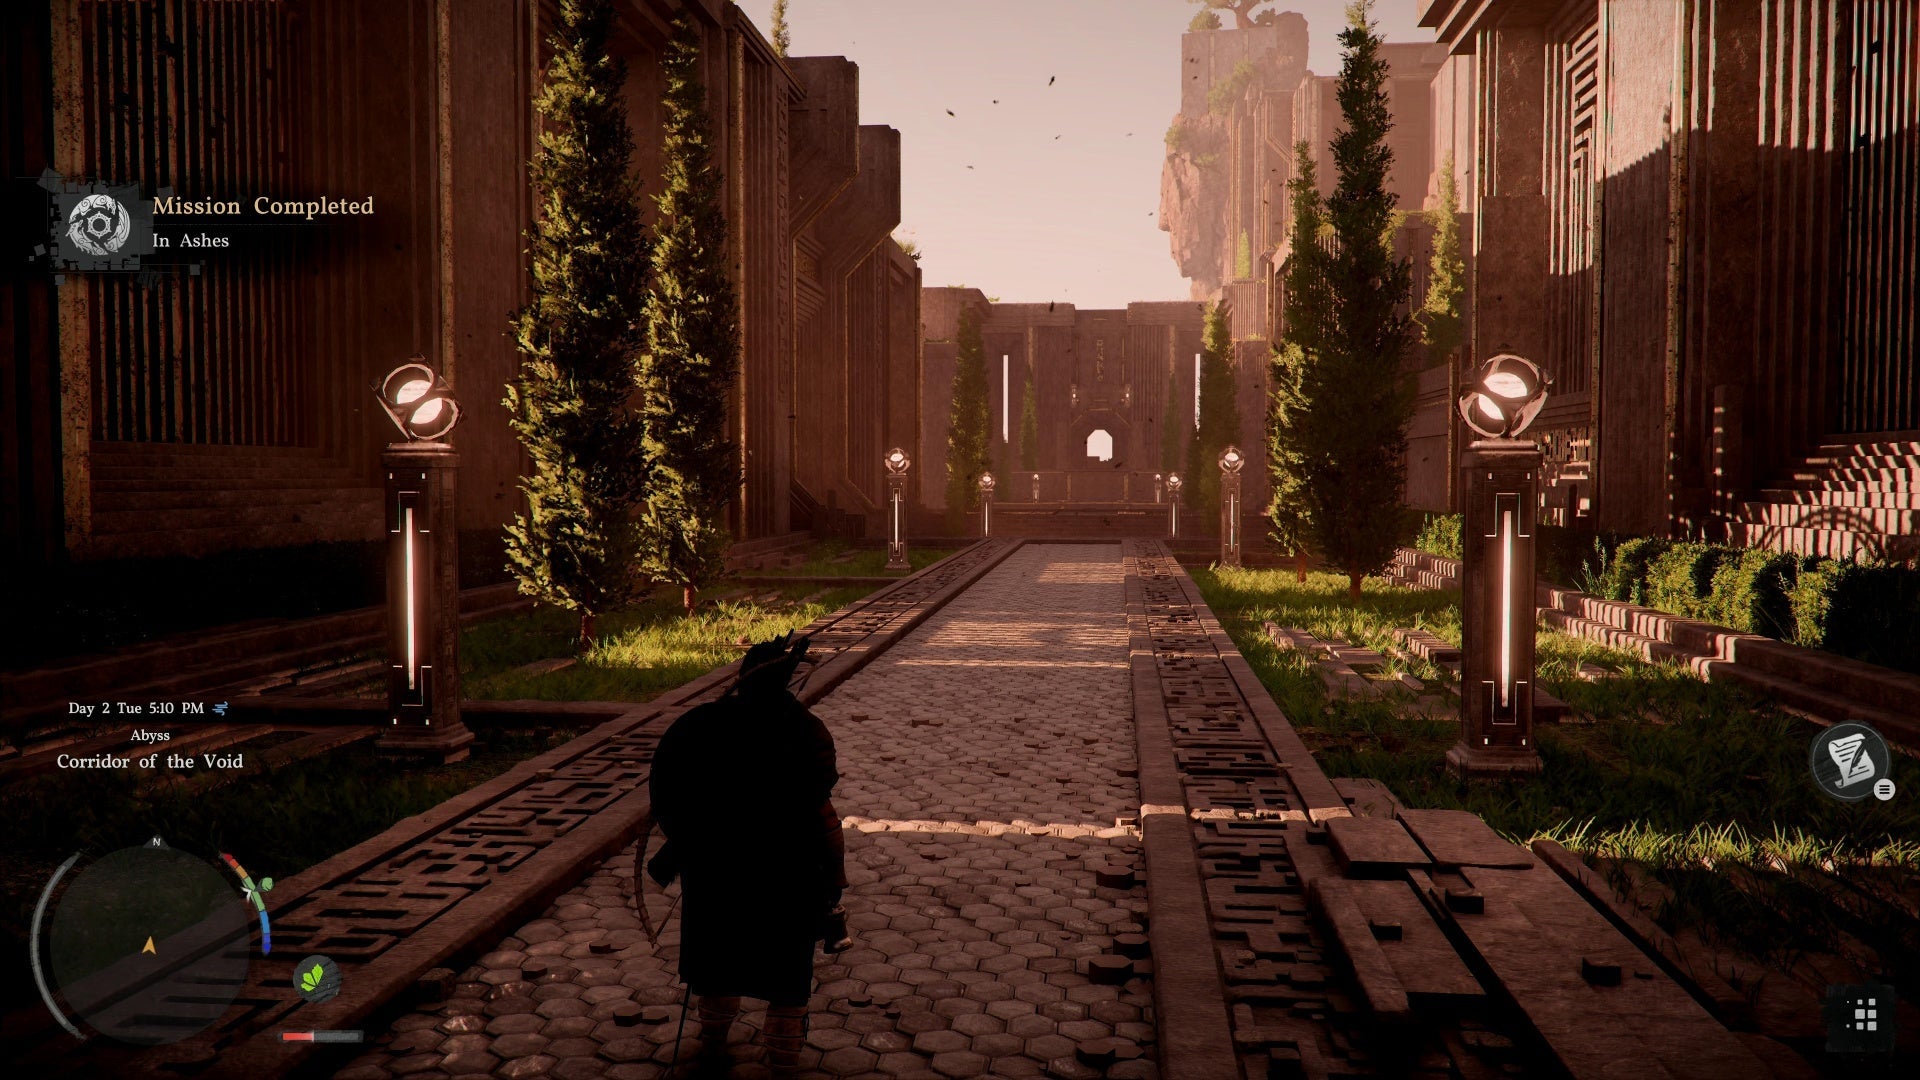
After your defeat at Myurdin's hands, you awaken in a surreal dimension called the Corridor of the Void. This quest is entirely puzzle-focused — there's no combat here, but the labyrinthine corridors can be confusing. This guide will lead you back to the surface.
CORRIDOR OF THE VOID
You start in a mysterious void. The path ahead involves some light platforming. Before proceeding, note that you now have access to the full menu system — you can pause and check the Knowledge section under "Others" to review what you've learned about the Greymanes and the world so far.
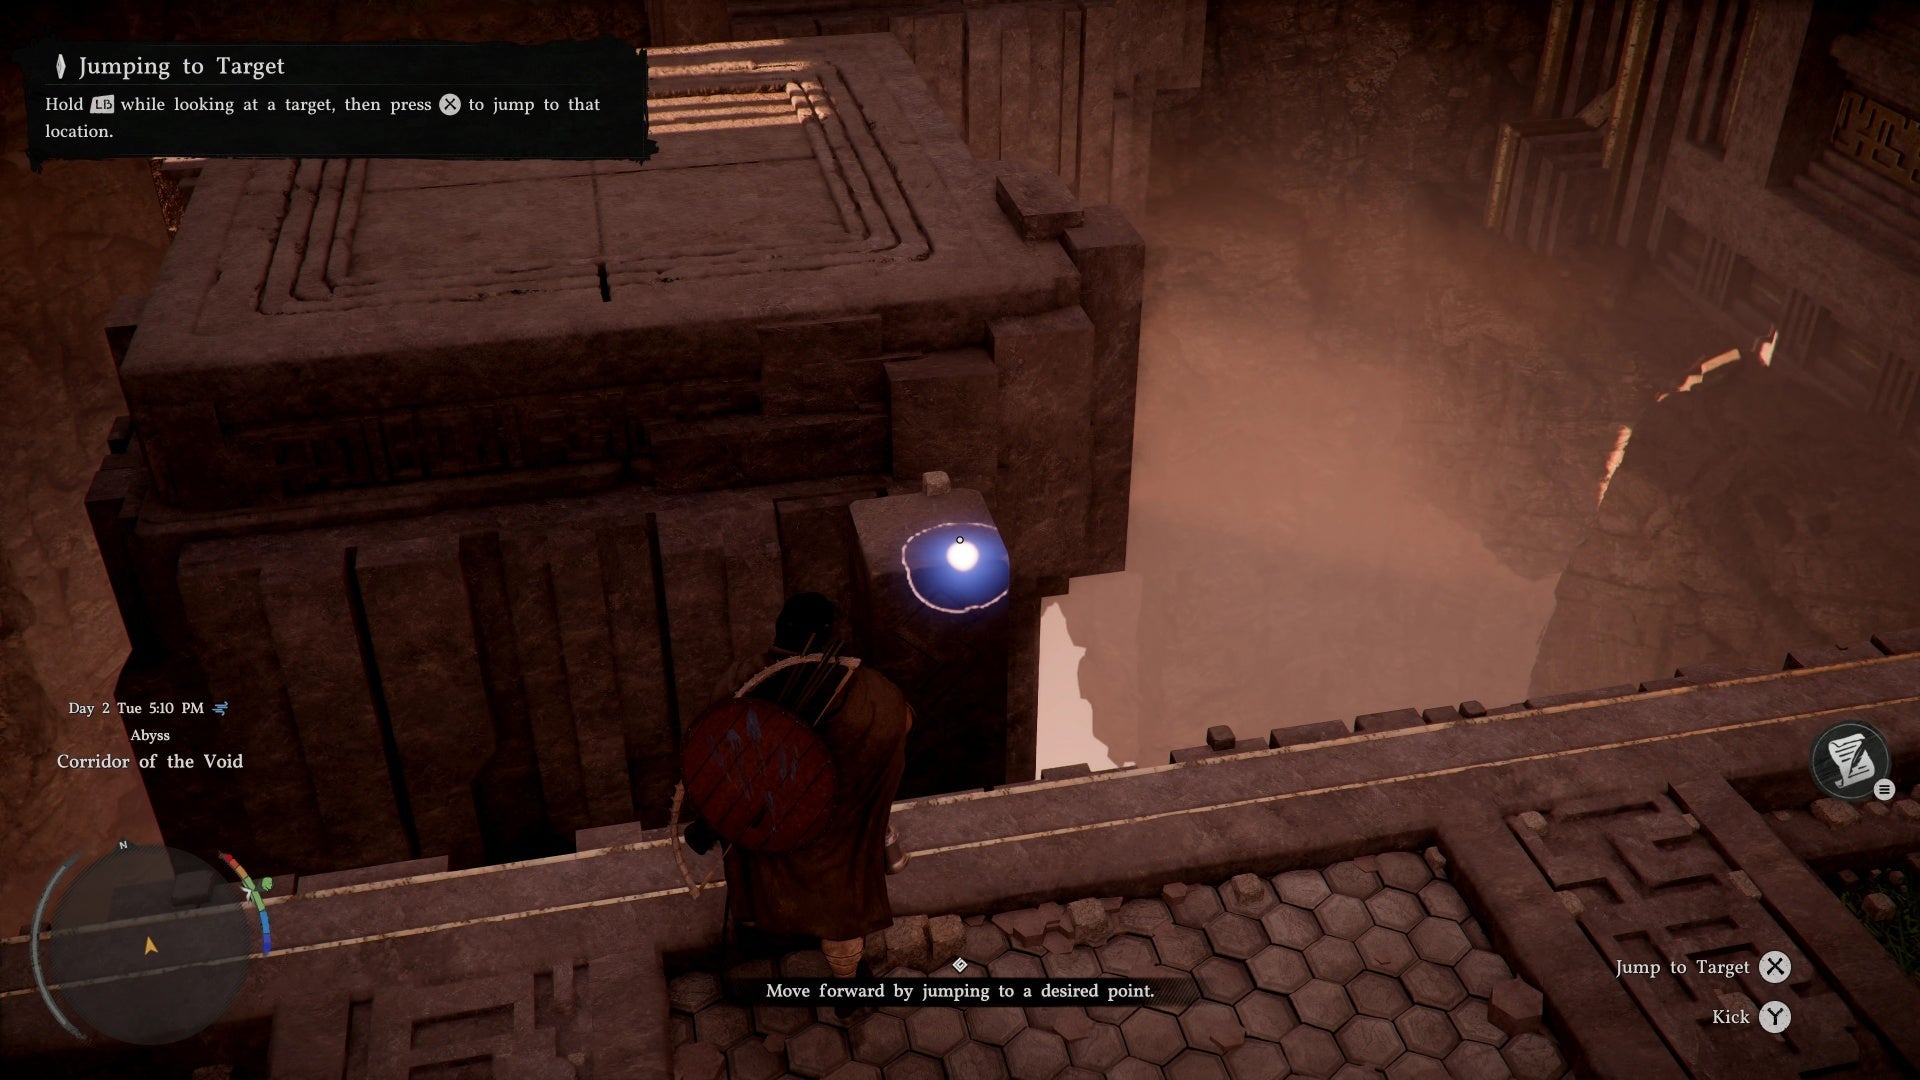
Move forward and cross the first gap. For the second jump, you'll learn the precision jump mechanic — this lets you target exactly where you want to land. Useful for narrow platforms, though not strictly required here.
On the other side, climb over the wall. Crimson Desert allows you to climb almost any surface as long as you have stamina.
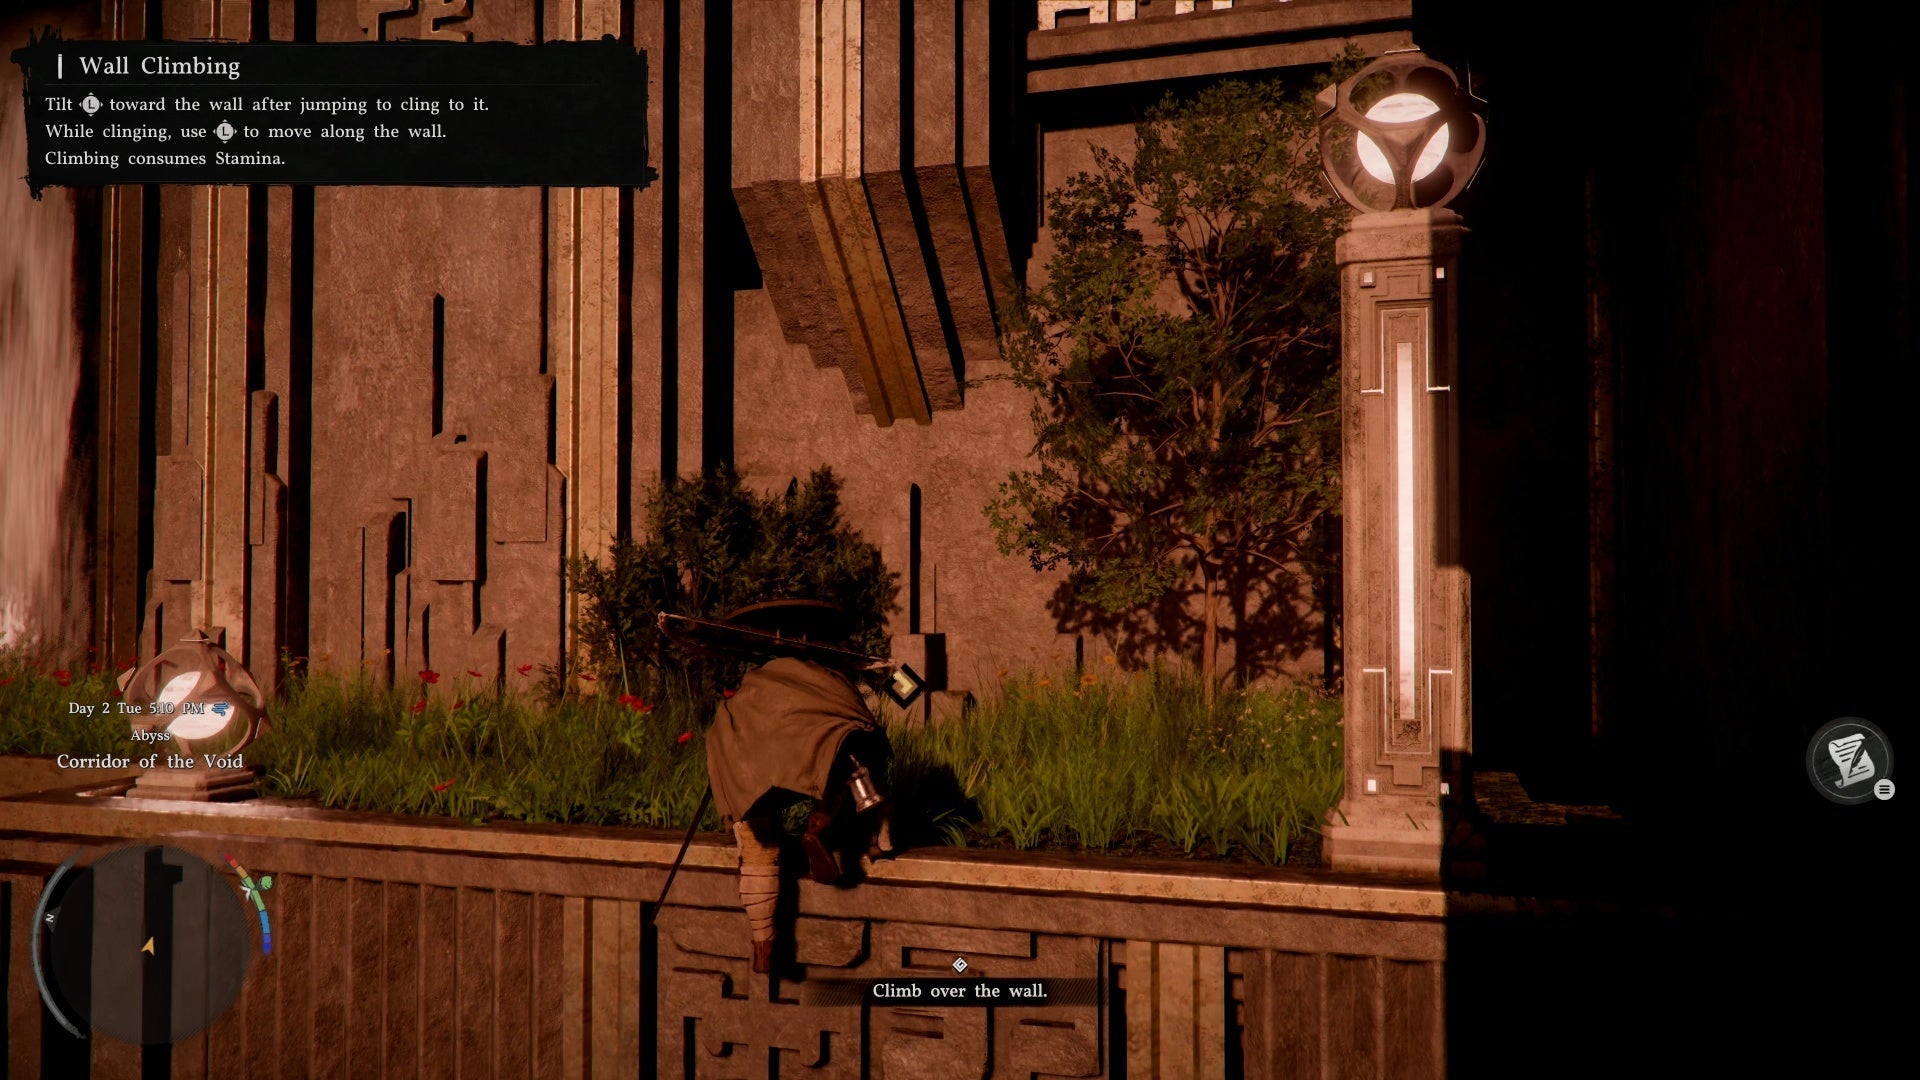
Follow the path until you reach a taller wall — still climbable. Save your stamina by climbing steadily rather than jumping. At the top, you'll find a small hole past a waterfall.
⚠️ Avoid the waterfall — touching it resets you to the checkpoint.
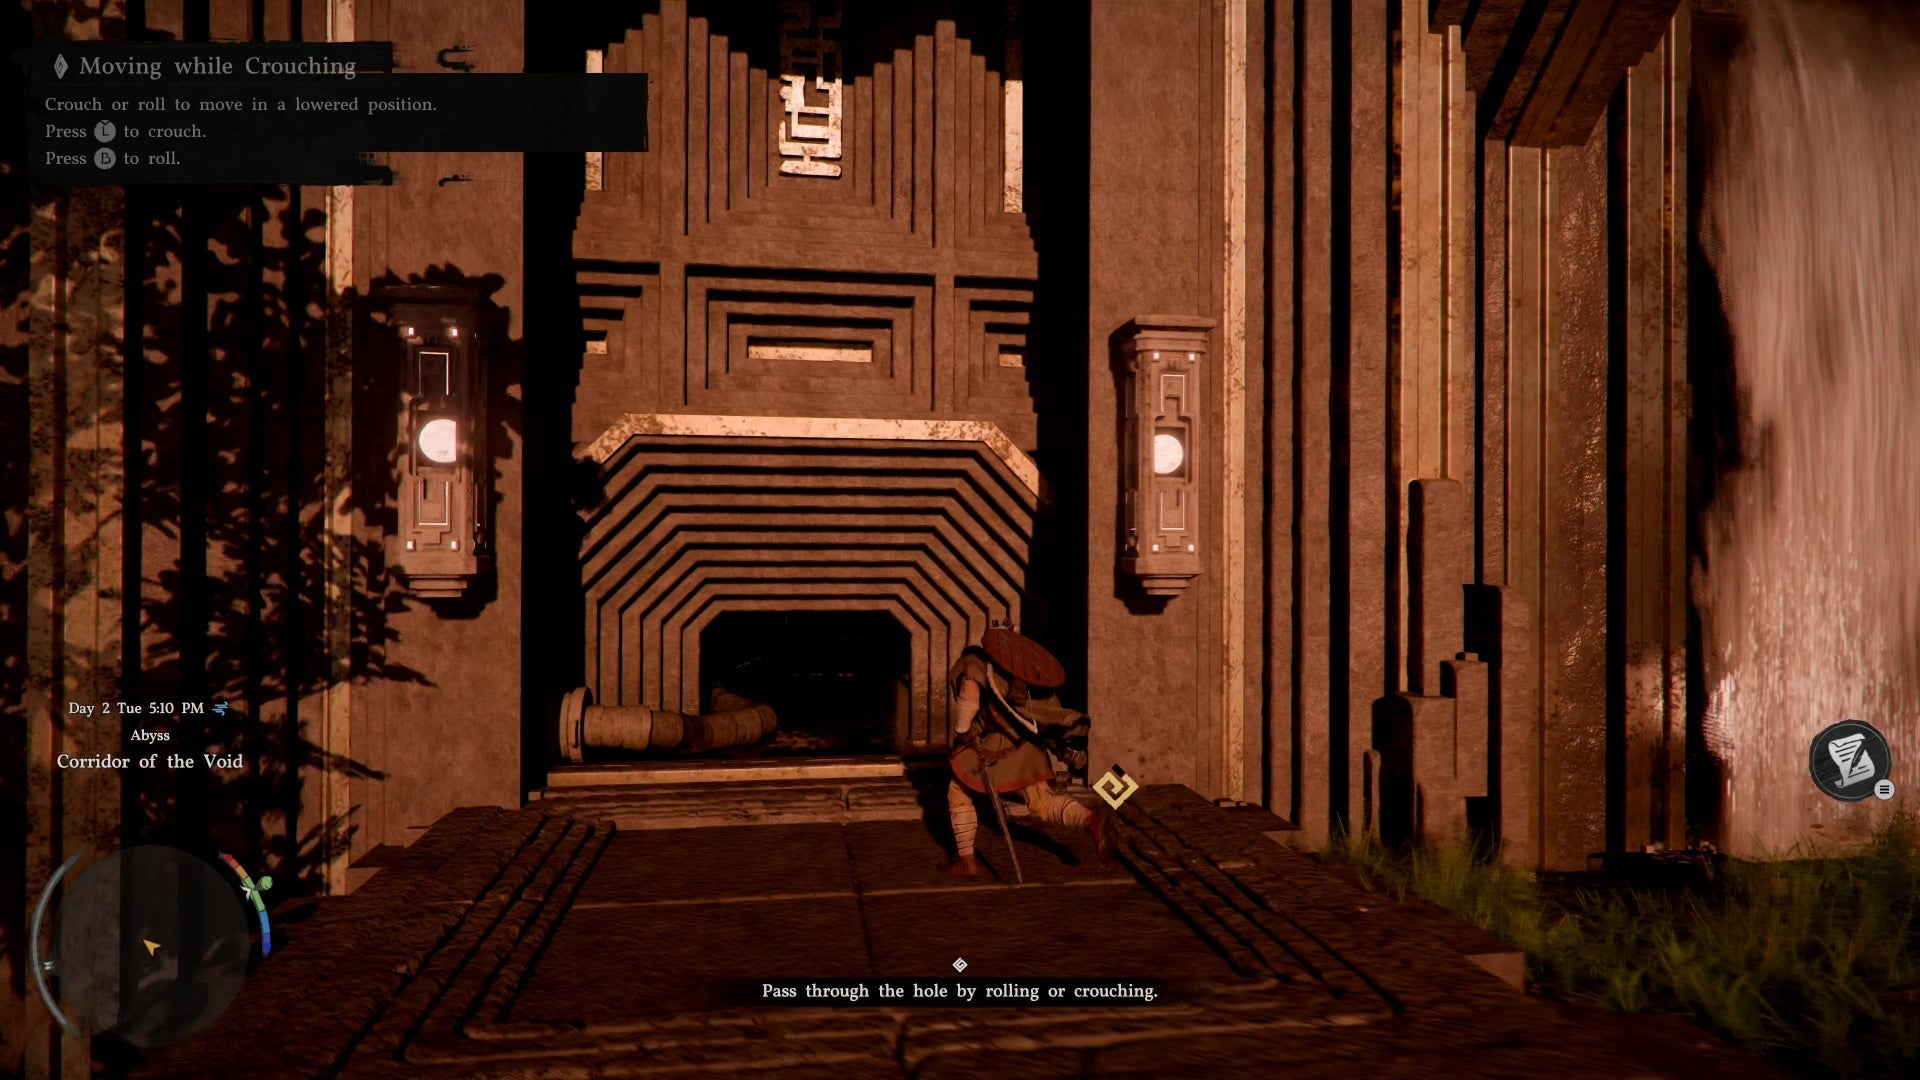
Crouch or roll through the hole to continue. The game will automatically crouch if you approach narrow spaces.
BLINDING FLASH & CONCENTRATING LIGHT
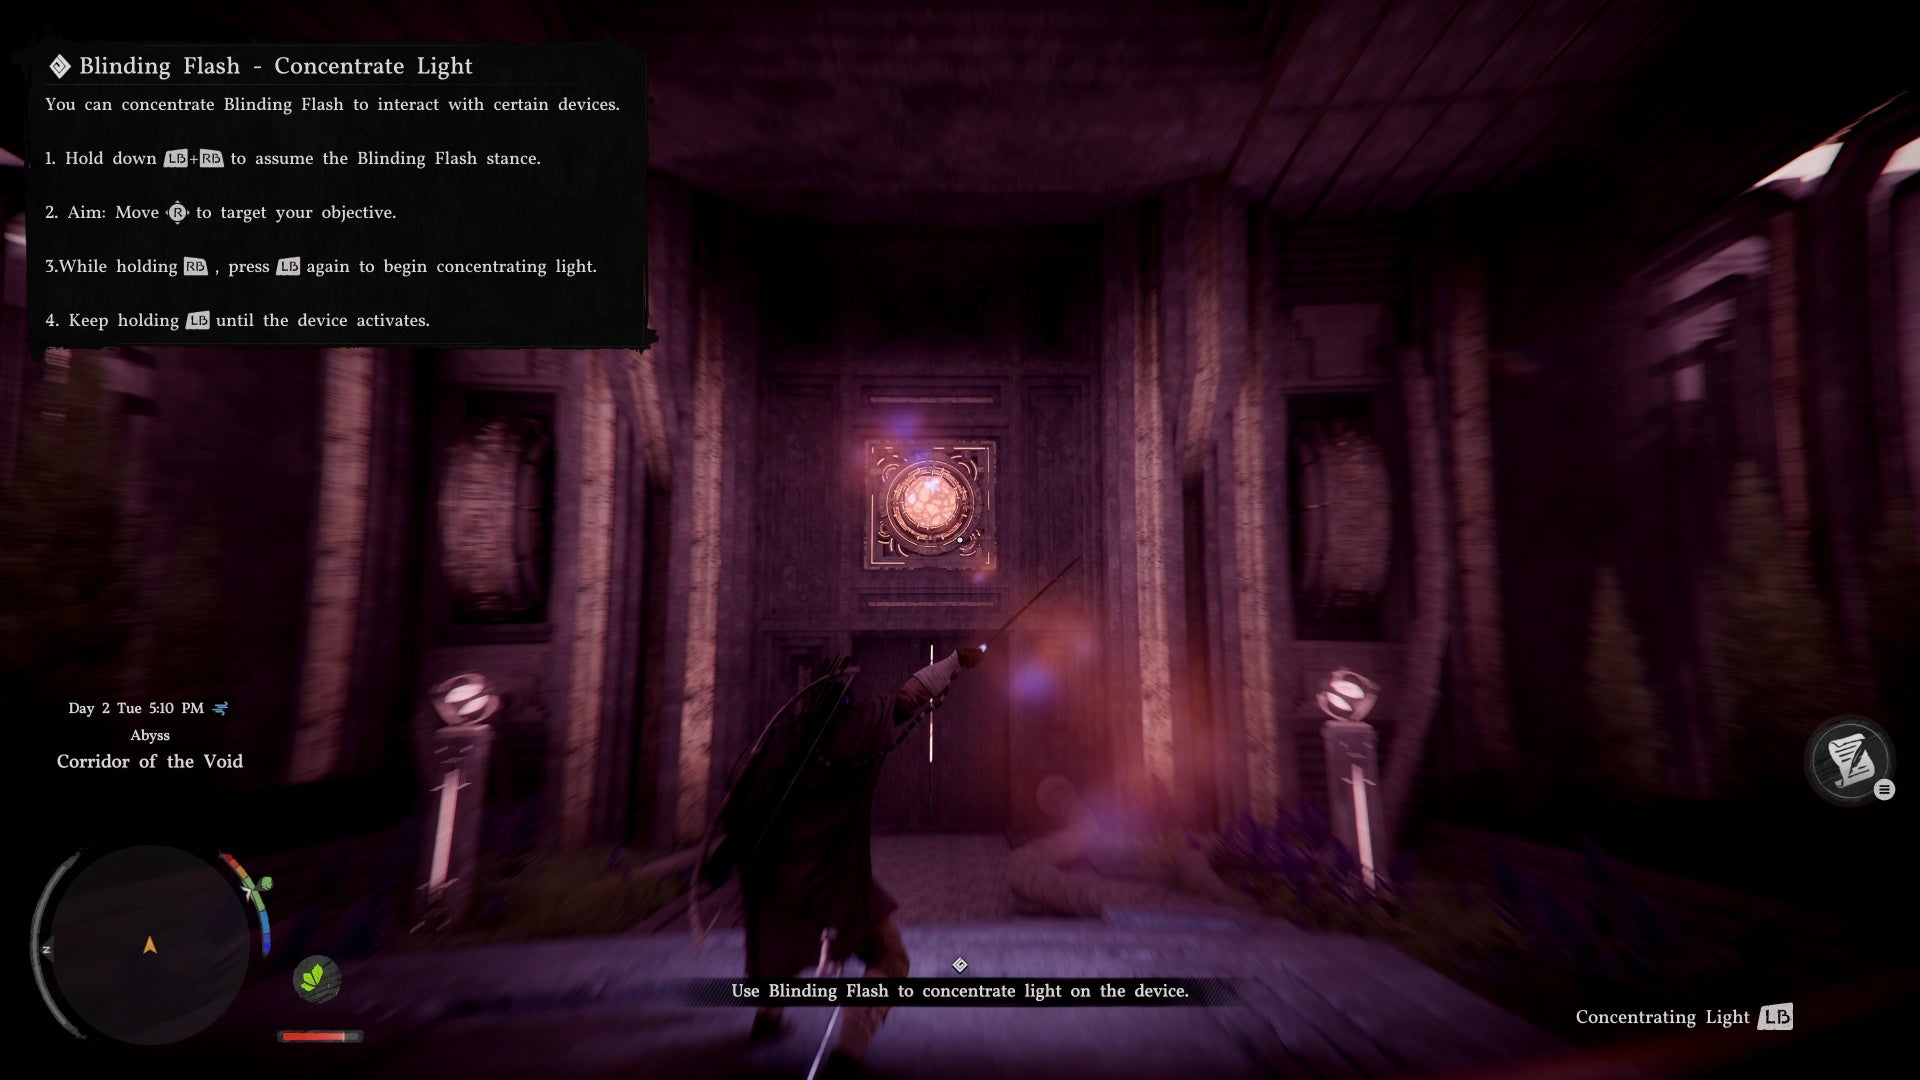
A new ability unlocks here: Blinding Flash. Kliff angles his sword to catch and reflect light. This has two uses:
- • Exploration: Reveal points of interest in the environment
- • Combat: Temporarily blind enemies
For this puzzle, you need Concentrating Light — hold the ability to focus light onto switches. Think of it like using a magnifying glass to concentrate sunlight. Aim at the switch above the door to open the path forward.
THE LANTERN

Beyond the door, cross the moving platforms over the water. The next area is pitch black — time to learn about the lantern.
The lantern is crucial for exploration. It automatically lights dark areas, and you can focus its beam to highlight important objects. The game equips it automatically during this section, but you can access it anytime via the radial menu.
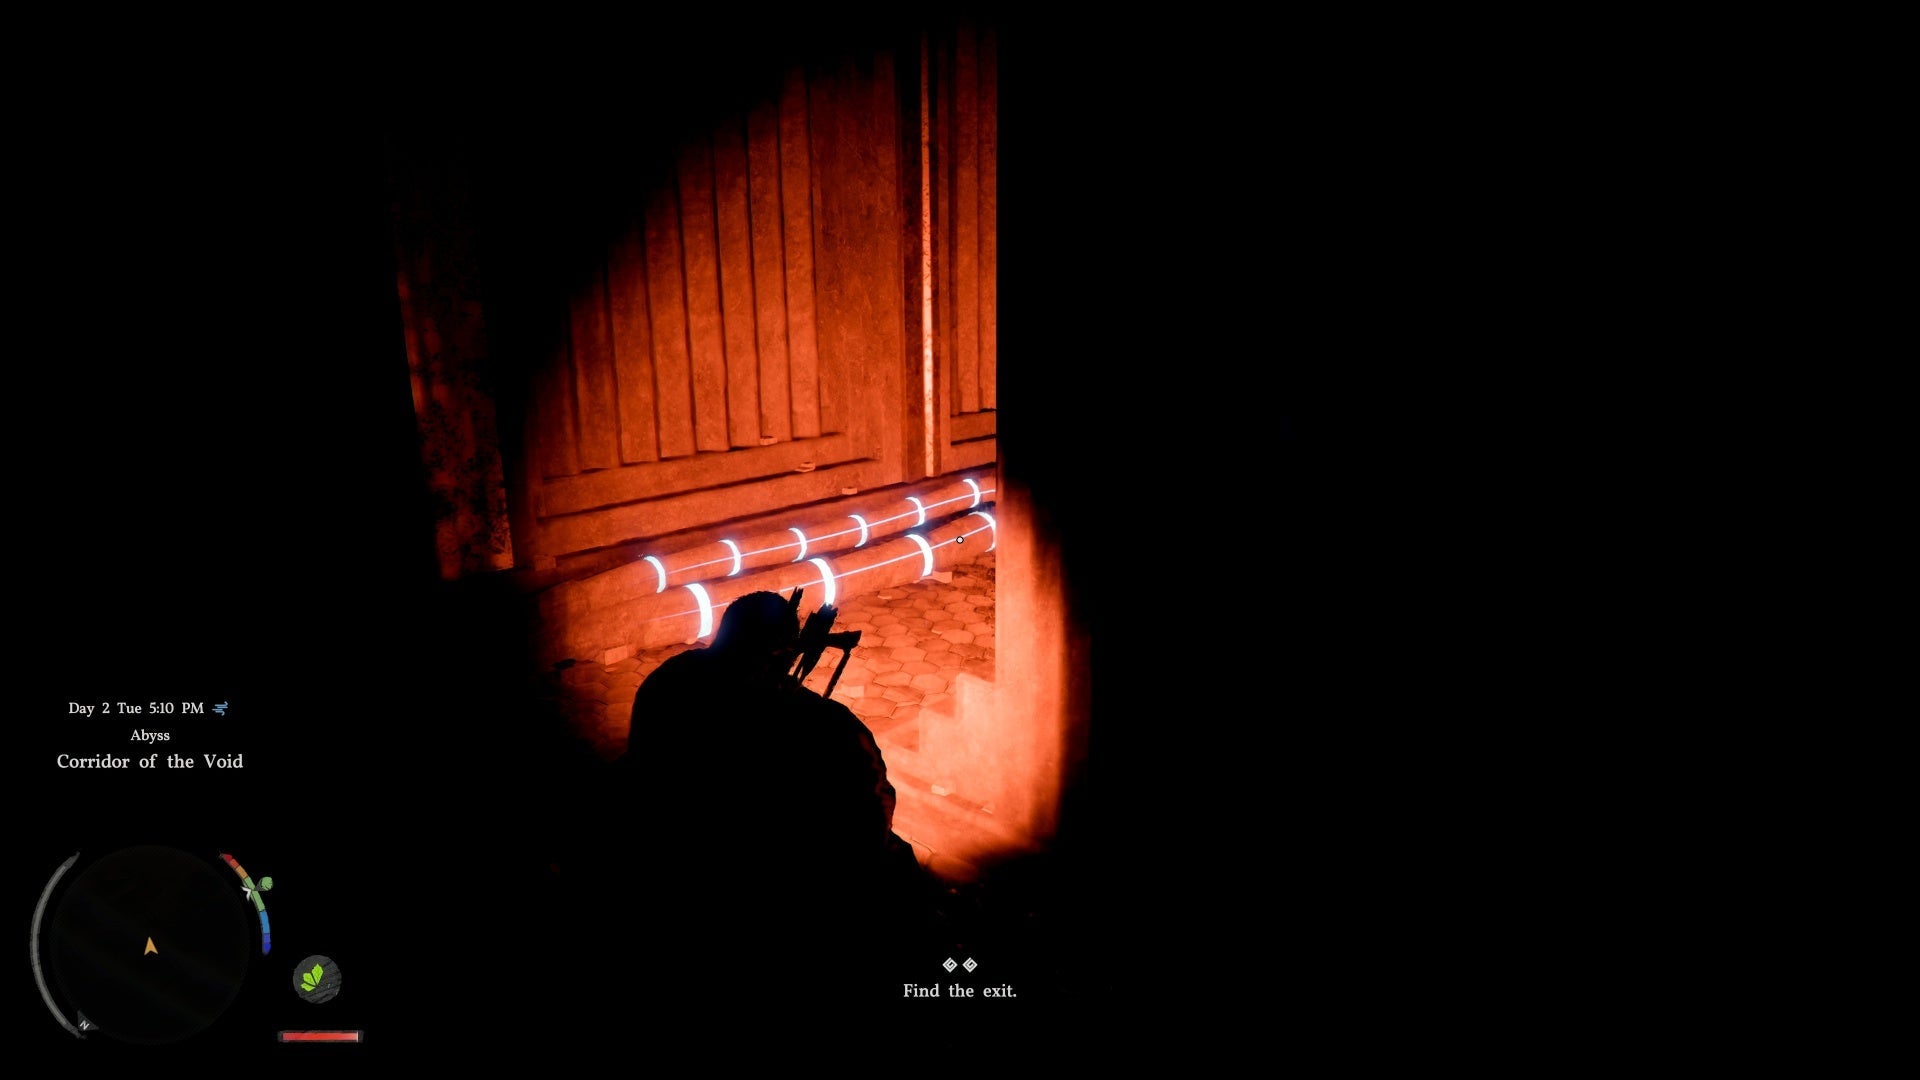
Focus the lantern on the tubes running along the floor, then follow them to the exit. Step onto the pedestal at the end to leave the Corridor of the Void and return to Pywel.
A NEW BEGINNING
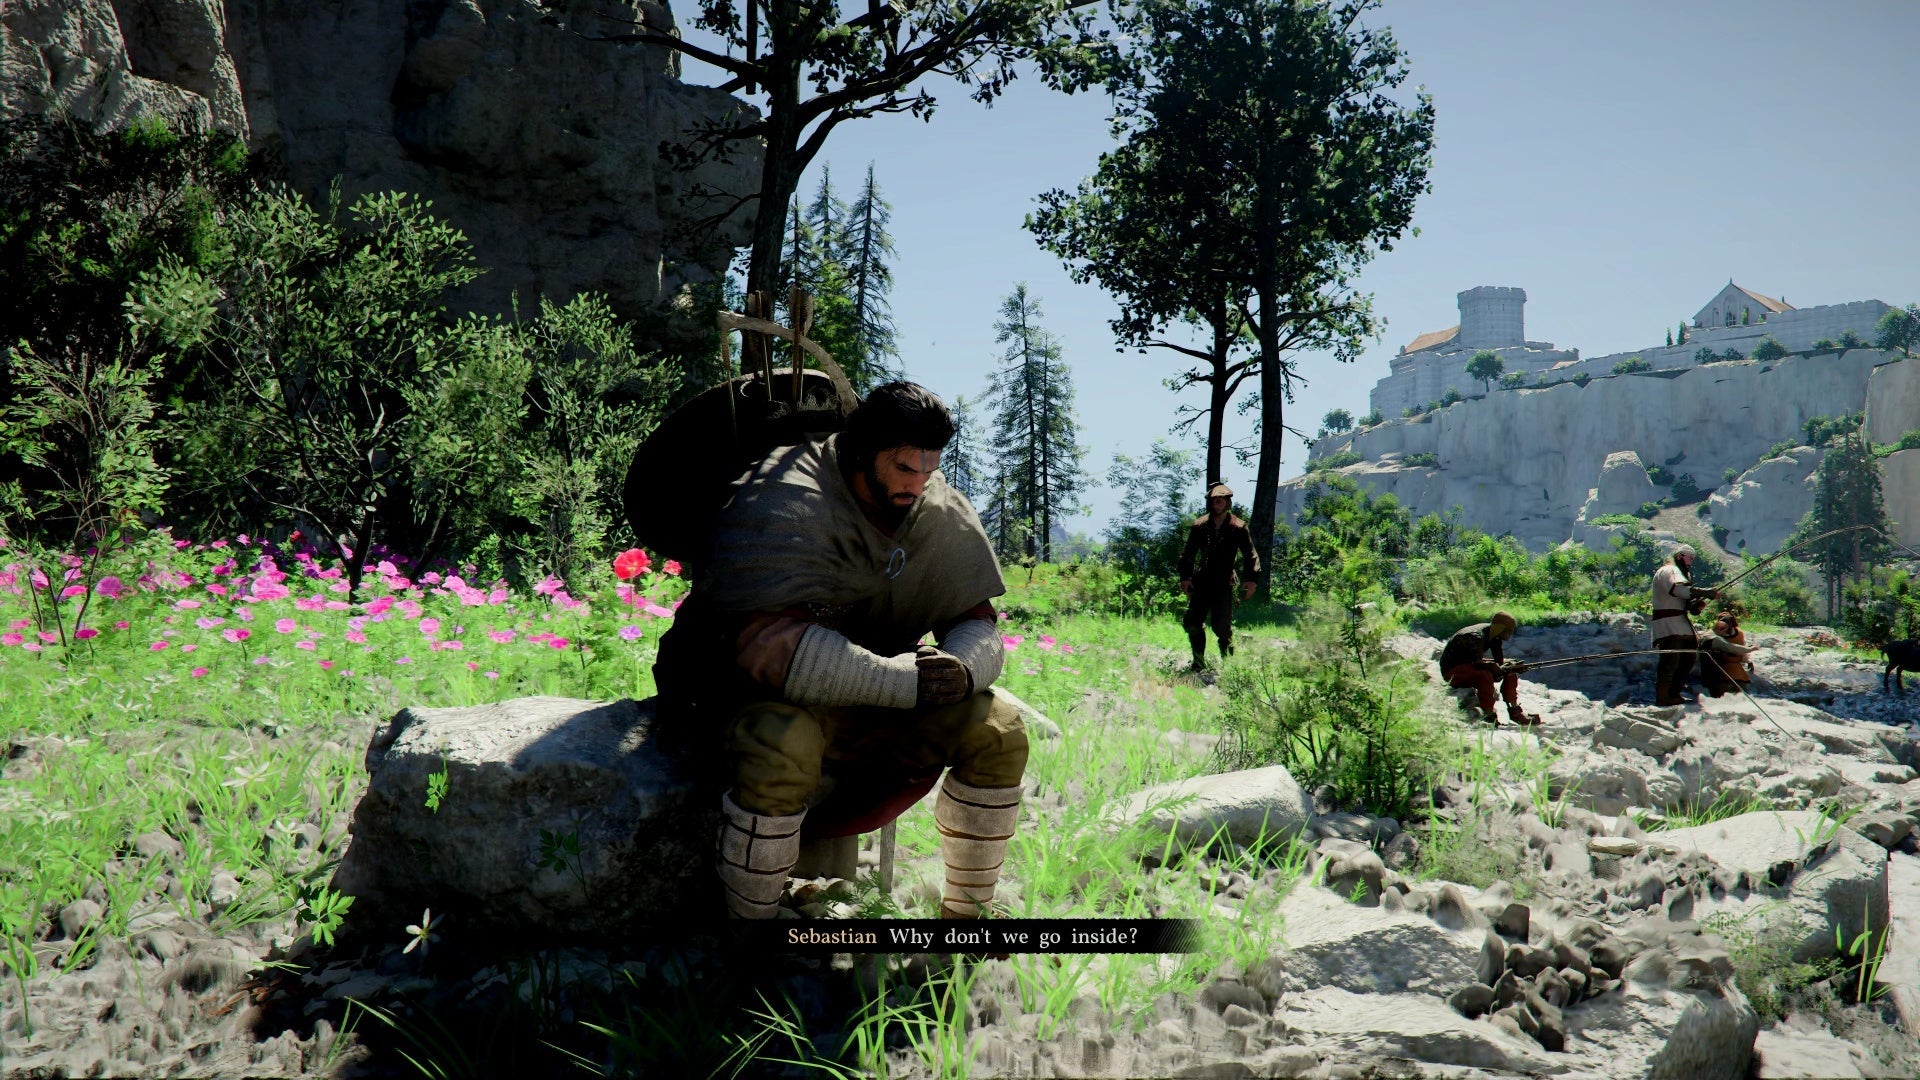
A stranger named Sebastian finds Kliff washed up by the river. He's the fisherman who pulled you from the water after the Greymanes' defeat. Follow him up the hill to his cabin.
Along the way, you can pick up some useful items:
- • Meat (recovery item) — on a stump near a lit brazier on the right side of the path
- • Bekker Axe — slightly stronger than your current sword
💡 Tip: There's a dog by the fisherman you can pet!
At the cabin, bandits attack — just two enemies, nothing you can't handle. After defeating them, Sebastian rewards you with an inventory expansion (+3 slots).
Important note on inventory: Crimson Desert has limited storage. The only way to expand it is by completing side quests and favors. Keep an eye on quest rewards for inventory upgrades, and don't be afraid to sell items you don't need.
OPTIONAL EXPLORATION: RIVER ISLAND
Before following Sebastian to Hernand, consider a detour:
- • Cross the shallow river to the island where herons gather
- • Rush in with your weapon drawn to hunt birds for meat and crafting materials
- • On the north side of the island, you'll find a fishing rod — this lets you start fishing before the official tutorial
THE RIDE TO HERNAND
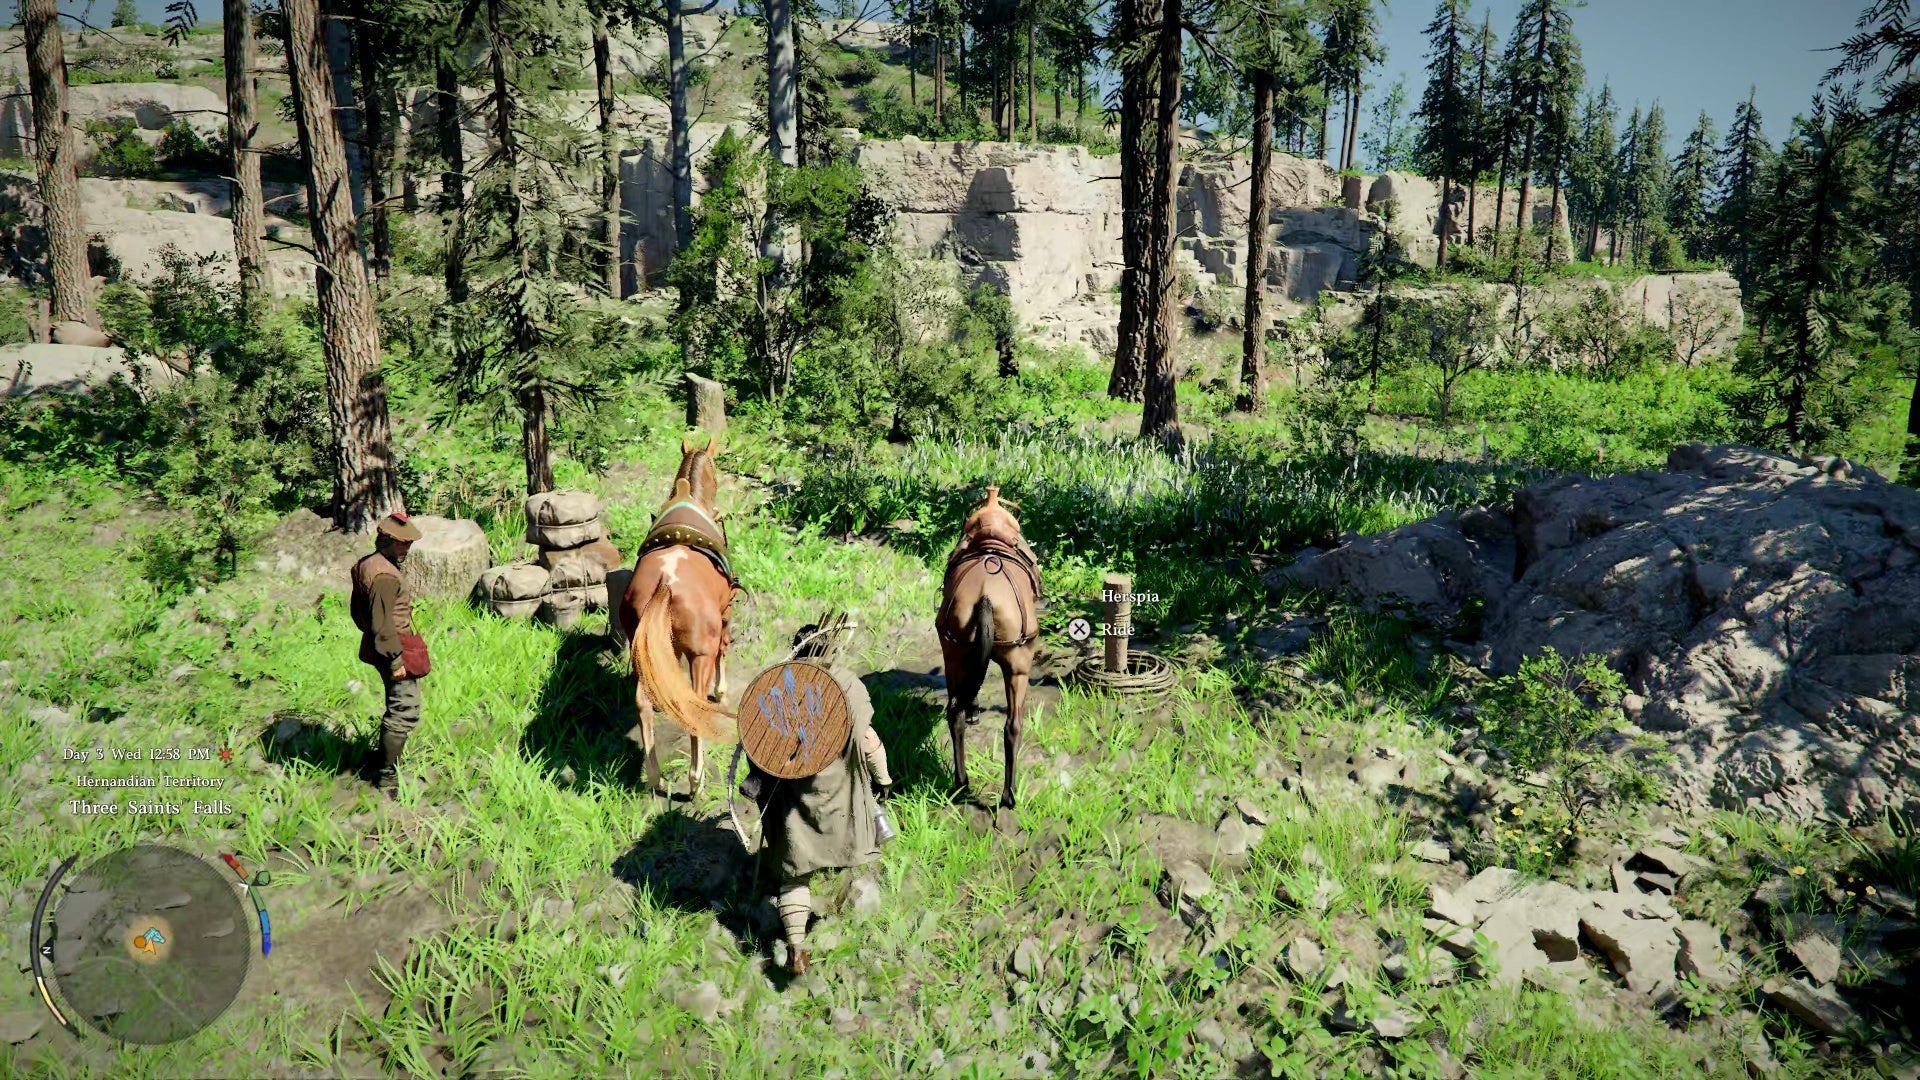
Sebastian offers to guide you to Hernand, the first major settlement. He even provides a horse — a Herspia, the standard breed found throughout Pywel.
Before mounting, check the surrounding field for raspberries, flowers, and items on tree stumps. These can be sold in town. If you find items in breakable containers, smash them with your weapon.
Horses can be upgraded by riding them and building bond — abilities like drifting and double jumps unlock over time.
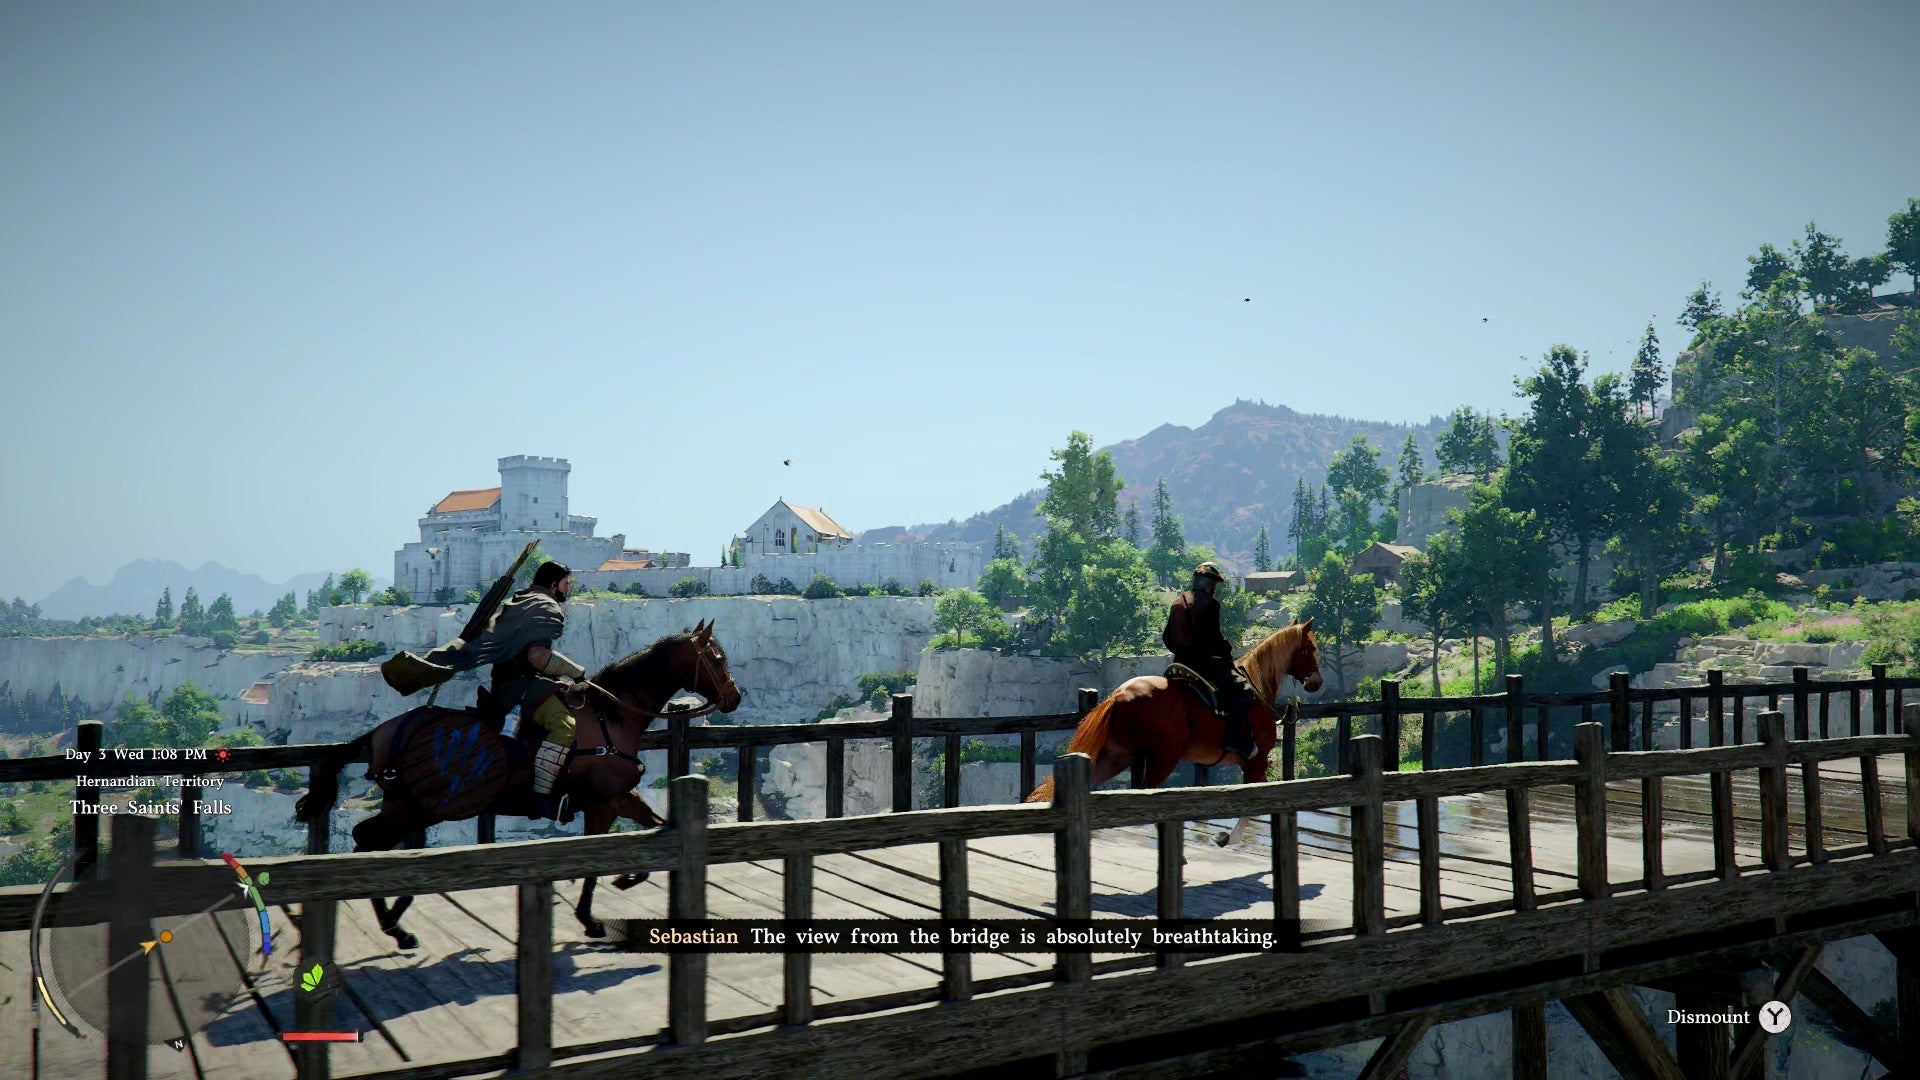
Follow Sebastian across the bridge to Hernand. The prologue ends here as you enter Chapter 1.
TEMPORARY HOUSING
After arriving, you're given a temporary place to stay. Any loot you fail to collect during battles will appear in the supply chest here. Note that this isn't additional storage for your own items — it's specifically for missed battle rewards.
NEXT: Trials of Kindness Walkthrough →
Chapter 1: The First Encounter

OVERVIEW
Chapter 1 takes place in Hernand, a castle town governed by House Celeste. You'll help local residents with various tasks that teach essential mechanics — from arm wrestling and chimney sweeping to exploring the Abyss and unlocking powerful traversal abilities.
CHAPTER 1 QUEST STRUCTURE
Trials of Kindness
├── Where Rumors Gather (Hernand Tavern, arm wrestling, merchants)
├── Mysterious Man (the beggar, sewer exploration)
├── True Wisdom in Kindness (sewer puzzle, noblewoman)
├── Heart Beyond Borders (Rulupee's cat Jiji)
└── Actions Speak Louder Than Words (chimney cleaning)
Traces
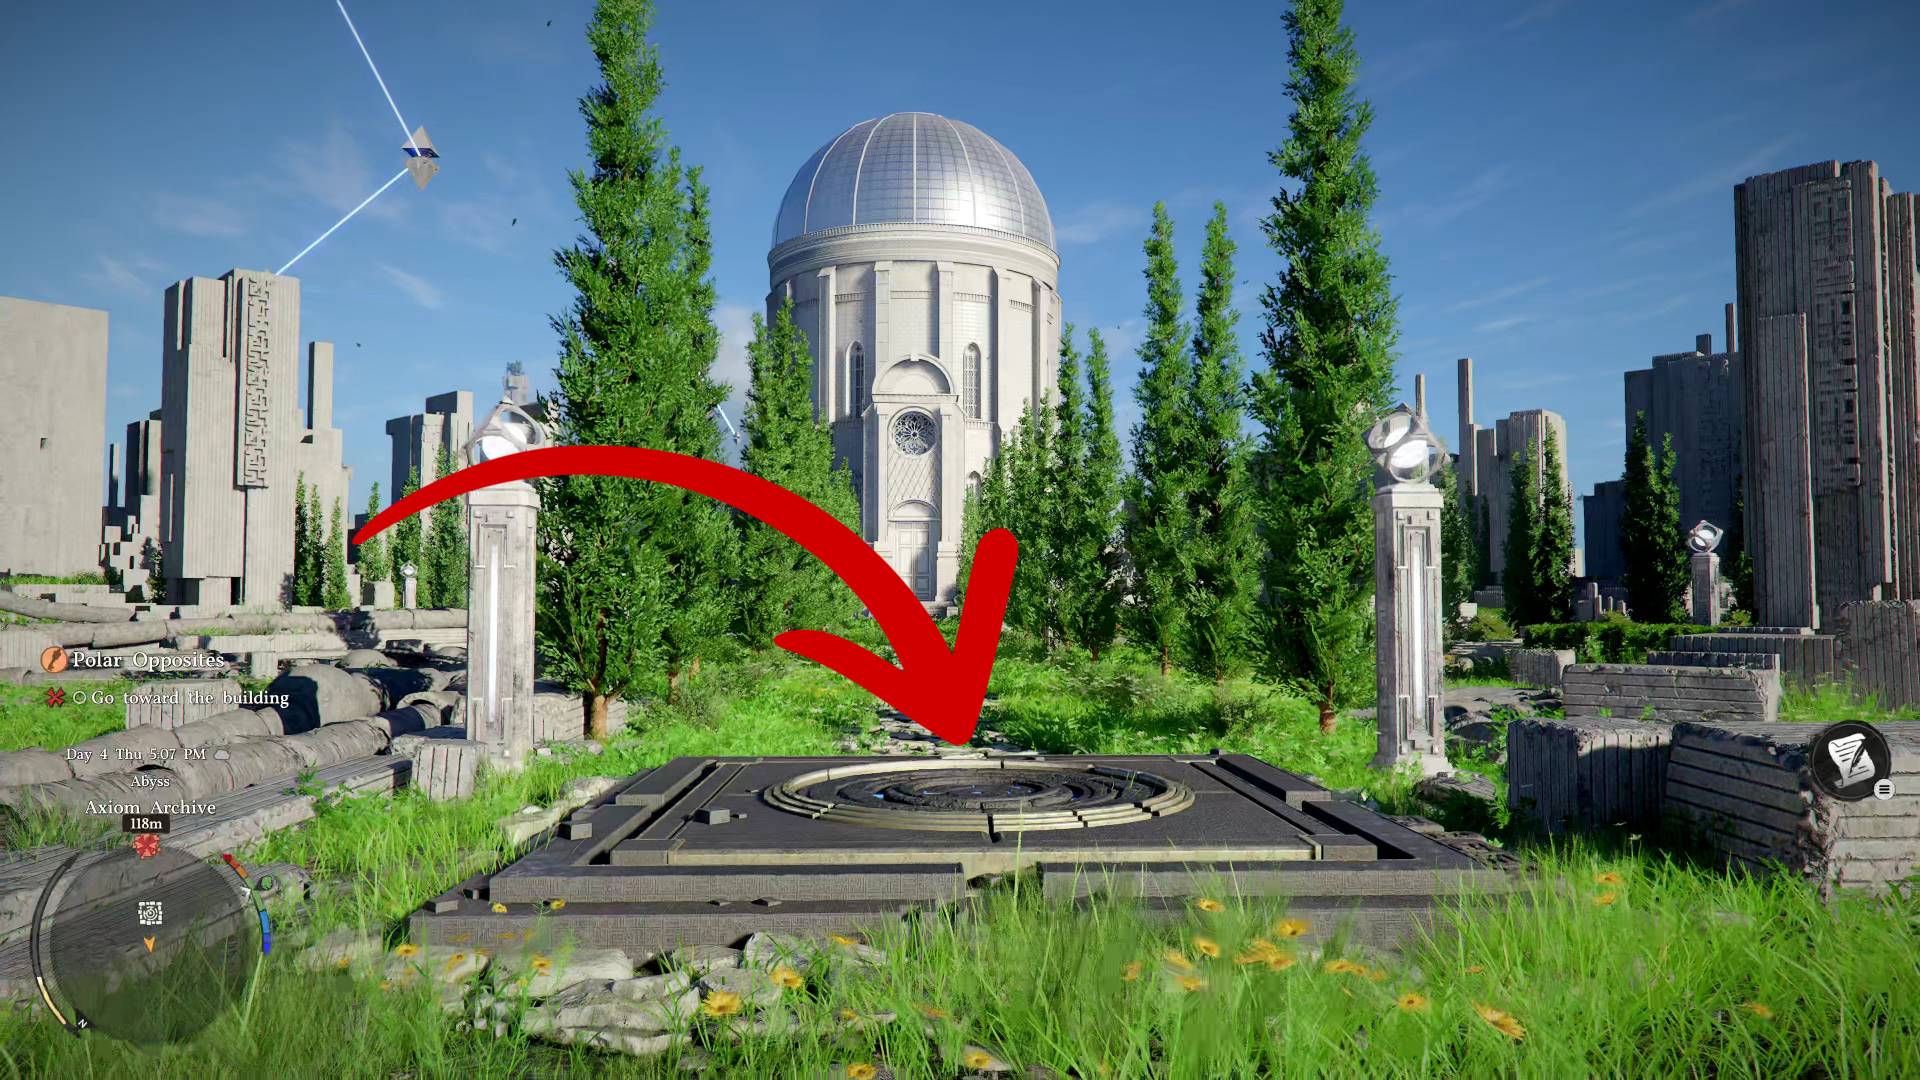
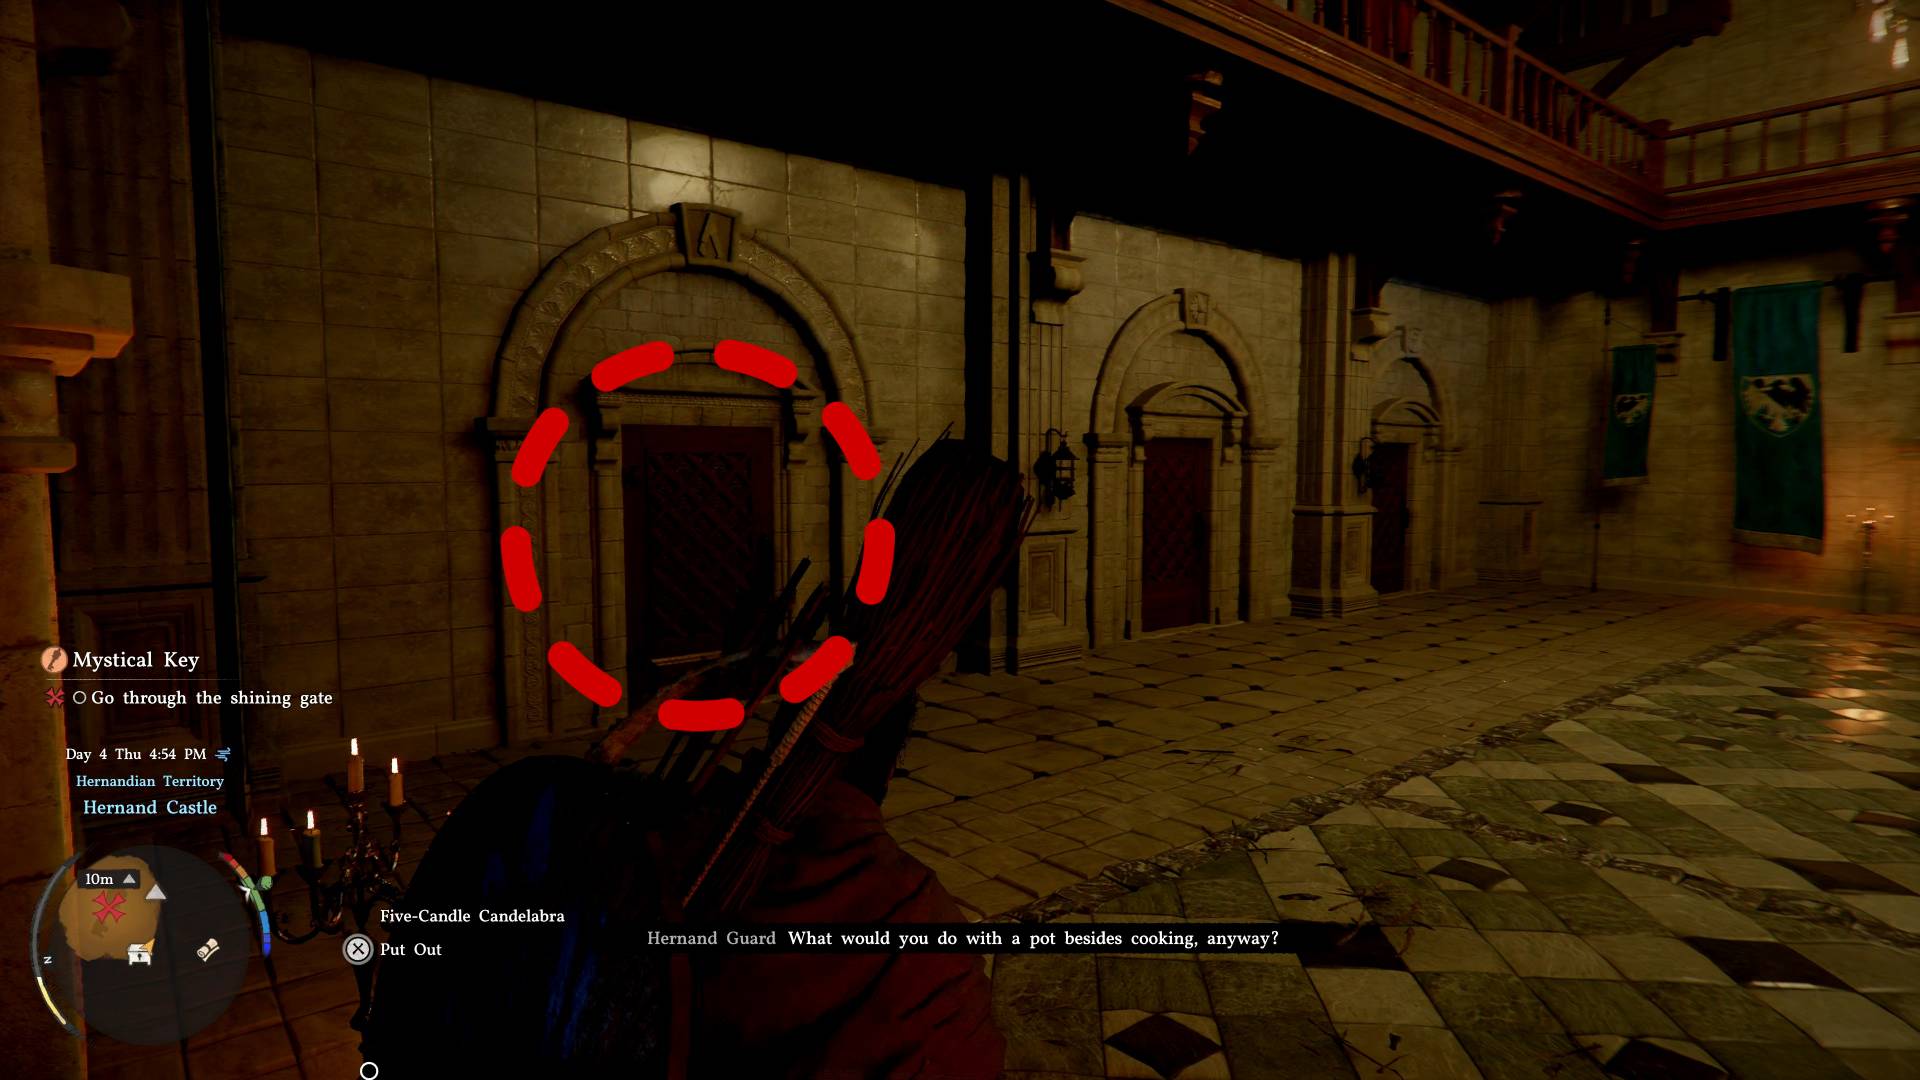
├── Mystical Key (Hernand Castle, Faded Abyss Artifact)
├── Polar Opposites (Axiom Force tutorial, tube puzzles)
├── Abyss Without Balance (skybridge puzzles, Force Palm)
└── Woman in White (Gliding ability unlocked)
KEY UNLOCKS IN THIS CHAPTER
- - Axiom Force — telekinesis for moving and rotating objects
- - Force Palm — concentrated energy blast
- - Gliding — stamina-based aerial traversal
- - Precision Jump — targeted landing for platforming
- - Blinding Flash / Concentrating Light — light-based puzzle solving
After completing both quest lines, Chapter 2: Golden Greed begins immediately.
NEXT: Chapter 2 — Golden Greed
Trials of Kindness Walkthrough
OVERVIEW
This is the first major quest of Chapter 1. Kliff arrives in Hernand searching for information about his lost allies, but a mysterious encounter sends him down an unexpected path. This chapter introduces you to key town facilities and two side objectives that unlock your Abyss powers.
💡 Recommendation: Stick with the main quest for now to unlock essential abilities before exploring freely.
HERNAND TAVERN

Head to Hernand Tavern — it's marked with a large red X on your map, or just follow the main road. Look for the keg sign and outdoor tables.
Inside, you'll find a guard bragging about his arm wrestling skills. Challenge him to a minigame — one of many activities you'll find throughout Pywel.
Arm Wrestling Tips:
- • Mash the prompt quickly to build momentum
- • Watch for QTE wheel prompts — timing these correctly gives a huge boost
- • You must land at least one successful QTE to win
- • Failed QTEs cost you advantage
Before leaving the tavern:
- • Sell any junk items to the merchant
- • Purchase an inventory upgrade if you have the gold
- • Check the Smithy next door for new equipment
- • The orc Rhett sells weapons and armor
THE MYSTERIOUS BEGGAR
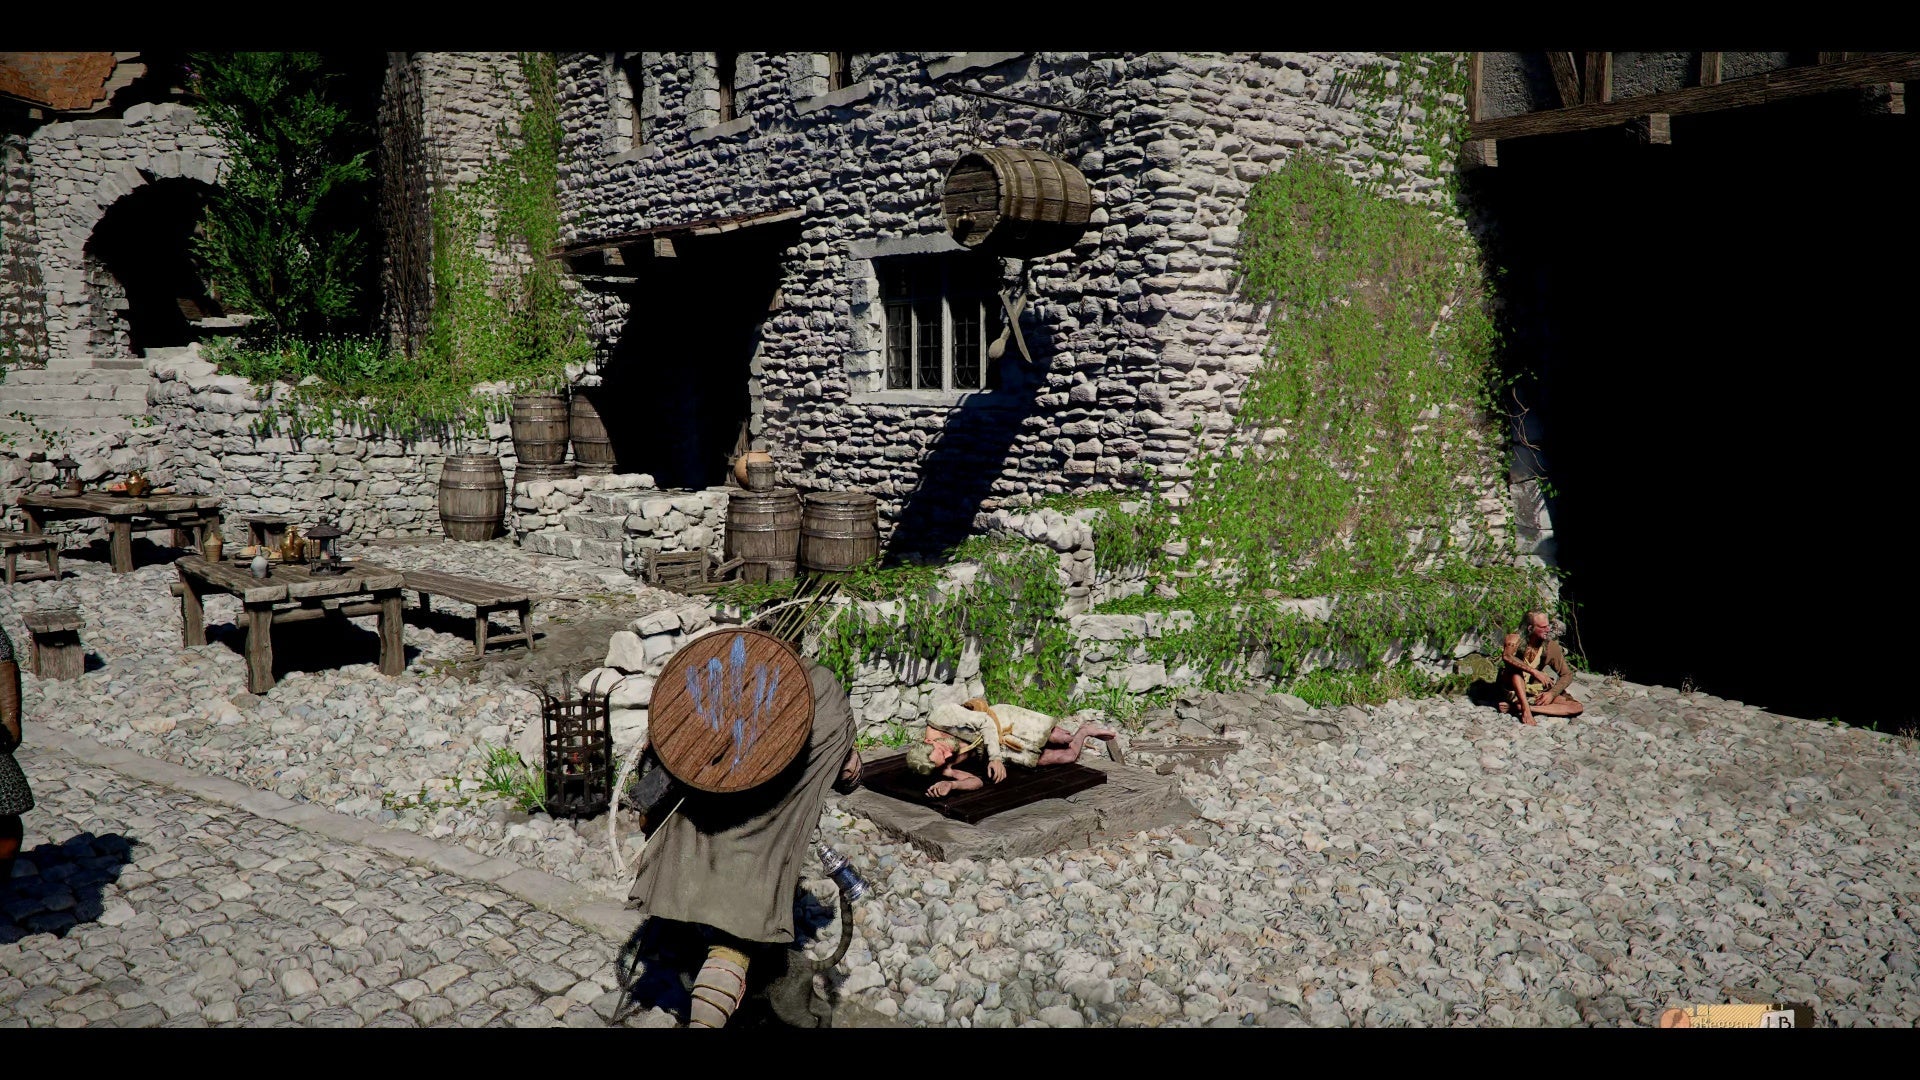
Exit the tavern and find children harassing a beggar near the stone fence.
Give the beggar a coin. During the cutscene, he hands you a strange wooden key and vanishes into shadows. You also receive +3 inventory slots.
The beggar's movement reveals a hidden trapdoor. Open it to access the sewers.
SEWER EXPLORATION
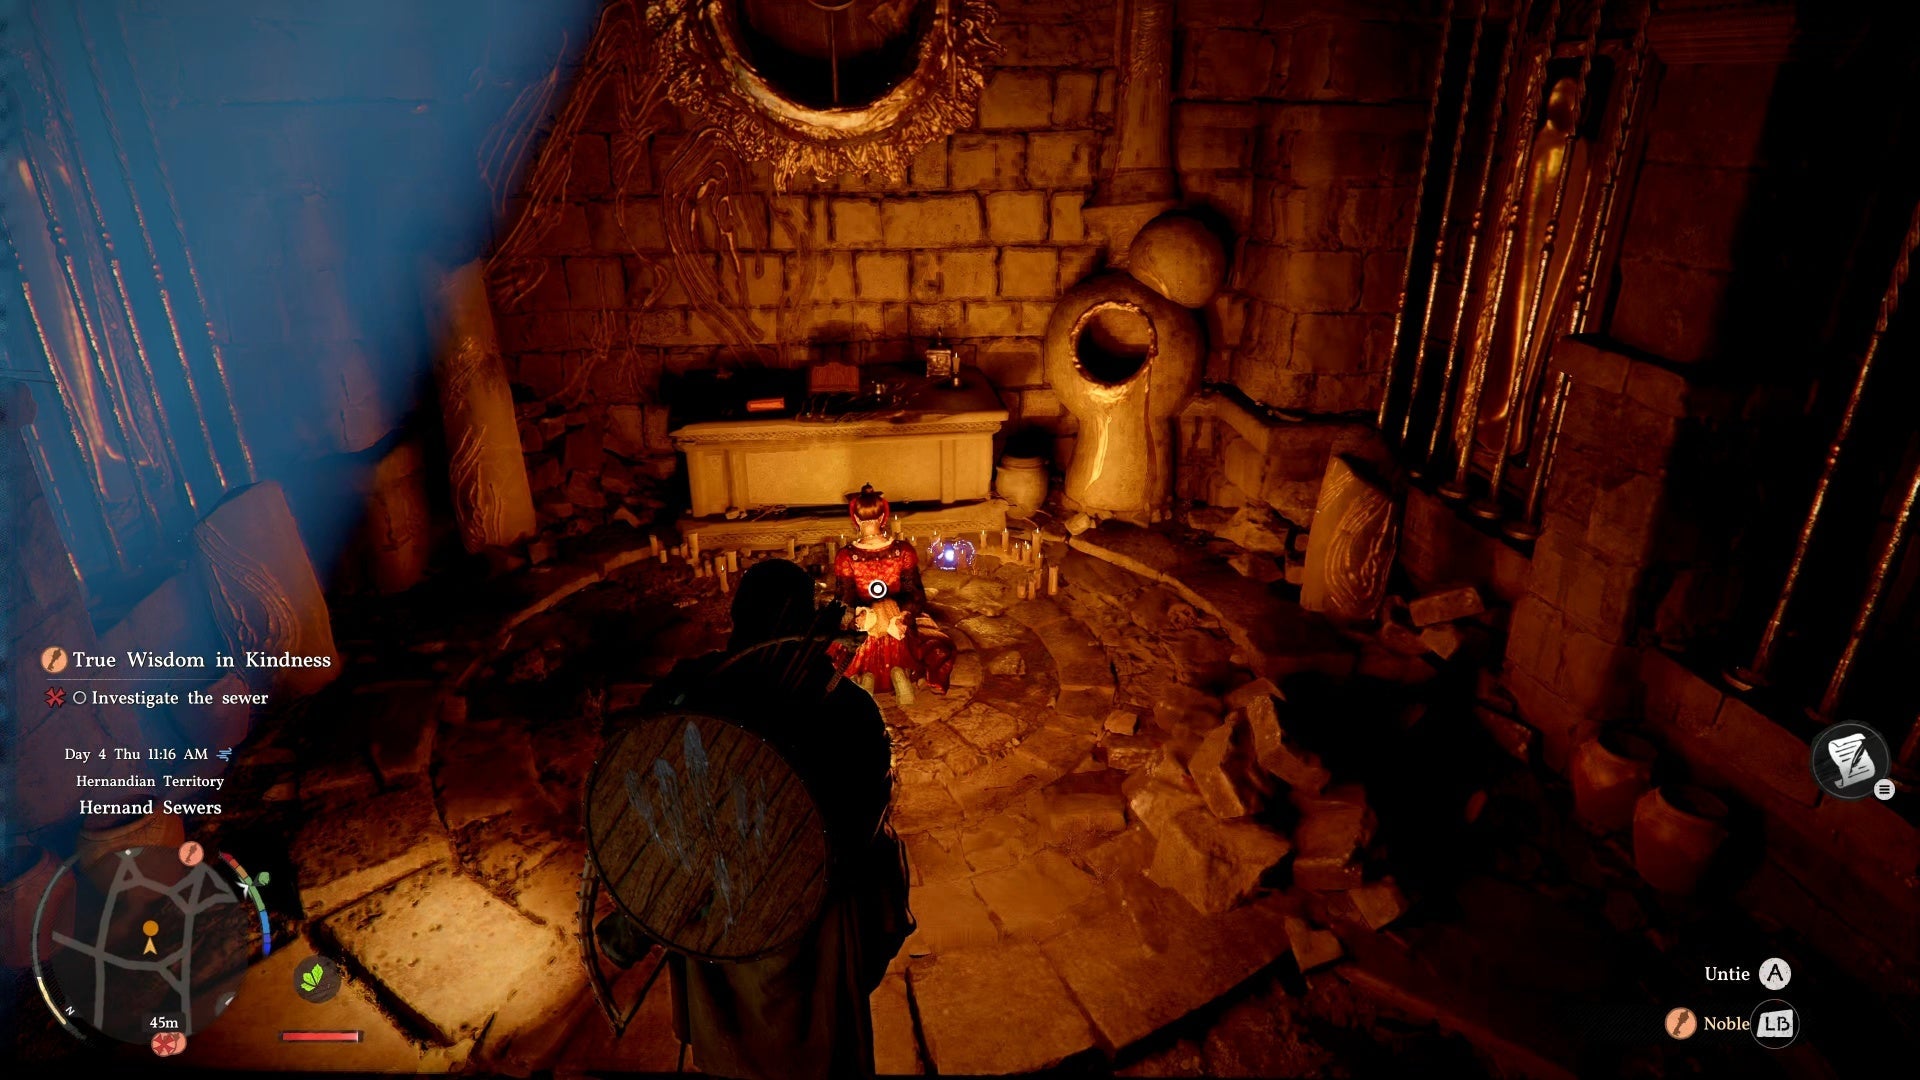
Drop down and follow the candlelit path. At the base of the stairs:
Side path (left): Leads to a dead end with your first Treasure Chest containing the Grace Plate Helm.
Return to the main path. Some floor sections crumble — precision jumping helps, but regular jumps work too.
At the end, you'll find a tied-up noblewoman calling for help. Untie her to receive:
- • Sealed Letter (cannot be opened yet)
- • Items on the nearby table (sellable)
Exit the way you came.
TWO OBJECTIVES
You now have two tasks to complete (in any order):
- Heart Beyond Borders (west of tavern)
- Actions Speak Louder Than Words (town outskirts)
💡 You can track objectives via Journal → Main Quests → select quest → toggle tracking.
HEART BEYOND BORDERS
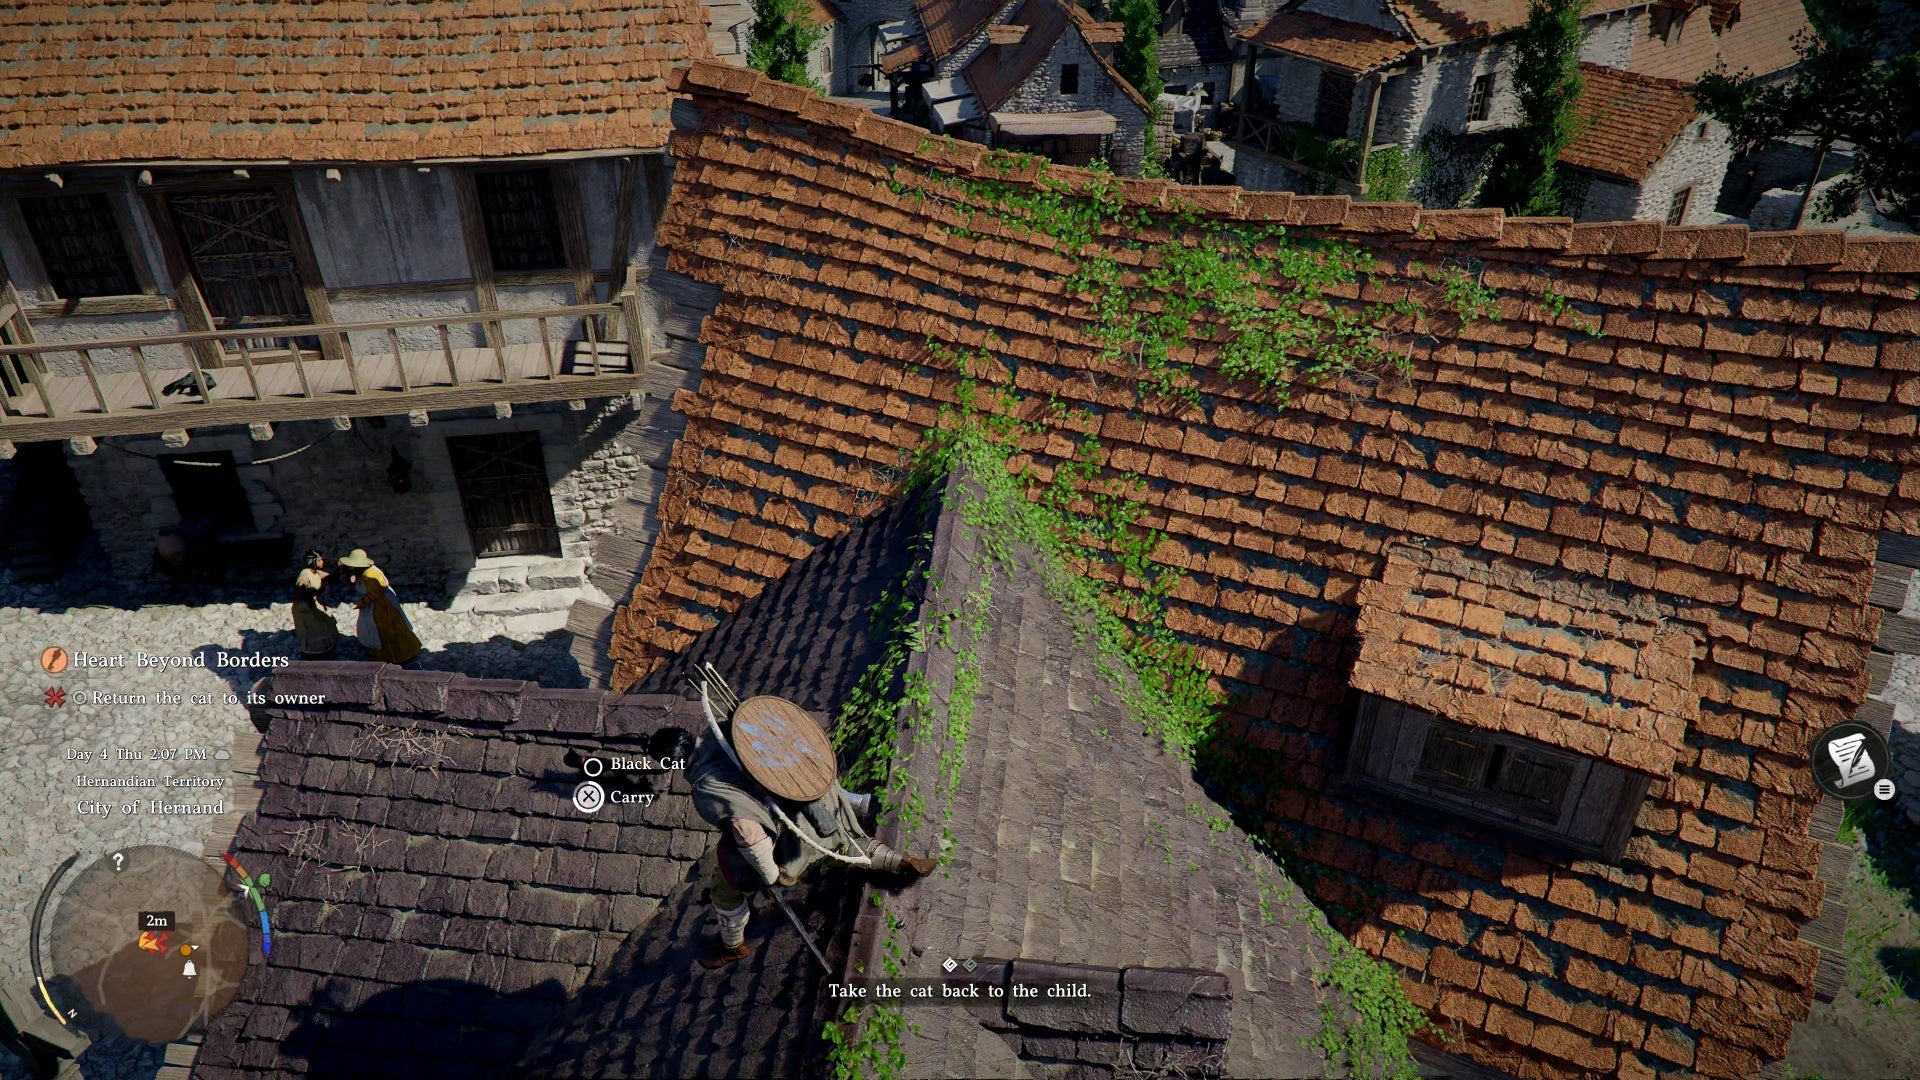
Location: West of the tavern, near the town square notice board.
A child named Rulupee needs help retrieving their cat, Jiji, from a rooftop.
- Speak to Rulupee
- Climb the stone wall to reach the roof
- Chase and catch Jiji
The child thanks you and invites you to visit again, then disappears in a swirl of flower petals. Strange indeed!
Reward: Shai's Pendant (on the ground after they leave)
ACTIONS SPEAK LOUDER THAN WORDS
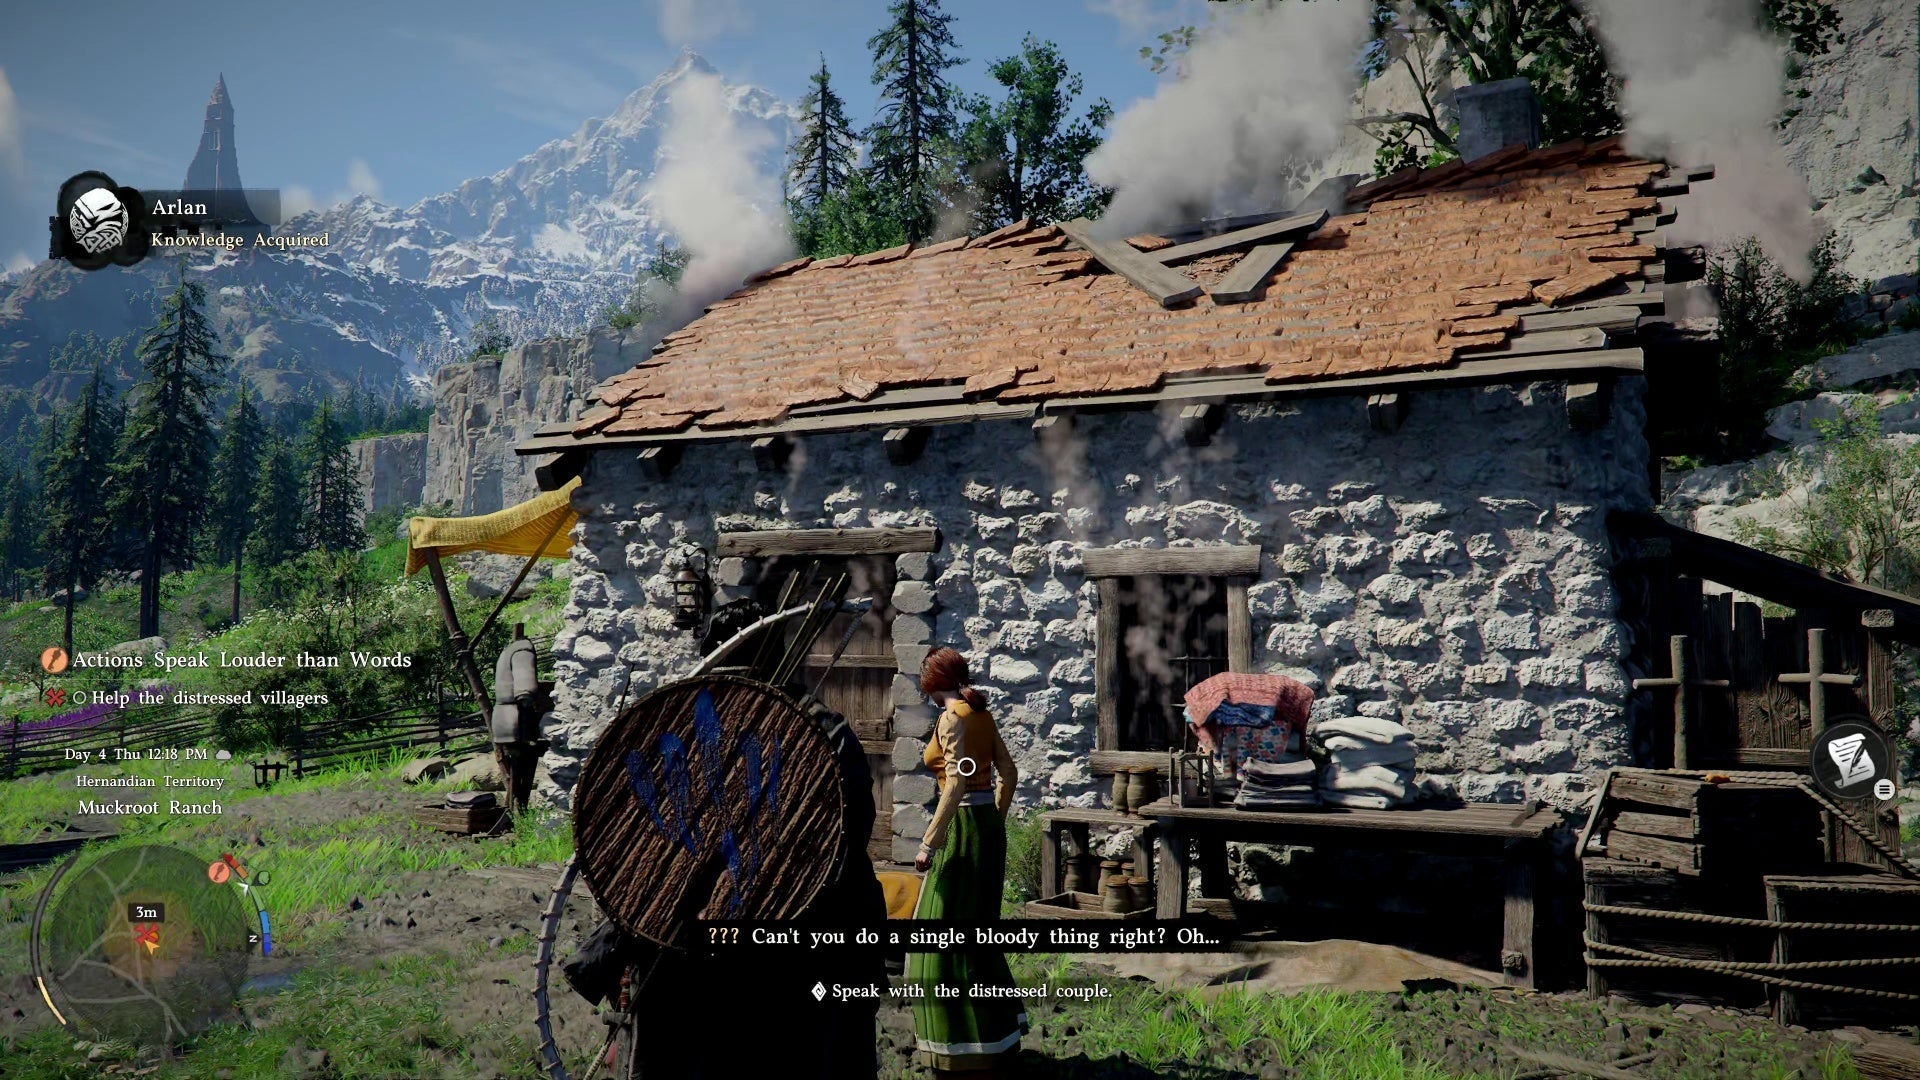
Location: South of the castle town, past the stone fence.
A tailor and his wife are arguing while smoke billows from their home — the chimney is blocked.
- Speak to the couple to accept the task
- Grab the broom near the door
- Climb to the roof
- Equip the broom via the radial menu (tools slot)
- Stand directly on the chimney and sweep it clean
💡 Behind the house, you'll find a Palmar Pill on some boxes — this lets you revive after death. Very useful for boss fights!
Rewards:
- • Lentils, Apples
- • Hernandian Attire (important for later)
- • +3 inventory slots
Bonus: Helping townsfolk increases your Hernandian Contribution level, which unlocks special rewards.
NEXT: Traces Walkthrough →
Traces Walkthrough
OVERVIEW
This quest takes you into Hernand Castle and introduces your core Abyss abilities: Axiom Force (telekinesis), Force Palm (energy blast), and Gliding. These powers are essential for exploration and combat throughout the game.
ENTERING HERNAND CASTLE
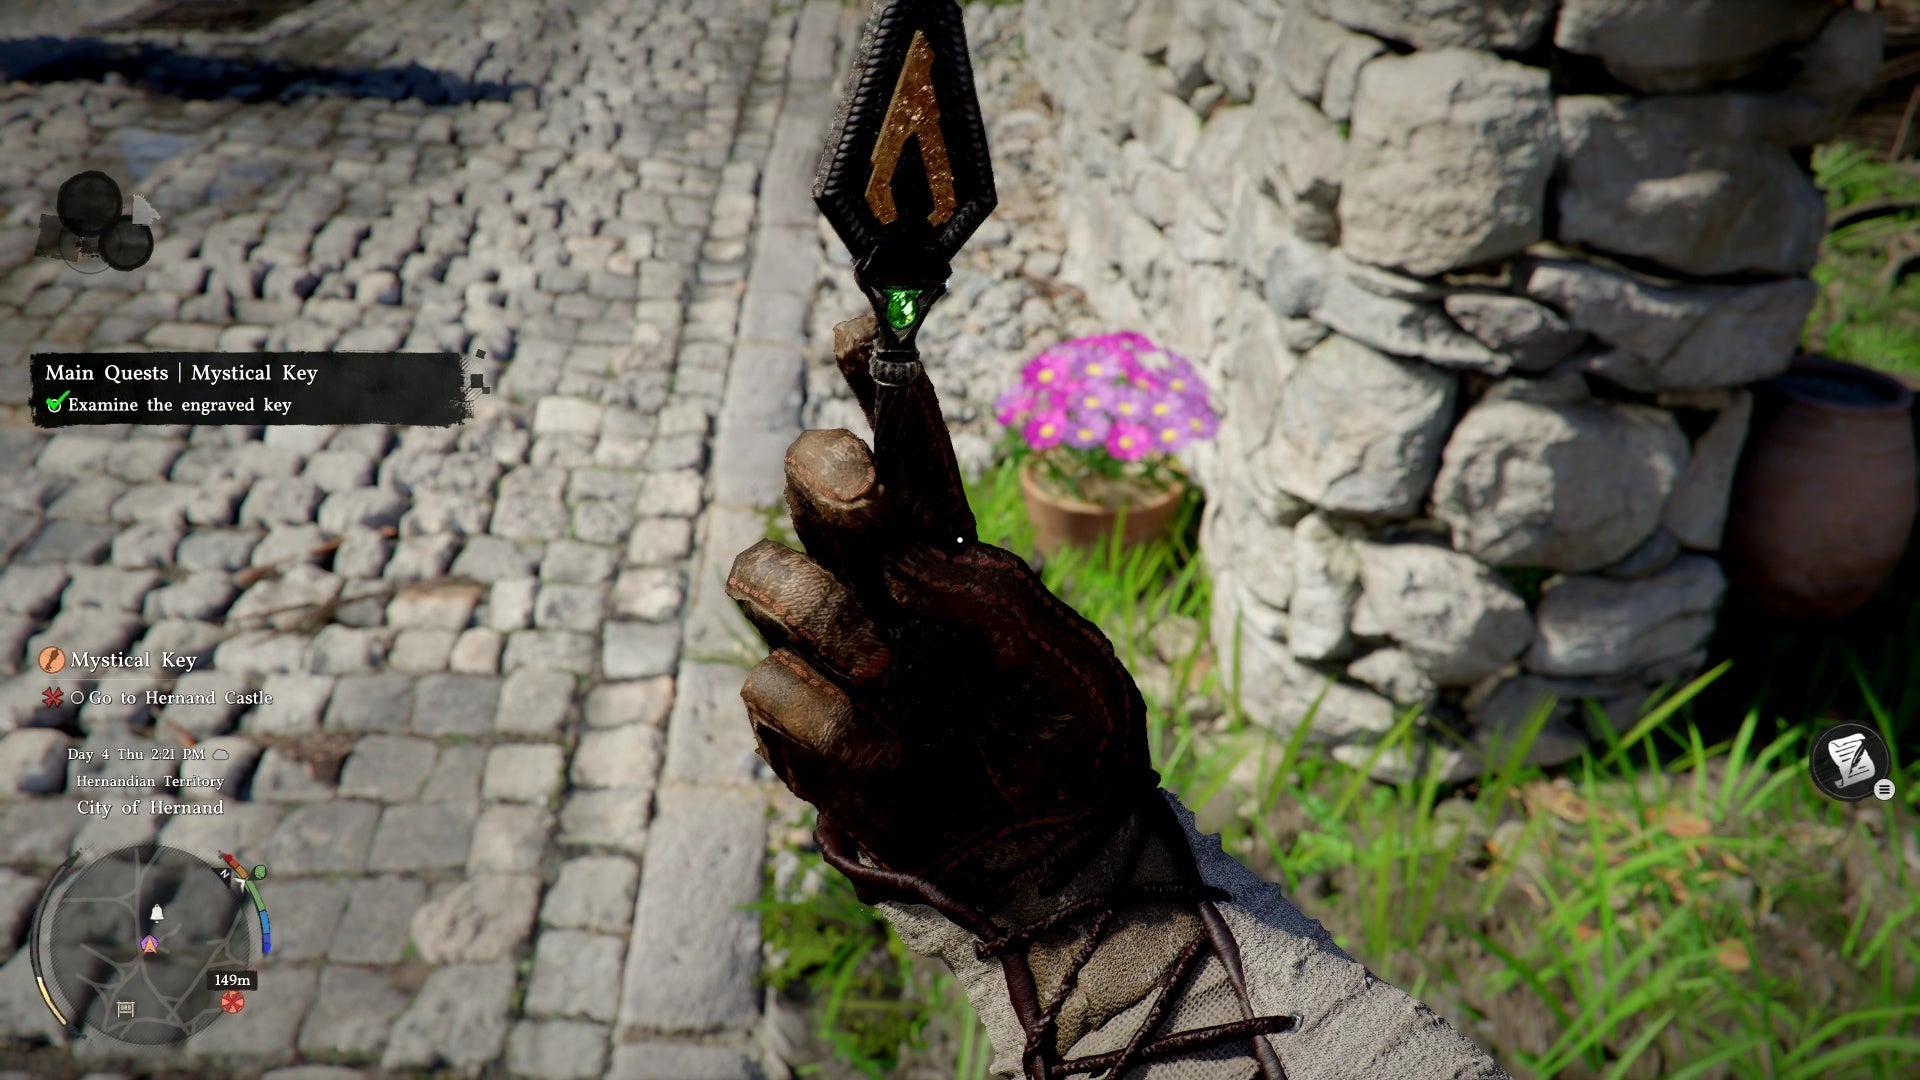
Start by picking up the Engraved Key from the ground after completing Trials of Kindness.
Tip: Before heading to the castle, climb the nearby tower and ring the bell to clear fog from your map and reveal points of interest.
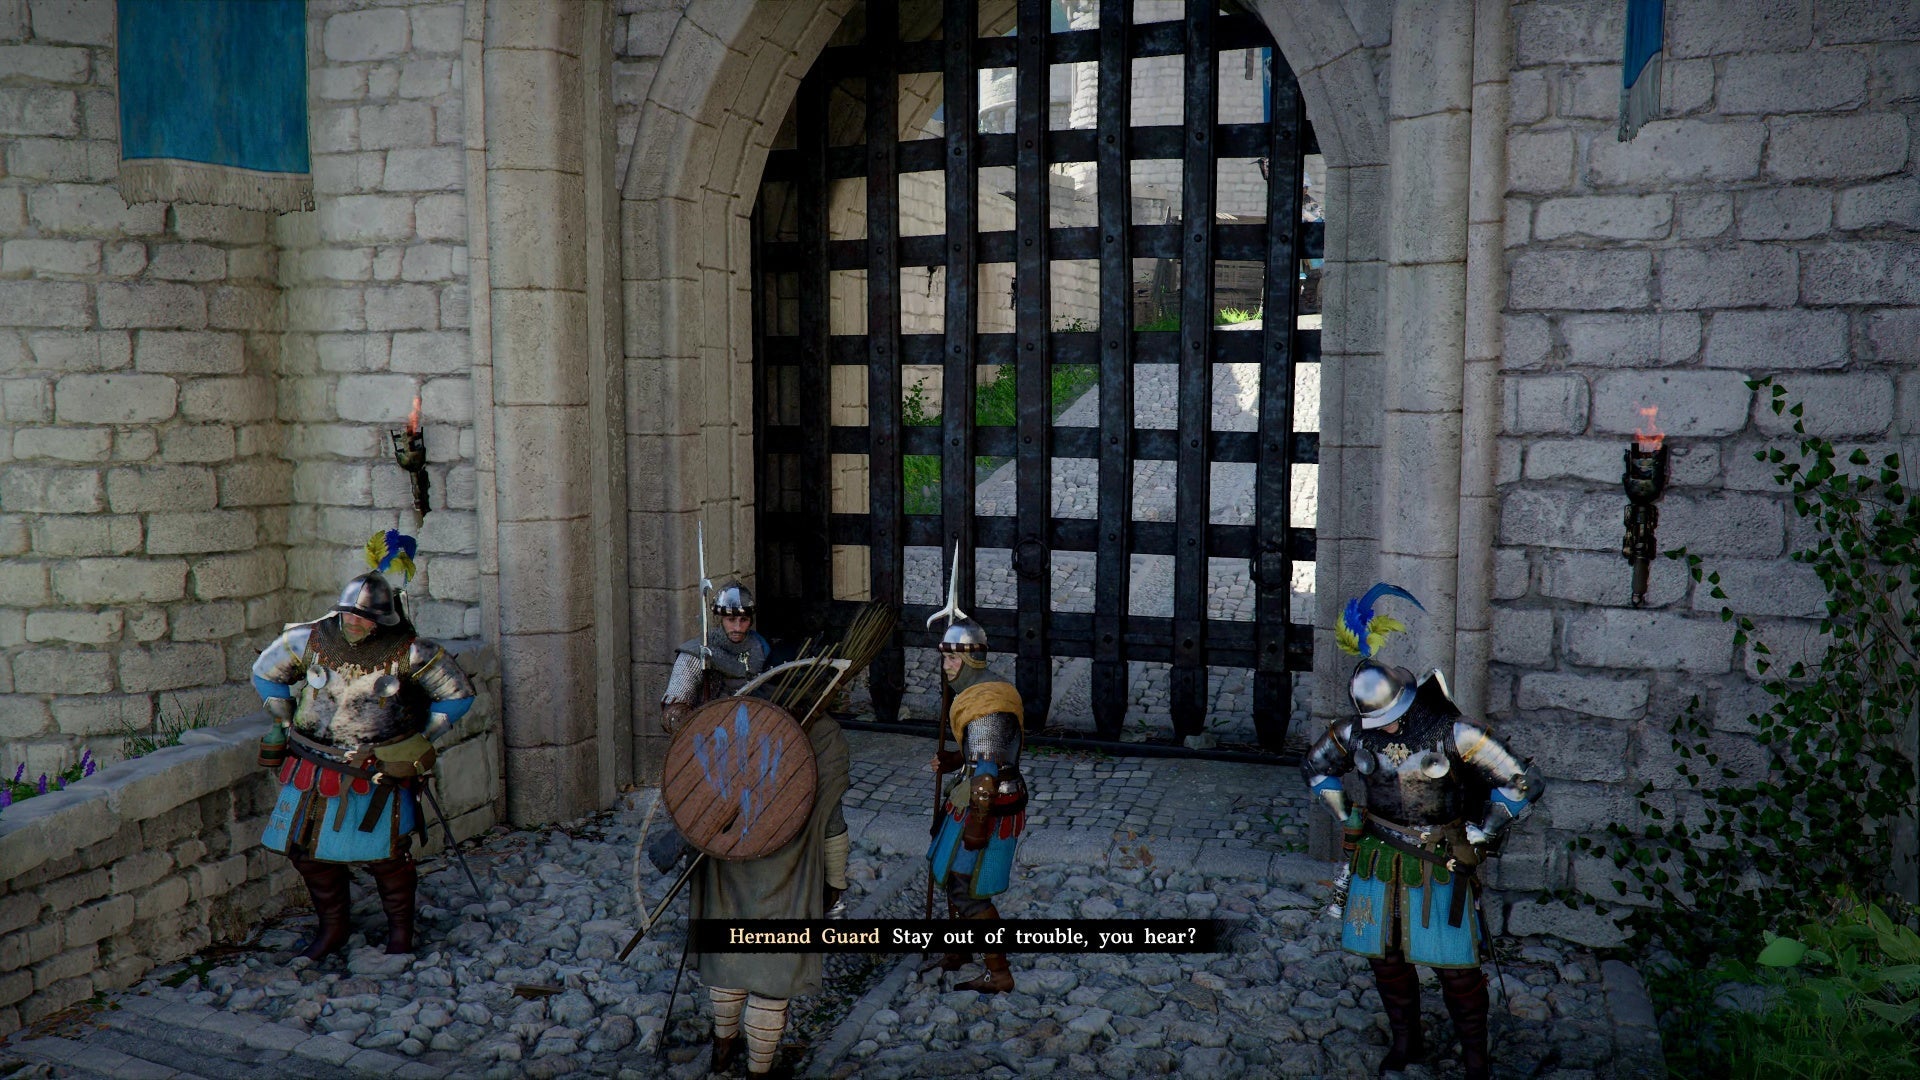
Approach Hernand Castle's gate. You'll be denied entry due to your appearance, but the Hernandian Attire from the previous quest allows you through.
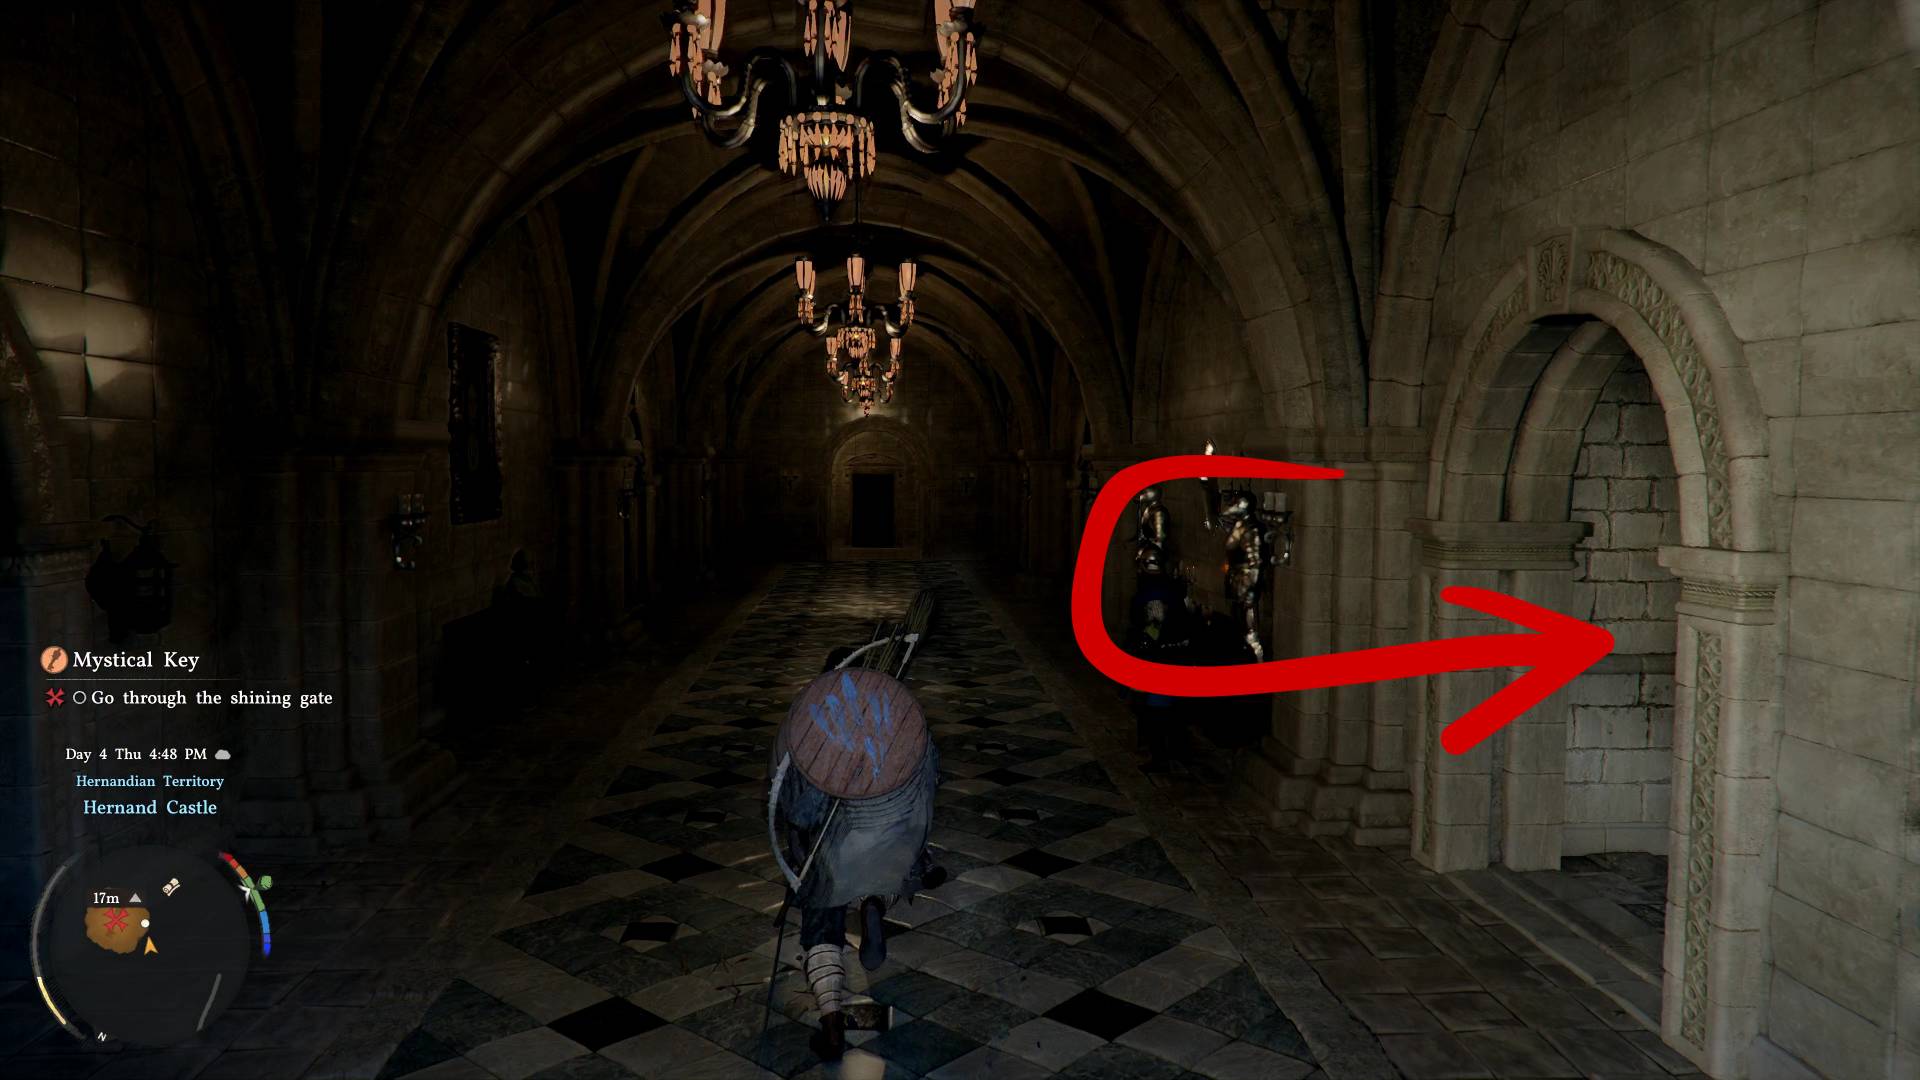
Inside the castle:
- - Pass the Contribution Shop (spend points on armor and items; points are limited but you can sell items back to recover them)
- - Enter the main hall, go upstairs
- - Ignore the second set of stairs, head past the two guards into the hall
- - Find the room with wooden doors and a chandelier; enter the first door on the left
- - Open the glowing treasure chest for the Faded Abyss Artifact
- - Step through the glowing gateway into the Abyss
THE ABYSS & AXIOM FORCE
Inside the Abyss, activate the stone pedestal (Abyss Nexus = fast travel point). A white bird grants you Axiom Force, which is essentially telekinesis. Think Ultrahand from Tears of the Kingdom.
First Puzzle: To the right of the tower, tubes run through the grass with two circular stone plates. Use Axiom Force to rotate them. Grab the outer rim (not center) for easier rotation. Align the blue lines with the tubes to open the tower door.
SKYBRIDGE PUZZLES
After talking to the wizard in the tower, you need to repair a skybridge:
- Walk through the triangular gate
- Use Axiom Force to grab the circular switch on the wall
- Rotate slowly until you find the sweet spot (sound + visual cue confirm alignment)
- Jump across the floating platforms to a grassy area
- Use the pedestal to warp to the next section
- Activate the second Abyss Nexus for fast travel
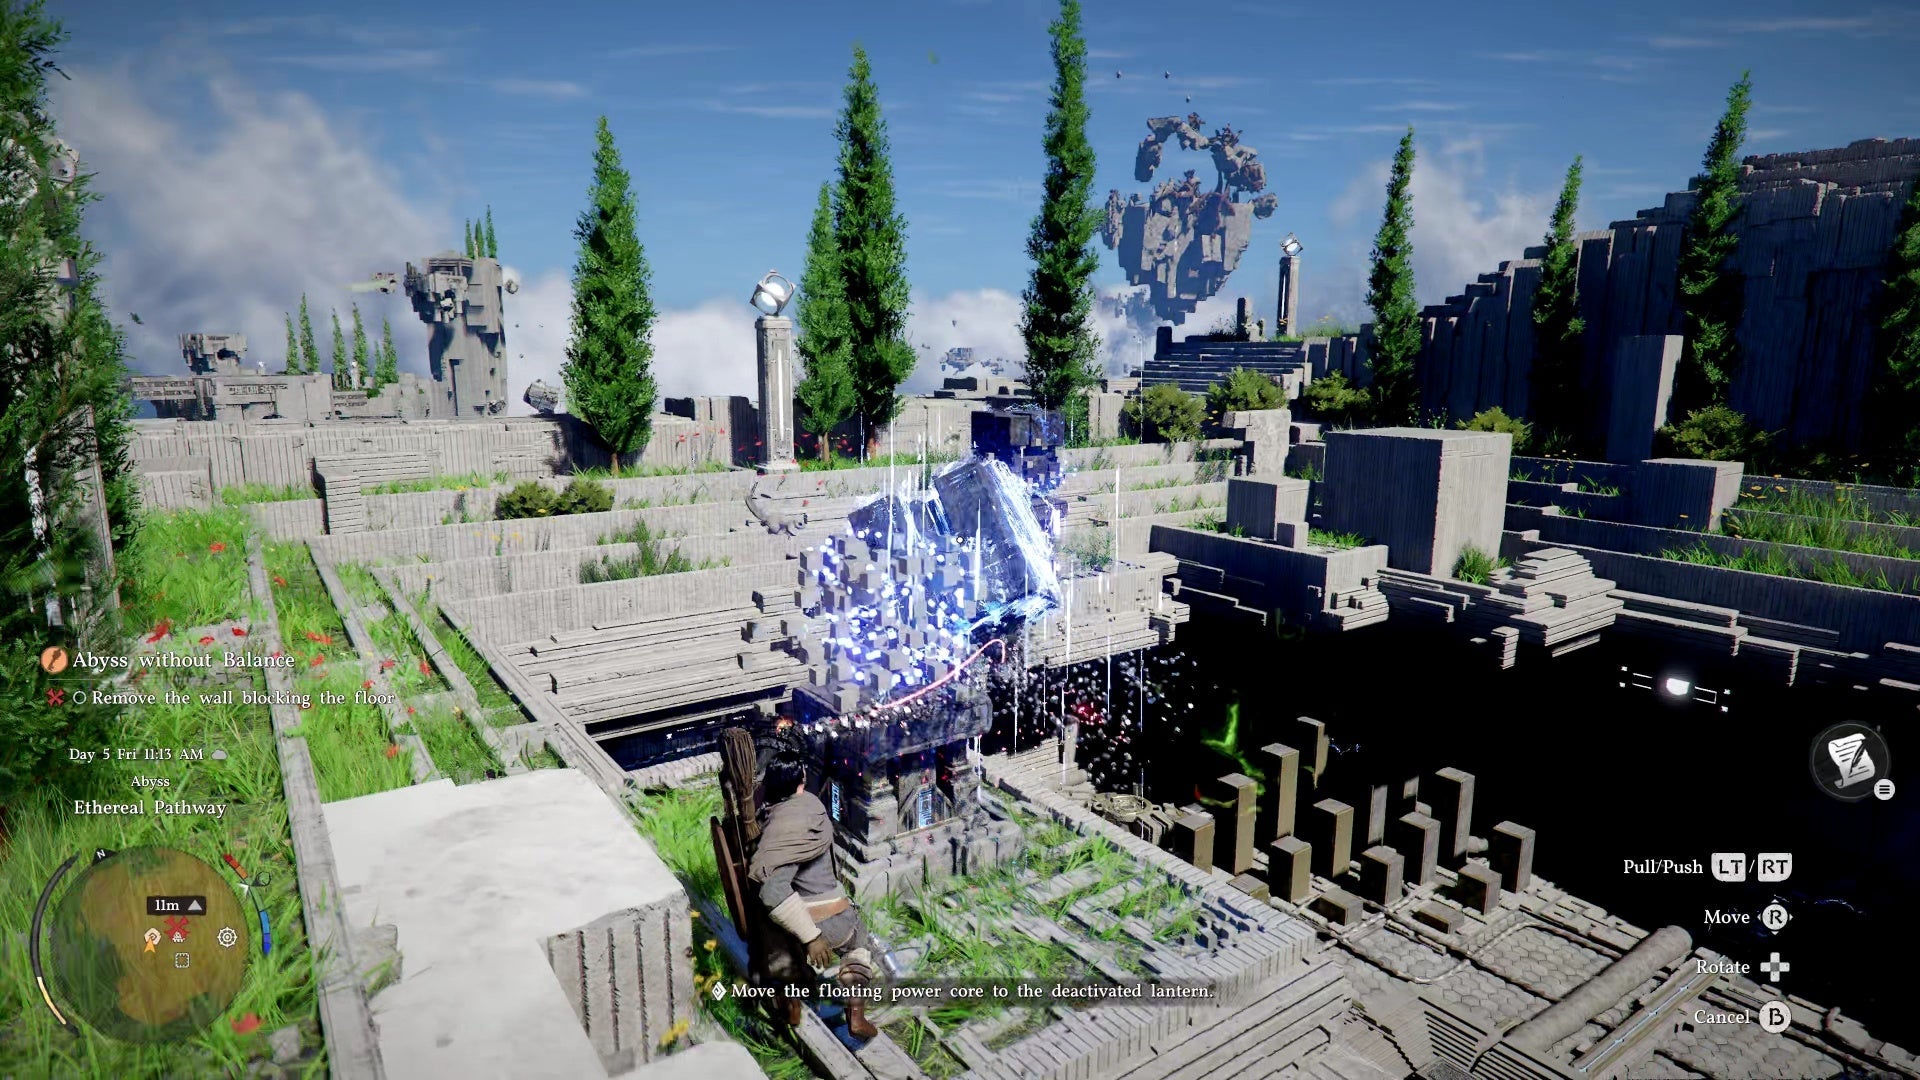
FLOATING POWER CORE PUZZLE
A power core floats above a blocked pit. Use Axiom Force to grab the blue electric cube floating above and drag it onto the stone pedestal on the side. The nearby lantern serves as a reference for correct placement. Once positioned, the floor unblocks.
ABYSS CELL & FORCE PALM

Combine the Abyss Cell:
- Use Axiom Force to grab the floating electric brick
- Carry it to the highlighted spot on the wall
- Observe the hologram to learn Force Palm (concentrated energy blast)
Activate the Power Supply:
- - Climb onto the giant wheel on the wall
- - Use Force Palm while clinging to the wheel to spin it
- - Climb stairs and claim the Abyss Artifact
WHITE CROW & GLIDING
White Crow the Witch appears and grants the Gliding ability. Kliff leaps from the sky island, giving you a perfect test flight. Gliding costs stamina. Upgrades (speed boost, aerial dodge) unlock with more Abyss Artifacts.
WHAT TO DO NEXT
All basic abilities are now unlocked. You can freely explore:
- - Fishing, Horse Taming, Crime mechanics
- - Hernand Commissions and side quests
- - Mine Iron Ore and Copper Ore for upgrades
- - Buy a pickaxe and start scanning cliffs
Return to Hernand to complete this quest and begin Chapter 2: Golden Greed.
NEXT: Unexpected Gift Walkthrough
Traces Walkthrough — Crimson Desert Main Quest Guide
OVERVIEW
This quest takes you into Hernand Castle and introduces your core Abyss abilities: Axiom Force (telekinesis), Force Palm (energy blast), and Gliding. These powers are essential for exploration and combat throughout the game.
ENTERING HERNAND CASTLE
Start by picking up the Engraved Key from the ground after completing the Trials of Kindness quest.
💡 Before heading to the castle, climb the nearby tower and ring the bell — this clears fog from your map and reveals points of interest.
Approach Hernand Castle's gate. You'll be denied entry due to your appearance — but the Hernandian Attire from the previous quest allows you through.
Inside the castle:
- • Pass the Contribution Shop (spend points on armor and items)
- • Contribution points are limited, but you can sell items back to recover them
- • Enter the main hall and follow the stairs up
THE ABYSS NEXUS
In the castle, find the room with a glowing treasure chest containing the Faded Abyss Artifact. Step through the glowing gateway to enter the Abyss.
Once inside, walk forward and activate the stone pedestal — this is an Abyss Nexus, a fast travel point. These are hidden throughout Pywel and very hard to find.
AXIOM FORCE
A white bird grants you Axiom Force — think of it as telekinesis, similar to Ultrahand from Tears of the Kingdom. You can move and rotate objects to solve puzzles.
First Puzzle: To the right of the tower, you'll see tubes running through grass with two stone plates connecting them.
Use Axiom Force to rotate the circular stone plates. Grab the outer rim (not the center) for easier rotation. Align the blue lines with the tubes to open the tower door.
SKYBRIDGE PUZZLES
After talking to the wizard in the tower, you need to fix a skybridge.
Walk through the triangular gate and use Axiom Force to grab the circular switch embedded in the wall. Rotate it slowly — you're looking for a "sweet spot" where the next platform activates. A distinct sound and visual cue confirm correct alignment.
Jump across floating platforms until you reach a grassy area. Climb to the top, then use the pedestal to warp to the next section.
Second Abyss Nexus: Activate it for a fast travel point.
FLOATING POWER CORE PUZZLE

A power core floats above a pit. The floor is blocked — drop down to find a solution below.
Use Axiom Force to grab the blue electric cube floating above. Drag it onto the stone pedestal on the side of the pit. Use the nearby lantern as a reference for correct placement.
Once positioned correctly, the floor unblocks.
ABYSS CELL & FORCE PALM
Combine the Abyss Cell:
- Use Axiom Force to grab the floating electric brick
- Carry it to the highlighted spot on the wall
- Observe the hologram to learn Force Palm (concentrated energy blast for puzzles and combat)
Activate the Power Supply:
- • Climb onto the giant wheel on the wall
- • Use Force Palm while clinging to the wheel to spin it
- • This powers the entire system
Climb the stairs to claim your Abyss Artifact — these are critical upgrades that permanently boost your abilities.
WHITE CROW & GLIDING
A mysterious woman in white, White Crow the Witch, appears and grants you the Gliding ability.
Kliff jumps off the sky island — use this chance to test gliding. It consumes stamina, and you can unlock upgrades like speed boost or aerial dodge with more Abyss Artifacts.
WHAT TO DO NEXT
With all basic abilities unlocked, you can now explore freely:
- • Learn Fishing and Horse Taming
- • Discover Crime mechanics (stealing, pickpocketing)
- • Complete Hernand Commissions
- • Find Watch and Learn skill locations
- • Mine Iron Ore and Copper Ore for upgrades
Return to Hernand to complete this quest and begin Chapter 2: Golden Greed.
NEXT: Unexpected Gift Walkthrough →
Chapter 2: Golden Greed
OVERVIEW
Chapter 2 expands the scope significantly. Kliff returns from the Abyss, tackles bandit outposts, uncovers the corruption behind the Goldleaf Merchant Guild, and faces two major boss fights. This chapter also introduces many open-world systems: cooking, crafting, the Visione helmet, Memory Fragments, and the crime system.
CHAPTER 2 QUEST STRUCTURE
Unexpected Gift
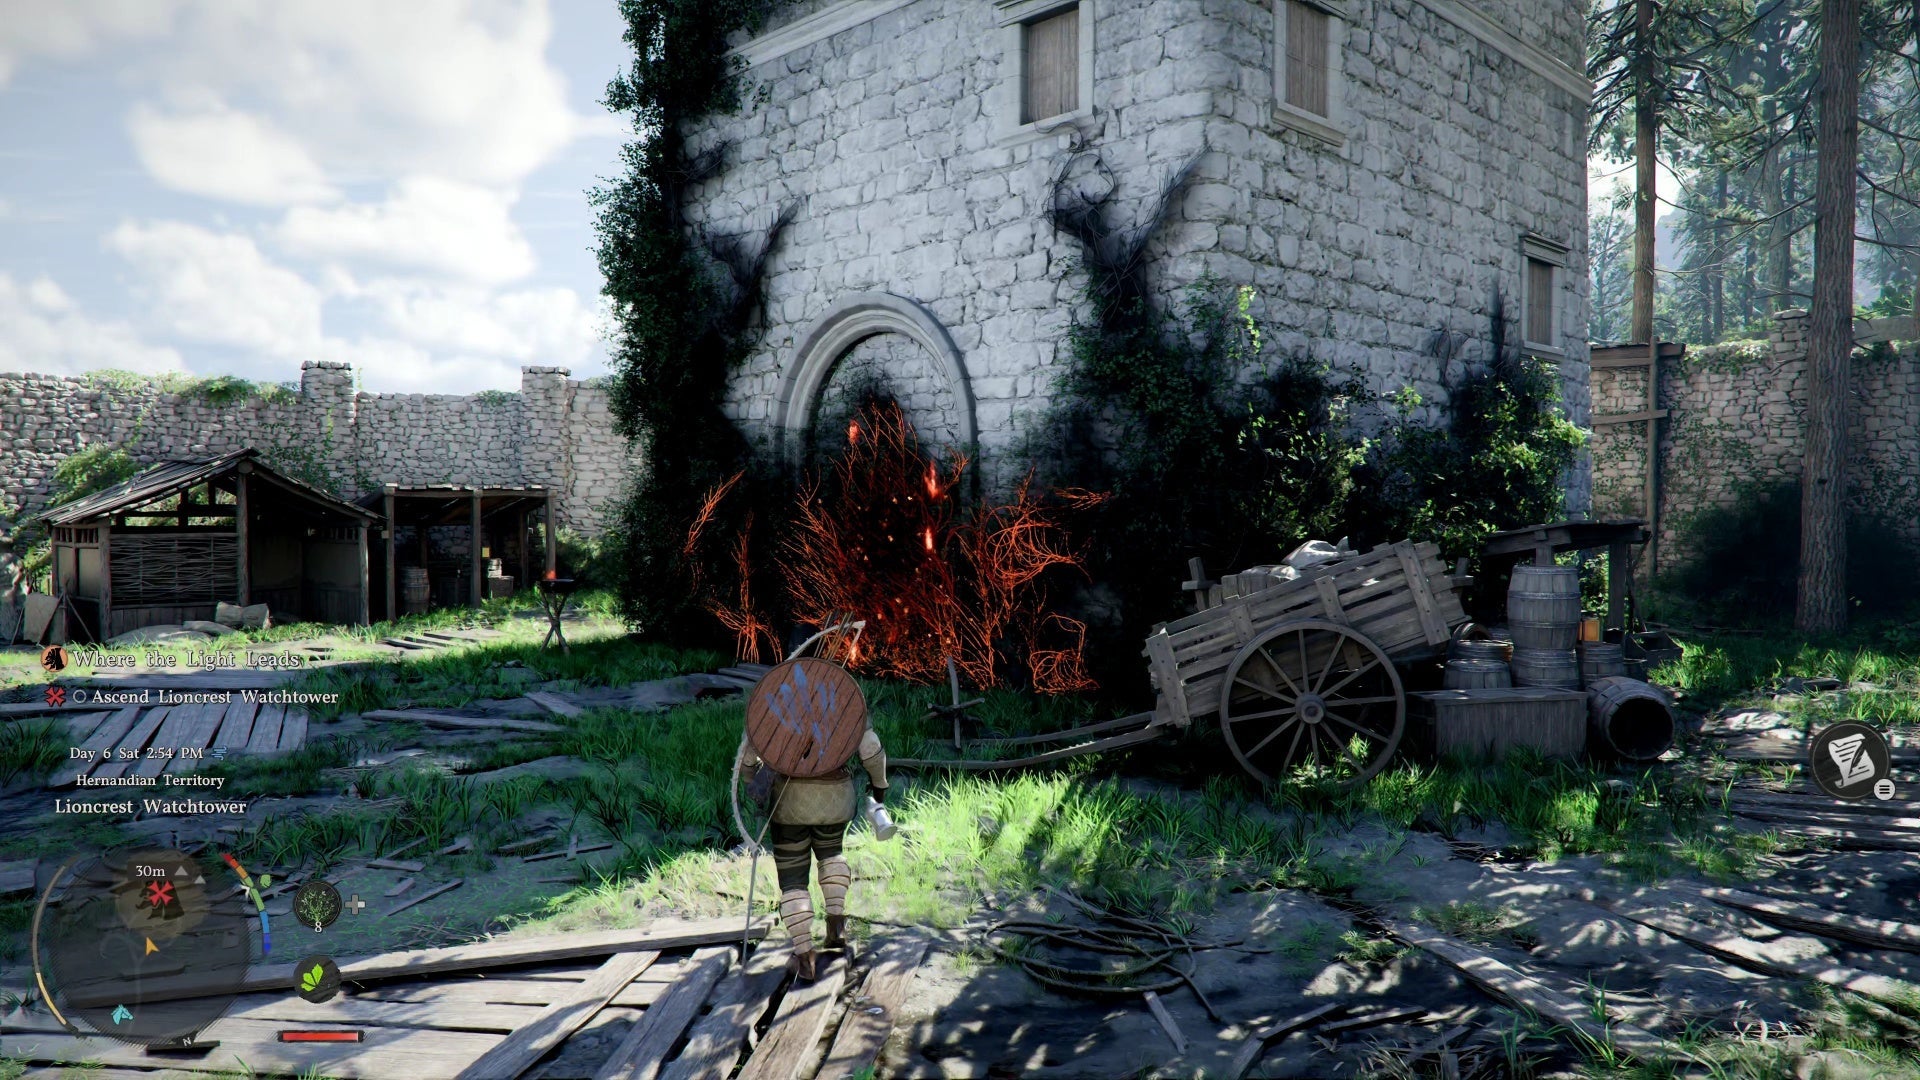
├── Where the Light Leads (Lioncrest Watchtower liberation)
├── Memory Fragment (Visione helmet)
└── Reunion (Rulupee, Nature's Grasp & Focus abilities)
Hernand in Chaos
├── For Honor (Boss: Matthias — first real boss fight)
├── Awestruck (meeting Barden Middler)
├── Shadow Cast Over the River (Springtide Mill liberation)
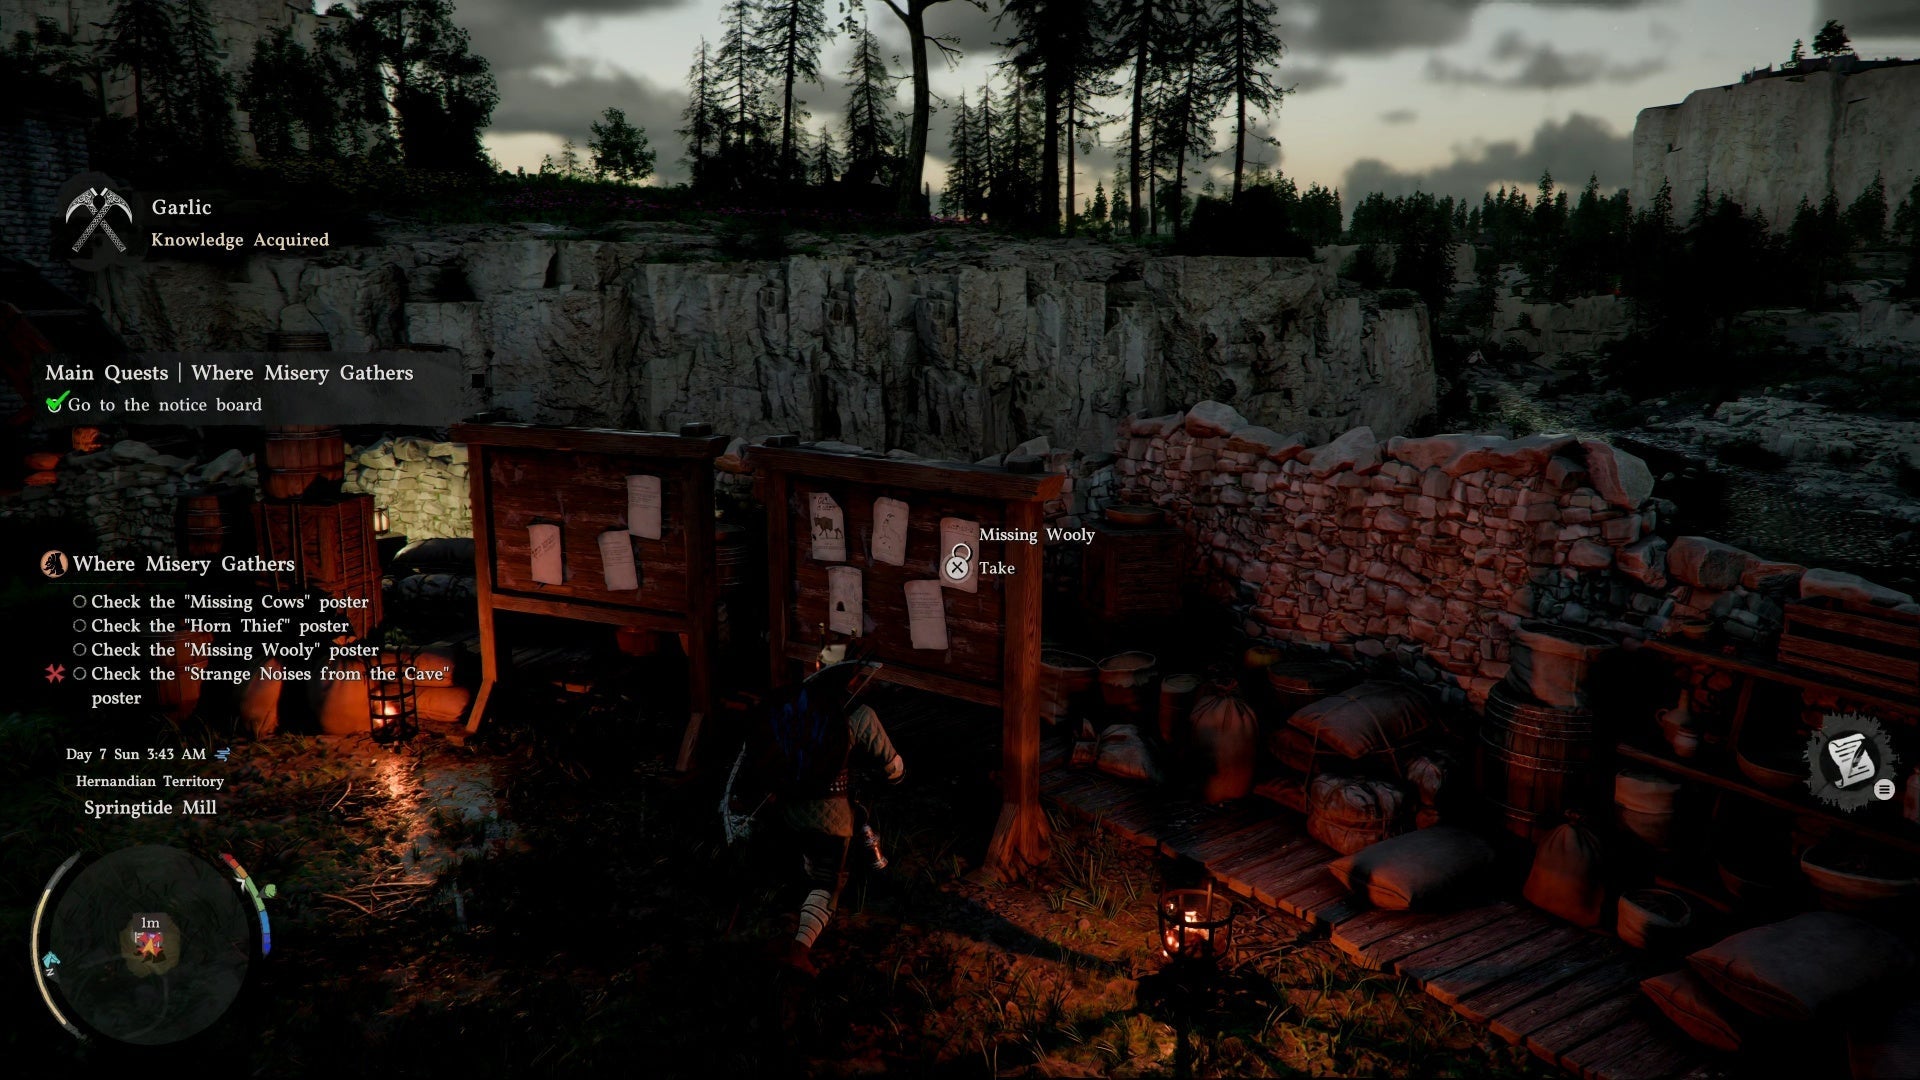
└── Where Misery Gathers (4 sub-quests, any order):
├── Trial After Trial (cattle theft, Memory Fragments)
├── The Man Trapped in the Mire (Grimrak's shop, masks & keys)
├── Missing Companion (Bloomwood Ranch, Wooly the sheep)
└── Secrets Hidden in the Dark (Boris, cave investigation)
The End of Greed
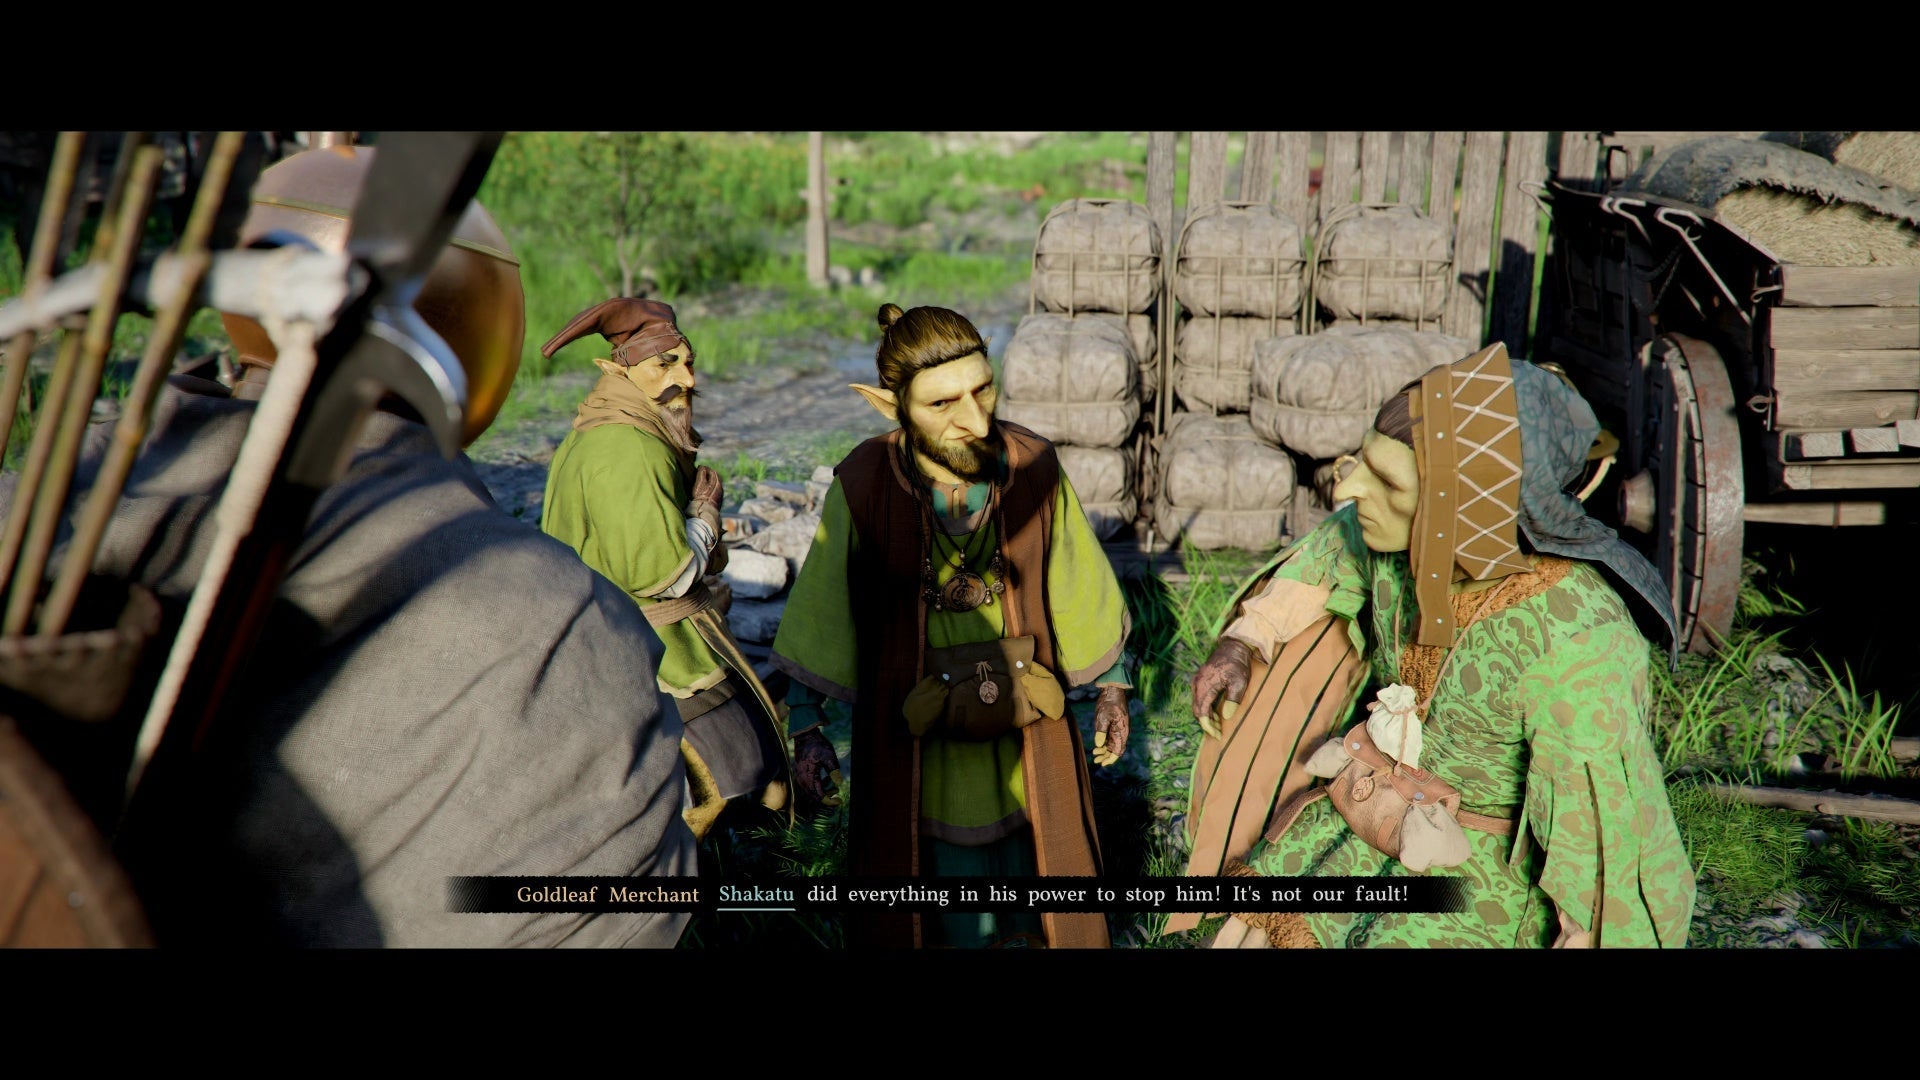
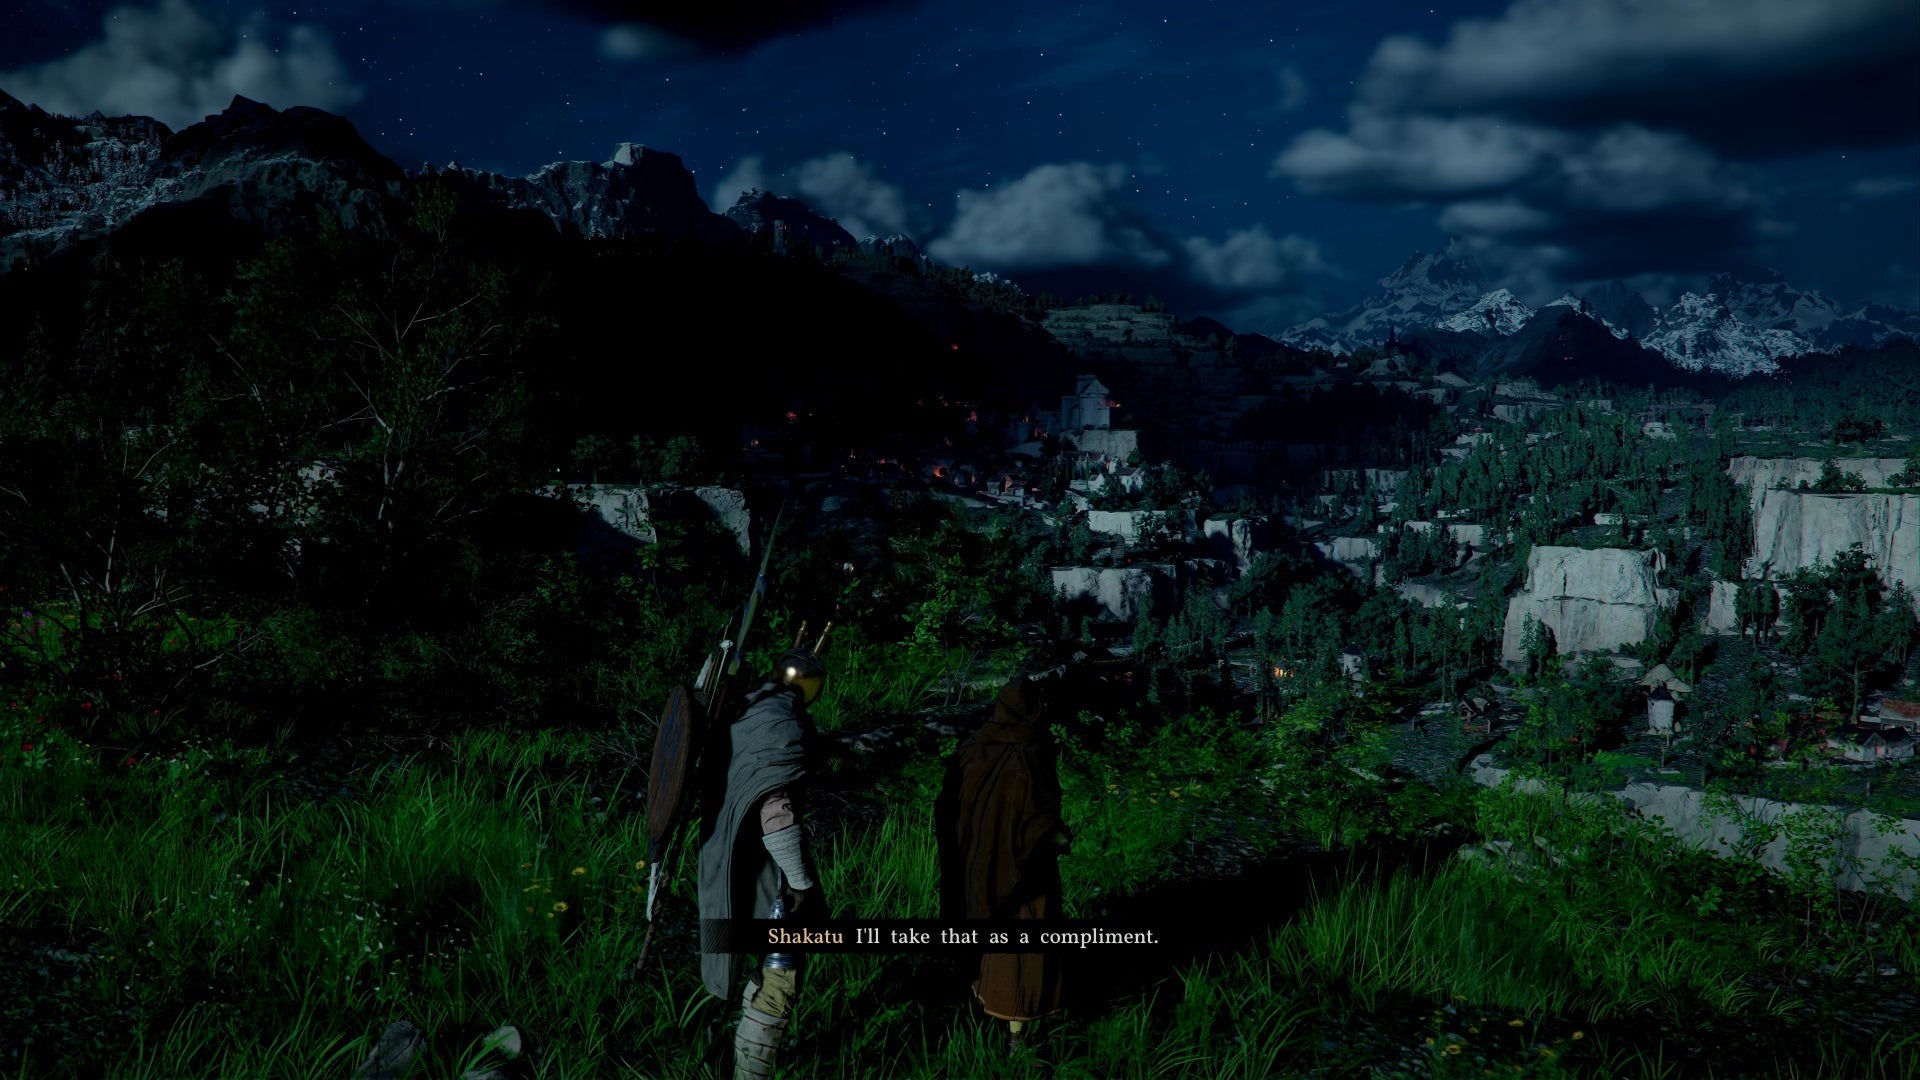
├── The Dark Veil (Goldleaf Tradepost, Shakatu)
├── The Flames of Greed (burning house rescue)
├── Kidnapped Healer (Hubert rescue, Peonies for Palmar Pills)
├── Rebellion or Revolution (Shakatu's soldiers)
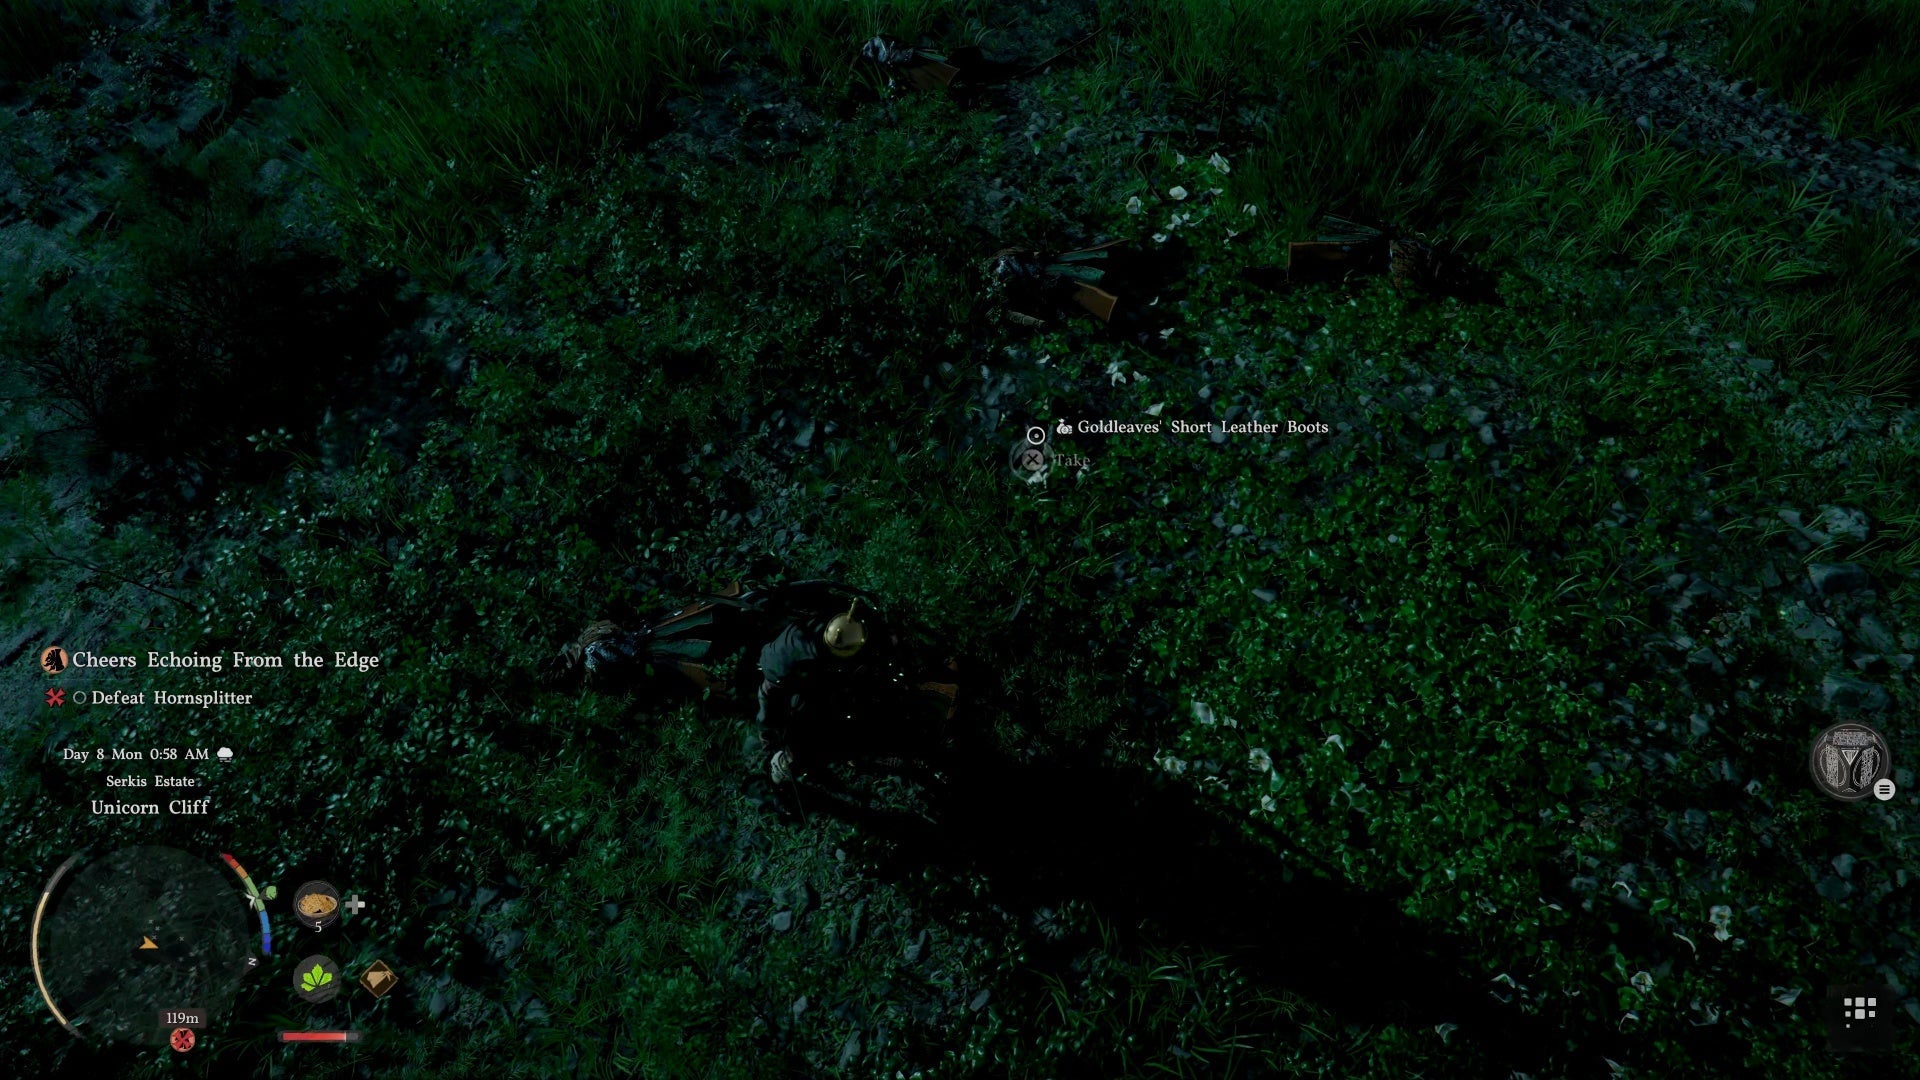
└── Cheers Echoing from the Edge (Boss: Kailok the Hornsplitter)
KEY UNLOCKS IN THIS CHAPTER
- - Pump Kick — guard-breaking charged kick (learned from Matthias)
- - Nature's Grasp — lift heavy objects
- - Focus — regenerate Spirit without items
- - Evasive Roll — dodge after being hit (learned from Kailok)
- - Visione Helmet — view Memory Fragments
- - Crime System — masks, stealing, bounties
REWARD: Seal of Greed (better prices with Goldleaf merchants)
NEXT: Chapter 3 — Howling Hill
Unexpected Gift Walkthrough
OVERVIEW
Kliff returns from his first Abyss excursion to tackle a bandit outpost and discover two powerful new abilities. This quest also introduces the Visione helmet and Memory Fragments system.
LIONCREST WATCHTOWER
Before heading out, check Kliff's skill tree — respec is cheap (Faded Abyss Fragments), so experiment freely.
Tip: Prioritize Stamina upgrades. Most traversal abilities require 200 minimum.
The watchtower is west of Hernand, occupied by bandits. Prepare by stocking healing items from the Hernand Inn or hunting deer in the nearby woods.
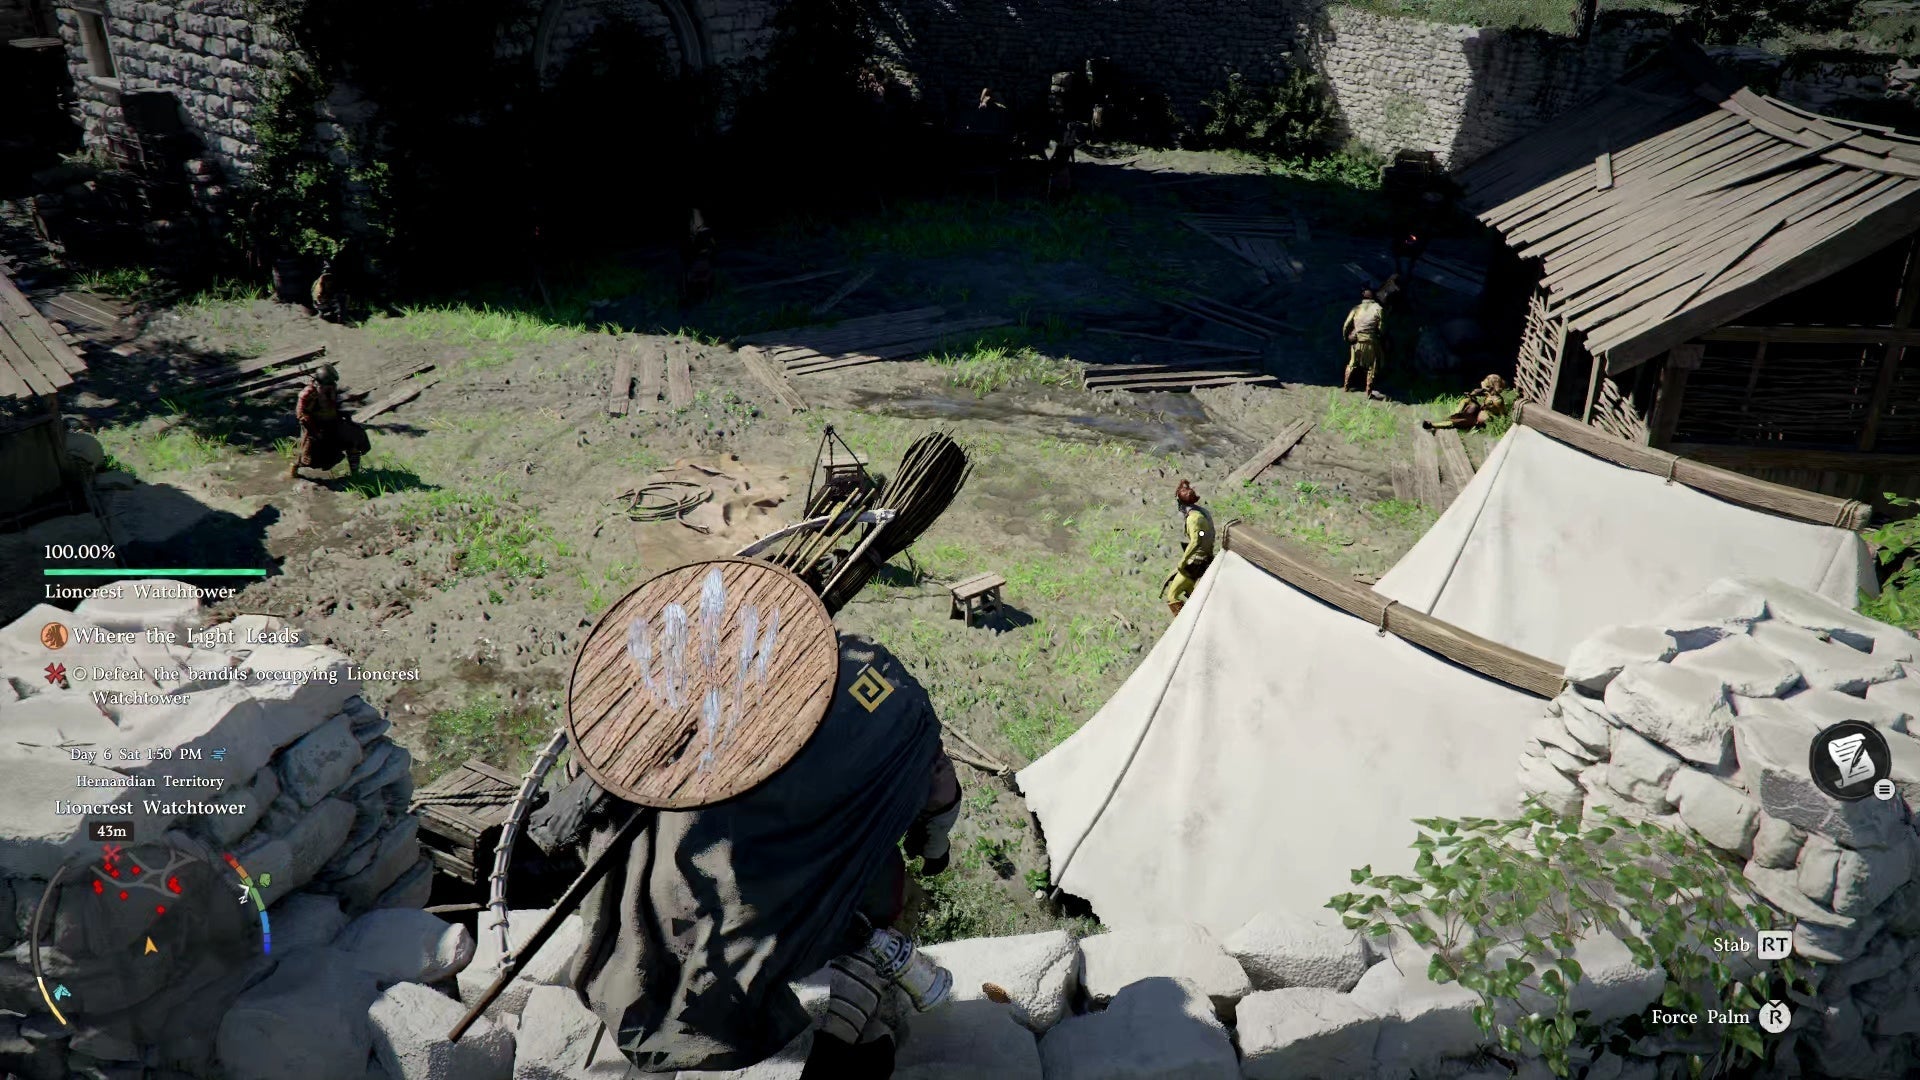
Liberating the outpost:
- - A percentage meter appears above the minimap
- - Kill bandits to drop it to zero; survivors flee when morale breaks
- - Stealth isn't viable here due to sheer numbers
- - Use the front entrance as a chokepoint to avoid getting swarmed
- - You can retreat and return later if overwhelmed
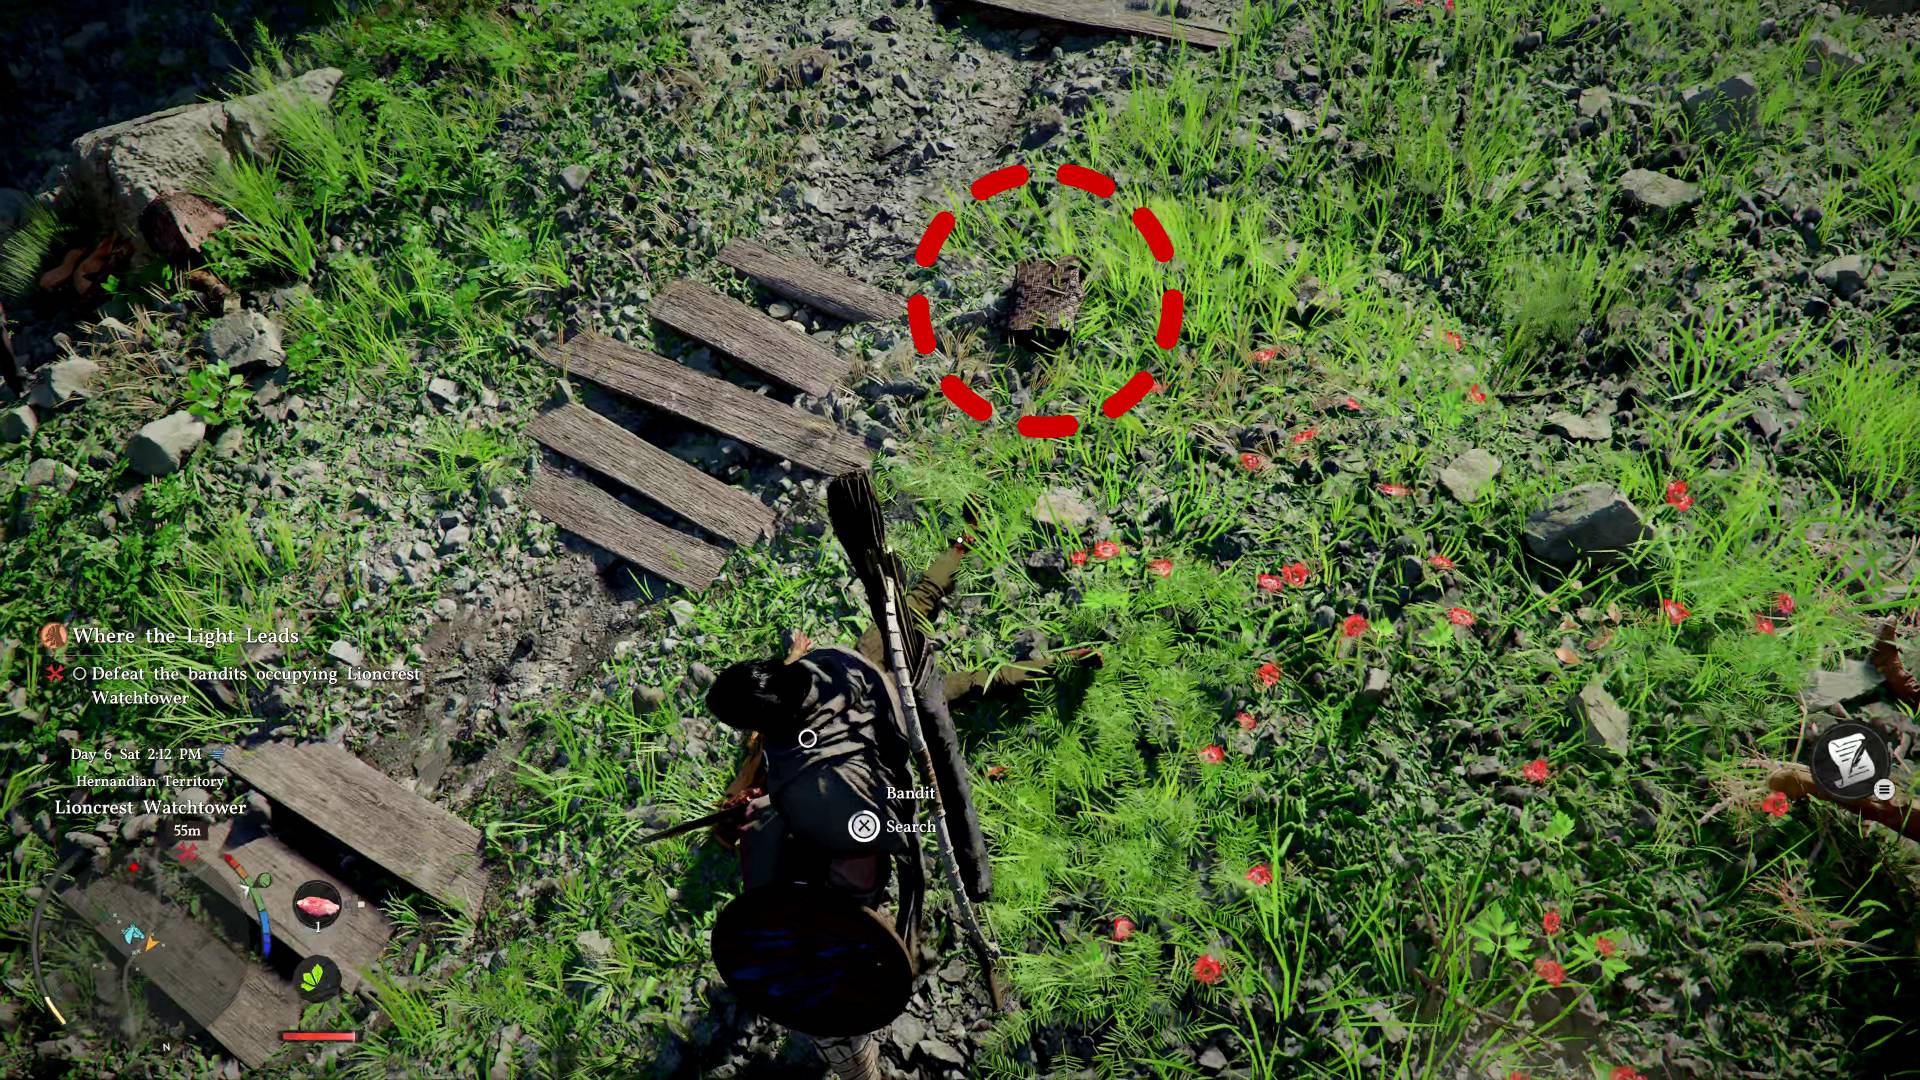
Loot the fallen bandits — Bandit Cloth Armor is worth a few Silver at shops.
To enter the tower, burn away the vines blocking the entrance. Options:
- - Hold an arrow over the nearby brazier, then shoot a fire arrow at the vines
- - Use Concentrating Light with your sword
THE VISIONE HELMET
Inside the tower's upper floor, pick up the golden helmet — the Visione. This lets you see Memory Fragments, echoes of past events scattered across Pywel.
To use it:
- Use your lantern to illuminate faded holograms
- Open the radial wheel and find the Visione in the armor tab
- Select and play the Memory Fragment
Memory Fragments appear everywhere in the world, not just during quests. Keep the Visione handy.
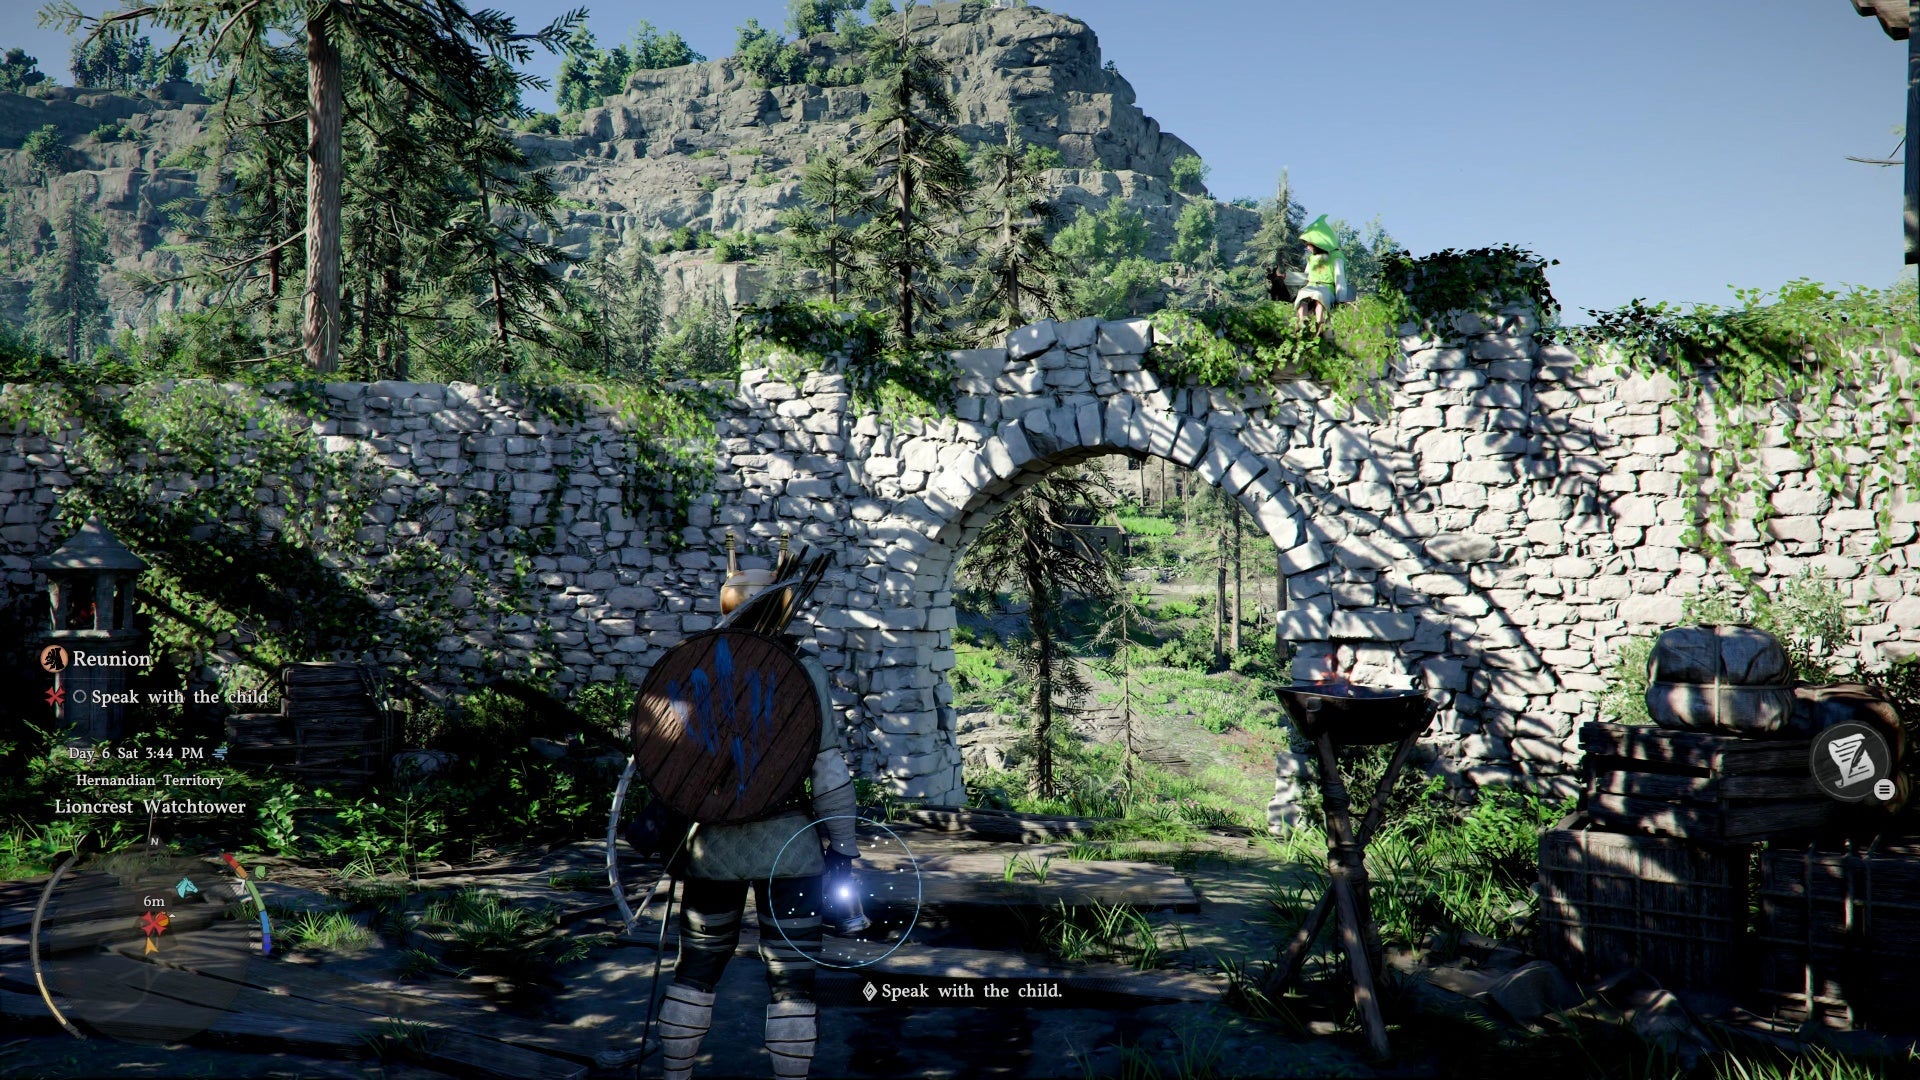
REUNION WITH RULUPEE
Head back to the courtyard to find Rulupee (the child from the cat quest in Hernand). Follow her cat up the hillside to a flowery field overlooking the city, then into stone ruins nearby.
New abilities unlocked:
- - Nature's Grasp — lift extremely heavy objects (watch the hologram demonstration, then lift the stone wall)
- - Focus — regenerate Spirit without items (vulnerable during use, best for exploration)
STONE PAD PUZZLE
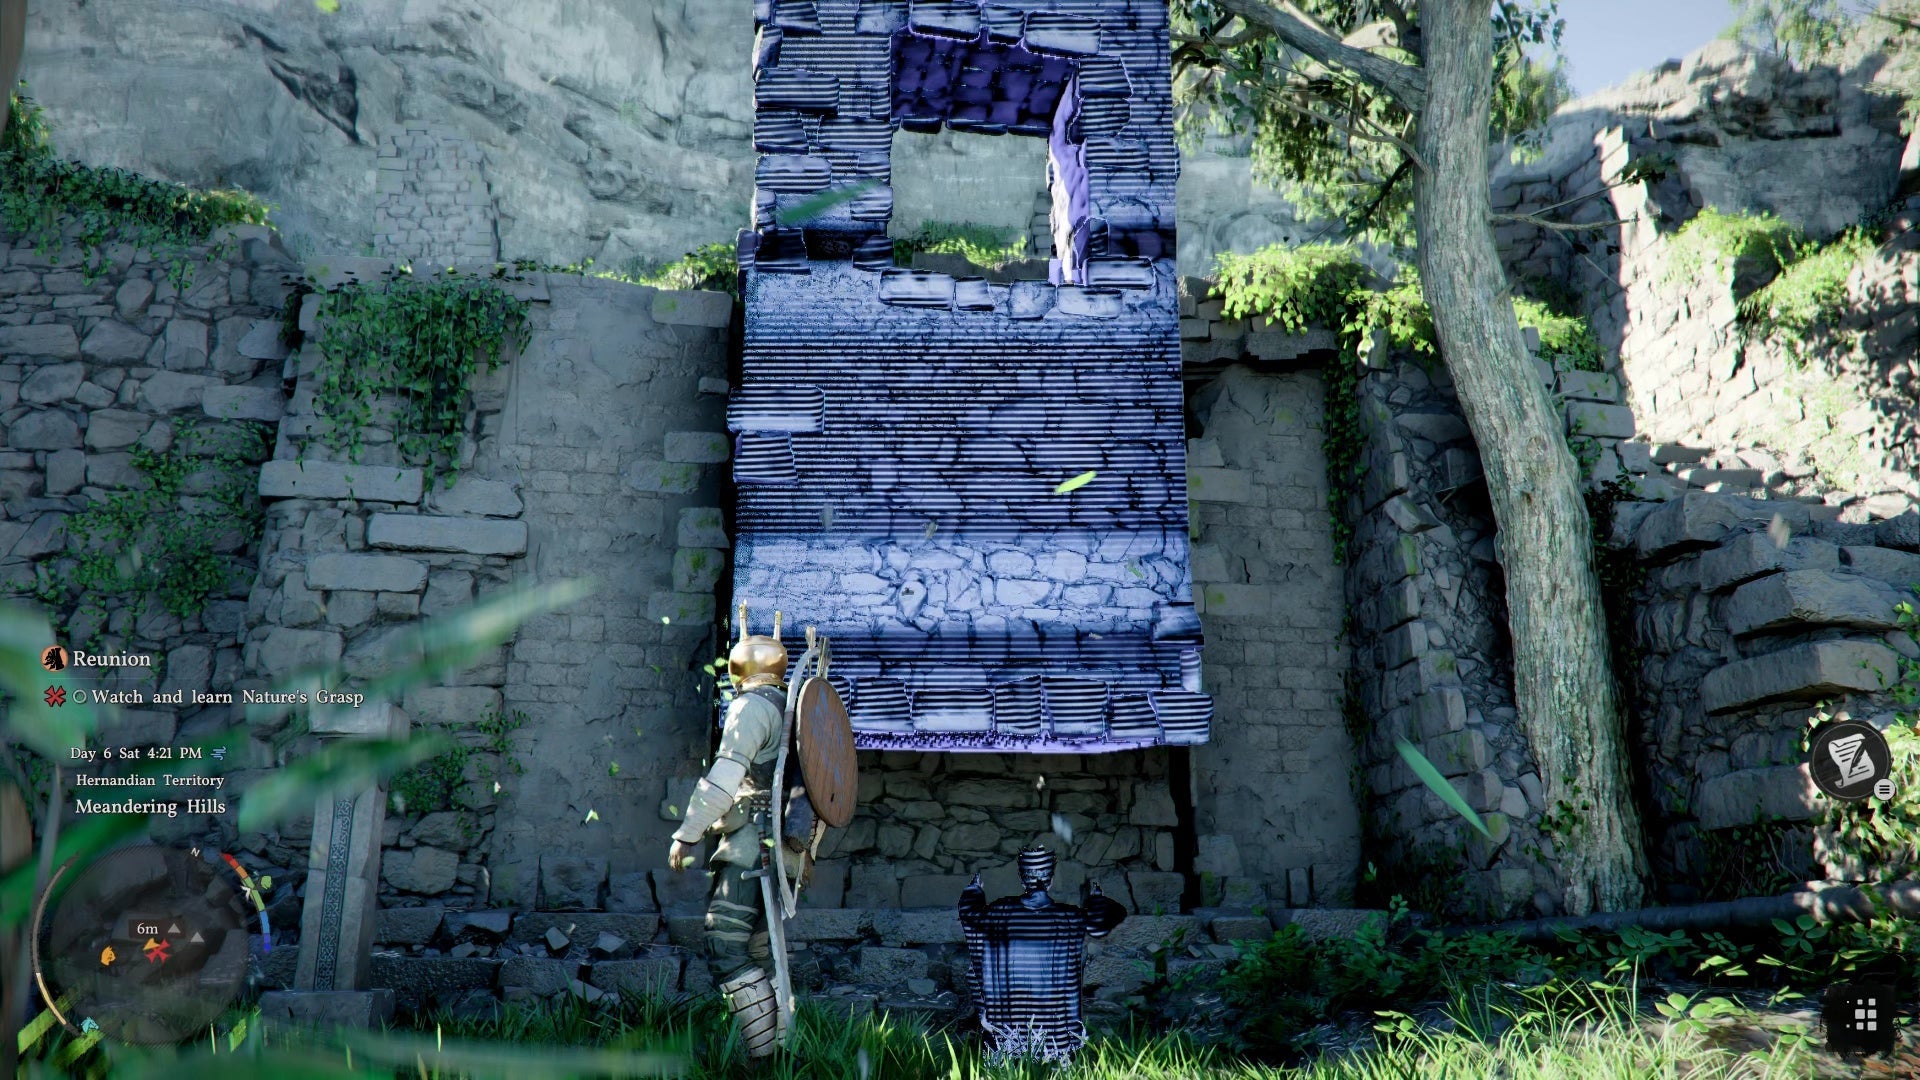
Behind the wall are three stone pads. Use Force Palm (not Axiom Force) to punch them. Hitting one shifts the others, so keep striking until all three connect and the blue power line runs from one side to the other. Use Focus to regenerate Spirit if needed.
Reward: Abyss Cresset from the pedestal outside. These are found throughout Pywel via environmental puzzles, and each one yields an Abyss Artifact.
Approach Rulupee at the cliff to complete the quest. Reward: Palmar Pill.
Return to Hernand to begin Hernand in Chaos.
NEXT: Hernand in Chaos Walkthrough
Hernand in Chaos Walkthrough
OVERVIEW
The longest quest so far. Hernand opens up with multiple sub-quests tackled in any order. You'll face your first real boss (Matthias), liberate an outpost, and help various townsfolk across the region. This guide covers every objective efficiently.
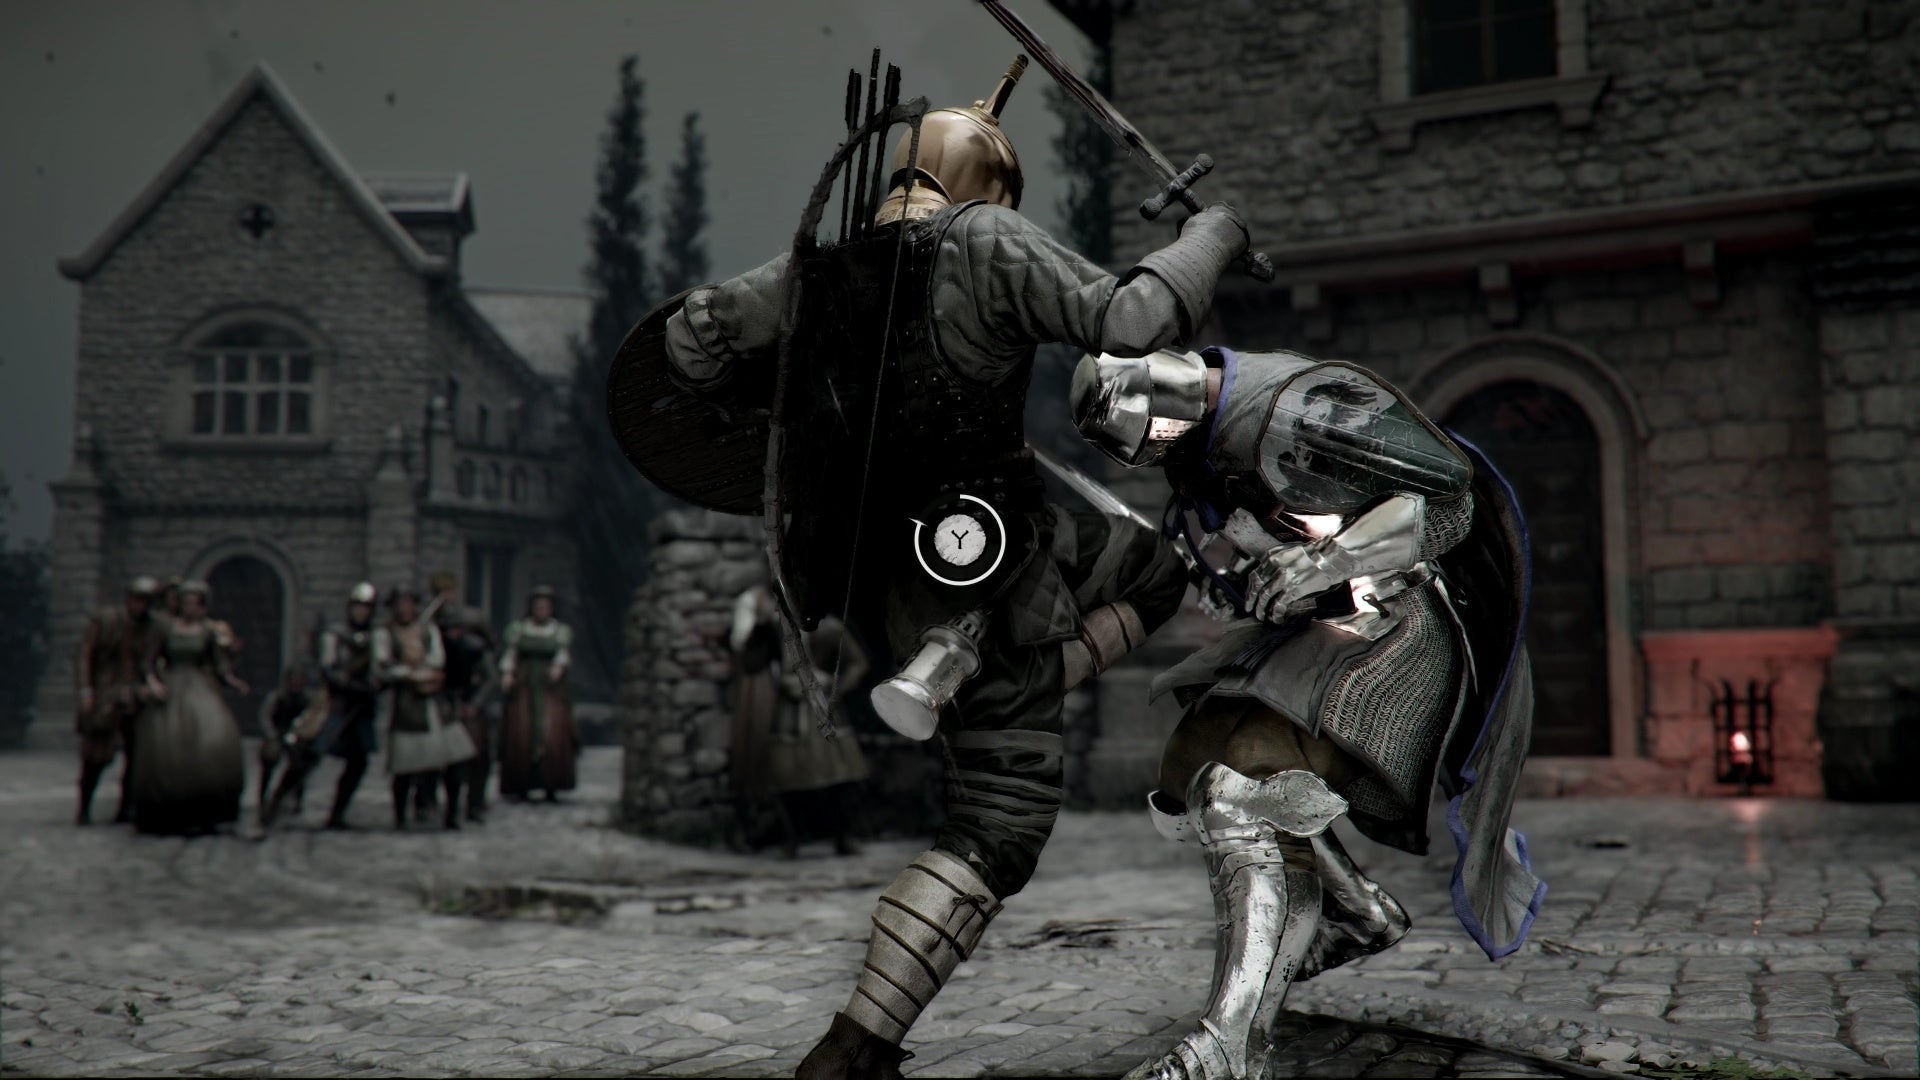
FOR HONOR — BOSS BATTLE: MATTHIAS
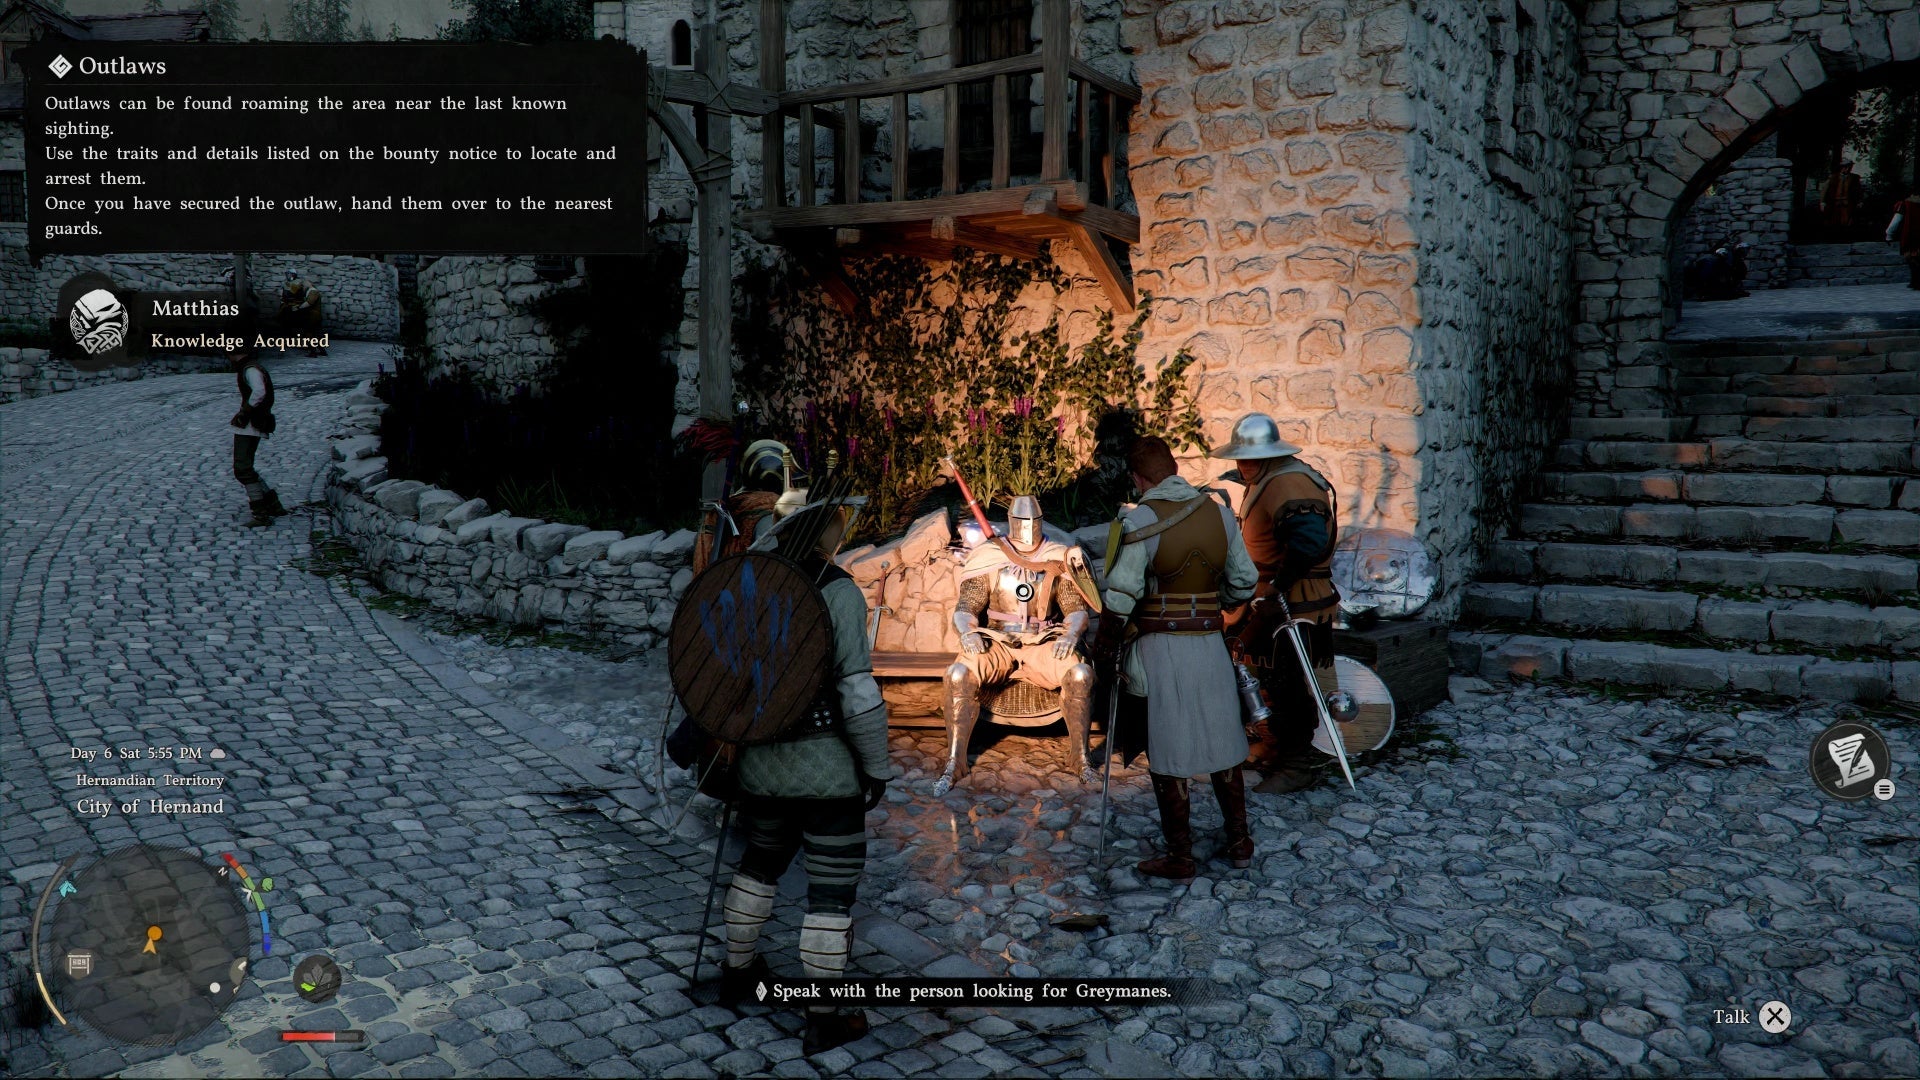
Stock up on healing items before approaching the knight in Hernand's town square. He challenges Kliff to a duel.
Matthias Strategy:
- - Two-phase fight with a QTE transition between phases
- - Armed with a massive greatsword plus unarmed kicks
- - Regular sword slashes CAN be blocked; kicks and red-glowing attacks CANNOT
- - Observe his opening kick to learn Pump Kick — a charged two-footed kick that breaks guard
- - Play defensively: block, retaliate, dodge unblockable attacks (red glow = dodge now)
- - Use Pump Kick to create openings, then punish with heavy attacks
- - Phase 2 follows the same patterns — stay calm and repeat
Tips:
- - Palmar Pills refund if you fully wipe, so use them freely
- - Invest early Abyss Artifacts in damage or health upgrades
AWESTRUCK — MEETING BARDEN MIDDLER
After defeating Matthias, speak to the armored man nearby. Barden Middler, marshal of Hernand, asks you to clear bandits from Springtide Mill.
IMPORTANT STOPS BEFORE LEAVING TOWN
Smithy (near Matthias fight): Buy/reinforce weapons and armor
Renee the Butcher (south): Buy meat, use her cooking pot
Tip: Greet each vendor when you visit — builds Trust, eventually expanding their inventory for your future Greymane Camp.
Optional — Renee's Request: She asks you to make 3 Fish Porridge (exact recipe, no variants like "Filling" or "Modest"). Rewards inventory expansion.
LIBERATING SPRINGTIDE MILL

Ride south to find a dozen+ Bleed Bandits occupying the mill.
Strategy:
- - Don't charge in — engage small groups at a time
- - Sneak-assassinate or arrow-snipe one to start with advantage
- - Use Pump Kick near cliffs for easy environmental kills
- - Once liberated, check the notice board for 4 sub-quests (any order):
- Trial After Trial
- The Man Trapped in the Mire
- Missing Companion
- Secrets Hidden in the Dark
Tip: Use Abyss Nexus fast travel + gliding for quick transportation.
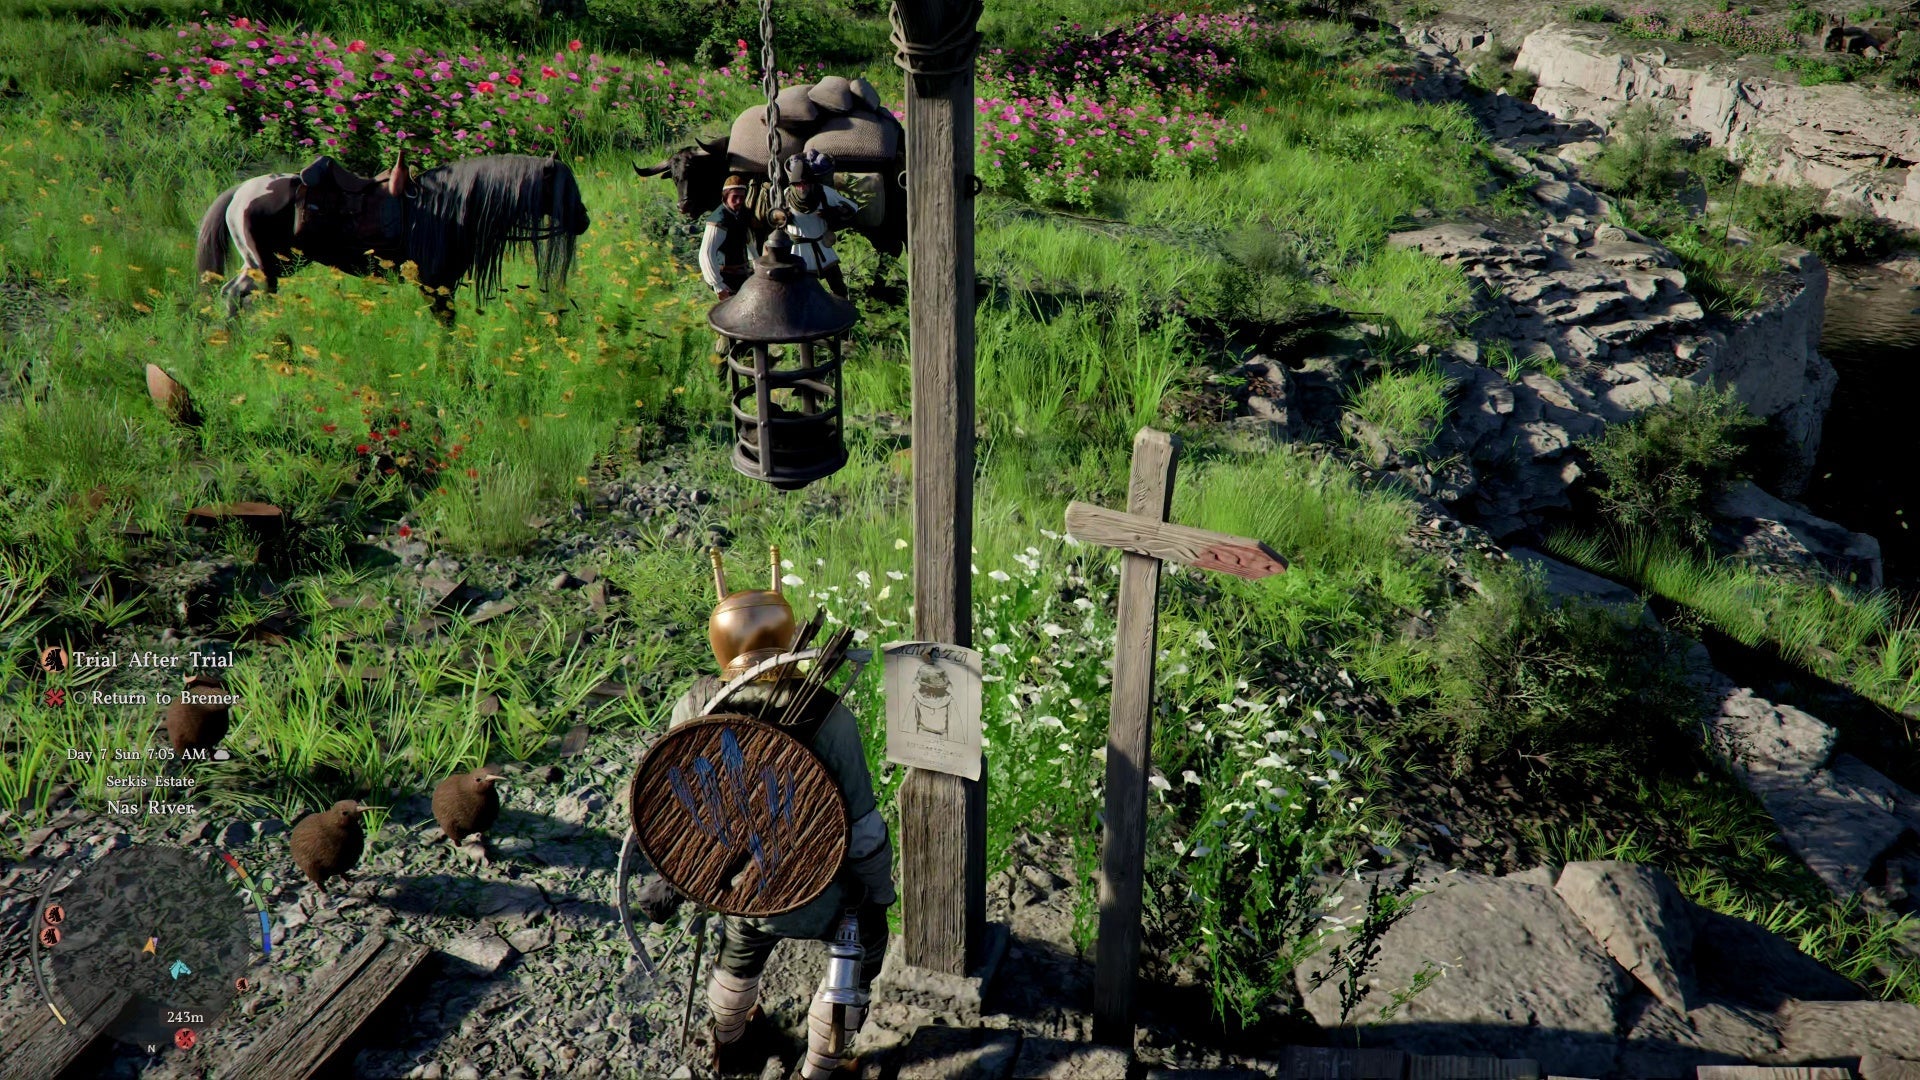
TRIAL AFTER TRIAL
A cattle theft at a farm south of Hernand. Talk to Bremer, then ride to the gossiping herbalists who know where to find the stolen cows.
At the fork across the bridge: Collect a Sealed Abyss Artifact (purple dice icon on minimap). These reward skill points for completing gameplay challenges.
Clear the bandit camp (small groups, spread out). Then:
- - Loot bandits for valuables
- - Skin dead cows for meat, bones, and hide
- - Use lantern on the campfire to reveal a Memory Fragment (use Visione to play it)
- - Sharpen weapons at the Grindstone (temporary damage boost)
- - Check boxes near Grindstone for a Palmar Pill
Return to Bremer. Reward: 5 Thin Hides + Hernandian Contribution.
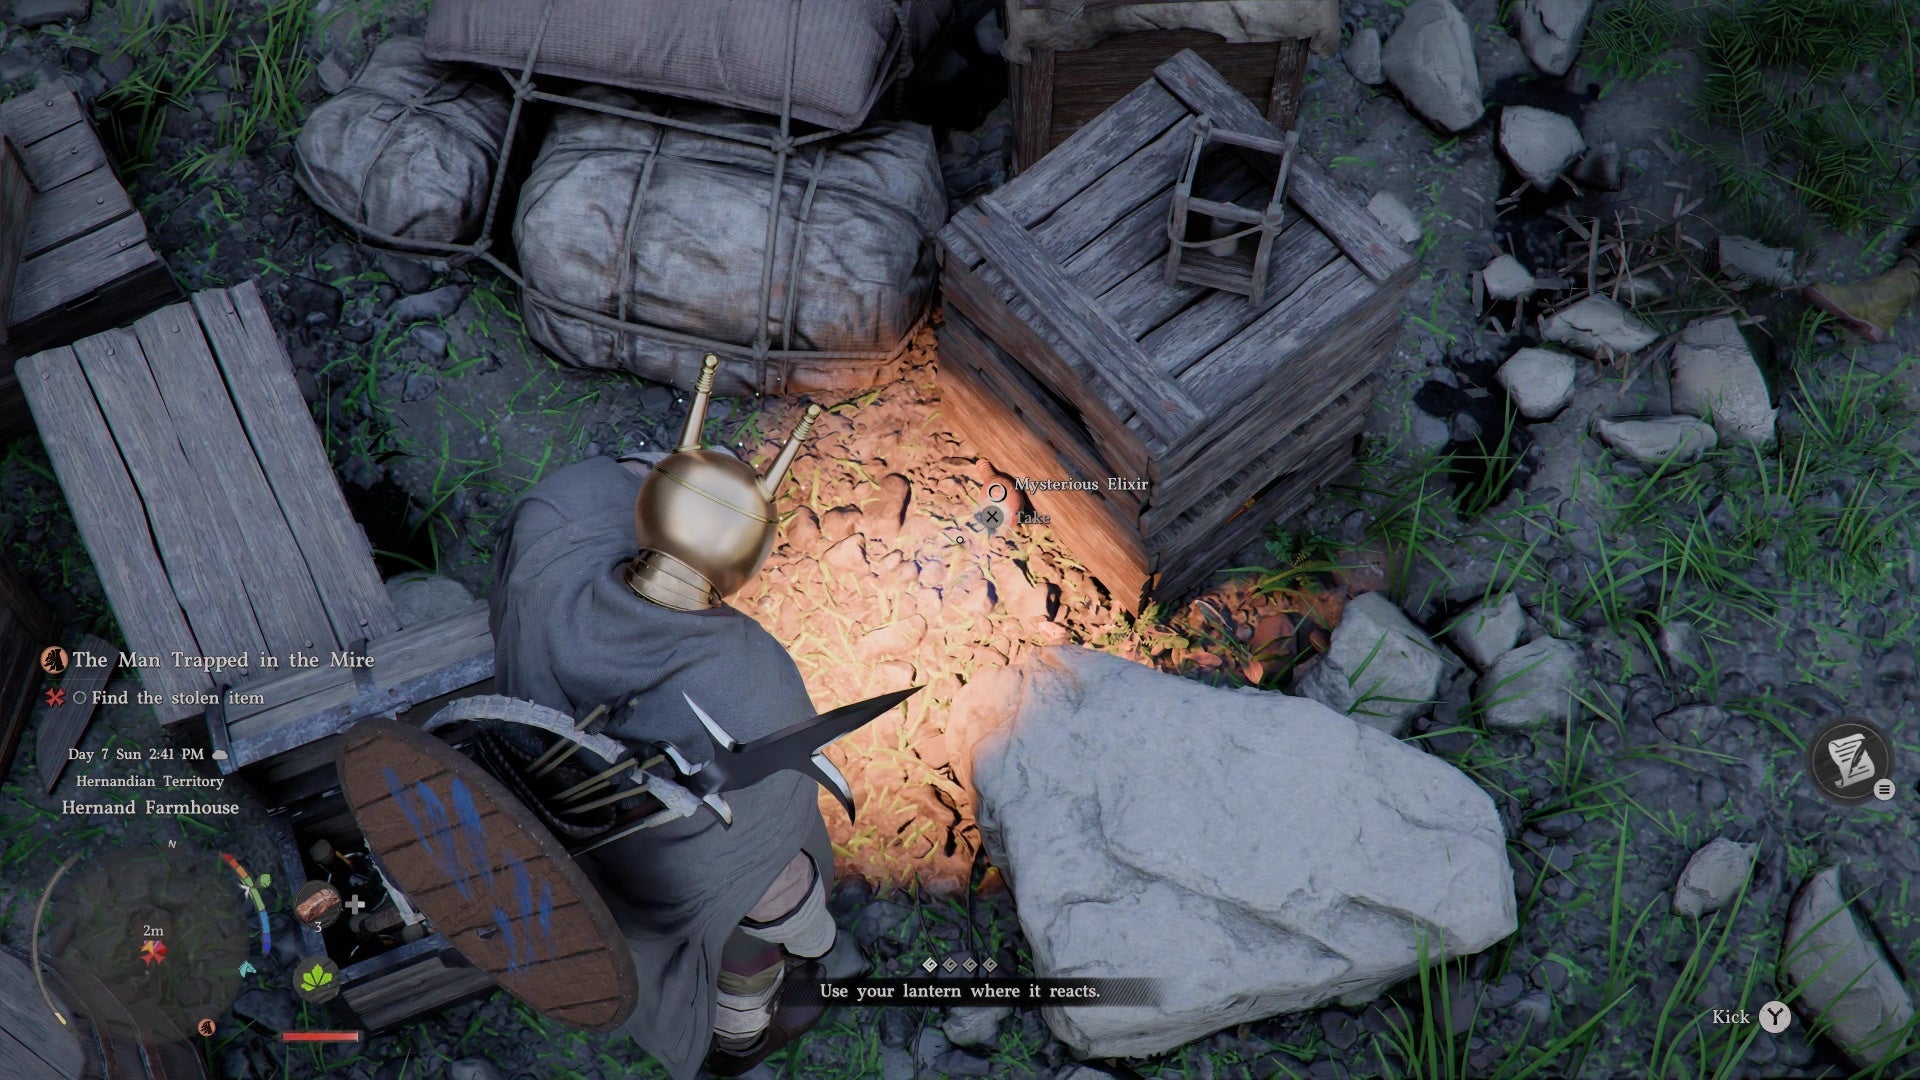
THE MAN TRAPPED IN THE MIRE
Head to Capra Pasture, speak to the shepherd. Another bandit retrieval.
Along the way: Two shops on a cliff overlooking the river:
- - Livestock Fence — sell stolen animals
- - Grimrak's Back Alley Shop — buy a Mask (required for crimes) and Keys (universal lock picks)
Only 3 bandits below. Use lantern to find Memory Fragment, then search crates for a Mysterious Elixir bottle (break crates if needed) and a Palmar Pill. Return to Ibano. Reward: 5 Cloth Pieces.
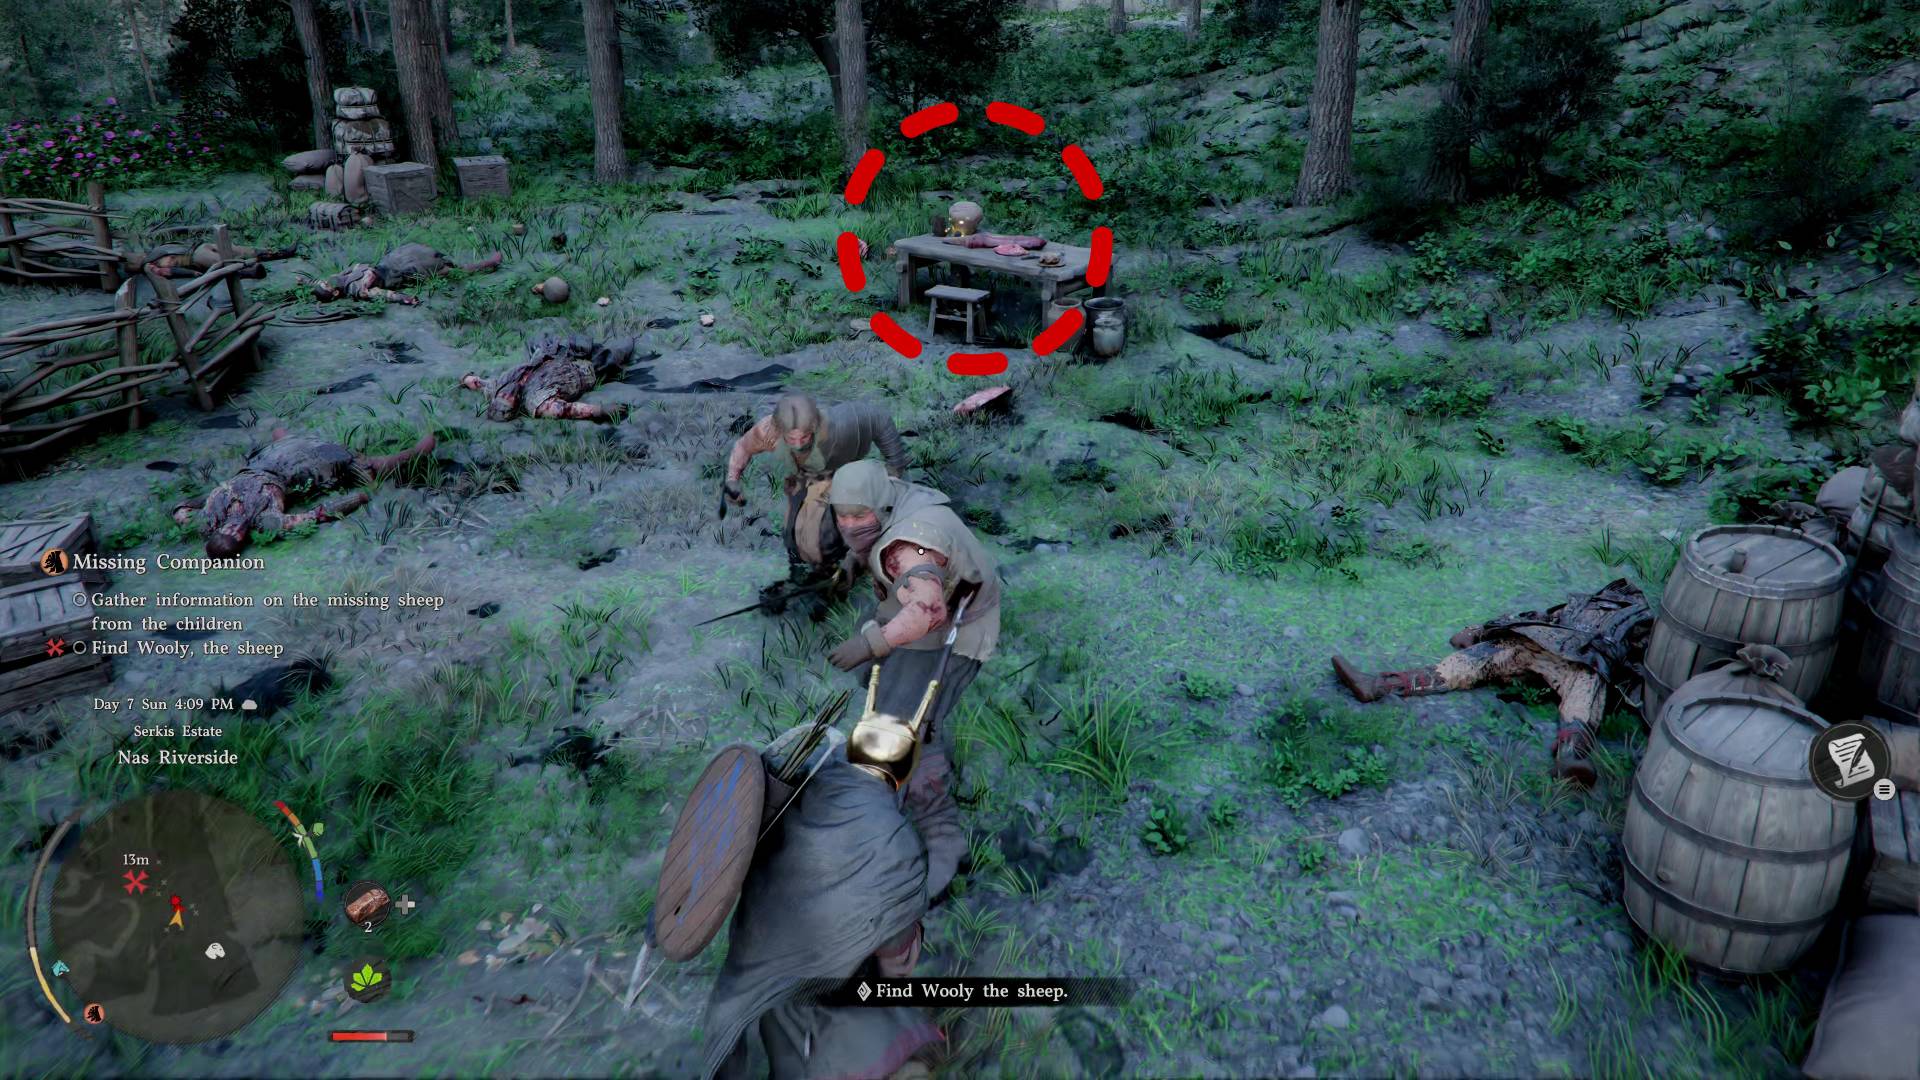
MISSING COMPANION
Detour: Hernand Dyehouse (east along the river)
- - Dye recipes let you customize armor colors and materials
- - Unlock recipes by finding dye bottles in the world or Improvising at a Cauldron
- - Typical dye recipe: 10 flowers + 3 bugs (type A) + 3 bugs (type B)
At Bloomwood Ranch, find a crying child missing their sheep Wooly. Speak to herders across the road for the bandit camp location (south across the river).
At the camp:
- - Clear bandits, rescue Wooly
- - Collect all the meat (bandits stockpiled stolen livestock)
- - Palmar Pill on a wooden table by sheep pen
- - Small chest on ground (requires Mask to open — technically theft)
Crime system: Minimap turns red when committing crimes. Stay hidden until it clears. Ride Wooly back to the boy.
SECRETS HIDDEN IN THE DARK
Investigate a fake "Greymane" named Boris south of Hernand. He's clearly a drunkard, but follow him on horseback to a bandit camp.
At the fork past Bloomwood Ranch: Another Sealed Abyss Artifact near the wooden signposts.
Boris leads you to bandits near a cave. He leaves to get guards while you fight.
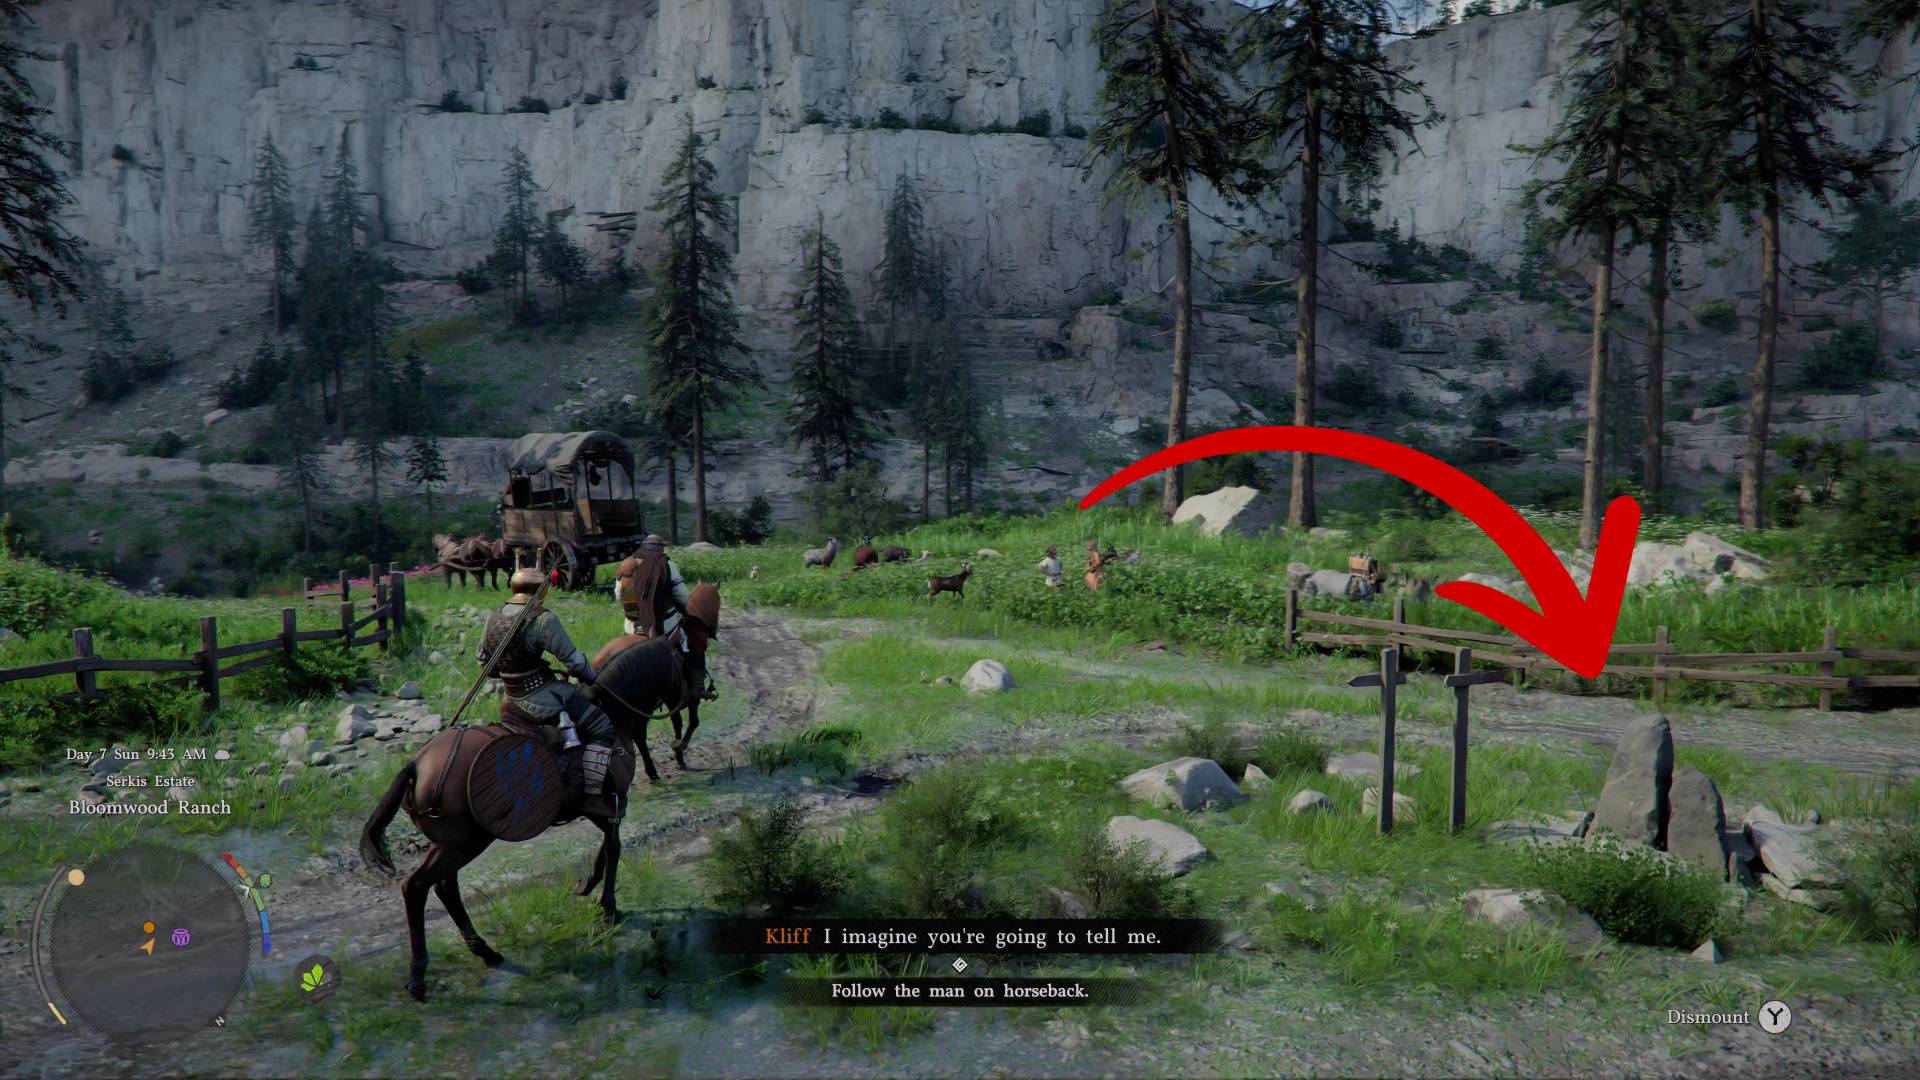
Combat tips:
- - No shields/armor but aggressive with dual axes
- - Watch for red flash on Kliff's shield = unblockable attack incoming
- - Use heavy attacks when Spirit is full to thin the group
- - Track unlooted corpses via gray X icons on minimap
Inside the cave (no enemies):
- - Skin dead animals for Fleece (rare upgrade material for cloth/leather armor — keep it!)
- - Palmar Pill on ledge behind campfire
- - Collect all meat from the left side
- - Memory Fragment at campfire (use lantern + Visione)
Report to guards outside to complete the quest.
After finishing all 4 notice board quests, proceed to The End of Greed.
NEXT: The End of Greed Walkthrough
The End of Greed Walkthrough
OVERVIEW
The final stretch of Chapter 2. Kliff investigates the Goldleaf Merchant Guild's corruption, rescues a kidnapped healer, and faces Kailok the Hornsplitter — the chapter's climactic boss fight.
THE DARK VEIL
Head to the Goldleaf Tradepost, down the road from the farms. Watch for Sealed Abyss Artifacts along the way (purple minimap icons).
A goblin named Shakatu explains the Goldleaf Merchants Guild situation — someone's pulling strings at the top, but an emergency demands immediate attention.
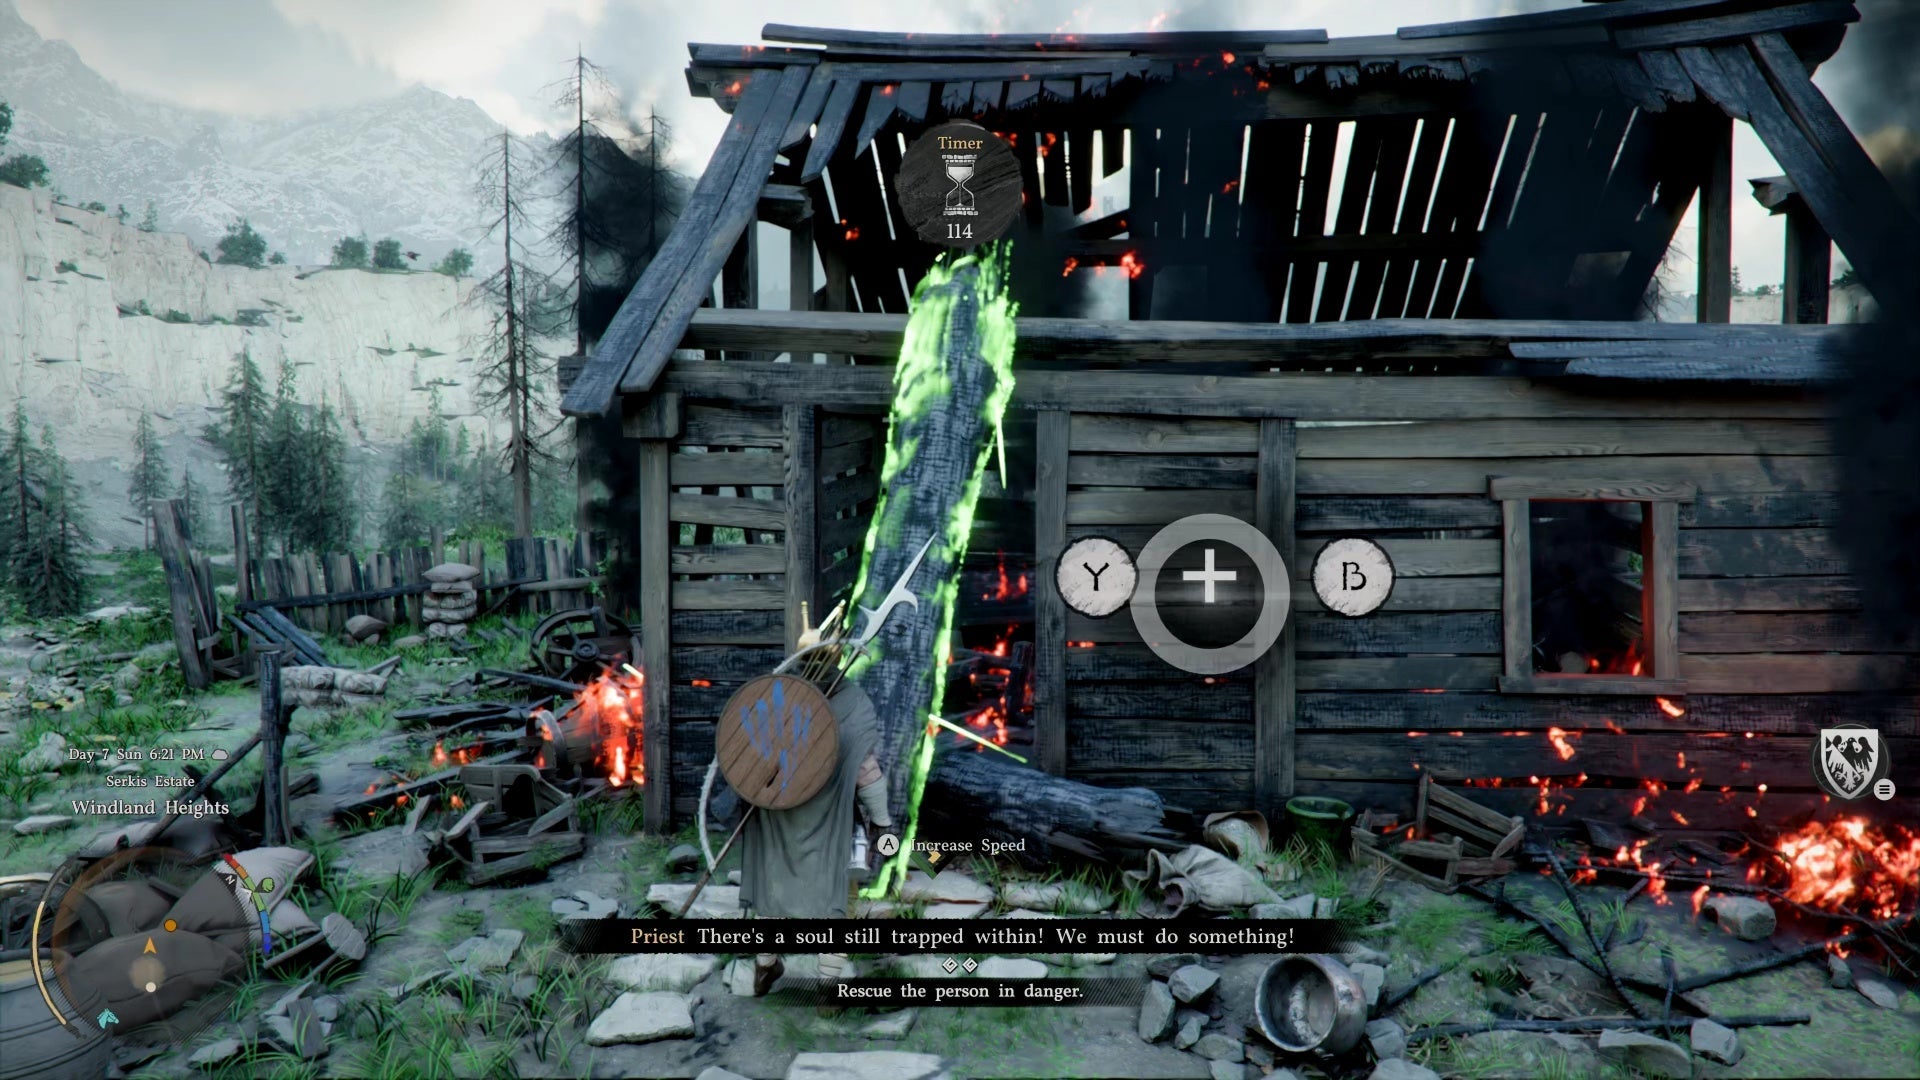
THE FLAMES OF GREED
Talk to the people on the road. A healer's house is being torched by bandits because he refused to cooperate with the Goldleaves.
Before heading out: Another Sealed Abyss Artifact at the fork. Don't forget to check challenges attached to each one in your inventory and claim rewards manually.
At the burning house:
- - Use Nature's Grasp to lift the charred logs blocking the door
- - Timer is generous but real — rush inside and carry Marten to safety
- - Reward: Abyss Artifact
Hubert the healer has been kidnapped over a mysterious stone. Time to rescue him.
KIDNAPPED HEALER
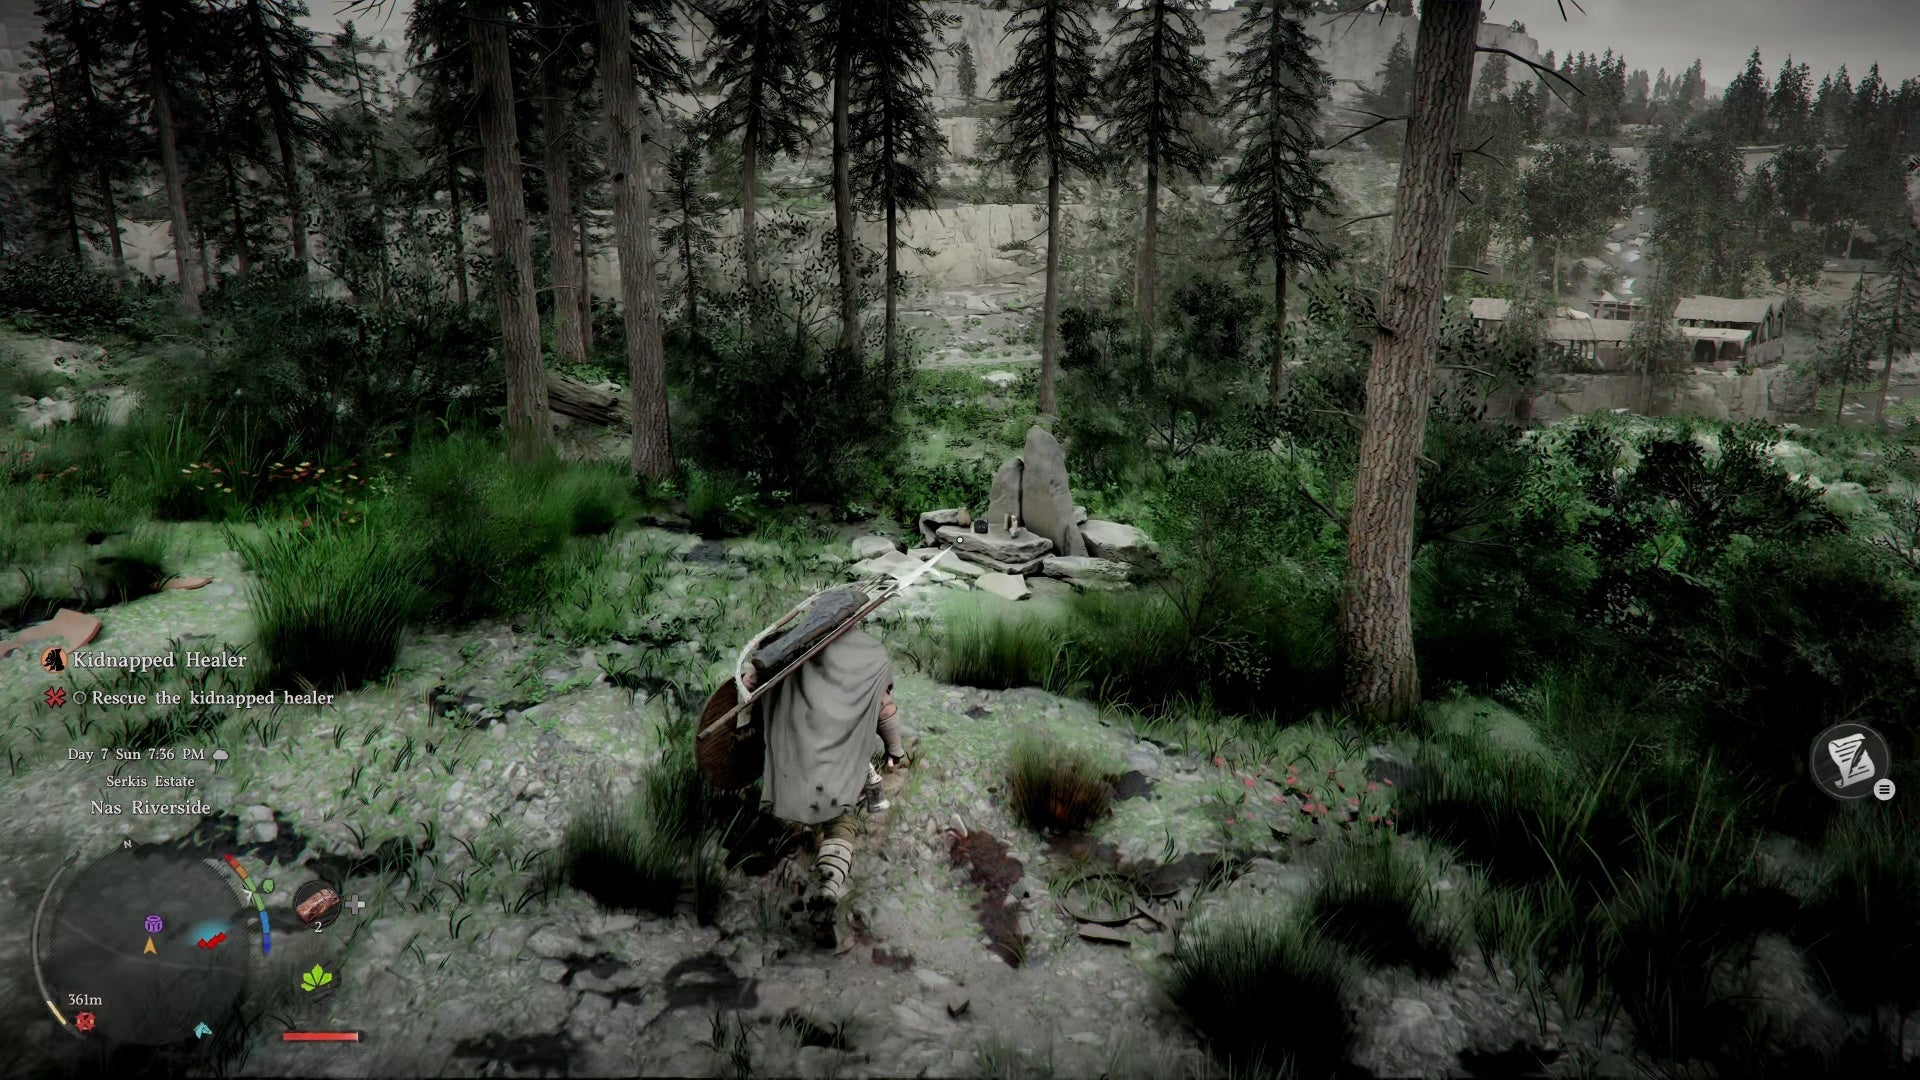
Ride west. Along the way:
Unicorn Cliff base: Small bandit group with easy loot (basic weapons to sell later).
Looted wagon: Another Sealed Abyss Artifact nearby. You can steal wagon contents with a mask equipped but beware the crime system.
Hubert's bandit camp is small — sneak up for a free assassination before fighting.
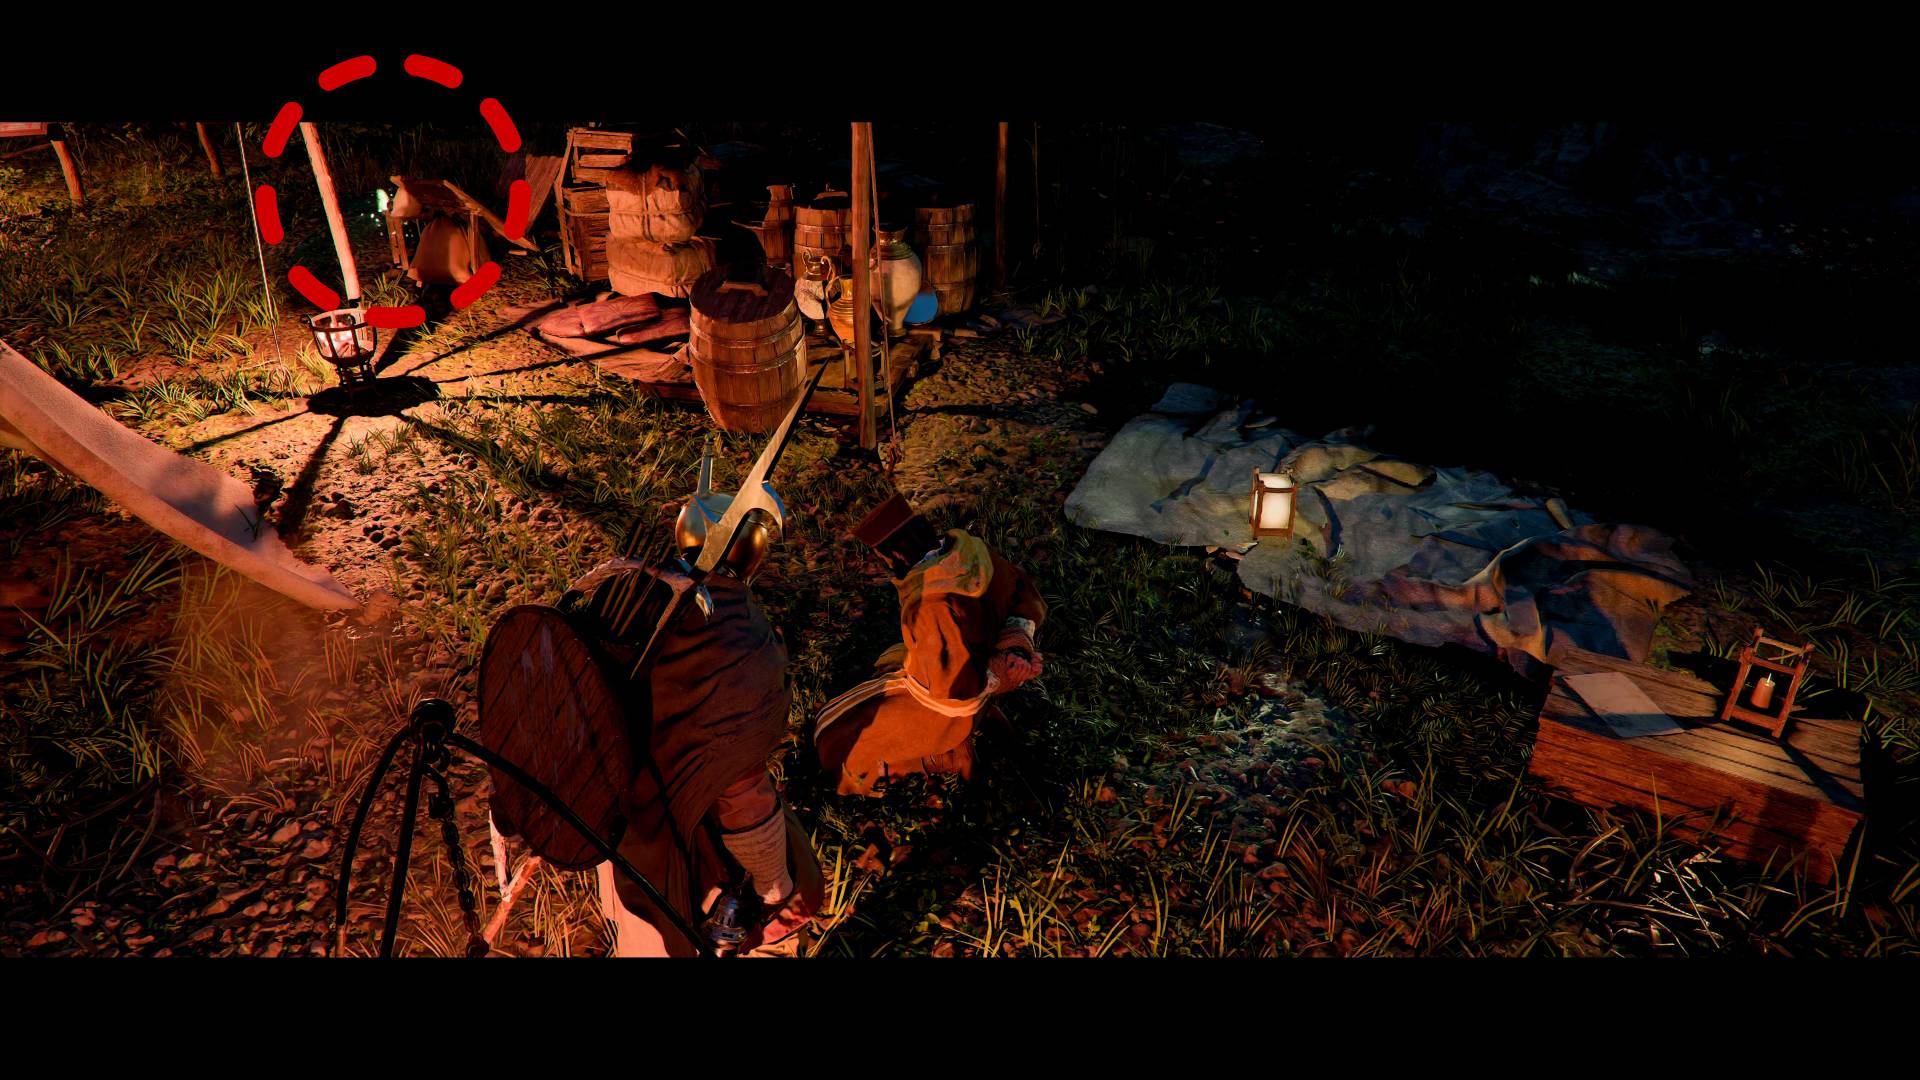
Important: The area is full of Peonies (bright pink flowers). Stock up if you have inventory space — these are needed to craft Palmar Pills later.
After clearing the camp: Untie Hubert, grab the Palmar Pill by the barrels, check the notice board for any new side quests.
REBELLION OR REVOLUTION
Return to Shakatu. Cook food at the camp before leaving — big fight ahead.
Shakatu's soldiers attack (miscommunication). Only 5 enemies but heavily shielded. Counter options:
- - Grapple attacks and shield bashes (best counter)
- - Spam heavy attacks to break guard
- - Well-timed parries for stagger openings
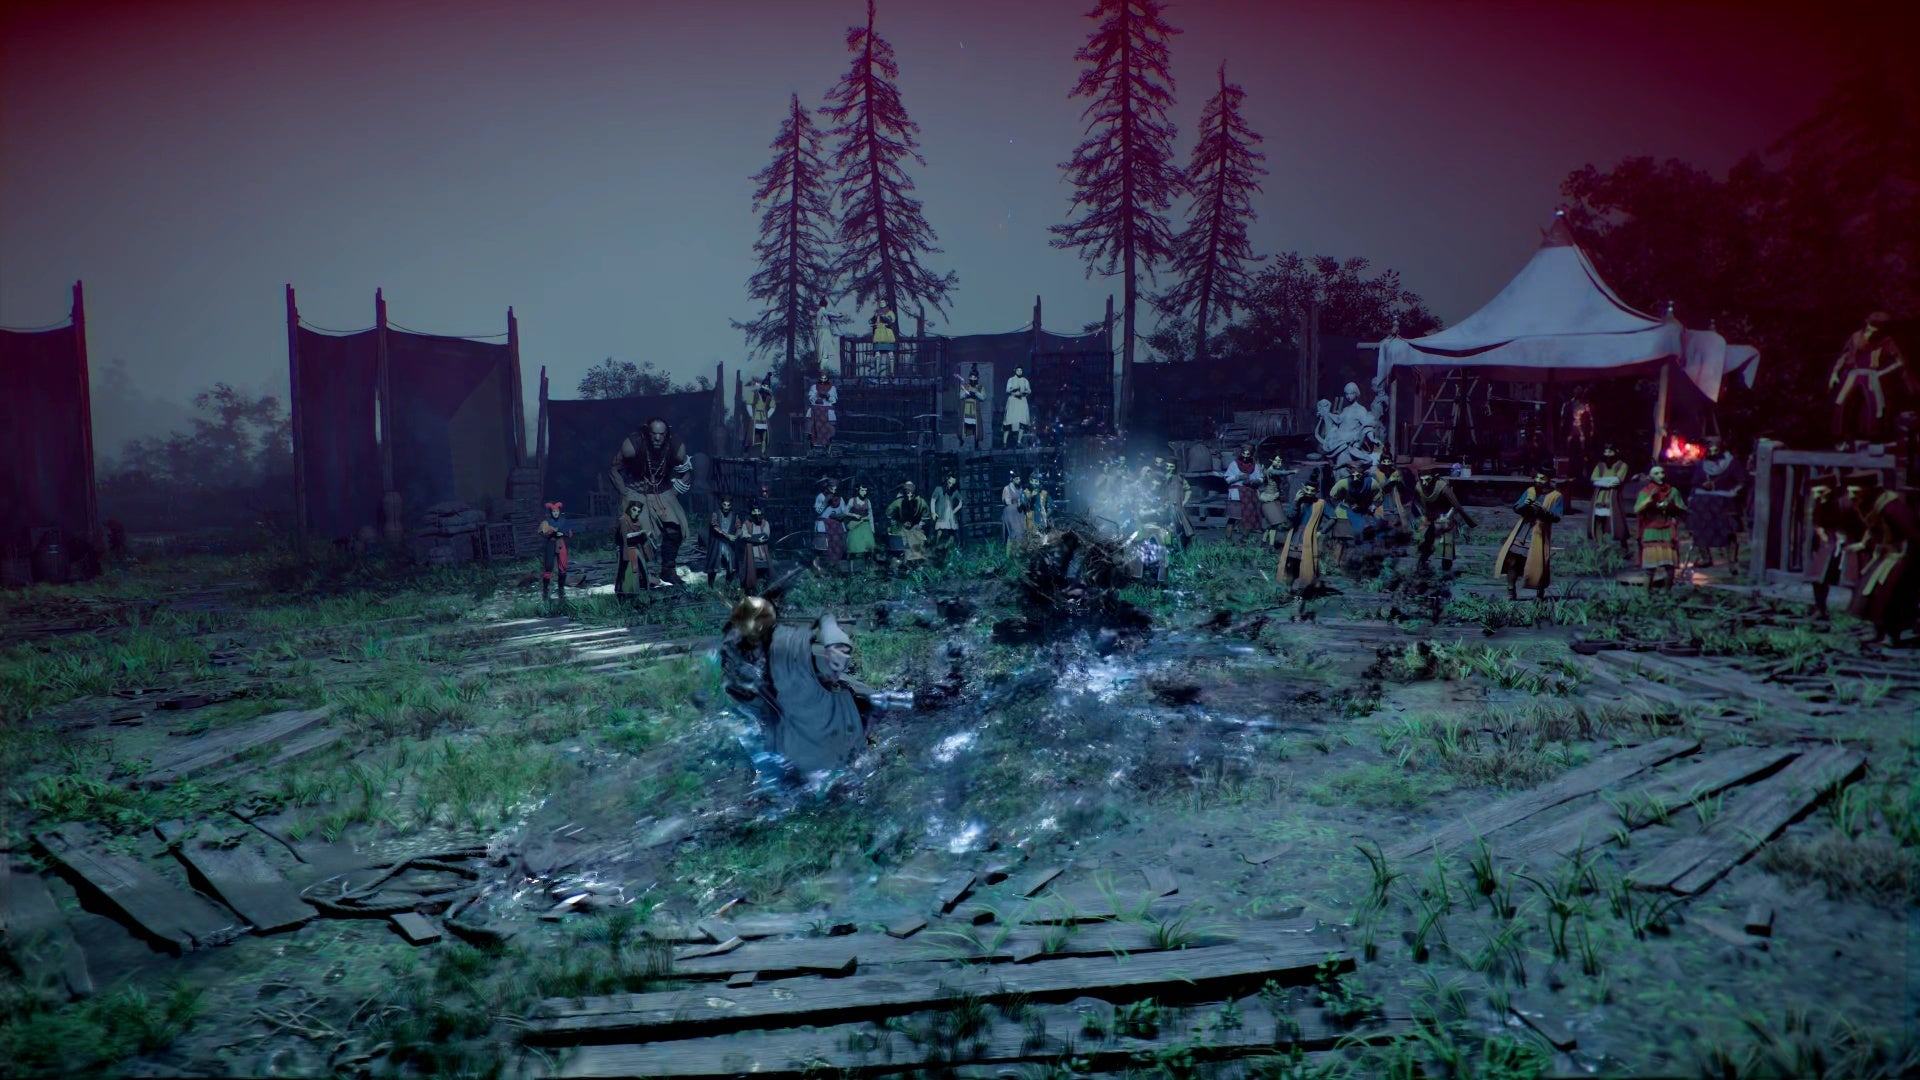
BOSS BATTLE: KAILOK, THE HORNSPLITTER
Prepare: Stock up on food, consider upgrading gear at the Smithy. Buy Iron/Copper from vendors if you haven't mined any.
Phase 1 — Reaching the Camp:
Head to Hornsplitter's camp on Unicorn Cliff. Large goblin squad at the entrance.
- - Use the cliff edge for environmental kills (Pump Kick, grapples)
- - Turning Slash hits multiple unshielded goblins
- - Coin purse icon on dropped gear = valuable vendor trash
Warning: Goblins inside the camp are civilians. DO NOT attack them unless you want a massive bounty.
Phase 2 — Boss Fight:
Kailok's moveset:
- - Dances around the arena, creates distance, launches linear AOE attacks
- - Forward slash + overhead strike combo (blockable with shield)
- - Jump slam (unblockable — watch for red shield flash, dodge roll to evade)
Strategy:
- - Keep shield raised to track Kailok's movement
- - Sidestep AOE attacks in a zig-zag pattern toward him
- - Punish his blockable combos with quick counter-attacks
- - Heavy attacks and skills build stagger (yellow meter under HP)
- - Fill the stagger meter for a finisher opportunity
- - New ability learned during fight: Evasive Roll (dodge after being hit)
Reward: Seal of Greed (better prices with Goldleaf merchants). Shakatu takes over the guild.
Chapter 2 complete! Story continues in Chapter 3: Howling Hill.
Chapter 3: Howling Hill (Overview)
Chapter 3 marks a turning point in the story. After saving the Goldleaf Merchant Guild in Chapter 2, the Greymanes are rewarded with land near Howling Hill to establish their base of operations. This chapter focuses on camp building, reuniting scattered companions, and confronting the mysterious Reed Devil.
MISSIONS IN THIS CHAPTER
- Homecoming — Reunite with old Greymane members and establish the camp at Howling Hill
- The Face Beneath the Mask — Investigate Glenbright Manor and battle the Reed Devil
- Pioneering — Expand the camp and bring the Greymanes back together
COLLECTIBLES
- - Recipe: Clear Soup Dish (during Homecoming)
- - Crafting Book: World Two-Handed Weapon Collection Vol. 1 (during Face Beneath the Mask)
- - Special Equipment: Sunset Reed Cloth Gloves (Reed Devil boss drop)
- - Abyss Artifact: x1 (during Pioneering)
BOSS FIGHT: REED DEVIL
The Reed Devil is fought at the summit of Icemoor Mountain. It uses relentless slash combos — parry with your shield or stagger it with Blade Flash. Two health bars, no devastating screen-wide attacks. Destroy 5 totems between phases to progress.
Image credits: GamerSky.com
Homecoming Walkthrough
Homecoming Walkthrough
Recipe: 1
Quest Chain: Old Friends → First Steps of Rebuilding → For a New Journey → Reward for Hard Work → Return of Comrades → Nostalgic Cursing (Sanatorium Infiltration)
IMPORTANT: Stock up on healing food before starting this mission chain — the sanatorium section involves stealth and potential combat.
---
OLD FRIENDS
Head to the map marker in Hernand town. You'll find a group of beggars gathered together.
Image credit: GamerSky.com
Approach to trigger a cutscene — one of them turns out to be an old Greymane companion.
FIRST STEPS OF REBUILDING
Travel to the Serkis Mansion in Hernand. Speak with the NPC at the mansion entrance.
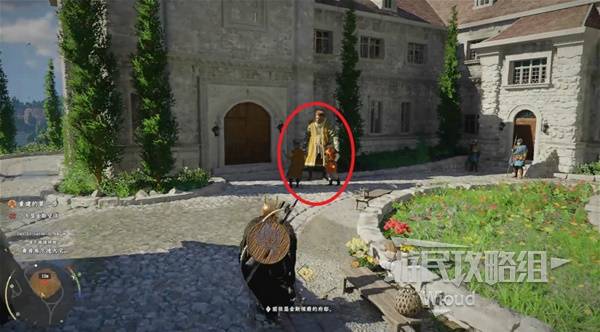
Image credit: GamerSky.com
Enter for a cutscene. As a reward for saving the merchant guild, you're granted land near Howling Hill to establish a base.
Follow the soldiers on horseback to Howling Hill. You'll meet Baden Midler and Damiane, who will be living at the camp.
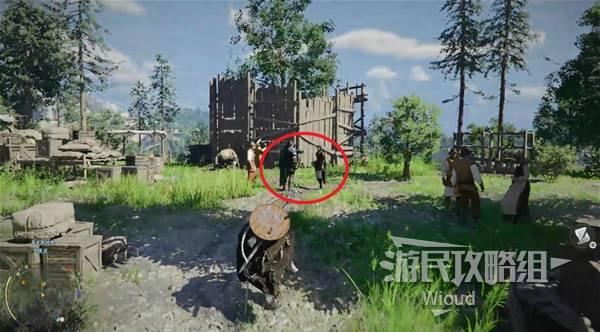
Image credit: GamerSky.com
FOR A NEW JOURNEY — CAMP BUILDING
Workers arrive and the map shows 4 building objectives:
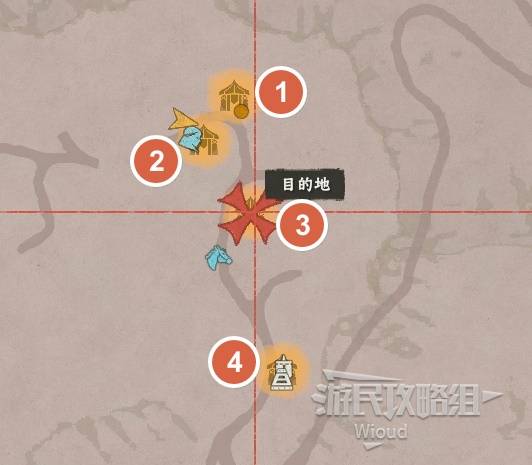
Image credit: GamerSky.com
Task 1 — Hammer the pillars: Pick up the hammer from the table. Hit each of the 4 marked pillars 3 times.

Image credit: GamerSky.com
Task 2 — Move the cart: Use the pickaxe to break the rocks, then push the cart into the tent. No Axiom Force needed.
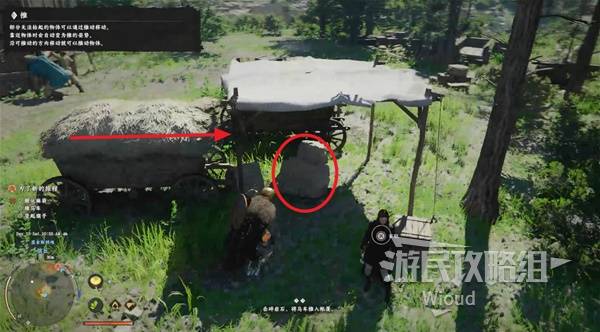
Image credit: GamerSky.com
Task 3 — Carry the sacks: Move 3 burlap sacks to the nearby rack.
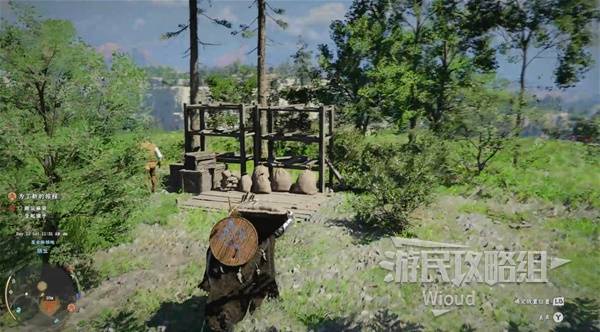
Image credit: GamerSky.com
Task 4 — Plant the flag: Use Axiom Force (pull) to grab the flag, aim at the bracket, and plant it.
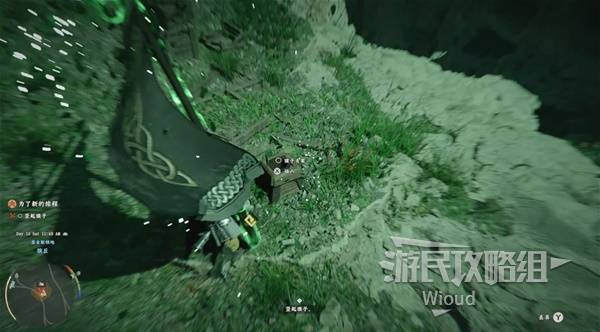
Image credit: GamerSky.com
REWARD FOR HARD WORK
After all 4 tasks, workers gather for a meal. Check the table on the right — pick up the recipe "Clear Soup Dish." Cook 2 servings with the ingredients on the table, then approach the workers.
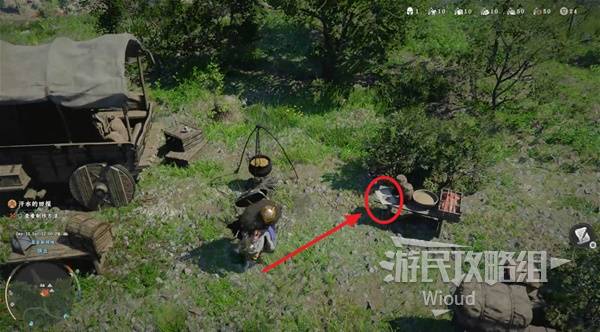
Image credit: GamerSky.com
RETURN OF COMRADES
Ride to the marker southwest of Hernand. Talk to Marius and escort him back to Howling Hill.
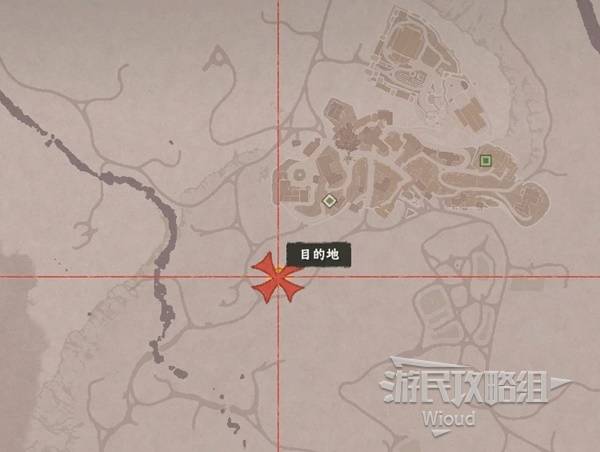
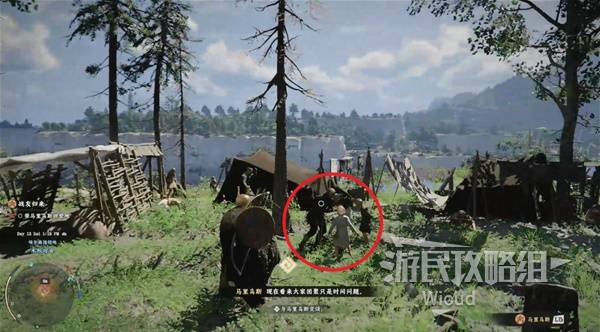
Image credit: GamerSky.com
Two more Greymane companions are waiting at camp. Watch the reunion cutscene.
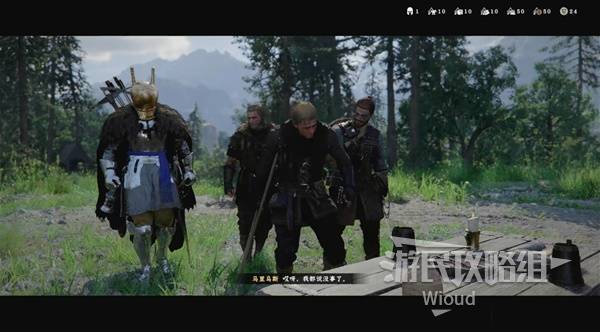
Image credit: GamerSky.com
NOSTALGIC CURSING — SANATORIUM INFILTRATION
Marius mentions a companion at a sanatorium to the east.
Image credit: GamerSky.com
At the sanatorium entrance, DO NOT go in the front. Follow the left wall around the building.
Image credit: GamerSky.com
Find the gap in the right wall near the patient area. Climb the stairs to the rooftop.
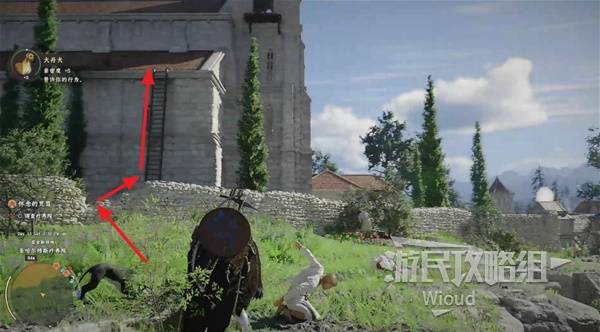
Image credit: GamerSky.com
Cross the roof, enter the corridor. Patients fighting on the right — approach to trigger a cutscene. Jahn, a Greymane companion, is here. Follow him out.
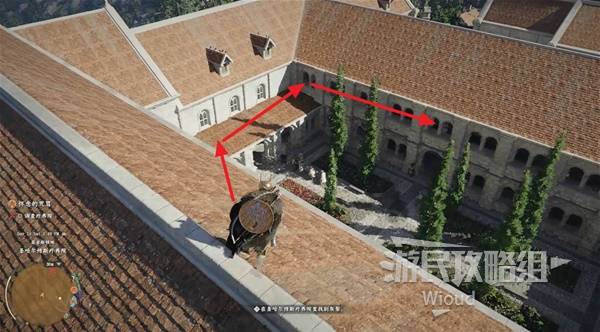
Image credit: GamerSky.com
Jahn takes a carriage — just leave when it stops.

Image credit: GamerSky.com
Image credits: GamerSky.com
The Face Beneath the Mask Walkthrough
The Face Beneath the Mask Walkthrough
Crafting Book: 1
Special Equipment: 1
Quest Chain: Return → Traces Left in the Manor (Puzzle) → An Inhuman Existence → Seeds of Unease → Blood Battle with the Devil (Boss Fight)
WARNING: This mission involves multiple combat encounters and a boss fight. Stock up on healing food and Palmar Pills before starting.
---
RETURN
After rescuing Jahn, return to Howling Hill camp and enter the black tent to trigger a cutscene. You learn that Nela and Andrew, who were sent on a separate mission, have gone missing. Head to the map marker to investigate.
Image credit: GamerSky.com
TRACES LEFT IN THE MANOR — GLENBRIGHT MANOR PUZZLE
Enter Glenbright Manor. Clear the enemies in the courtyard, then proceed into the main hall.
In the main hall, look to the right — beside the staircase at the far end is a painting hiding a secret wall. Walk through it to find the "Grace Manor Basement Key."
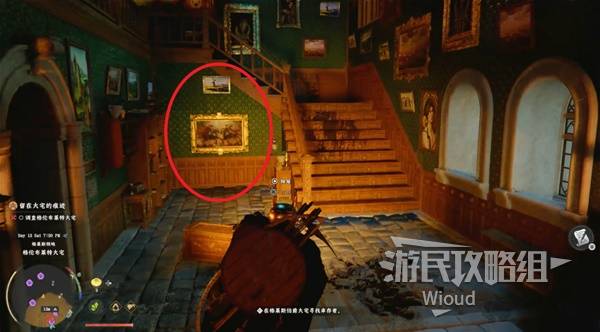
Image credit: GamerSky.com
Go upstairs to the second floor. Directly ahead at the top of the stairs, check the left side of the bookshelf to pick up the "Ruby-Hilted Golden Dagger."

Image credit: GamerSky.com
In the middle of the corridor, open the wardrobe (marked as "1") and interact with the wheel inside to direct a beam of light toward position "2." This reveals the "Sapphire-Hilted Golden Dagger" at position "3."
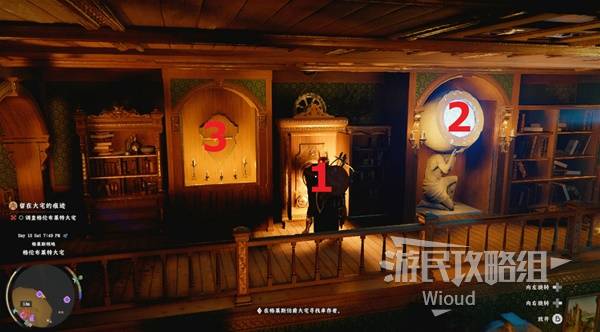
Image credit: GamerSky.com
Enter the room at the end of the second floor corridor. First, interact with the memory fragment in the center.
At the desk: pick up the "Grace Manor Iron Door Key" on the left, "Count Grace's Journal" in the center, and "World Two-Handed Weapon Collection Vol. 1" (crafting book) from the right bookshelf.
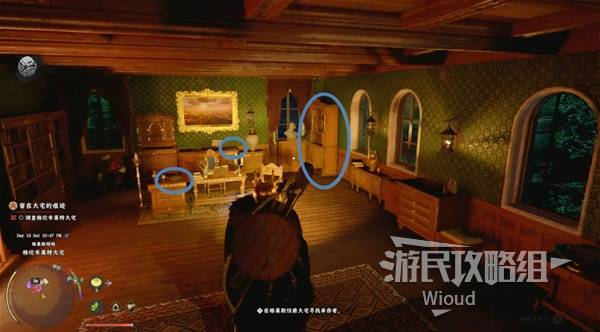
Image credit: GamerSky.com
Talk to the survivor lying on the left, then approach the fireplace on the left side of the room. Insert both golden daggers into the slots — this opens a secret entrance to the basement on the right.
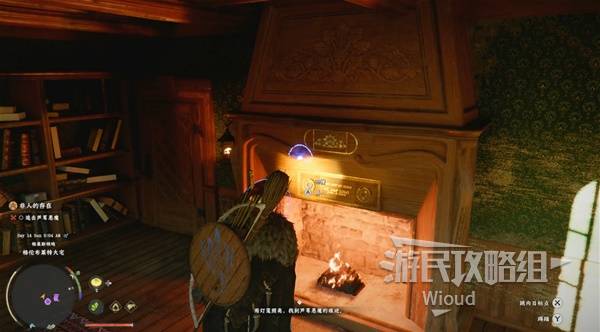
Image credit: GamerSky.com
In the basement, check the right room's floor to find the "Hot Air Balloon Blueprint."
Image credit: GamerSky.com
AN INHUMAN EXISTENCE
Leave the manor. Use your lantern to illuminate the surroundings — you'll see a yellow thread trail. Follow it.
You'll encounter a wave of enemies along the way. Follow the thread to a house where Nela and the other companions are hiding with the manor's owner.
Image credit: GamerSky.com
SEEDS OF UNEASE & THE REED DEVIL BOSS FIGHT
After the cutscene, raise your lantern again and follow the yellow threads toward Icemoor Mountain summit.
Along the way, you'll see countless spinning banners — these summon waves of enemies. The Reed Devil itself will appear multiple times alongside the smaller enemies.
Reach the summit marker and interact with the altar to trigger the boss fight.
Image credit: GamerSky.com
REED DEVIL BOSS STRATEGY
The Reed Devil attacks with relentless slash combos. Two effective strategies:
- Shield Parry — Use your shield to parry during the enemy's combo chains
- Sword Flash — Use Blade Flash during gaps in its attacks to stagger it
The boss has two health bars. Its attack patterns don't change dramatically between phases, and it has no devastating screen-wide attacks. With enough healing food, this fight is manageable.
Image credit: GamerSky.com
When the first health bar is depleted, 5 totems appear around the arena. Destroy all totems quickly to expose the boss's second health bar. Watch for the boss's attacks while destroying them — don't take unnecessary damage.
Defeating the Reed Devil rewards the special equipment "Sunset Reed Cloth Gloves."

Image credit: GamerSky.com
Image credits: GamerSky.com
Pioneering Walkthrough
Pioneering Walkthrough
Abyss Artifact: 1
Quest Chain: A Welcome Downpour → Scattered Comrades → The Silent Hand → Busy Howling Hill → Greymanes Reunited
---
A WELCOME DOWNPOUR
Return to the Howling Hill camp and enter the black tent to trigger a cutscene. The chapter continues after the scene.
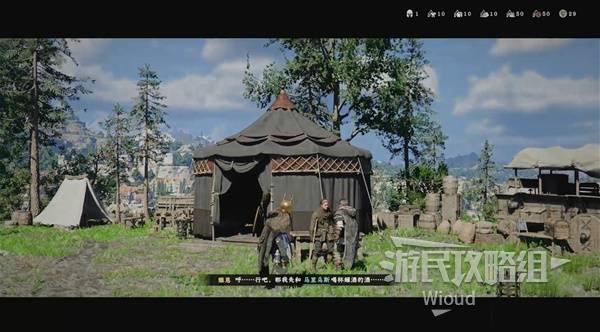
Image credit: GamerSky.com
SCATTERED COMRADES
Talk to Marius outside the tent. He tells you there are reports of companions at a sawmill nearby.
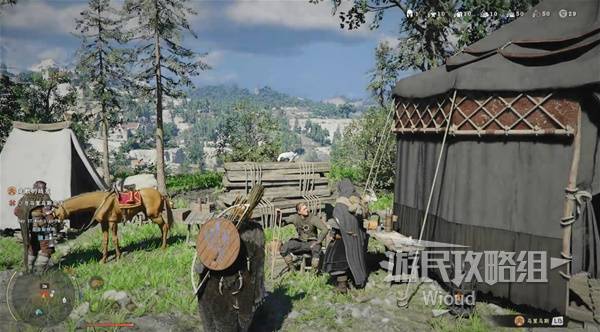
Image credit: GamerSky.com
The sawmill is just southeast of Howling Hill — a very short ride.
Image credit: GamerSky.com
At the sawmill, talk to the two armed men. They turn out to be Greymane companions. Complete the cutscene to receive an Abyss Artifact (skill point).
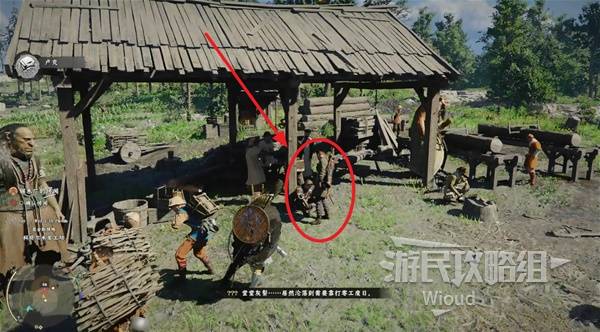
Image credit: GamerSky.com
THE SILENT HAND — CAMP MANAGEMENT
Return to Howling Hill. Approach the shrine near the camp and interact with the dragon head on its left side. Read "Shakalp's Letter" to unlock Camp Missions.
Image credit: GamerSky.com
Open the map, set the filter to "All," select the Howling Hill icon, and press "View Details."
Image credit: GamerSky.com
In the mission list, select "Expand Howling Hill Camp" and assign mercenaries Luke and Ronald. Camp missions run on a progress timer — start it and go do other things while it completes.
Image credit: GamerSky.com
GREYMANES REUNITED
Return to camp once the expansion is done. A final cutscene plays, completing Chapter 3.

Image credit: GamerSky.com
Image credits: GamerSky.com
Chapter 4: The Price of Knowledge — Overview
Chapter 4 shifts focus to the mysterious Shai technology. Kliff repairs ancient cauldrons, competes in gladiatorial and archery contests, and eventually ventures into Scholastone Institute to uncover forbidden knowledge — culminating in a boss fight and the discovery of the Star Tower.
MISSIONS IN THIS CHAPTER
- The Mysterious Cauldron — Repair Gilden Pottery Workshop's magical cauldrons through puzzles
- Daily Life — Arena fistfight + archery competition
- Forbidden Knowledge — Explore Scholastone Institute, defeat the Tenebrum boss, solve the Star Tower puzzles
COLLECTIBLES
- - Book: Story of the Knowledge Helmet (Forbidden Knowledge)
- - Book: Star Constellation Research Journal (Forbidden Knowledge)
- - Alchemy Recipe: Platinum (Forbidden Knowledge)
- - Crafting Book: World Ranged Weapon — Gun Collection Vol. 3 (Forbidden Knowledge)
- - Abyss Artifact: x1 (after Tenebrum boss)
BOSS FIGHT: TENEBRUM
A gaseous entity fought at Scholastone. Physical attacks don't work — you must climb pillars around the arena, jump toward the boss, and use Force Palm in mid-air. Pure mechanics fight.
Image credits: GamerSky.com
The Mysterious Cauldron Walkthrough
The Mysterious Cauldron Walkthrough
Quest Chain: Gilden Pottery Workshop → Repair the Great Cauldron → The Cauldron's Mysterious Power → The Cauldron's Purpose
---
GILDEN POTTERY WORKSHOP
Follow the quest marker to meet a dwarf wearing a Visione helmet. Talk to him to begin the quest.
Image credit: GamerSky.com
CAULDRON 1 — SYMBOL ALIGNMENT PUZZLE
Your first task is repairing the main cauldron. There's a lever with 3 gear positions, each controlling one of the 3 rotating discs on top of the cauldron.
Switch between gear positions and push the rod to rotate each disc. Align all 3 disc symbols with the glowing symbol in the center of the cauldron.
Image credit: GamerSky.com
When all 4 symbols glow blue, the alignment is correct. If nothing changes, the symbol is wrong or not properly aligned — keep adjusting.
Image credit: GamerSky.com
REPAIRING THE REMAINING 3 CAULDRONS
After the first repair, 3 more cauldrons are marked on the map. We'll tackle them in order:
Image credit: GamerSky.com
CAULDRON 2 — PIPE RECONNECTION
This cauldron just needs its pipe reconnected. Find the broken pipe near the yellow-painted rod on the cauldron. Interact to reconnect it, then push the rod left to restart the cauldron.

Image credit: GamerSky.com
CAULDRON 3 — AXIOM FORCE ASSEMBLY
This cauldron has been blown apart. Use Axiom Force to grab the scattered fragments and reassemble it like a jigsaw puzzle.
First, find a fragment with openings on both top and bottom — match it to the cauldron's broken edge:

Image credit: GamerSky.com
Drag it into position with Axiom Force:
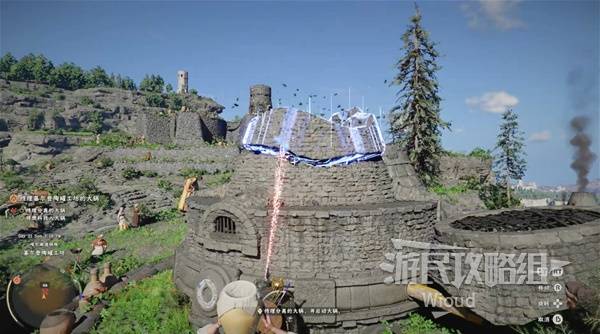
Image credit: GamerSky.com
Next, find a short piece with a sealed top (ventilation cap):
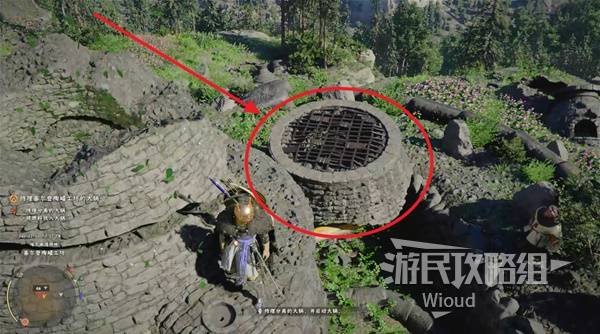
Image credit: GamerSky.com
Once assembled, stand on top and jump, then use Force Palm downward to lock it in place:
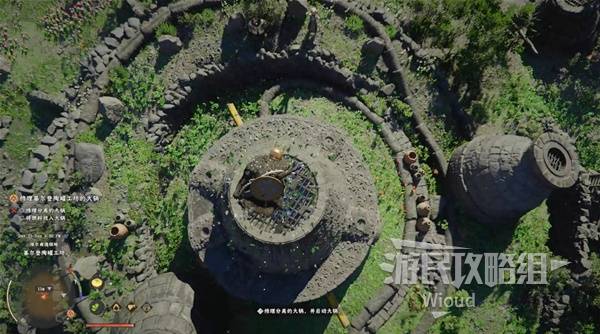
Image credit: GamerSky.com
CAULDRON 4 — FUEL ORBS
This cauldron needs fuel — blue energy orbs scattered around the area. Use Axiom Force to pull each orb and deposit it into the circular pipe beneath the cauldron.
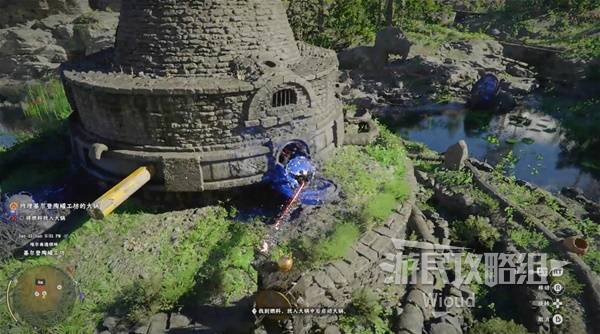
Image credit: GamerSky.com
The orb locations are marked on the minimap. Two tricky ones: one is embedded in a statue's eye, and another is at a cave entrance.
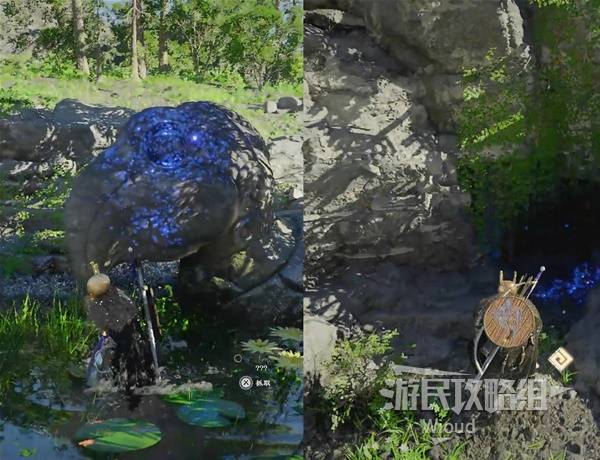
Image credit: GamerSky.com
THE CAULDRON'S PURPOSE
After all repairs, talk to the NPC and skip time when prompted. Push the railing — steam bursts from the center periodically. Push all the way to the end, and the cauldron launches into the air. Pick up the fallen cauldron.
Image credit: GamerSky.com
Head to the next marker, talk to the NPC, and follow the on-screen prompts to capture the iron ball in the cauldron. Quest complete.
Image credit: GamerSky.com
Image credits: GamerSky.com
Daily Life Walkthrough
Daily Life Walkthrough
No collectibles.
Quest Chain: Arena Riot Incident → Skilled Archery
---
ARENA RIOT INCIDENT
Return to Howling Hill and talk to Andrew in front of the black tent. He tells you Jahn got himself detained at the arena.
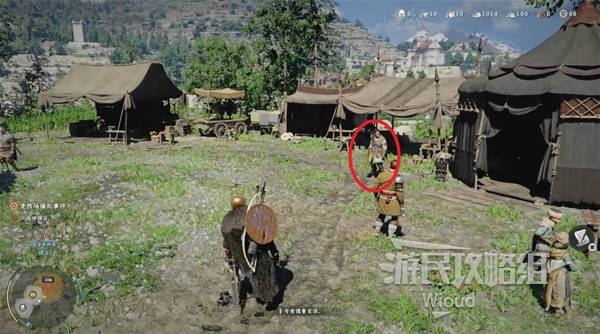
Image credit: GamerSky.com
Ride with Dwayne to the arena. Before entering, open your inventory and unequip weapons from your quick slots (keep your held weapon — just clear the shortcuts).
Talk to the arena host to begin the fistfight tournament. The fights are straightforward — most opponents can be beaten with aggressive punching. For tougher opponents, tap block frequently and counter-attack.
Win 3 consecutive rounds, then ride the newly-freed Jahn back to Howling Hill.
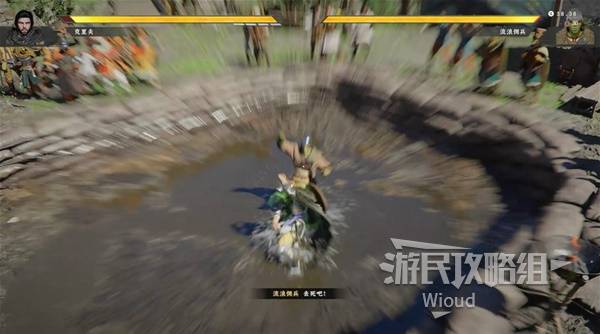
Image credit: GamerSky.com
SKILLED ARCHERY
At Howling Hill, talk to Nela and companions. Ride with them to the archery range near Hernand.
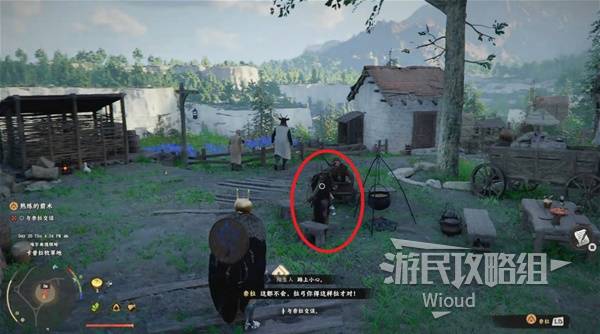
Image credit: GamerSky.com
Talk to the host to enter the archery competition. Targets pop up randomly — shoot them faster than your opponent. First to hit 10 targets wins.
Image credit: GamerSky.com
Image credits: GamerSky.com
Forbidden Knowledge Walkthrough
Forbidden Knowledge Walkthrough
Books: 1 | Alchemy: 1
Quest Chain: Erostin's Message → Scholastone → The Right Path → Gate to Another World → Star Tower → Obsession and Madness → Descending Shadow
---
EROSTIN'S MESSAGE
Head to the marked location in Hernand. An NPC forces a letter on you — read "Erostin's Letter" to trigger the next objective.
Image credit: GamerSky.com
SCHOLASTONE INSTITUTE
Go to the marked building's second floor and talk to the NPC. He sends you to a researcher and gives you a researcher's outfit.
Image credit: GamerSky.com
Travel to the map marker on the left, equip the researcher outfit, enter the institute, and talk to the Dean on the bridge. Follow him to the next location.
Image credit: GamerSky.com
THE RIGHT PATH — ENERGY BLOCK PUZZLE
After the conversation, skip time when prompted. Check the minimap for square icons — these are energy blocks.
Each block has a pillar nearby. Use Axiom Force to move the block into the square slot on the pillar, then hit the pillar with Force Palm to drive it in.
Image credit: GamerSky.com
Then jump off the right edge of the area and glide down to the lower level:
Image credit: GamerSky.com
GATE TO ANOTHER WORLD — SYMBOL PUZZLE
At the lower level marker, interact with the door. Click the blocks in the order shown below to solve the seal:
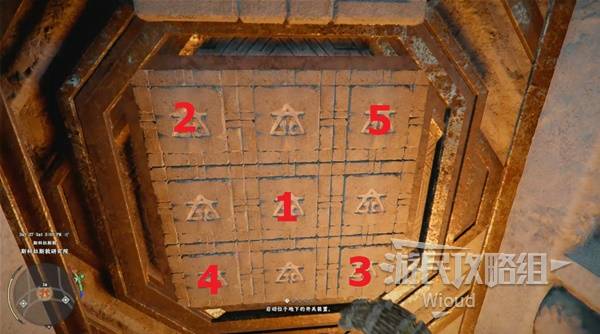
Image credit: GamerSky.com
Return to the upper level. Use Axiom Force to pull the black orb in the center — this triggers the boss fight.
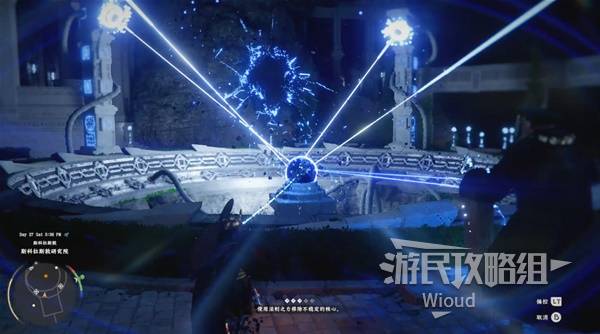
Image credit: GamerSky.com
NEW MECHANIC: BRILLIANCE REFLECTION — SPOT WEAKNESS
A new system unlocks: during Brilliance Reflection (light parry), press the additional button shown in the tutorial to identify enemy weak points.
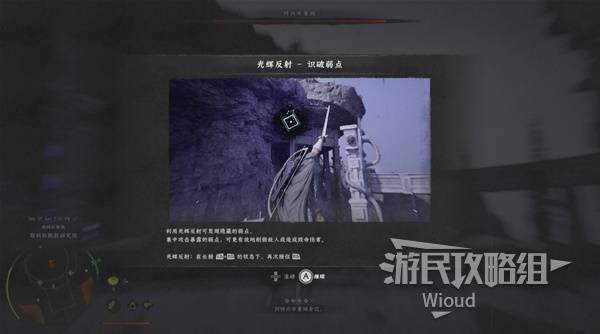
Image credit: GamerSky.com
BOSS: TENEBRUM
Tenebrum appears as a gaseous entity. Regular attacks deal NO damage — this is a pure mechanics fight.
Strategy: Climb the pillars around the arena, jump toward the boss, and use Force Palm in mid-air to strike it. This is the only way to deal damage.
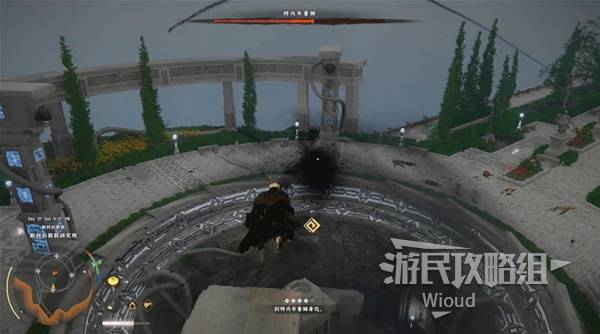
Image credit: GamerSky.com
After defeating Tenebrum, you receive a key to the Star Tower. Pick up the Abyss Artifact next to the Dean.
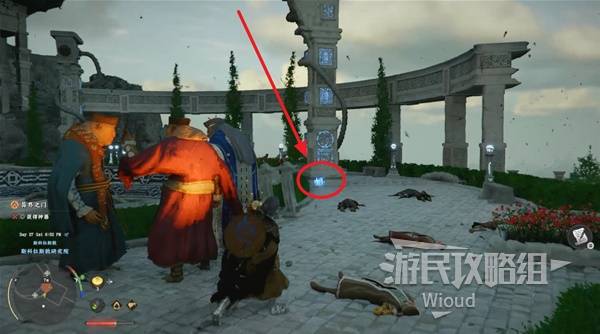
Image credit: GamerSky.com
COLLECTIBLES ROOM
Before heading to the Star Tower, follow the path shown below to a side room:

Image credit: GamerSky.com
Inside, find "Story of the Knowledge Helmet" and "Star Constellation Research Journal" on the desk. The Contribution Shop is on the right side.
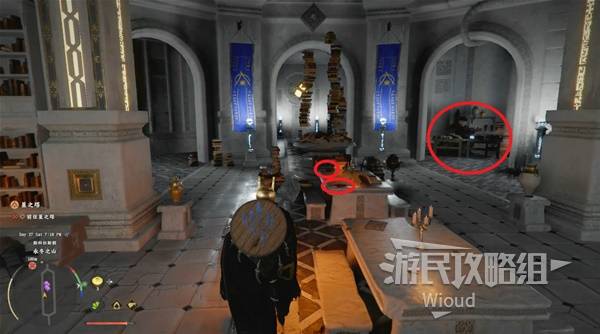
Image credit: GamerSky.com
Climb to the second floor: left bookshelf has the alchemy recipe "Platinum," right bookshelf has "World Ranged Weapon — Gun Collection Vol. 3."
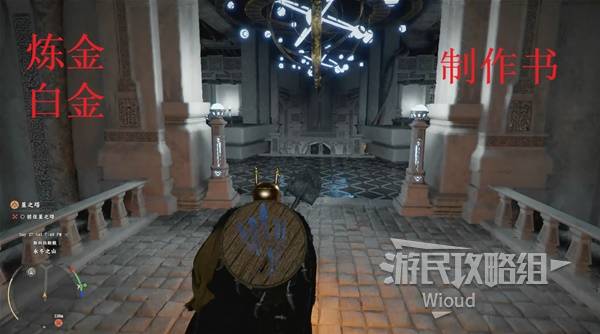
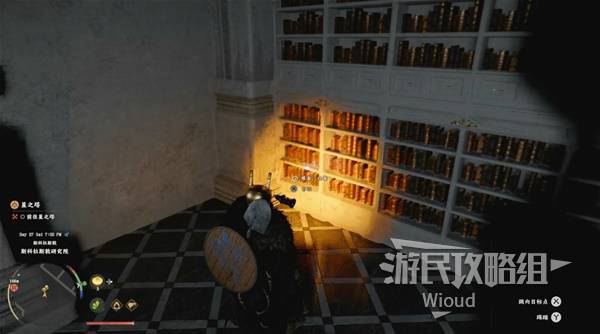
Image credit: GamerSky.com
STAR TOWER
Exit the room and follow the red path up the stairs to the Star Tower entrance. Use the Dean's key to enter.
Image credit: GamerSky.com
STAR TOWER PUZZLE 1 — STONE TABLETS
To ride the central elevator, solve the seal puzzle first. Ignore the center puzzle initially:
- Go to the left room — push the panel on the right door to get a "Stone with Pattern"
- Go to the right room — push panels on both doors for 2 more stones
Image credit: GamerSky.com
Return to the center and insert all 3 stones into the 3 marked slots:
Image credit: GamerSky.com
STAR TOWER PUZZLE 2 — WALL PANELS
Climb the walls and grab the panels at the top — hang on them and slide down. Each track has 4 panels.
Image credit: GamerSky.com
Arrange the panels in order: 1, 2, 4, 3. Take the elevator to the top.
Image credit: GamerSky.com
SANCTUARY OF INSIGHT
At the top, activate the marker at the entrance, then jump to the opposite platform and climb to the peak.
Image credit: GamerSky.com
Find the glowing white disc on the ground. Stand on it, jump, and use Force Palm downward twice to activate the mechanism.
A mysterious figure appears, blows you off the tower, and destroys the Abyss Artifact.

Image credit: GamerSky.com
Return to Howling Hill and enter the black tent for the chapter-ending cutscene.
Image credit: GamerSky.com
Image credits: GamerSky.com
Chapter 5: Uninvited Guests — Overview
Chapter 5 is the most combat-intensive chapter so far. It begins with a diplomatic disaster at Hernand Castle that unleashes the game's hardest early boss — Kailok the Hornsplitter. After surviving, Kliff investigates a mysterious Crow Summoner, explores the treacherous Ascension Tower filled with puzzles, and faces off against the Summoner in a final boss battle.
NOTE: The source walkthrough (GamerSky.com) was still being updated as of March 24, 2026. Chapters 6 and 7 will be added when their walkthroughs become available.
MISSIONS IN THIS CHAPTER
- Uninvited Guests — Horse taming + Kailok the Hornsplitter boss fight
- Black and White — Crow Summoner investigation + Ascension Tower + final boss
COLLECTIBLES
- - Special Equipment: Thorn of the Sacred Tree (Kailok boss drop)
- - Abyss Gear: Gale 1, Chaotic Roar (Kailok boss drop)
- - Gear Crafting Recipe: Godspeed (from Damiane after Kailok)
- - Book: World Cloth Armor Collection Vol. 3 (Black and White)
- - Skill: Crow Rush (learned from observing the Crow Summoner)
- - Special Equipment: Taolia Scimitar, Black Wing Leather Armor, Black Wing Plate Mask (final boss drops)
- - Abyss Artifact: x1 (Ascension Tower)
BOSS FIGHTS
Kailok the Hornsplitter — The hardest early-game boss. 3 health bars, aggressive attacks with minimal recovery windows. Stock up HEAVILY on food.
The Crow Summoner — Humanoid boss with low poise. Parry his combos and counter-attack. His aerial attacks escalate in later phases (2 dives → 3 dives).
Image credits: GamerSky.com
Uninvited Guests Walkthrough
Uninvited Guests Walkthrough
Special Equipment: 1
Quest Chain: The True Intent of the Invitation → The Coming Uninvited Guest → The Demeniss Delegation → The Conspiracy Exposed
WARNING: This mission contains the hardest early-game boss — Kailok the Hornsplitter. Prepare a LARGE supply of healing food before starting.
---
THE TRUE INTENT OF THE INVITATION
Return to Howling Hill and enter the black tent for a cutscene. You receive a letter from Serkis. Follow the marker to Hernand Castle entrance.
You need to help a soldier tame a panicked horse. The horse doesn't appear on the minimap — look around for a grey horse running wild.
Image credit: GamerSky.com
Approach the horse and press the mount button to begin taming. During the taming minigame, DON'T move your camera. Watch the horse's head direction — if it turns left, press right to increase the taming bar. Same for other directions.
Ride the tamed horse to the marker — it turns out to be Damiane's horse.
Image credit: GamerSky.com
THE DEMENISS DELEGATION
Talk to Baden (green armor) at the next marker and enter the banquet hall.
The visiting delegation brings a beast as a show of force — but it breaks free. Enter the boss fight against Kailok the Hornsplitter.
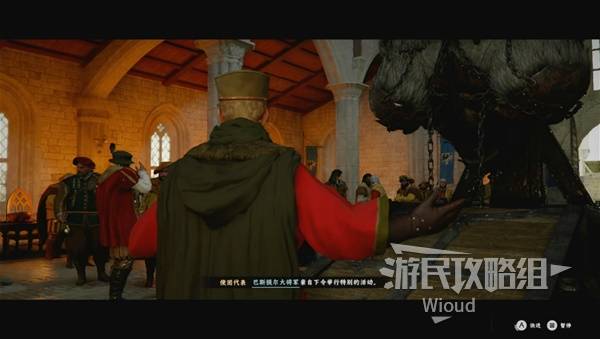
Image credit: GamerSky.com
BOSS: KAILOK THE HORNSPLITTER
This is widely considered the most frustrating boss in the early game. Extremely aggressive, limited arena, 3 health bars, and minimal interactive tells.
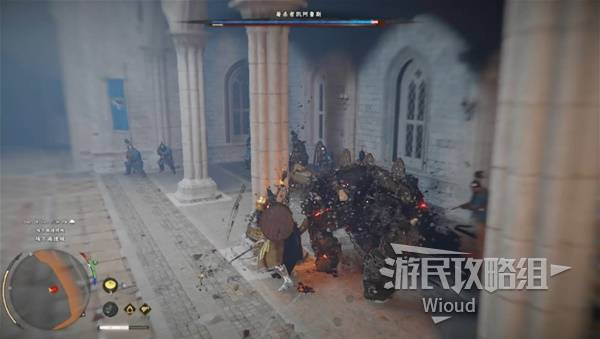
Image credit: GamerSky.com
STRATEGY:
- - DO NOT use your shield to block — Kailok will chain through your guard and combo you to death
- - Maintain distance, use dodge rolls to avoid its charges
- - Wait for attack recovery windows, rush in for a quick combo, then retreat
- - The fight is essentially a war of attrition — trade damage efficiently and heal constantly
PHASE 2: Kailok gains a wall-climb slam attack. Watch for it and punish the recovery window after it lands.
The screen-flash ultimate involves repeated slam charges followed by one final aerial slam. Dodge the charges and punish after the final slam.
PHASE 3: More aggressive attack patterns but no new moves. Same strategy — dodge and punish.
Defeating Kailok rewards: "Thorn of the Sacred Tree" (special equipment) + Abyss Gears "Gale 1" and "Chaotic Roar."
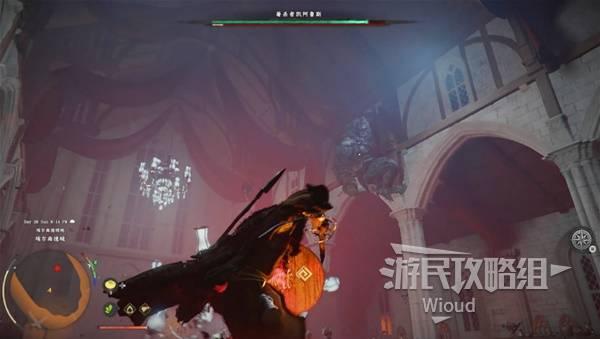
Image credit: GamerSky.com
THE CONSPIRACY EXPOSED
After the fight, talk to Damiane. She gives you "The Seal-Breaking Letter." Read it to unlock the "Wisdom Witch" faction quest — you MUST complete this prerequisite before the main quest can continue.
Reading the letter also rewards the "Gear Crafting Recipe: Godspeed."
Image credit: GamerSky.com
Image credits: GamerSky.com
Black and White Walkthrough
⚠️ Before you begin: This quest is locked until you complete the faction quest The Wise Witch. Head there first, then return here to continue the Chapter 5 story.
---
Black and White Walkthrough
Books: 1 | Skills: 1 | Abyss Artifact: 1
Quest Chain: The Crow Summoner → The Crow's Warning → Bloodbath → Secrets Hidden in the Church → Into the Lair
---
THE CROW SUMMONER
Head to the Hernand Castle marker. A soldier reports an intruder. Enter the castle, take the right staircase to the second floor, then continue up one more flight. Enter the left archway to reach the area above the Law Library entrance.
Image credit: GamerSky.com
At the end of the corridor, there's a locked room. You need a key from the Black Market merchant to open it.
Image credit: GamerSky.com
Inside, grab "World Cloth Armor Collection Vol. 3" from the bookshelf on the left.
Image credit: GamerSky.com
THE CROW'S WARNING
Enter the Law Library. Walk to the building entrance to trigger a fight. Inside, you find the man in red has been stabbed. After the cutscene, jump down from the library back to Hernand.
Image credit: GamerSky.com
BLOODBATH
Follow the markers to the southeast corner of Hernand to find the Crow Summoner. Watch the cutscene, then defeat the enemies that appear.
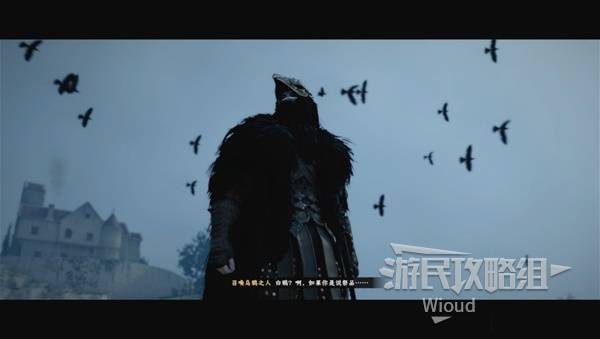
Image credit: GamerSky.com
Travel to the next (distant) marker. Approach the bodies on the ground for a cutscene, clear the enemies, then fight the Crow Summoner for the first time.
The Summoner has long gaps between attacks but uses multi-hit combos. Tap the block button during combos to parry, then counter-attack. A straightforward fight.
Image credit: GamerSky.com
When the enemy goes airborne, watch carefully — you can learn the skill "Crow Rush" by observing.
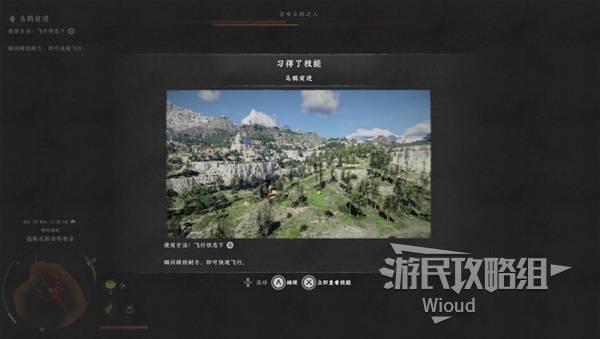
Image credit: GamerSky.com
SECRETS HIDDEN IN THE CHURCH
The Summoner escapes to a nearby stone tower. Ignore the tower for now — head right through the archway:
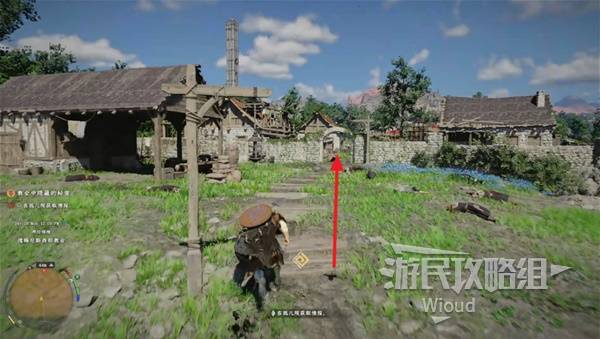
Image credit: GamerSky.com
Find a building with blue flower beds on the left. Enter to trigger a cutscene and receive the "Church Underground Warehouse Key."
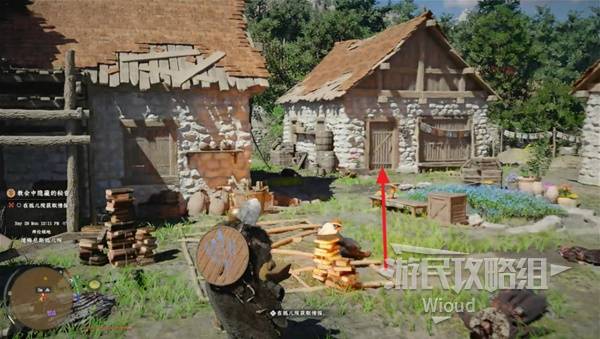
Image credit: GamerSky.com
Go to the next glowing marker and use the key to open the small building:
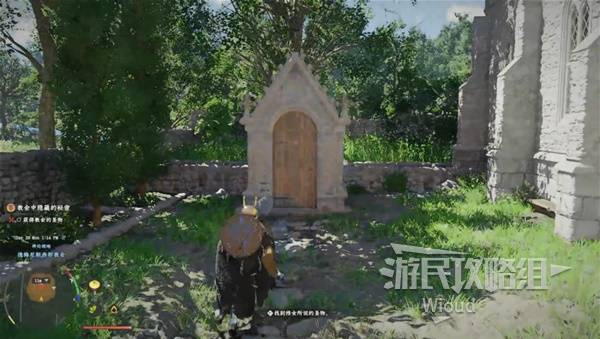
Image credit: GamerSky.com
Descend the stairs to find a safe box. Solve the puzzle by pressing the stone blocks in the order shown below. You'll receive the "Shining Dagger."
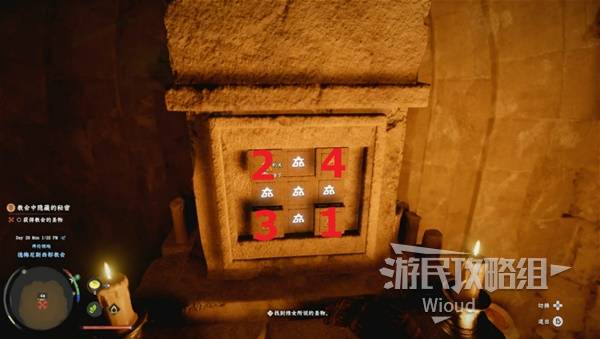
Image credit: GamerSky.com
Return to the stone tower where the boss disappeared. Insert the dagger into the central slot:
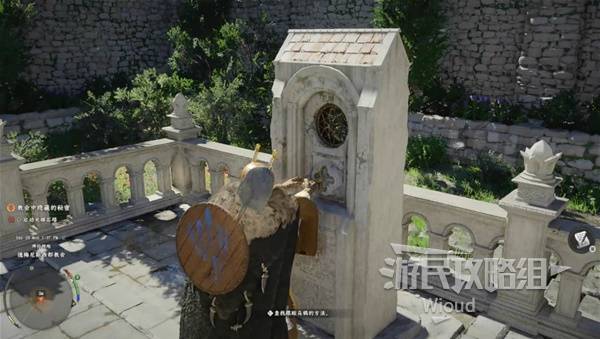
Image credit: GamerSky.com
When the tower ascends, rotate the stone disc to correct the pattern. Match it as shown below — start with the outer ring, align with the protruding sides, then work inward:
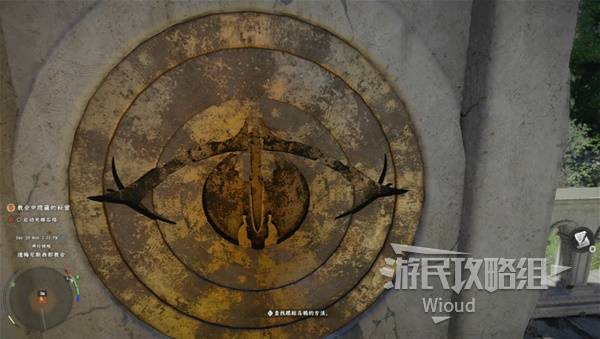
Image credit: GamerSky.com
INTO THE LAIR — ASCENSION TOWER
Head to the Ascension Tower marker. The front entrance is blocked — go around to the right rear to find a cave entrance below:
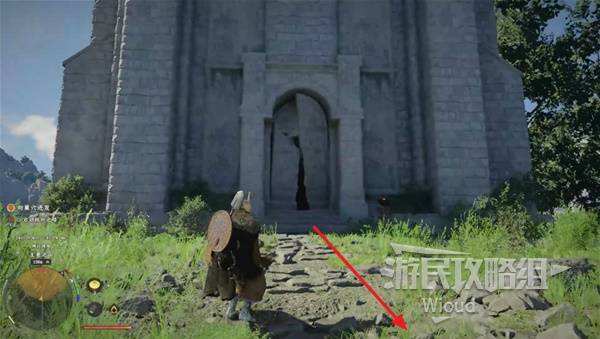
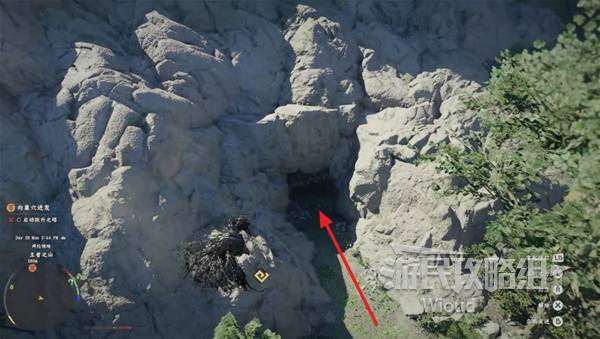
Image credit: GamerSky.com
WIND TUNNEL: Inside the tower base is an upward wind column. Jump and switch to glide mode — the wind carries you up automatically.
Image credit: GamerSky.com
ENERGY FLOW PUZZLE 1: When blocked by a platform, land on its side. Look for a circular disc mechanism on the wall. Rotate the disc to create a connected path (follow the red route shown):

Image credit: GamerSky.com
ENERGY FLOW PUZZLE 2: Drag the wall disc left to connect energy from left to right. Simple rotation puzzle:
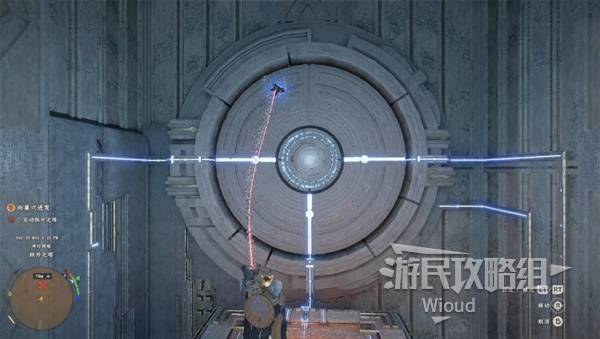
Image credit: GamerSky.com
Ride the platform to the top, then wait for an elevator to transport you to a new area. Activate the nearby Abyss marker first.
ABYSS AREA PUZZLE: Open your map and complete these tasks:
- - Red markers (×2): Use Axiom Force to aim the mechanism's beam at the front disc
- - Blue markers (×2): Repair the broken pipes
WARNING: Avoid the purple flowers on the ground — they deal continuous damage.

Image credit: GamerSky.com
After solving the puzzle, collect the Abyss Artifact from the black pillar:
Image credit: GamerSky.com
Head to the triangular door at the end. Use Axiom Force to rotate the pillar and activate the mechanism:
Image credit: GamerSky.com
Use the wind column to fly up, cross to the opposite platform, and stand on the central disc mechanism at the top. It teleports you to the boss arena.
Clear the enemy waves along the walkway to trigger the final boss fight.
Image credit: GamerSky.com
BOSS: THE CROW SUMMONER (FINAL)
Compared to Kailok, this boss is much more manageable. Low poise — most attacks stagger him.
STRATEGY:
- - Parry during his multi-hit combos, then counter with a full combo
- - AERIAL ATTACKS: He flies up first, swoops once to reposition, then dives down. Dodge AFTER the second movement
- - Phase 2: Aerial attacks become 2 consecutive dives
- - Phase 3: 3 consecutive dives — same timing, just more dodges
Defeating the Crow Summoner rewards: "Taolia Scimitar," "Black Wing Leather Armor," and "Black Wing Plate Mask."
Image credit: GamerSky.com
NOTE: GamerSky's walkthrough ends here (last updated March 24, 2026). Chapters 6 and 7 walkthroughs will be added when the source material becomes available (expected March 26).
Image credits: GamerSky.com
Chapter 6: Cracks in the Shield (Overview)
Chapter 6 takes you to the northwestern battlefront of Hernand to fight the Drunken Bear forces. This combat-heavy chapter features horseback riding, multi-point flag planting, cannon operations, elite fights, and a chapter-ending boss battle.
Quest Groups:
- - Blazing Beacon
- - Under the Banner Pike Again
- - Turning Tides
- - The Unyielding Shields
Key Rewards:
- - Whistling Arrow (Mingdi) — special arrow type
- - Shield of Betrayal — special equipment (boss drop)
Blazing Beacon Walkthrough
BLAZING BEACON
Collectibles: None
Quest Chain: News → To the Battlefield → The Counterattack
NEWS
Return to Howling Hill to trigger a cutscene. Teleport to Hernand City and enter the upper castle area. Head to the corridor where the Hall of Laws Library is located. Enter the room at the very end — Serkins is waiting for you.
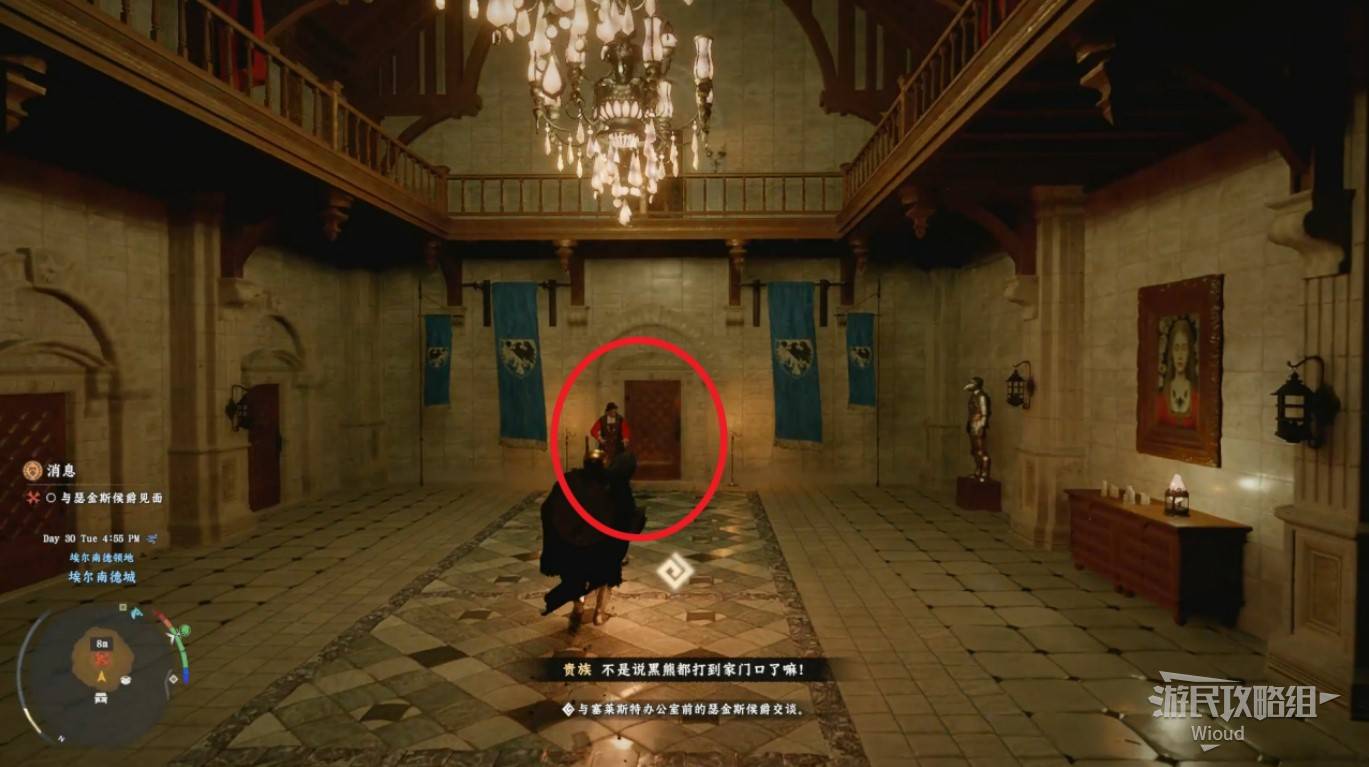
Image credit: GamerSky.com
TO THE BATTLEFIELD
Follow the quest marker to the Beacon Tower. Speak with the guard soldier, then ride alongside him on horseback. Midway, you'll encounter an ambushed caravan wreckage and a group of Drunken Bear soldiers — defeat them and continue following the soldier to the waypoint. Speak with Baden at the city gate to receive your next objective.
Image credit: GamerSky.com
Image credit: GamerSky.com
THE COUNTERATTACK
Head to the marker and speak with the soldier. Ride with the next soldier to the destination. At the endpoint, use the combo key (hold left-click on PC) to drag the flag on the ground and plant it into the slot on the right to complete this section.
Image credit: GamerSky.com
Under the Banner Pike Again Walkthrough
UNDER THE BANNER PIKE AGAIN
Collectibles: None
Quest Chain: Cradle of Defense → The Touch of Deliverance → Fire on the Frontlines
CRADLE OF DEFENSE — PLANT THREE FLAGS
You need to plant flags at three locations:
- Weapons Workshop — The flag is far from the slot. The map marks the slot location, but the flag is at the position shown by the red circle on the minimap.
Image credit: GamerSky.com
Image credit: GamerSky.com
- Gunpowder Factory — The flag is right next to the slot.
Image credit: GamerSky.com
- Taldwen Village — The flag is far from the slot in complex terrain. Look for it to the lower-right of the slot, next to a cart.
Image credit: GamerSky.com
Tip: Clear nearby enemies before planting each flag to avoid being interrupted.
THE TOUCH OF DELIVERANCE
Head to the camp at the quest marker and speak with the rescue soldier. Go to the enemy camp, defeat all enemies, then find the injured soldier lying face-down at the far end. Approach and press "Pick Up" to carry him back to the friendly camp.
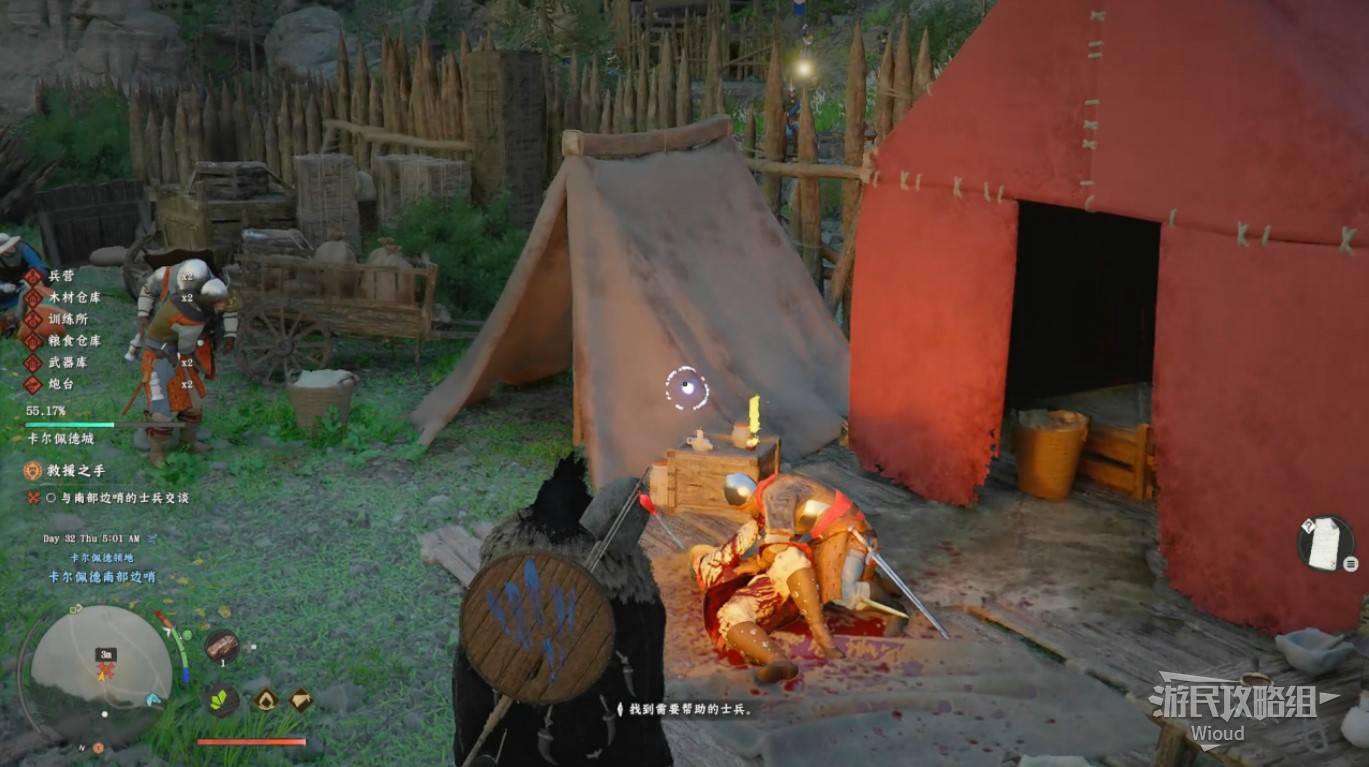
Image credit: GamerSky.com
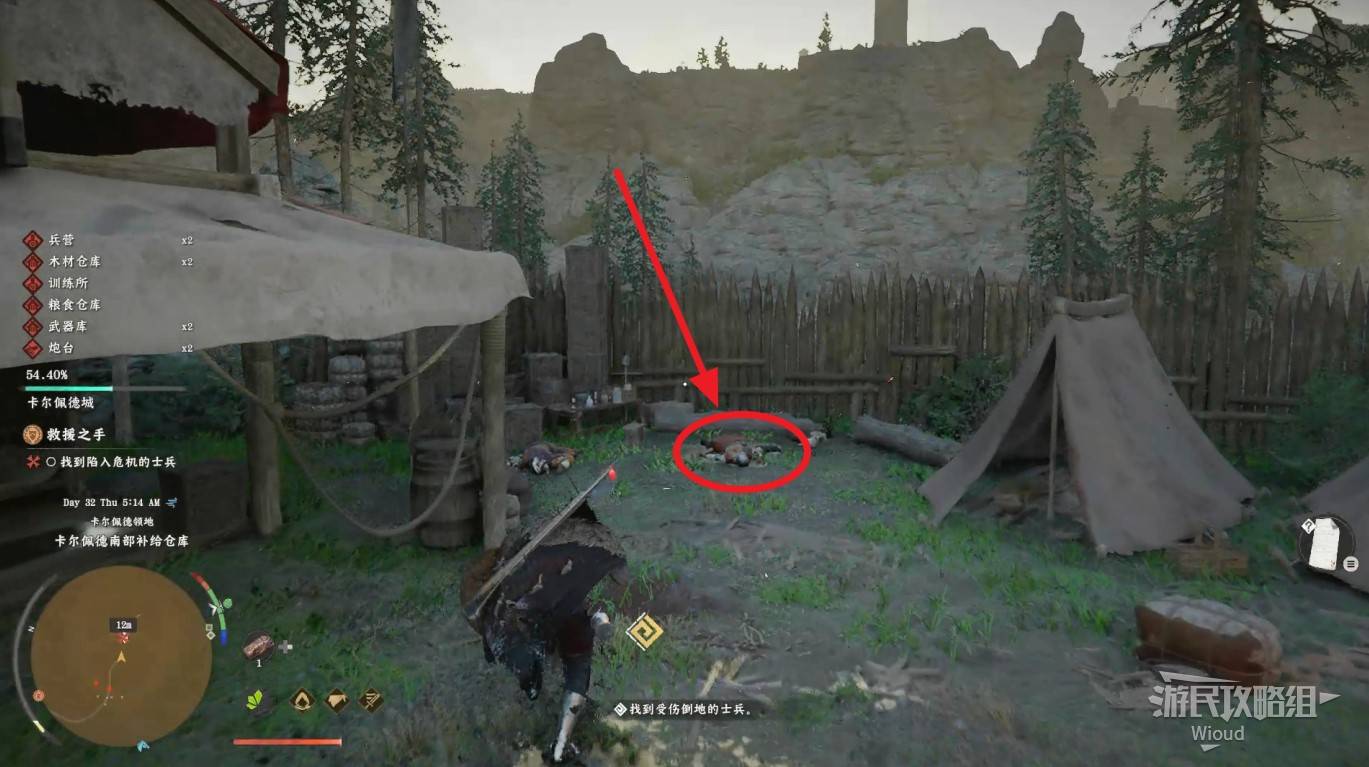
Image credit: GamerSky.com
FIRE ON THE FRONTLINES
Your objective: destroy the enemy supply wagon. It's inside a church building at the quest marker — enter through the front door. Once you see the wagon, draw your sword and use Radiant Reflection — Focused Light to aim at the wagon and ignite it.
Image credit: GamerSky.com
Image credit: GamerSky.com
Note: The bell tower atop this church is the area bell, but ringing it has no map-reveal effect at this point.
Turning Tides Walkthrough
TURNING TIDES
Collectibles: None
Quest Chain: Fire Support → In Ashes → Hidden Fangs
FIRE SUPPORT — CANNON DESTRUCTION
Head to the fire support point and speak with the soldier next to the cannon. Complete a QTE sequence to help repair it. Then operate the left cannon to destroy four enemy watchtowers — they'll be marked by red smoke. Move the cannon's aim to see the trajectory clearly, and fire directly at each tower structure.

Image credit: GamerSky.com
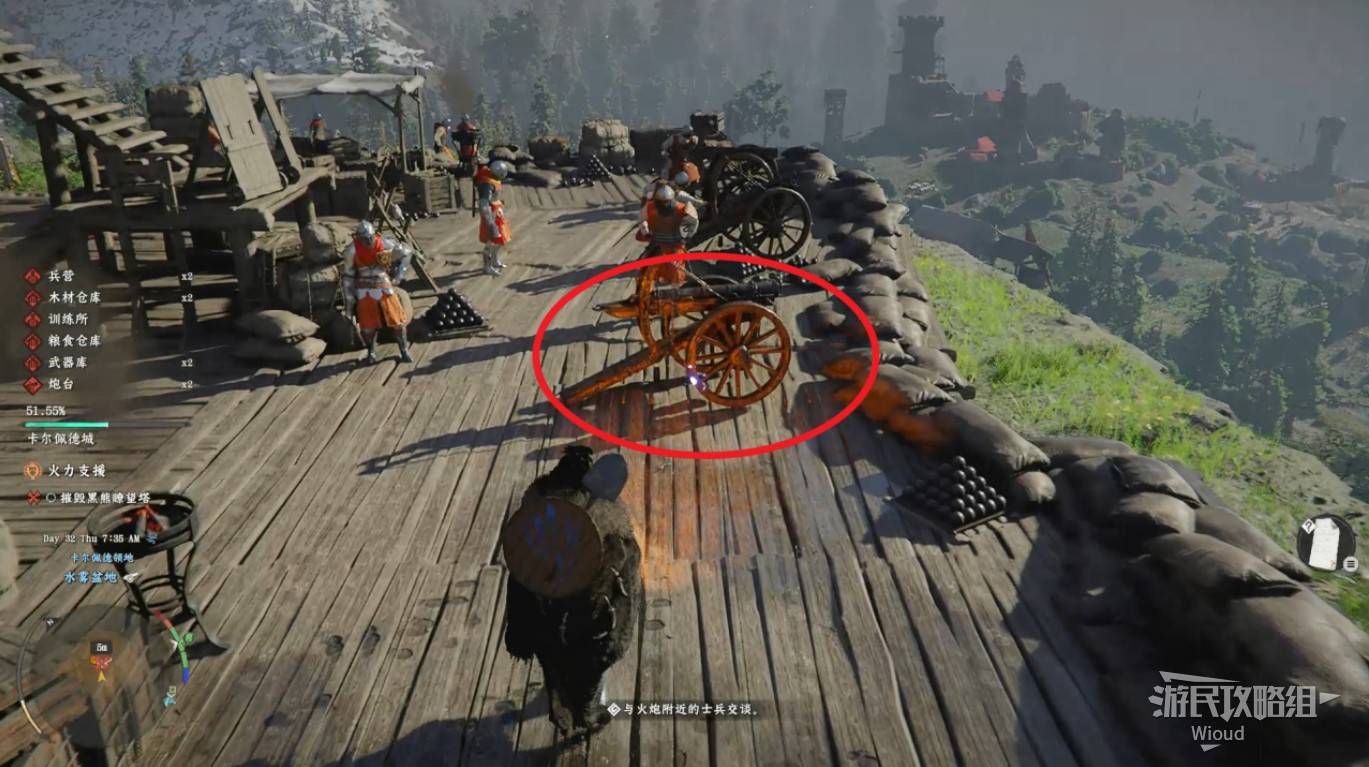
Image credit: GamerSky.com
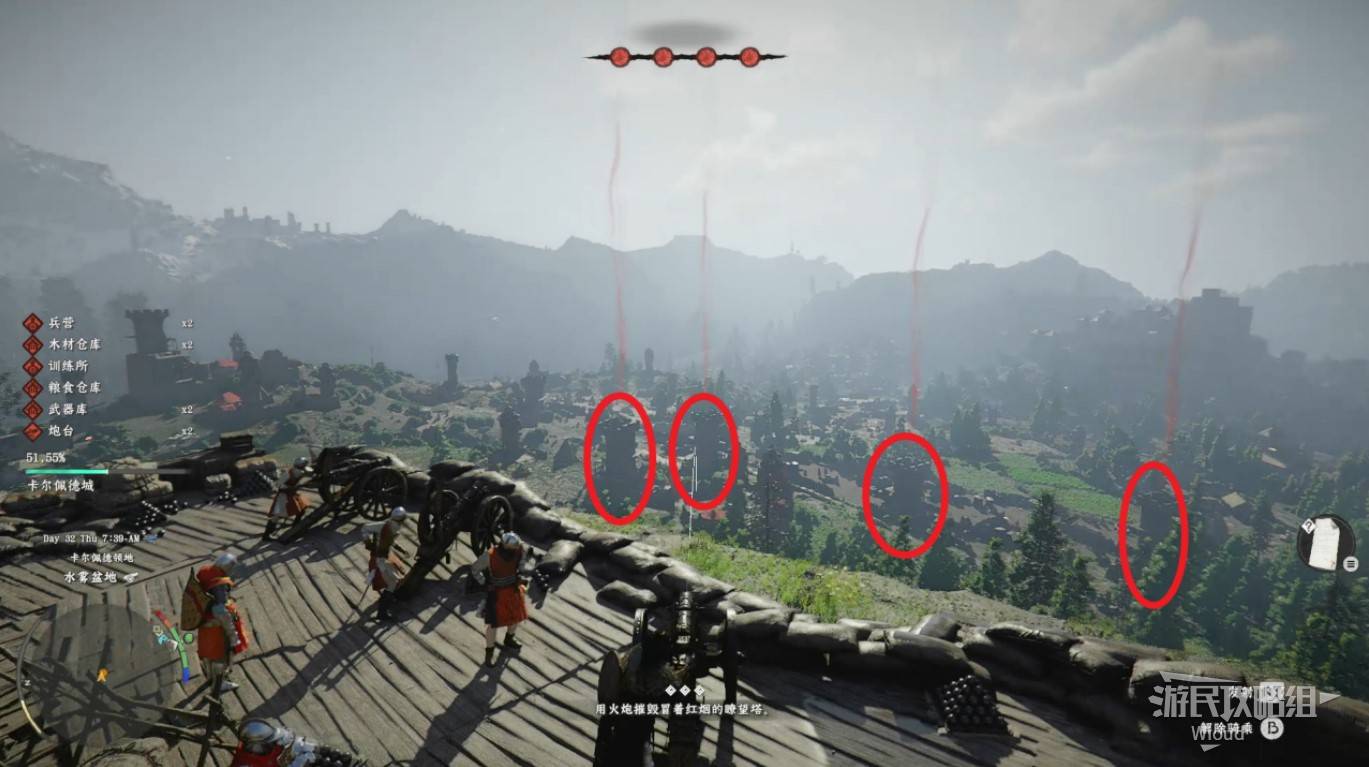
Image credit: GamerSky.com
IN ASHES — DEFEAT THE ELITE ENEMY
Speak with soldiers at the outer perimeter. Use your lantern to survey the area, then speak with the soldier marked with ! to continue. Enter the enemy camp at the marker and defeat the largest enemy wielding a hammer — the elite target.
Image credit: GamerSky.com
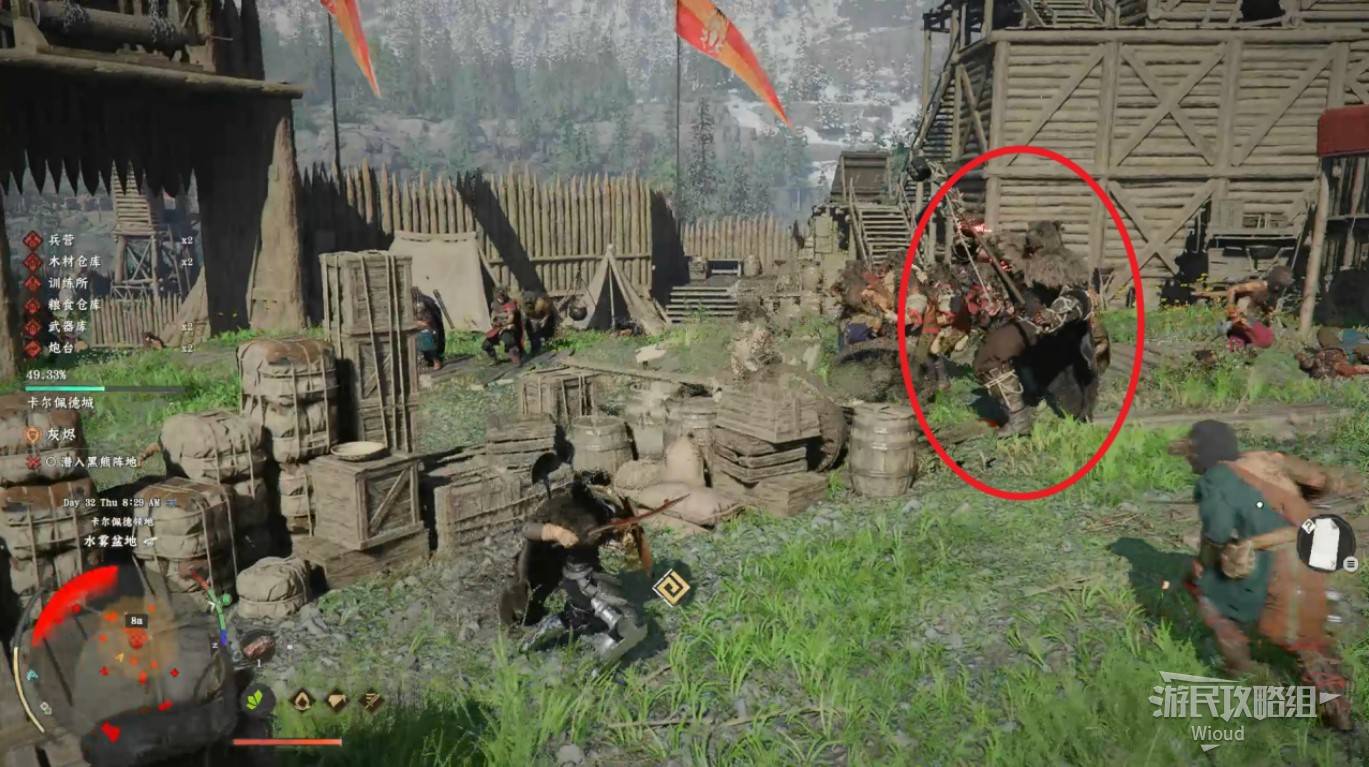
Image credit: GamerSky.com
Tip: You don't need to clear all surrounding enemies, but don't let them overwhelm you during the elite fight.
HIDDEN FANGS — DESTROY TANK DEVICES
After leaving the enemy camp, you'll find tank-like siege devices scattered across the area. Destroy all five to complete the quest. Open your map to see all their locations — no need to search blindly.
How to destroy them: Open your inventory and equip the new arrow type "Whistling Arrow" (Mingdi). Shoot these arrows at the tanks to call in cannon support that destroys them instantly.
Image credit: GamerSky.com
Image credit: GamerSky.com
Image credit: GamerSky.com
The Unyielding Shields Walkthrough
THE UNYIELDING SHIELDS
Collectibles: Special Equipment × 1 (Shield of Betrayal)
Quest Chain: A Thousand Troops → Traitor (BOSS) → All Quiet on the Front → News of Victory → Return Home
A THOUSAND TROOPS
The routed enemies flee into the castle. Follow the markers and charge in — you'll reunite with Oongka inside.
TRAITOR — BOSS FIGHT: CASSIUS MORTON
Push into the innermost room of the castle to trigger the boss fight against Cassius Morton.
Mechanic Kill (Recommended): This fight has an environmental kill mechanic. Several toppled stone pillars are scattered around the arena. Fight the boss normally, then when the opportunity arises, press the combo key to lift a pillar and slam it onto him. Each hit deals roughly half a health bar of damage — two pillar slams should end the fight.
Image credit: GamerSky.com
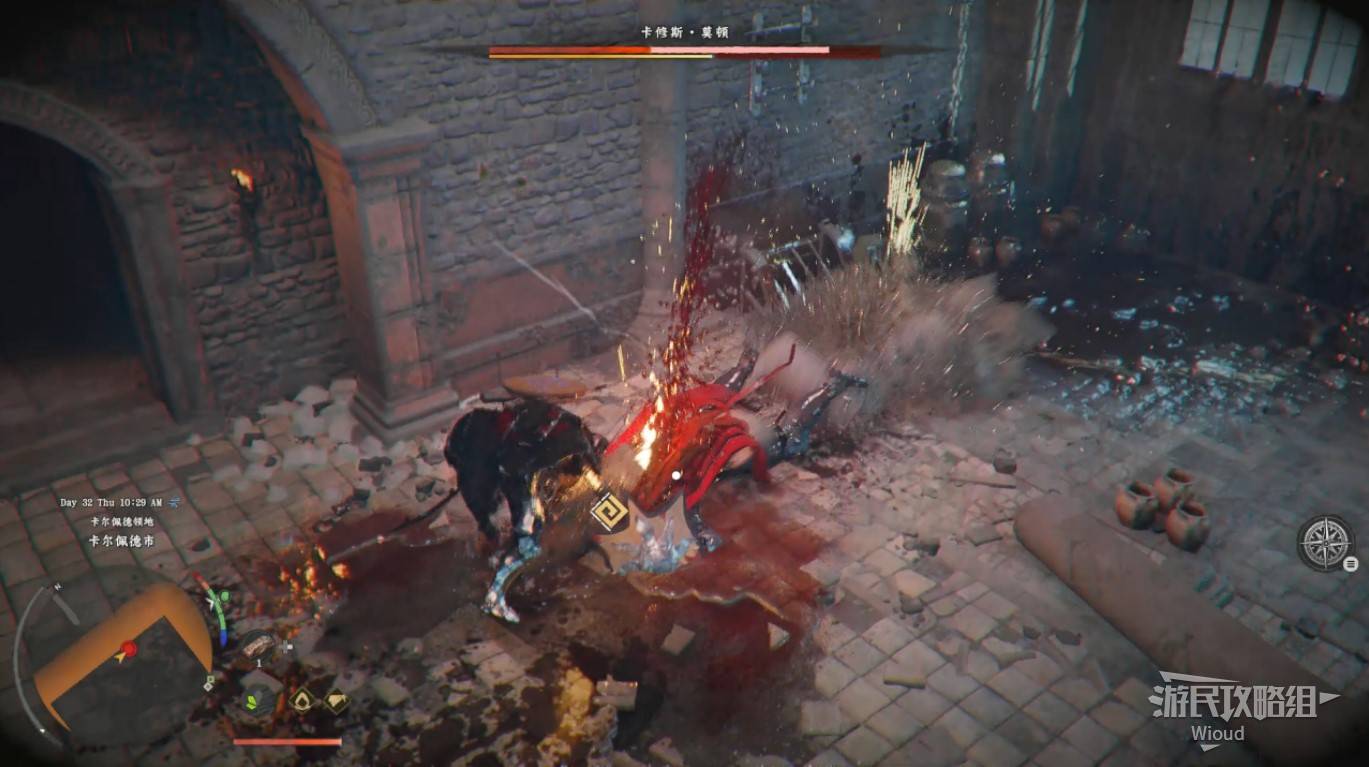
Image credit: GamerSky.com
Reward: Special Equipment "Shield of Betrayal"
Build Tip: The Shield of Betrayal has excellent stats. Pair it with the rapier "Gentleman's Oath Sword" (from an earlier main quest). Hold block then light-attack to perform a shield-bash combo similar to Elden Ring's shield poke — very effective against tough enemies.
ALL QUIET ON THE FRONT
Wait for your allies to enter the castle. Speak with them to complete this section.
NEWS OF VICTORY — LIGHT THE BEACON
Follow the soldiers outside and ride on horseback (stealth mode). At the beacon tower, enter the front gate and walk all the way to the top. Use Radiant Reflection — Focused Light to ignite the beacon fire.
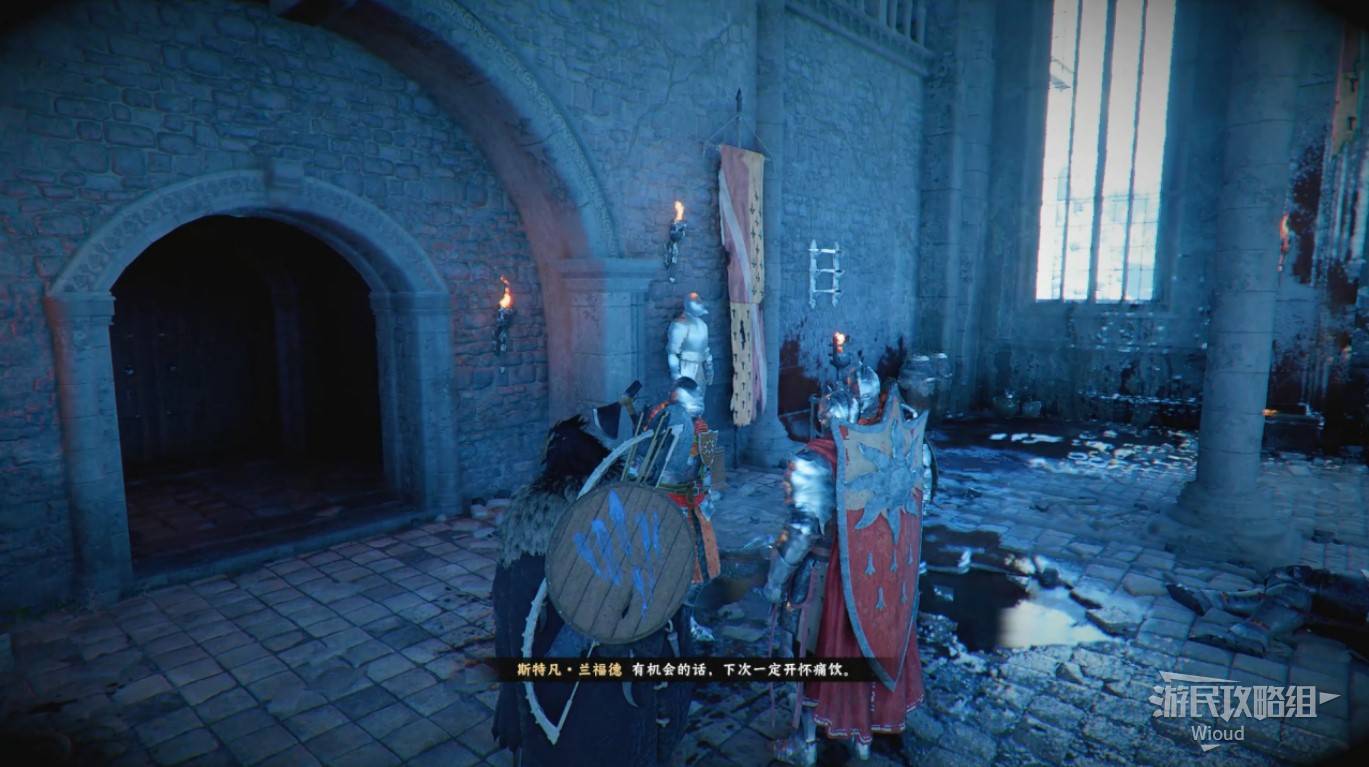
Image credit: GamerSky.com
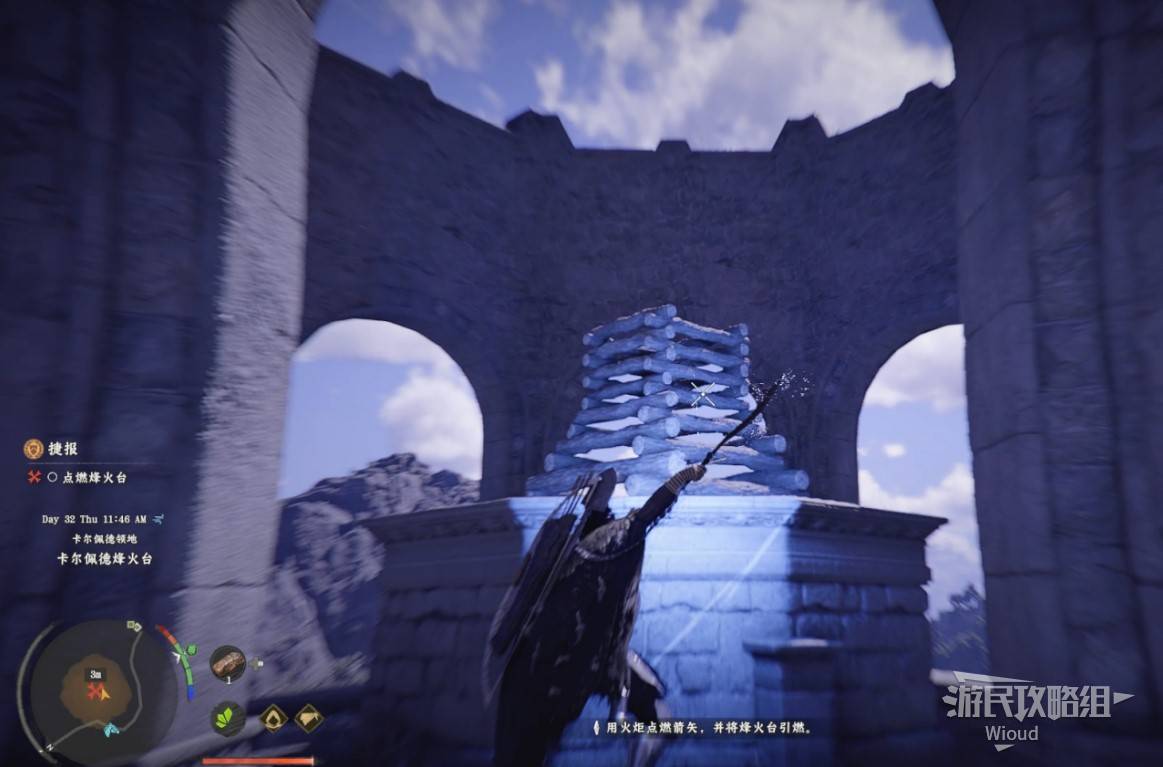
Image credit: GamerSky.com
RETURN HOME
Teleport to Howling Hill to trigger a cutscene. Chapter 6 complete!
Image credit: GamerSky.com
Chapter 7: Homecoming (Overview)
Chapter 7 plunges you into political intrigue and large-scale battles as you uncover betrayal, recruit allies, and fight through multiple boss encounters to reclaim lost territory. Features stealth/eavesdropping mechanics, infiltration with a disguise set, and a unique playable character switch to Oongka.
Quest Groups:
- - Dawn Mist
- - Dawnrise
- - Decisive Battle
- - Twisted Fate
Key Rewards:
- - Wolf Fang — special equipment
- - Hyena Disguise Set — stealth equipment
- - Hungry Fang Leather Cloak + Shoes
- - Fusion Wish — special equipment
- - Igniell, Solace Plate Armor + Shoes
Dawn Mist Walkthrough
DAWN MIST
Collectibles: Special Equipment × 1 (Wolf Fang)
Quest Chain: Ashes of Treachery → Trust Lost → Bared Fang → Rekindled Hope → Podium of Resolve
ASHES OF TREACHERY
From Howling Hill, ride with a companion to an unknown shrine. You'll be automatically teleported partway — don't worry about the distance. At the shrine, you'll find it destroyed. Defeat the spawning enemies, then interact with the dragon head statue to obtain and read "Celeste's Secret Letter."
Image credit: GamerSky.com
TRUST LOST
Ride to the village at the quest marker. Speak with Yarn, Naira, and others in sequence. The villagers are discontent — you need to eavesdrop on their discussions.
Image credit: GamerSky.com
BARED FANG — EAVESDROPPING & INTERROGATION
Head to the marker. Two people are talking inside a red wooden house. Go to the side of the house and press your face against the wall — the "Eavesdrop" prompt appears in the lower-right corner.
Image credit: GamerSky.com
Bug Note: If the eavesdrop button doesn't appear or keeps flickering, restart the game.
You'll learn about a secret society nearby. Speak with the NPC marked with a red circle, then work through three rounds of interrogation dialogue:
- First dialogue: "Truth about the underground warehouse" → "It's a lie" → "Secret society hideout"
- Second dialogue: "Bergen village mysterious force" → "It's a lie" → "Blue Fang"
- Third dialogue: "Blue Fang captain" → "It's a lie" → "Thorsten"
Between each dialogue, go to the next marker to eavesdrop on more conversations before returning.
Image credit: GamerSky.com
Image credit: GamerSky.com
Image credit: GamerSky.com
REKINDLED HOPE
After earning their trust, enter the guarded warehouse on the left. Open the floor hatch inside to enter the underground area and trigger a cutscene. The Blue Fang leader asks you to eliminate the beacon tower commander.
Exit the underground and ride with soldiers toward the beacon tower. The game suggests stealth, but it's too slow and unforgiving — just climb walls in a straight line to the marker instead. The commander stands right at the beacon tower entrance — no searching needed. He's elite-level (no boss health bar).
Defeat him, climb to the top, and light the beacon using the usual method.
Image credit: GamerSky.com
Image credit: GamerSky.com

Image credit: GamerSky.com
PODIUM OF RESOLVE
Return to the Blue Fang leader's location. This time, skip to night using the shortcut key prompt on the right side of the screen. Approach the guarded house to trigger a cutscene and speech scene. Afterward, go to the warehouse underground — pick up the special equipment "Wolf Fang" at the marker.
Image credit: GamerSky.com
Image credit: GamerSky.com
Dawnrise Walkthrough
DAWNRISE
Collectibles: Special Equipment × 3 (Hyena Disguise Set, Hungry Fang Leather Cloak, Hungry Fang Leather Shoes)
Quest Chain: Shadows Over Pailune → Driving Out the Shadow → Lurking Wolves → Reclamation → Lonely Jackals (BOSS) → Resolution
SHADOWS OVER PAILUNE
Ride with the Blue Fang leader to Pailune's safe house — it's been raided. After the cutscene, you receive the special equipment "Hyena Disguise Set." While wearing it, most enemies in this chapter won't attack you, though some can see through the disguise.
Image credit: GamerSky.com

Image credit: GamerSky.com
DRIVING OUT THE SHADOW
Head to the next marker and enter the house through the front door to rescue imprisoned companions. Move all the clutter next to the entrance door on the left, then open the floor hatch to obtain explosives. Plant the explosives on a cargo ship at the marked location — the Hyena Disguise makes infiltration easy.
Image credit: GamerSky.com
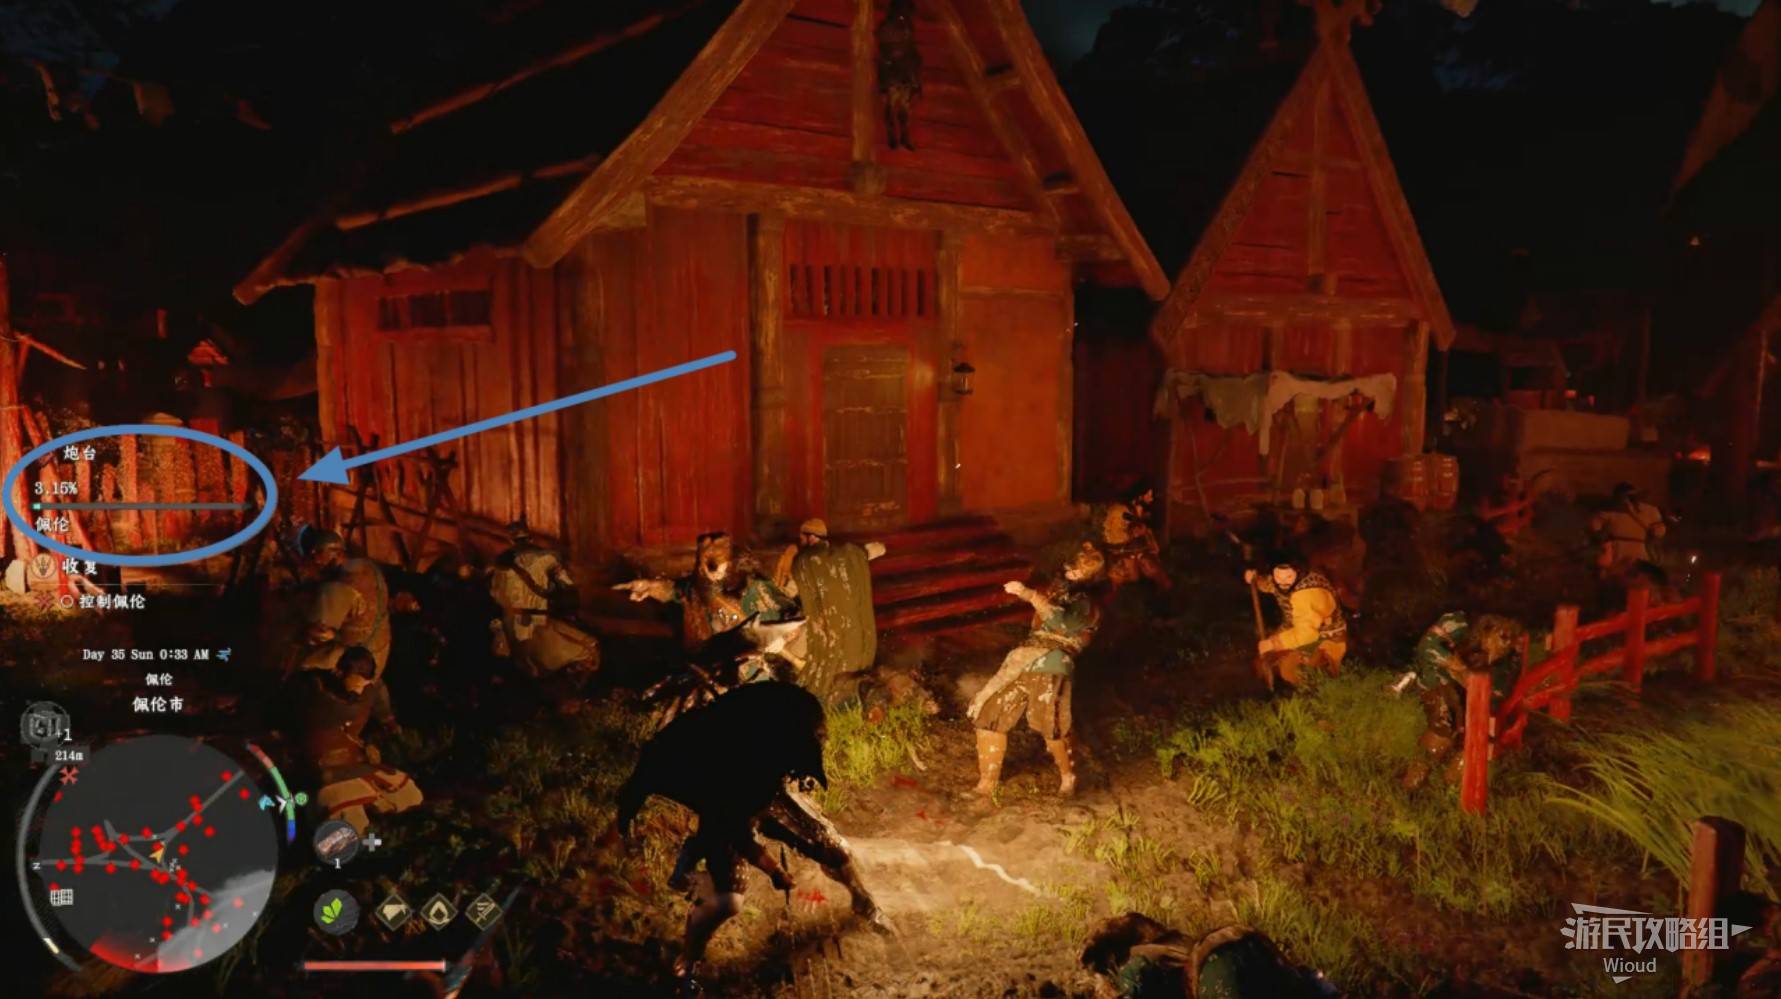
Image credit: GamerSky.com
LURKING WOLVES
Walk toward the marked house and enter through the front door to trigger a cutscene. At nightfall, Klev detonates the bomb and your allies begin the assault on Pailune City.
RECLAMATION
Watch the progress bar on the left side of the screen. Fight alongside your allies until the bar reaches zero. You'll then be teleported to the boss castle entrance.
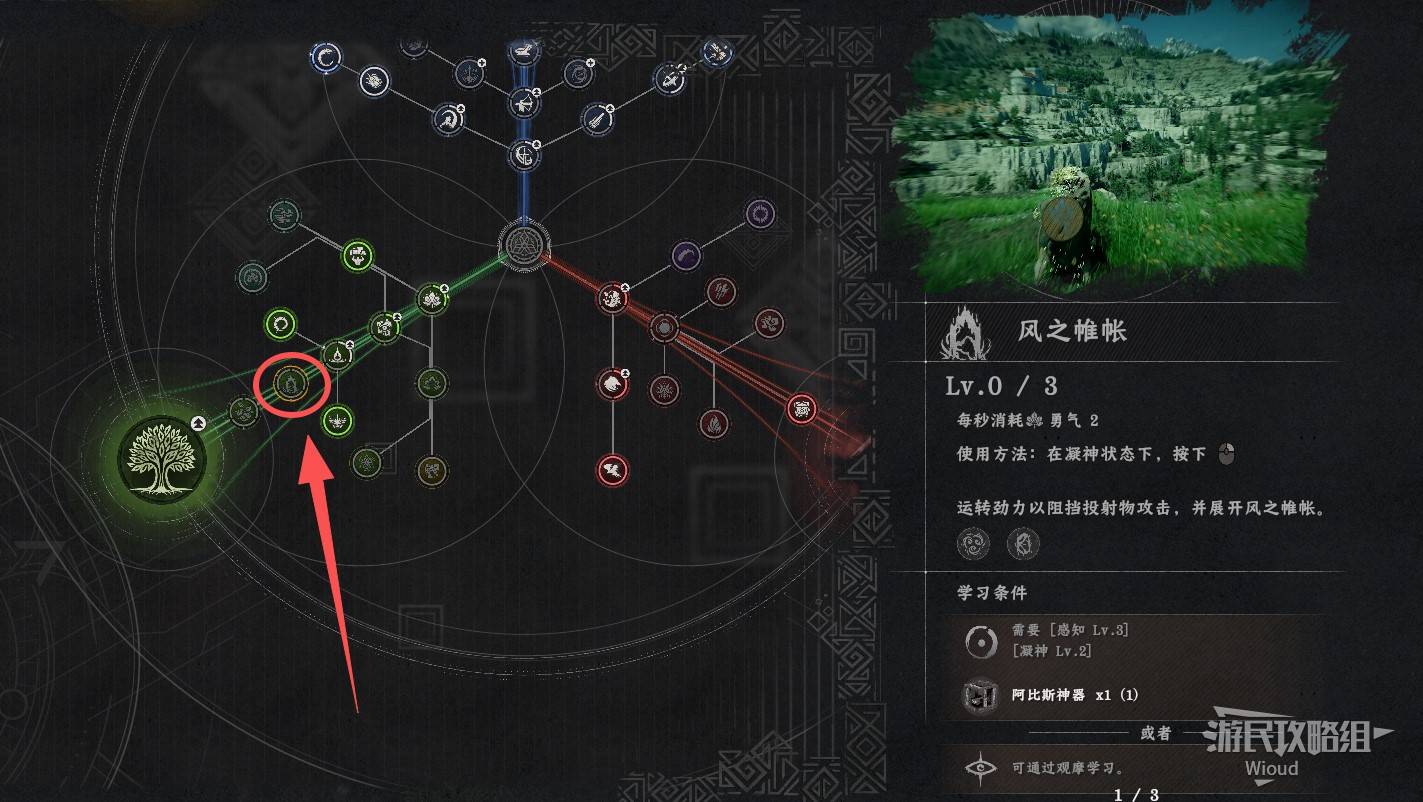
Image credit: GamerSky.com
LONELY JACKALS — BOSS FIGHT: LUDVIG
Ludvig is an agile, teleporting enemy with frustrating movement patterns.
Key Strategy:
- - Activate "Wind Curtain" skill before the fight — it's extremely useful here
- - When Ludvig summons a swarm of projectiles, Wind Curtain deflects them all automatically
- - When he charges up and pulls you toward him, run away immediately — if too close, dodge behind him
- - His other attacks are standard teleport-slash patterns — manageable once you handle the two main mechanics
Recommended Build: Shield of Betrayal + Gentleman's Oath Sword shield-bash combo, with plenty of food items.
Phase 2: Ludvig's attacks become slower. Use fallen pillars in the arena to deal massive damage (half a health bar per hit).
Rewards: Special Equipment "Hungry Fang Leather Cloak" and "Hungry Fang Leather Shoes"
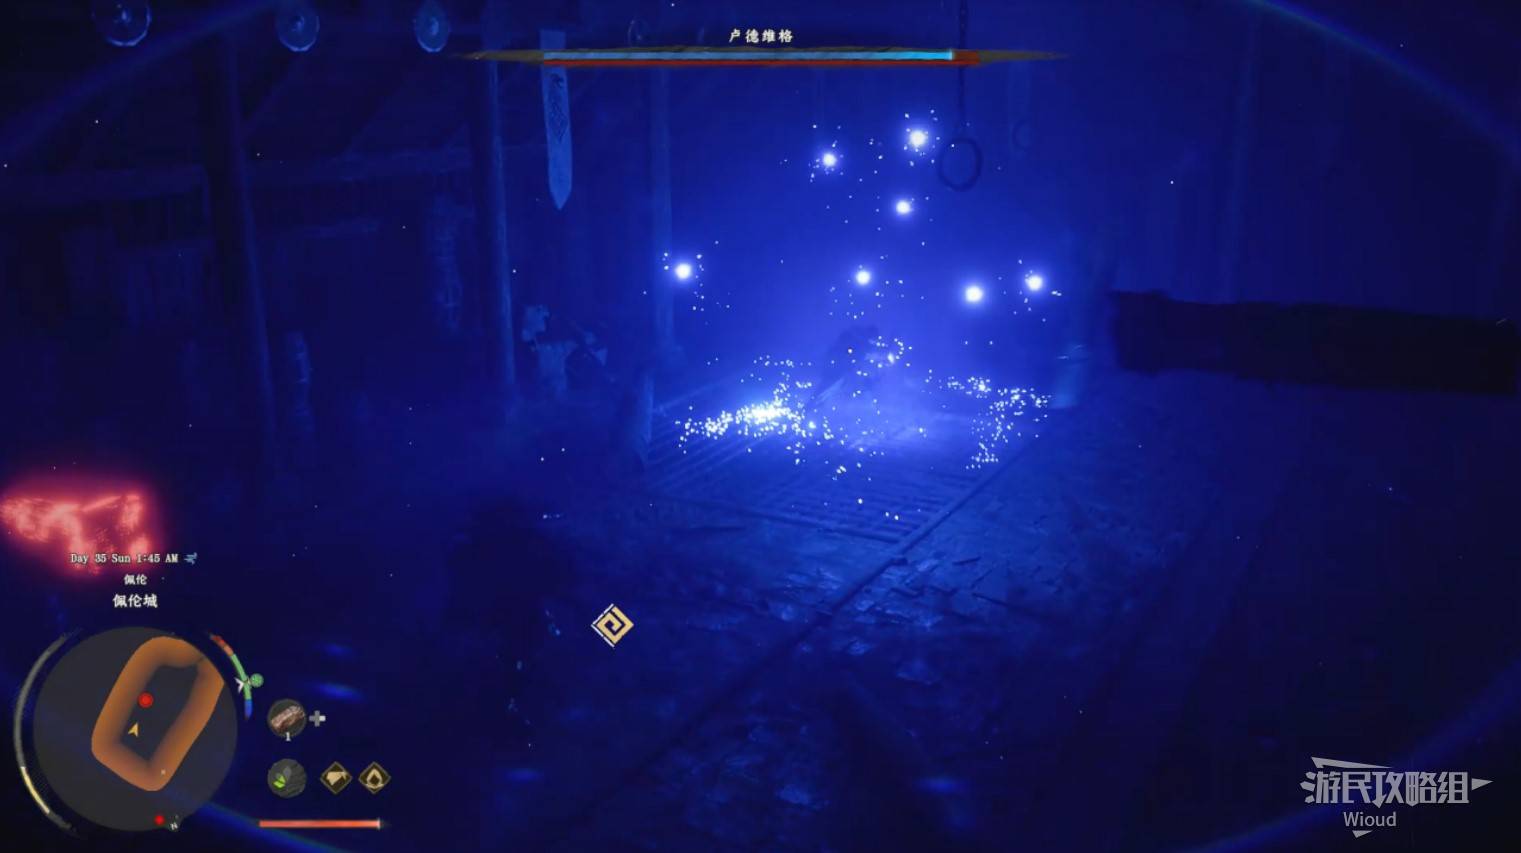
Image credit: GamerSky.com
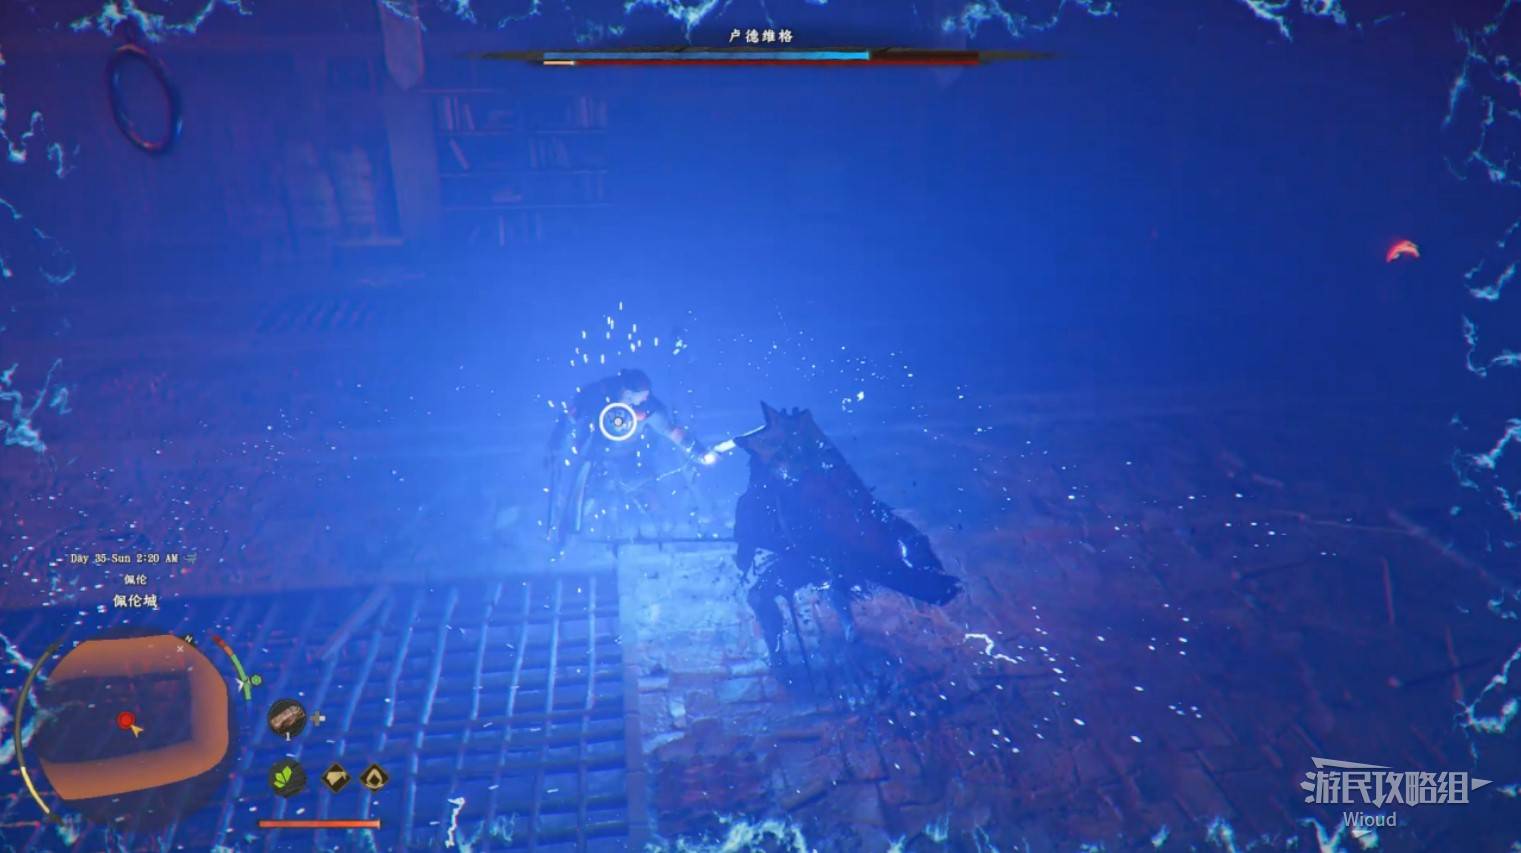
Image credit: GamerSky.com
RESOLUTION
After the battle, Ludvig is captured for interrogation. Your ally chops off his hand, but he still manages to escape. Before leaving Pailune, activate the fast travel point in the city — its location is shown below.
Image credit: GamerSky.com
Image credit: GamerSky.com
Decisive Battle Walkthrough
DECISIVE BATTLE
Collectibles: Special Equipment × 1 (Fusion Wish)
Quest Chain: The Counterattack → Unleashed Fury → The Final Bridge → Broken Claws → Battle at Silverwolf Mountain (BOSS) → Incomplete Victory
THE COUNTERATTACK
Enter the wooden cabin at the marker to trigger a cutscene where your allies plan the assault against the Drunken Bears.
UNLEASHED FURY
Night falls. Walk to the middle of the contested bridge. After dialogue ends, start fighting. You don't need to kill everyone — just defeat the lead Drunken Bear.
Image credit: GamerSky.com
Image credit: GamerSky.com
THE FINAL BRIDGE / BROKEN CLAWS
Follow the route through multiple companion checkpoints. Approaching each triggers a cutscene — don't waste time clearing enemies for allies; just move to the next marker. At the final companion, you need to liberate a POW camp together. Fight until the left-side progress bar reaches zero.
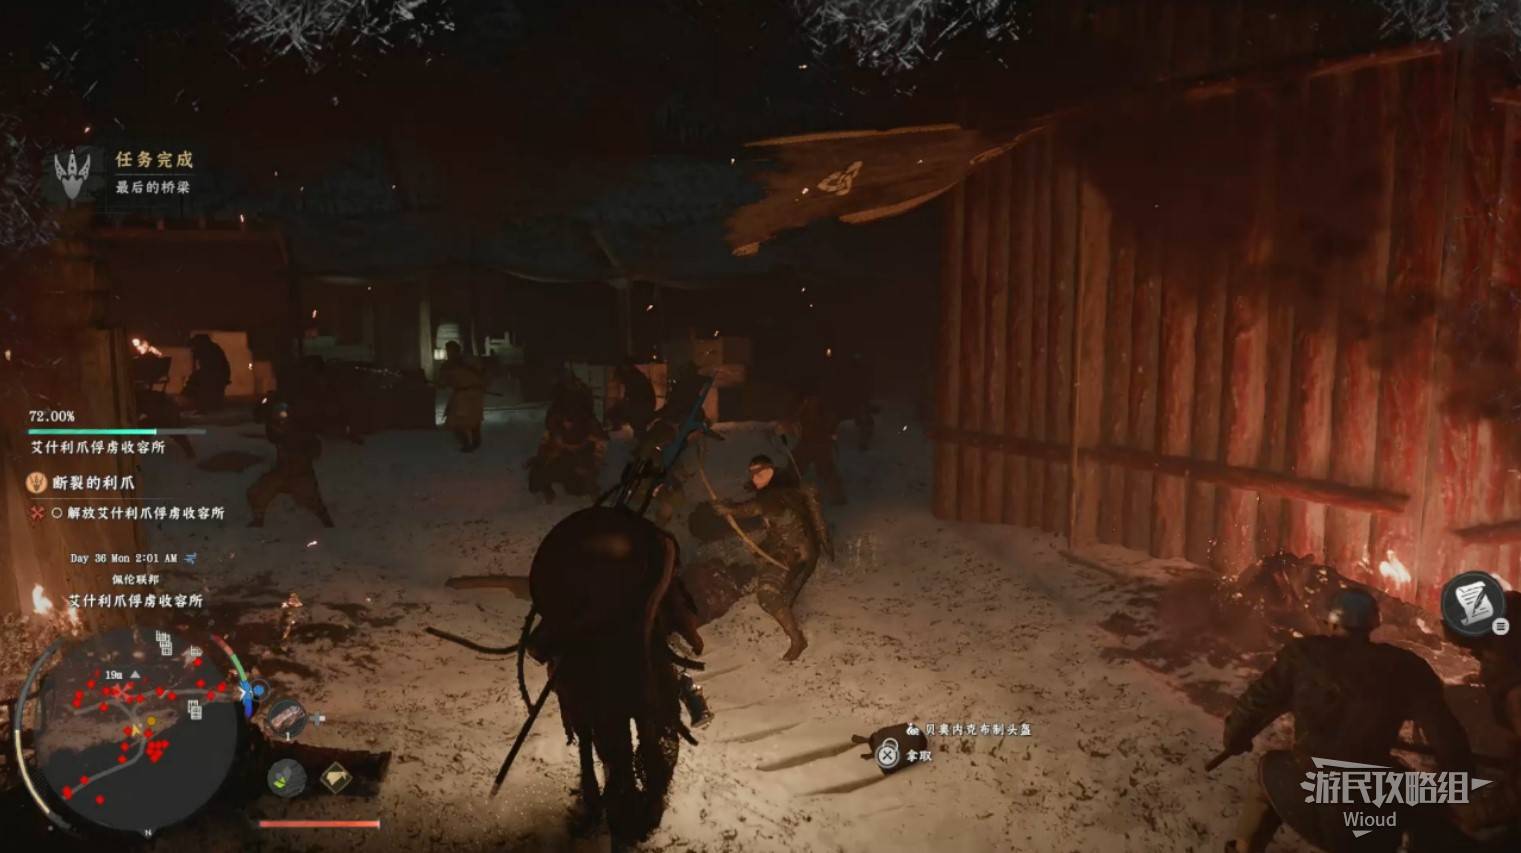
Image credit: GamerSky.com
BATTLE AT SILVERWOLF MOUNTAIN — BOSS FIGHT: MORDI
Arena Hazards:
- Smoking ground vents — Lava erupts unpredictably. Stay away from smoking spots during combat. Mordi's blackout special attack triggers all vents simultaneously.
- Explosive barrels marked with X — They explode on contact. Watch your positioning near corners.
Phase 1: Mordi is vulnerable to crowd control. Use Shield of Betrayal + Gentleman's Oath Sword shield-bash with plenty of cooked meat. Alternatively, equip Wolf Fang and upgrade the blue skill tree Grapple → Body Slam — hold heavy attack then chain into Body Slam for a repeatable loop.
Phase 2: Mordi becomes immune to grapples. Focus on dodge-and-counter patterns. Watch the ground vents carefully — they're the main threat now.
Reward: Special Equipment "Fusion Wish"
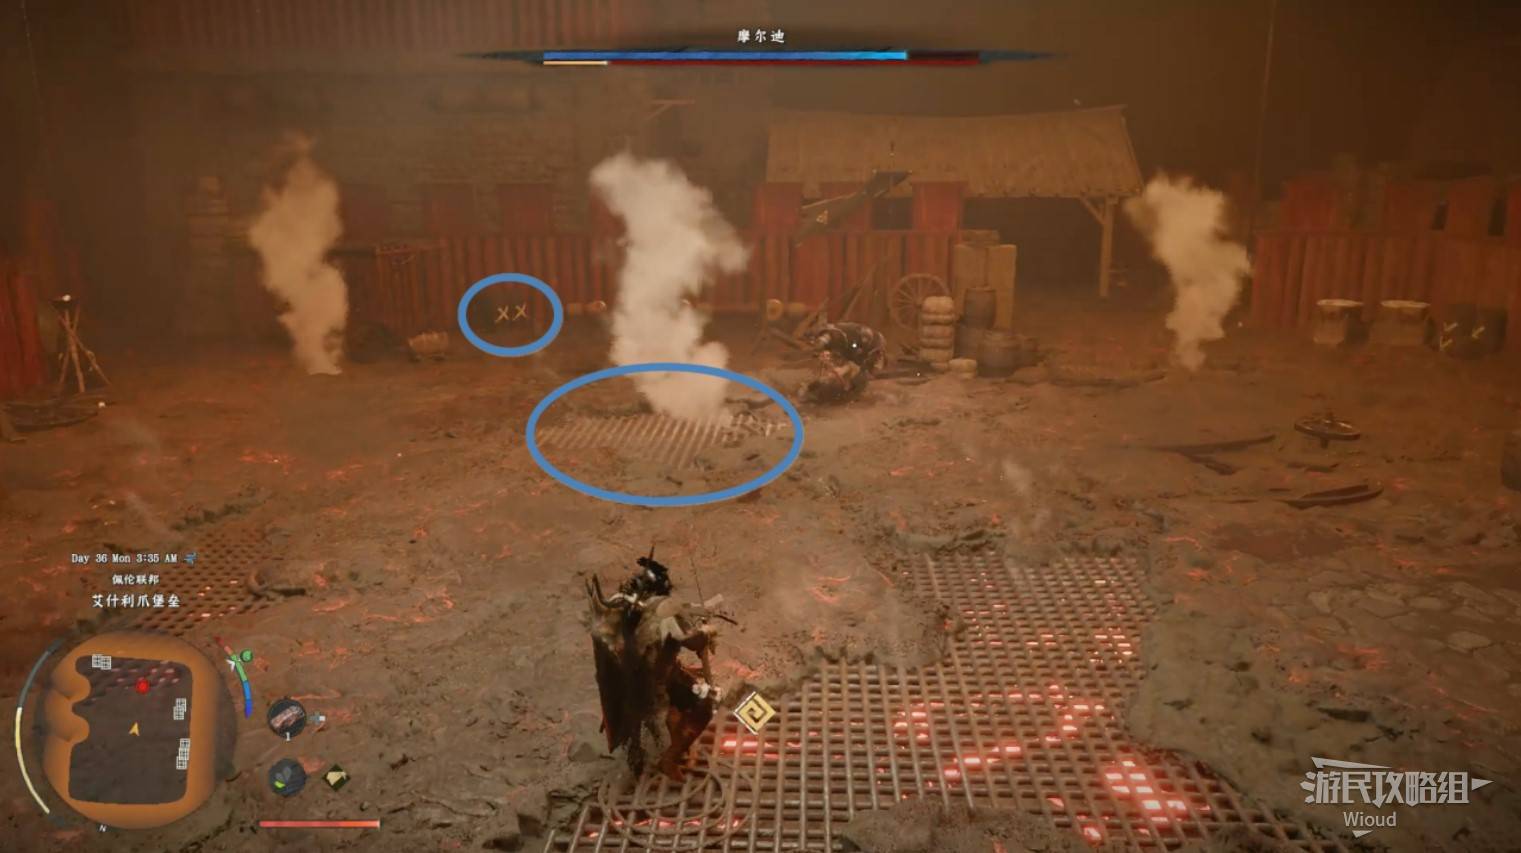
Image credit: GamerSky.com
Image credit: GamerSky.com
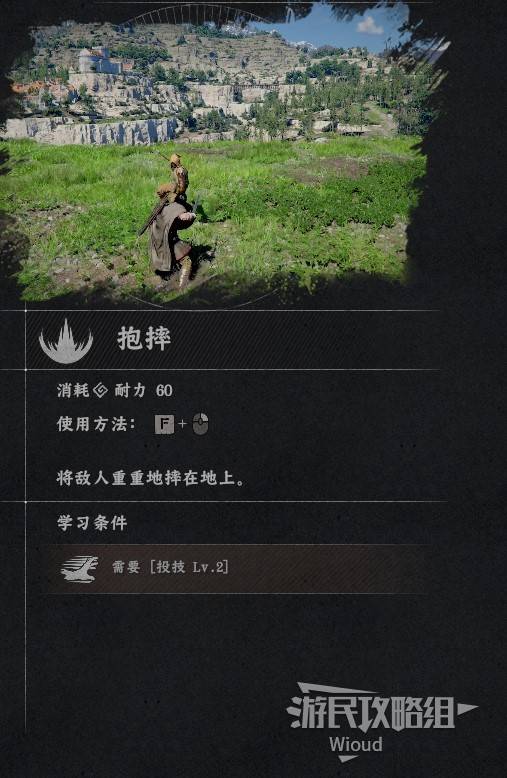
Image credit: GamerSky.com
INCOMPLETE VICTORY — PLAYING AS OONGKA
After defeating Mordi, Klev needs recovery. The pursuit falls to Oongka — you now control him directly.
Important notes about Oongka:
- - He has no shield — his default weapon is an axe (~25 ATK)
- - He can dual-wield one-handed weapons — highly recommended for boss fights (faster attacks, higher DPS)
- - The Gentleman's Oath Sword works well on him
⚠️ WARNING: Save frequently while controlling Oongka. Any equipment given to him will disappear permanently at the end of the chapter if not removed beforehand! You'll have almost no opportunity to control him later.
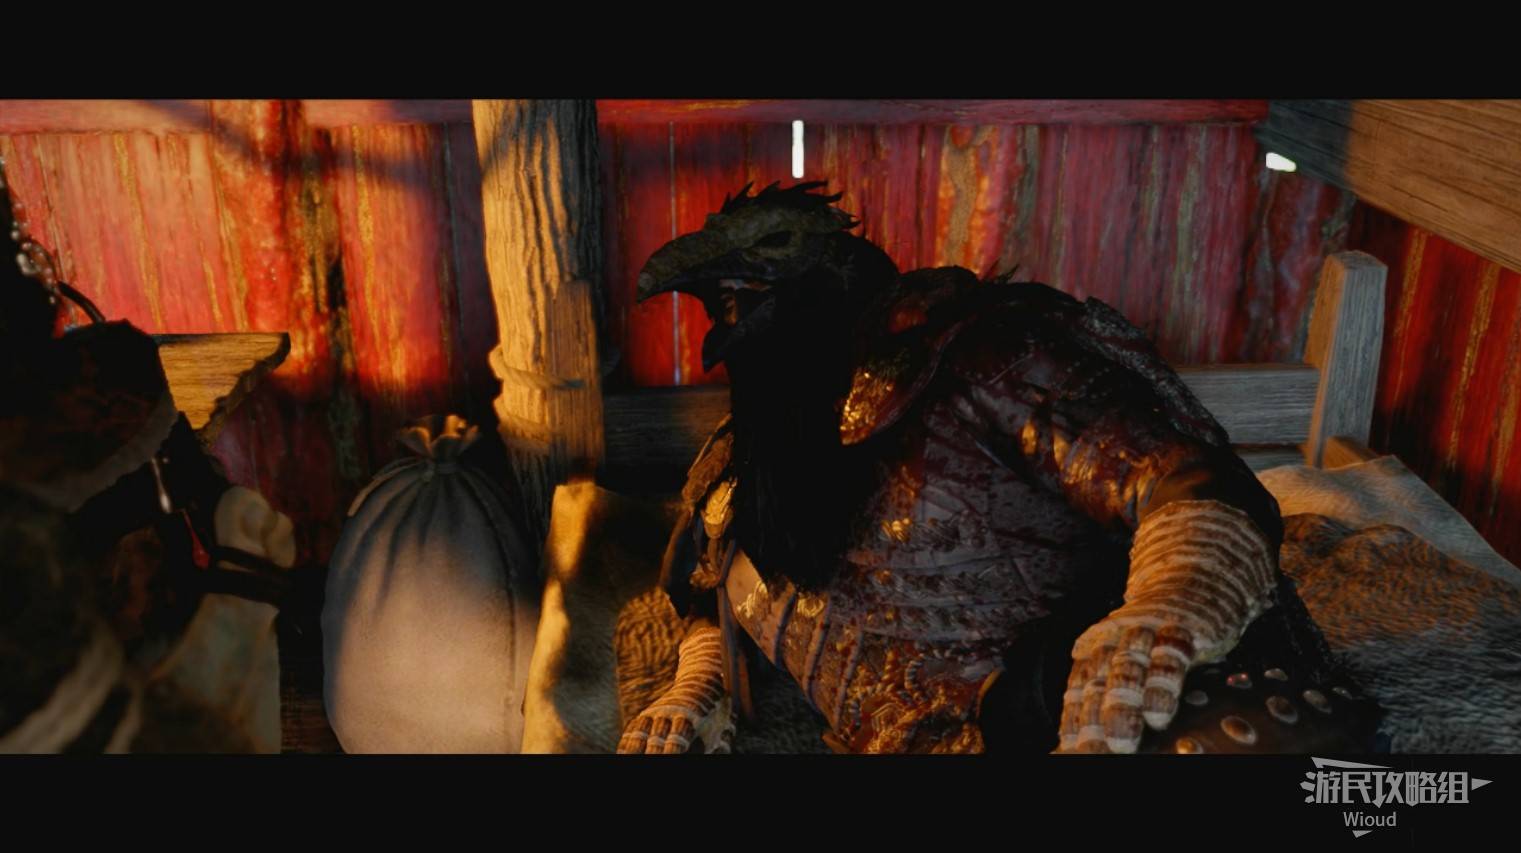
Image credit: GamerSky.com
Twisted Fate Walkthrough
TWISTED FATE
Collectibles: Special Equipment × 3 (Igniell, Solace Plate Armor, Solace Plate Shoes)
Quest Chain: Ludvig's Whereabouts → Time to Face Justice (BOSS)
LUDVIG'S WHEREABOUTS
Control Oongka and follow the quest markers to find companions and trigger cutscenes.
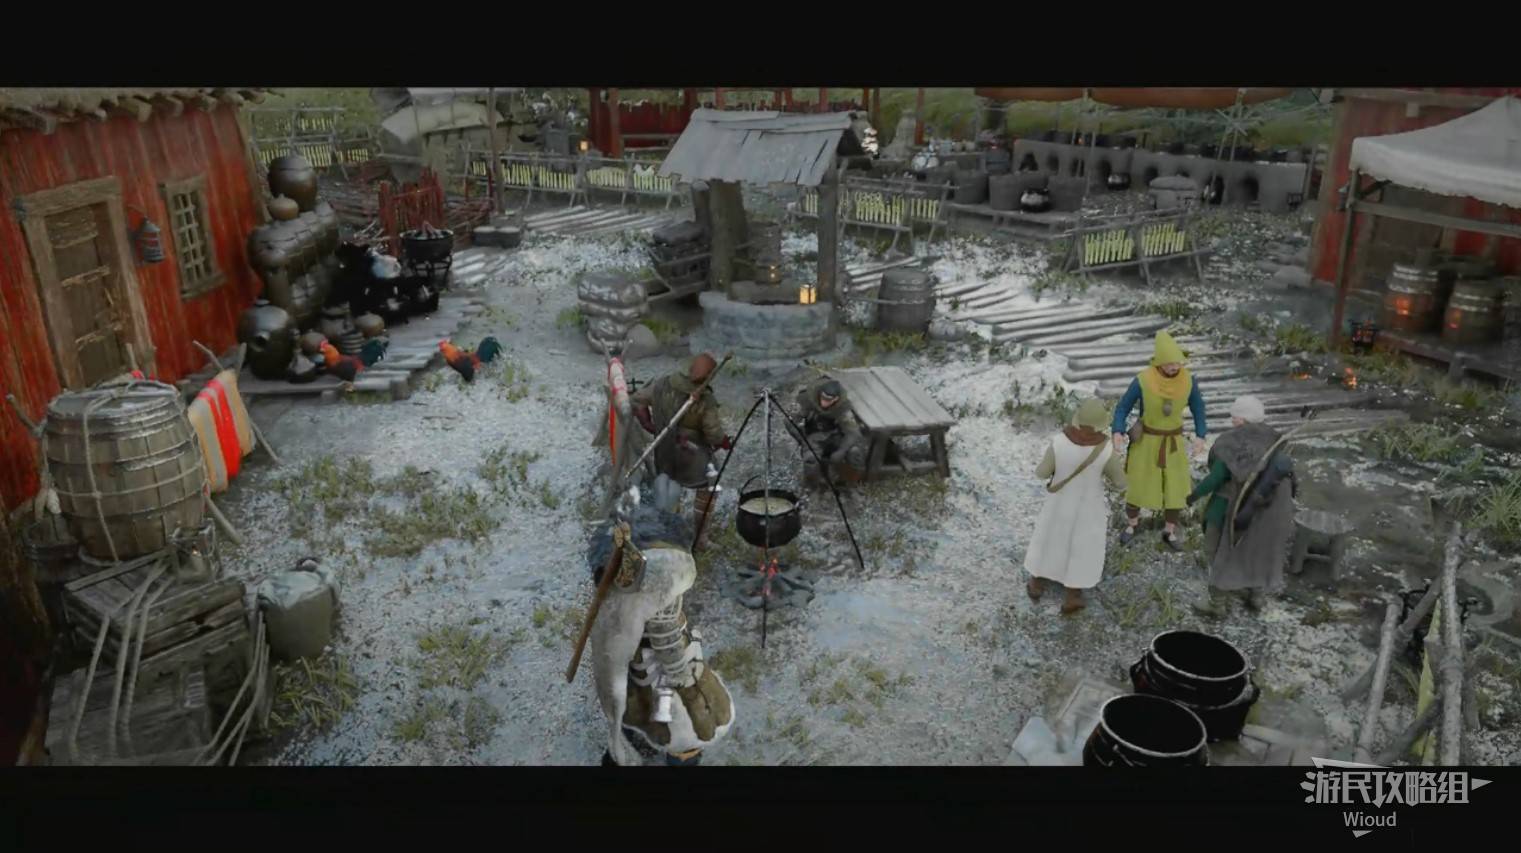
Image credit: GamerSky.com
TIME TO FACE JUSTICE — BOSS FIGHT: LUDVIG (ONE-ARMED)
Head to the next marker. Speak with survivors (yellow circle), then activate Radiant Reflection and follow the trail directly to Ludvig's location.
Despite losing his hand, Ludvig's moveset is unchanged and still frustrating. Stock up on food before engaging.
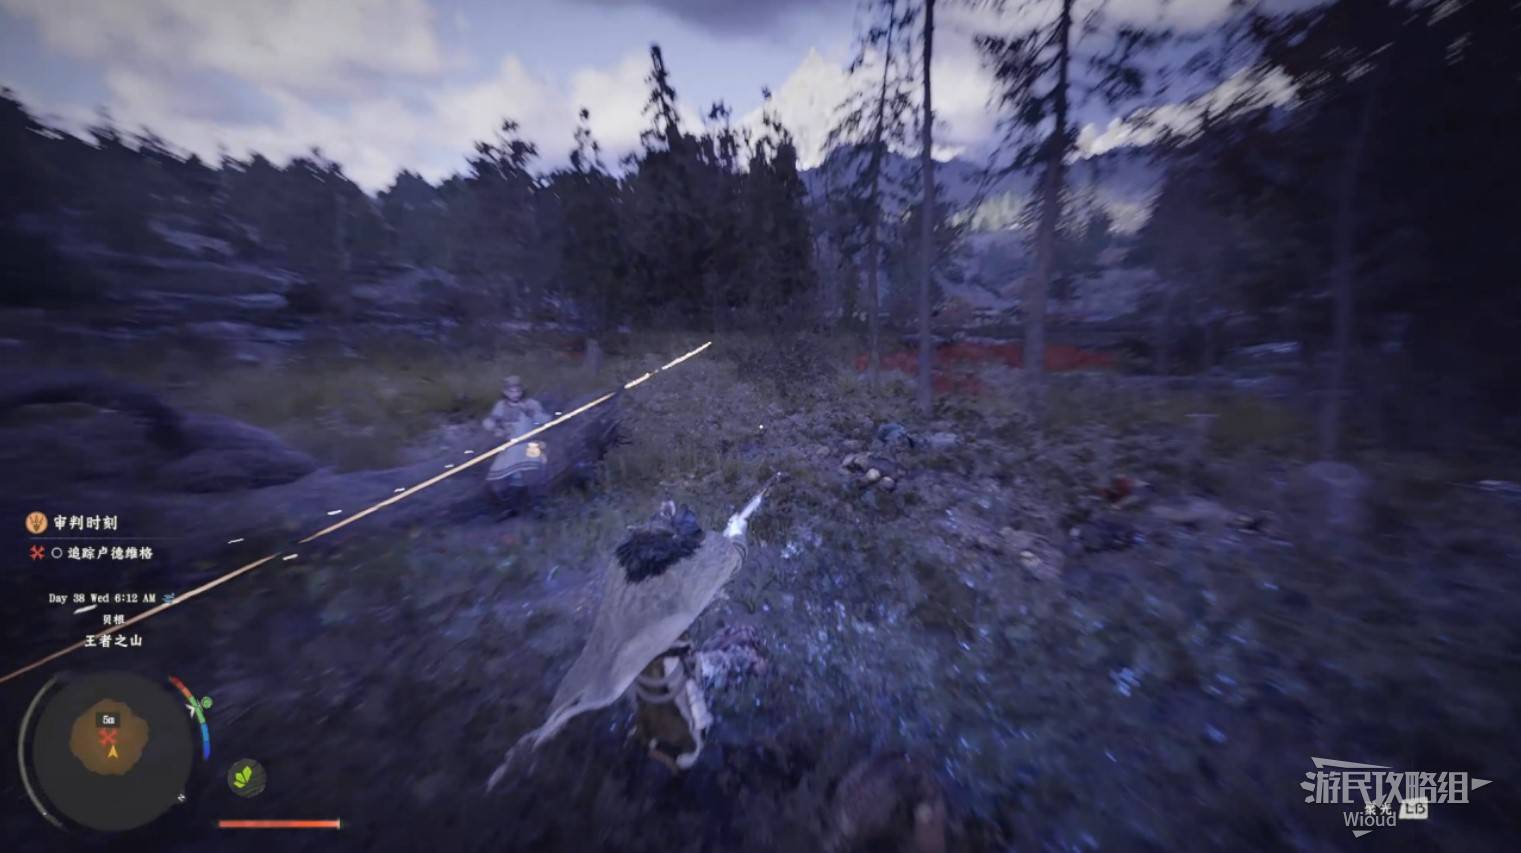
Image credit: GamerSky.com
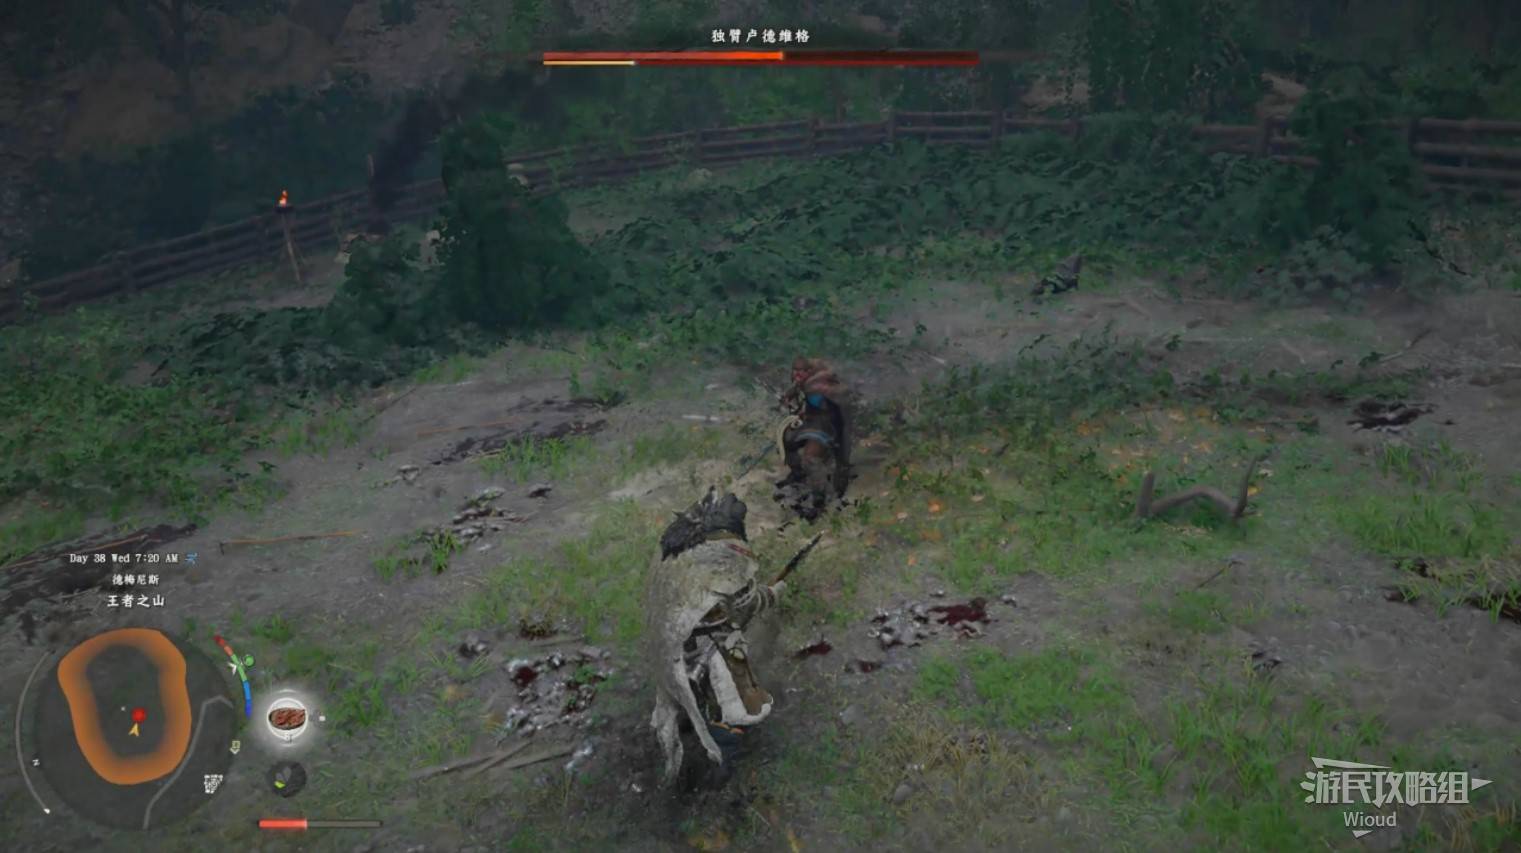
Image credit: GamerSky.com
After the battle, the Greymanes hold a memorial at a grave for the never-seen "Gian." The final scene reveals Demian, hinting at her backstory for the next chapter.
Rewards: Special Equipment "Igniell", "Solace Plate Armor", and "Solace Plate Shoes"
Image credit: GamerSky.com
Chapter 8: Blood Coronation (Overview)
Chapter 8 shifts to political intrigue in Demeniss as you investigate mansions, conduct assassinations, and lead a city siege. Features multiple exploration segments, memory fragment puzzles, and a boss rush.
⚠️ This chapter is being updated as new content becomes available. Current coverage: Ashen Steps + To Demeniss (partial).
Quest Groups:
- - Ashen Steps
- - To Demeniss (in progress)
Key Rewards:
- - Golden Pioneer, Sunlight Necklace — special equipment
- - Ancient Earring, Dark Mark, Forceful Bond — special equipment
- - Gourmet Combo — recipe
- - 4 books, 2 Abyss Artifacts
Ashen Steps Walkthrough
ASHEN STEPS
Collectibles: Abyss Artifact × 1, Special Equipment × 2 (Golden Pioneer, Sunlight Necklace)
Quest Chain: Healing Pailune → A Bond → Ritual Preparations → Where the Wind Guides You (BOSS: Gregor)
HEALING PAILUNE
Teleport to Pailune City. Meet the Blue Fang leader and walk together to the riverside to complete this section.
Image credit: GamerSky.com
A BOND
Open your inventory and read the newly received letter "Fox Charm's Letter" to trigger the next quest. Travel to the marker in the lower-right area of Hernand City — it's an altar. Interact with the two stone lanterns in front of the altar to light them.
A mysterious Eastern priestess appears and asks for your help rescuing her sister.
Image credit: GamerSky.com
Image credit: GamerSky.com
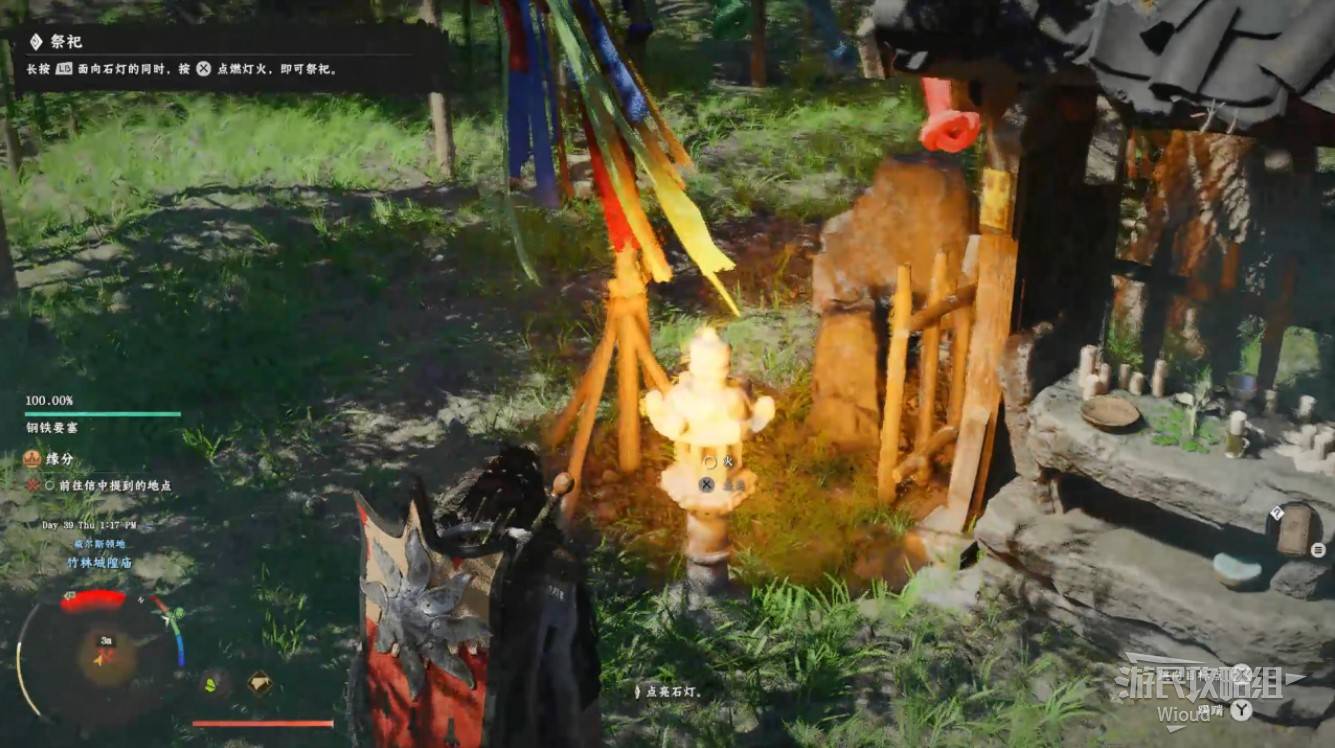
Image credit: GamerSky.com
RITUAL PREPARATIONS
Head to the coastline at the next marker. Clear surrounding enemies first.
Collect three ritual items:
- Talisman — Look for the purple marker on the minimap within the yellow circle area. It's at a mast wreckage on the beach.
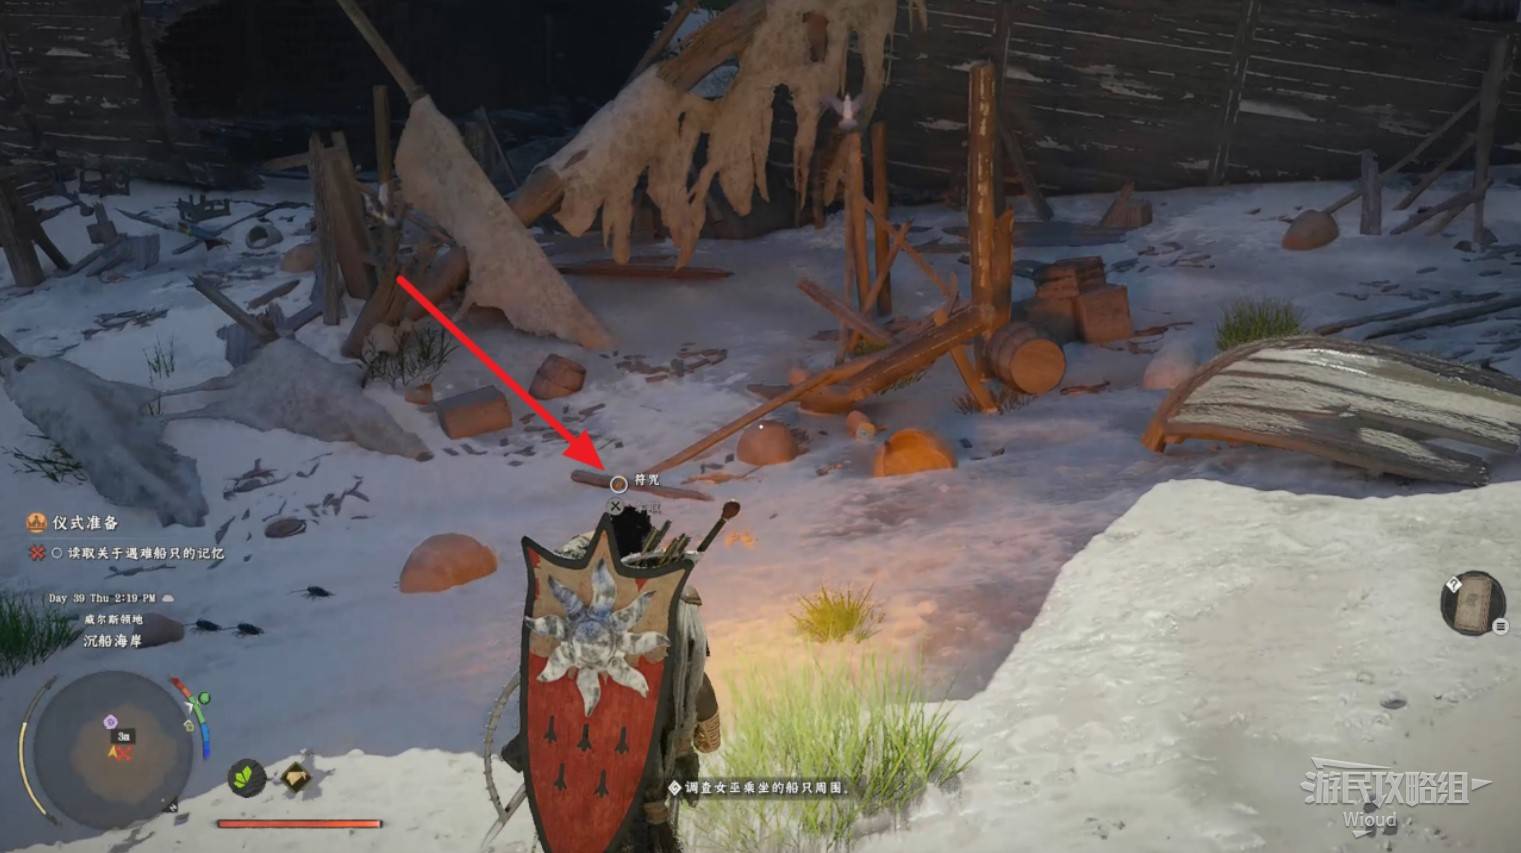
Image credit: GamerSky.com
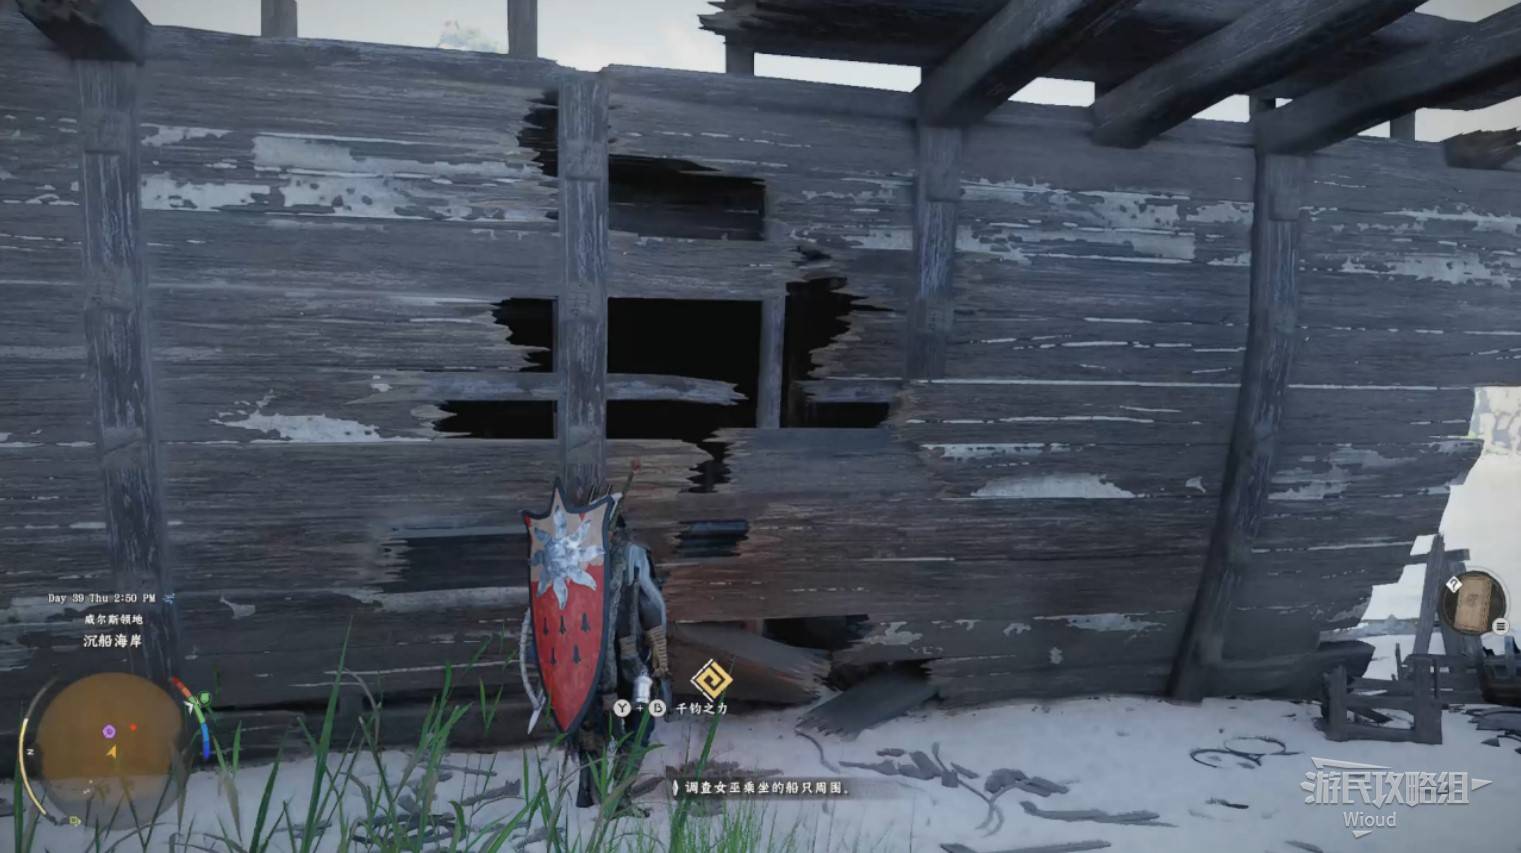
Image credit: GamerSky.com
- Incense Burner — The ship wreckage is split in two. Facing the sea, go to the right half of the wreckage. Use the combo key to lift the hull — the incense burner is underneath.
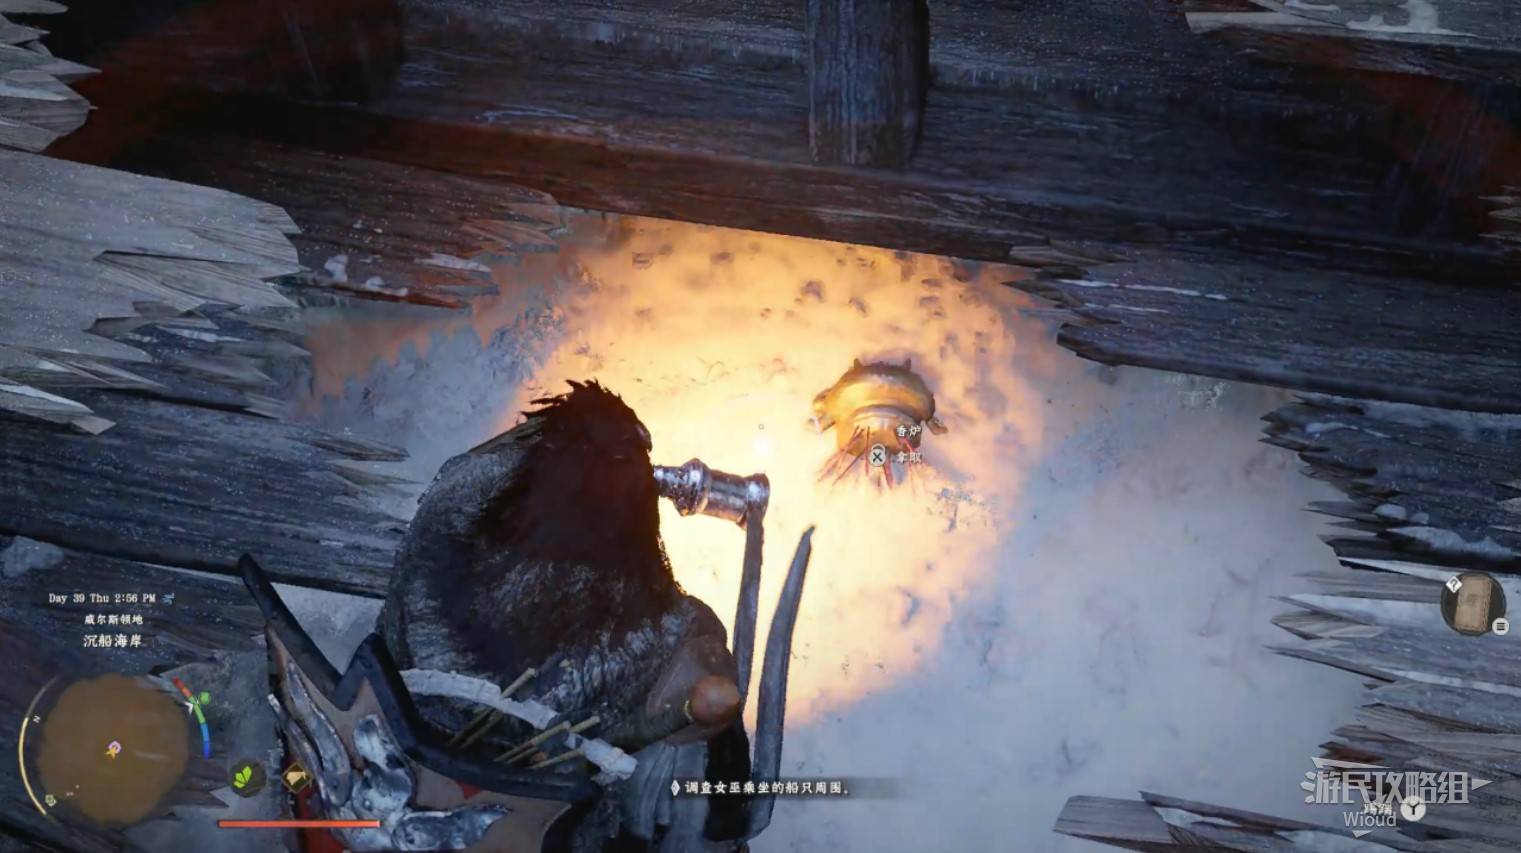
Image credit: GamerSky.com
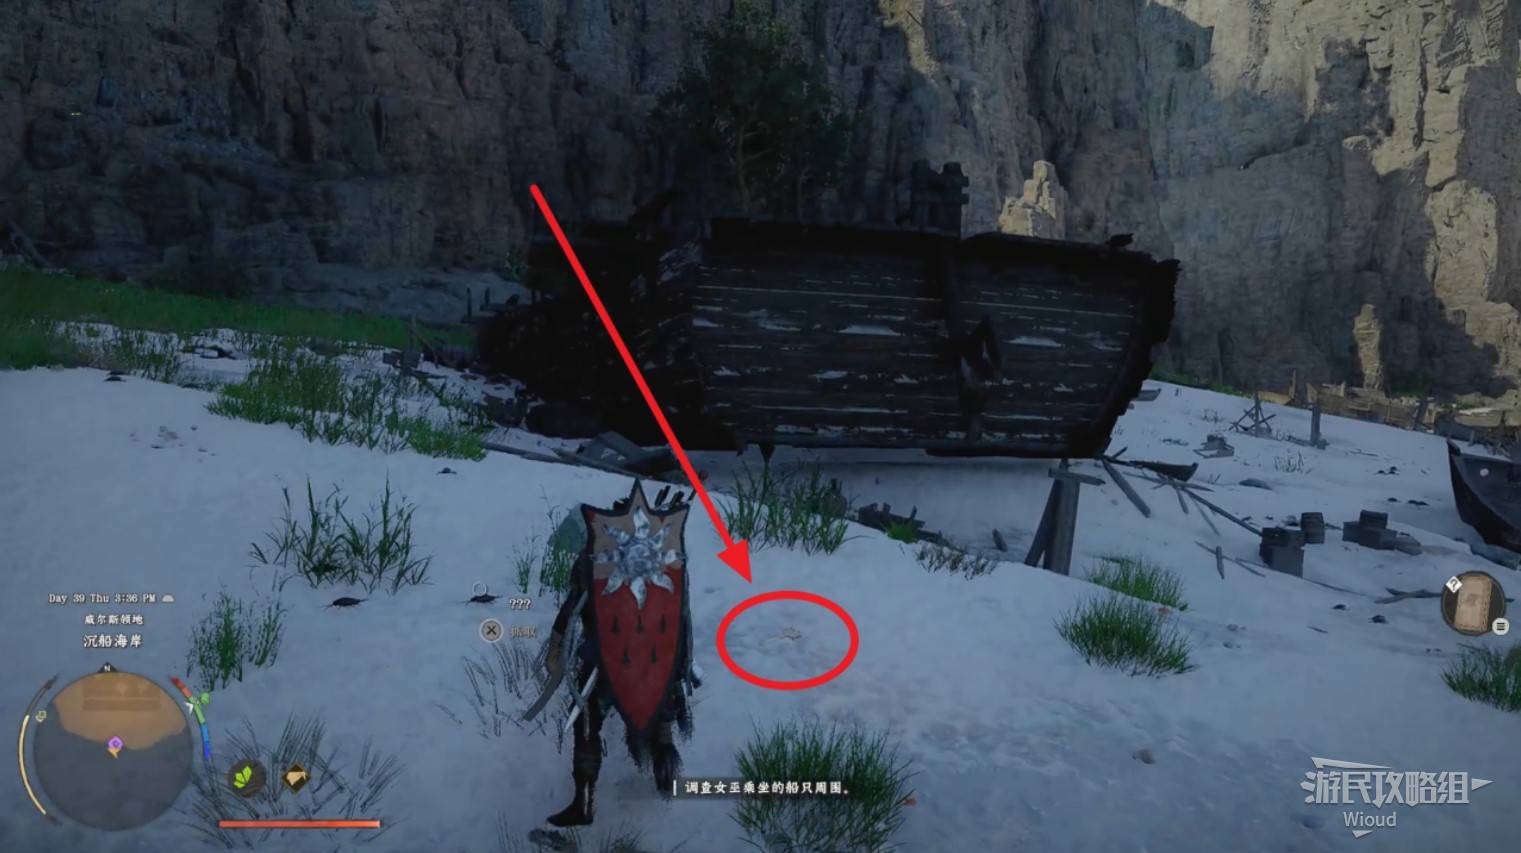
Image credit: GamerSky.com
- Bell — On the beach surrounding the wreckage, at the position shown below.
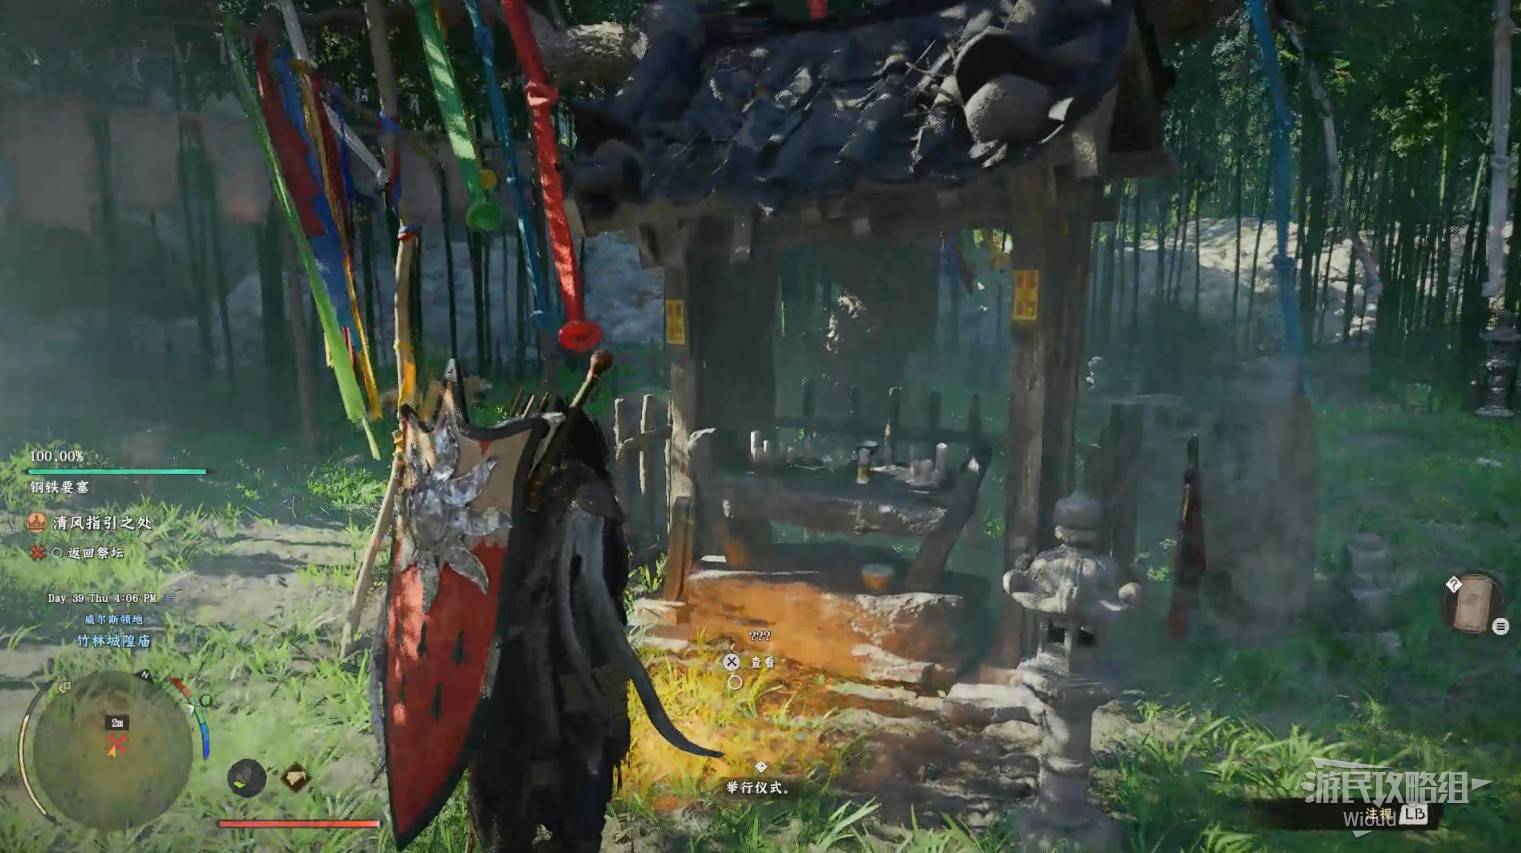
Image credit: GamerSky.com
Use your lantern at the wreckage site to view a memory revealing what happened to the sister.
WHERE THE WIND GUIDES YOU — BOSS FIGHT: SLAUGHTER SPEAR GREGOR
Return to the altar and examine the "???" to begin the ritual. Follow the markers to the right side of the Hernand map.
Tip: There's a fast travel point at the red circle location — activate it along the way.
At the castle at the end of the path, use the lift mechanic to pass through two gates. In the final room, approach the woman in blue to trigger the boss fight.
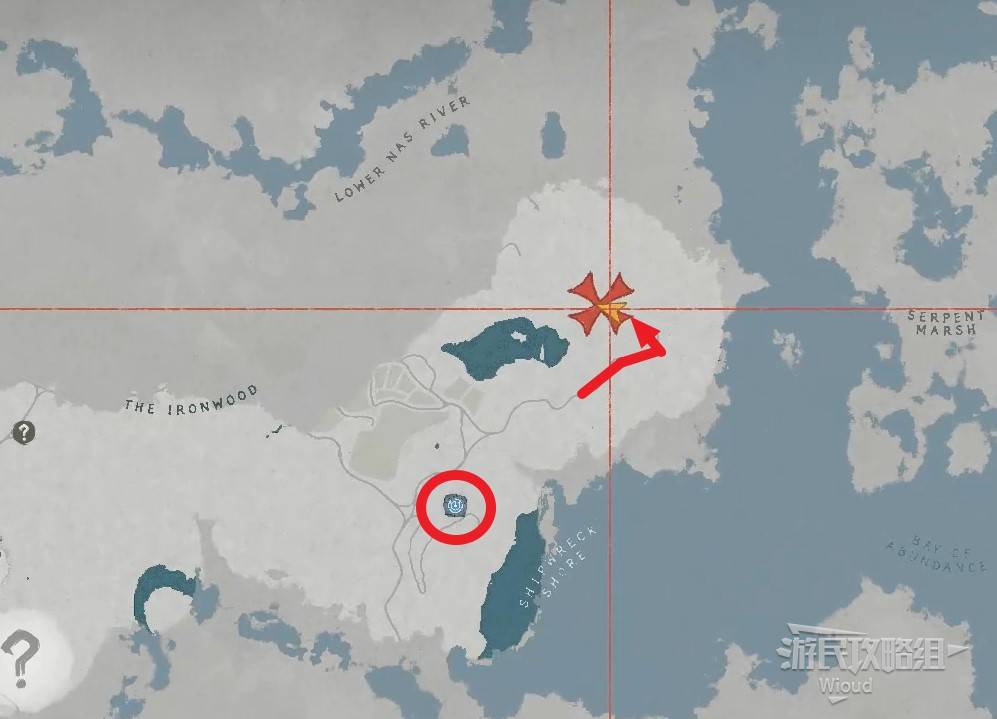
Image credit: GamerSky.com
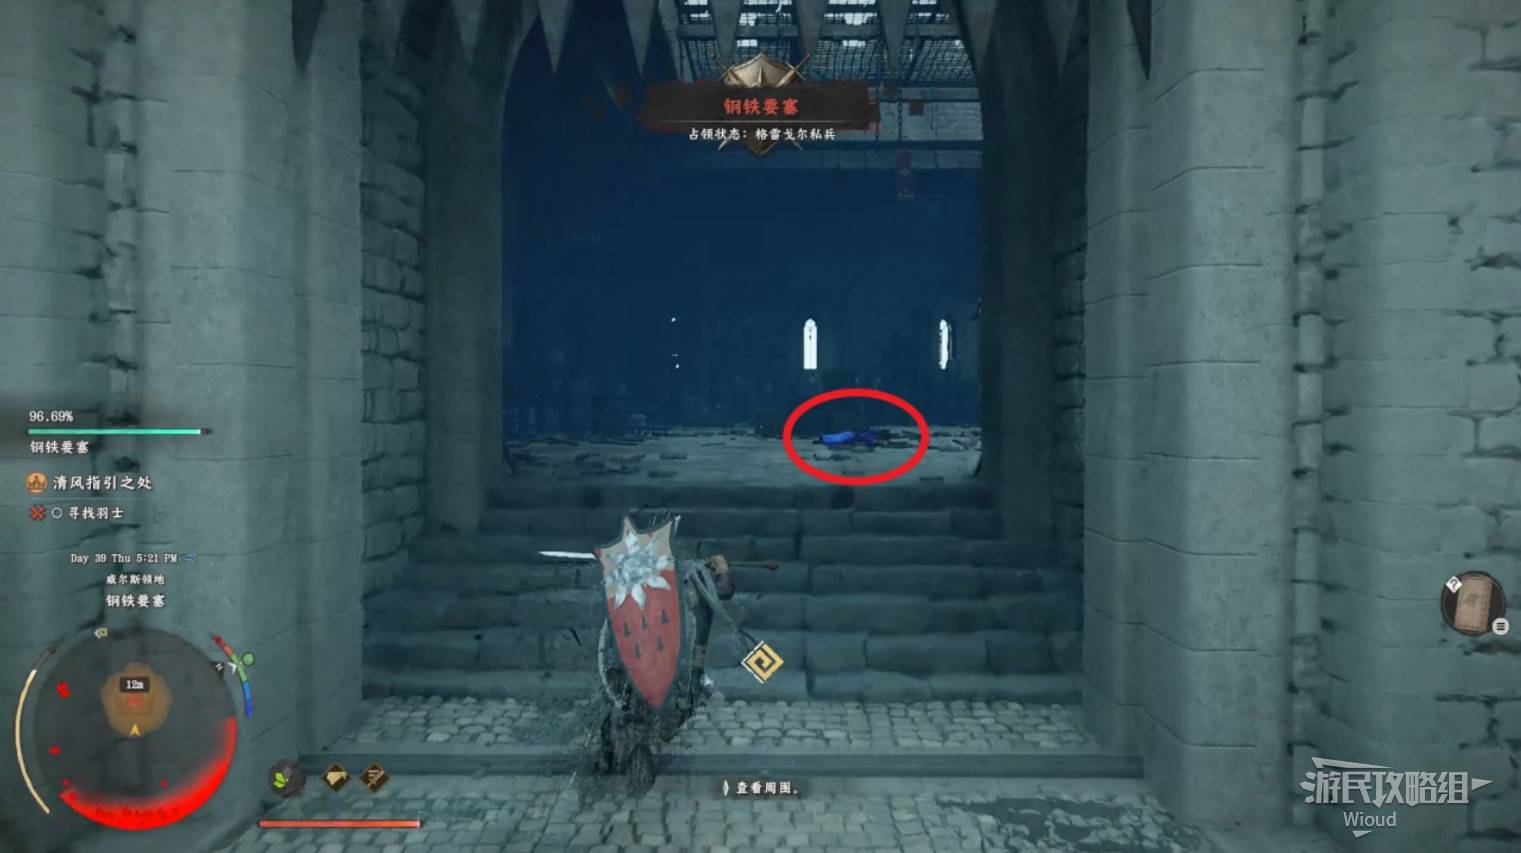
Image credit: GamerSky.com
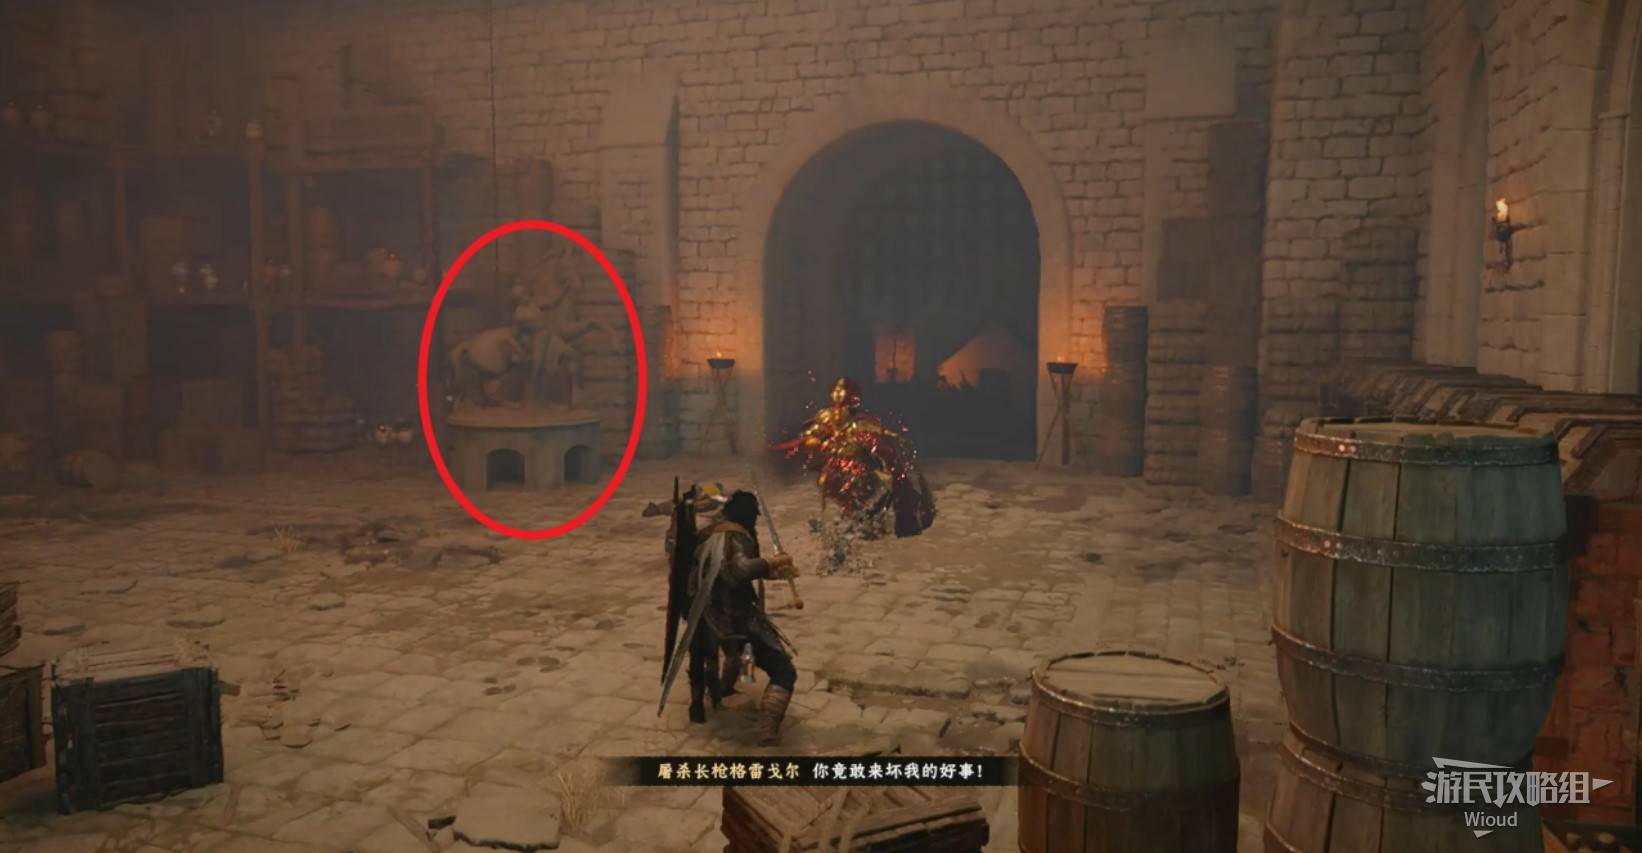
Image credit: GamerSky.com
Arena Hazard: Arrow-shooting traps line the walls. They fire whenever Gregor attacks the door statue — keep this in mind for positioning.
Gregor has only one health bar and is much easier than previous bosses. His blackout special involves a charge attack with hyper armor — dodge rather than block. Stock up on cooked meat and you should be fine.
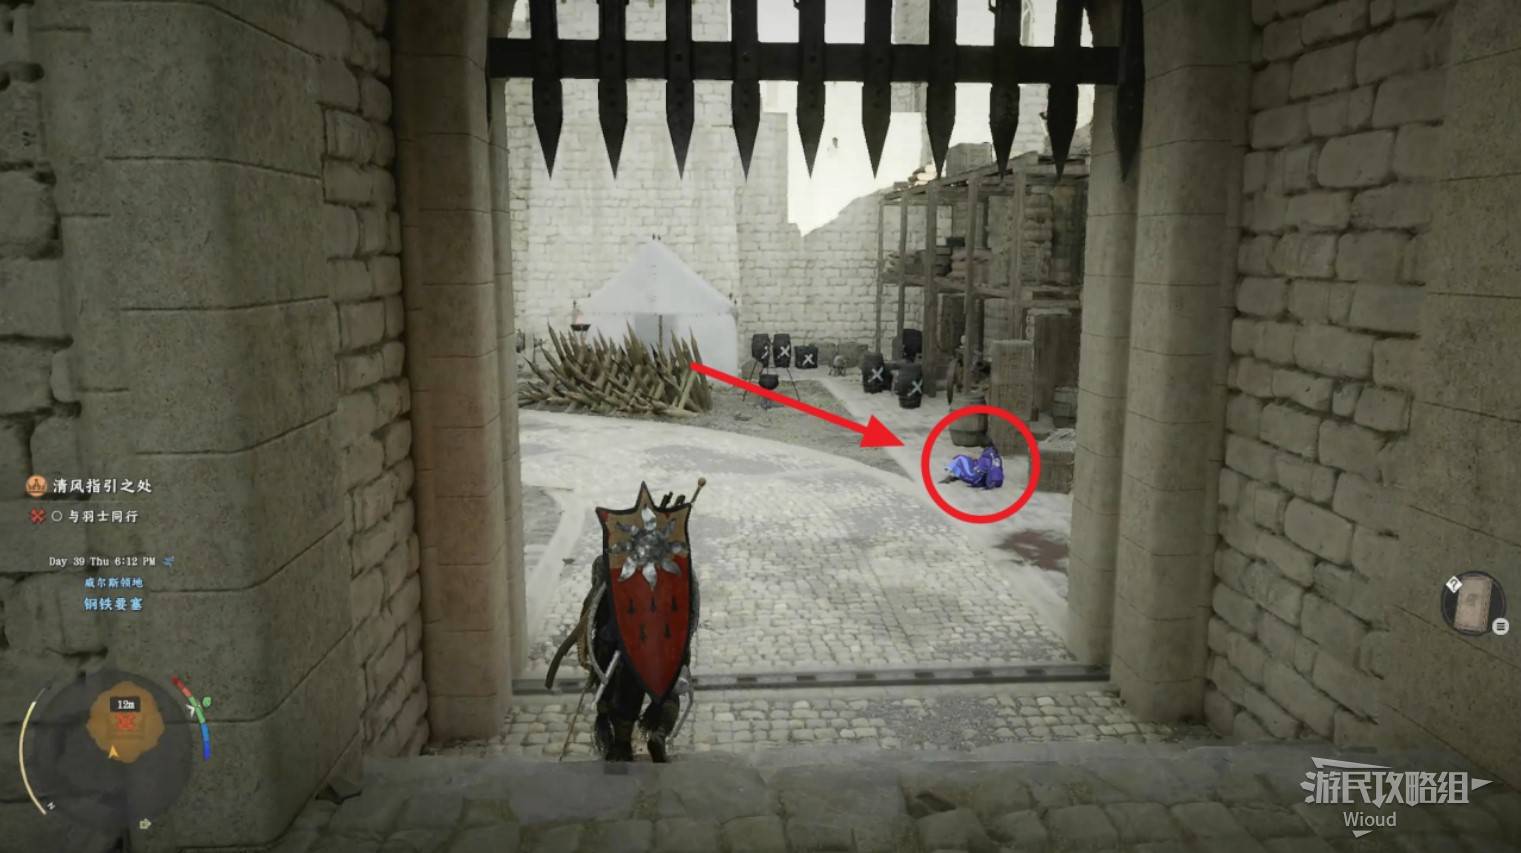
Image credit: GamerSky.com
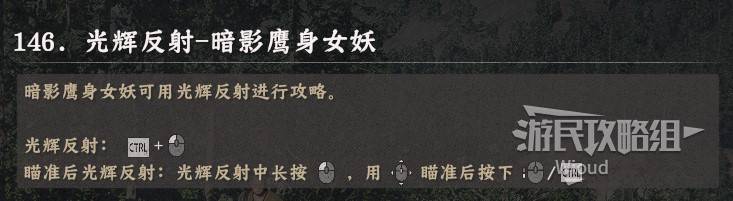
Image credit: GamerSky.com
After the fight, speak with the sister outside the castle and escort her back (she rides on the back of your horse). Along the way, shoot down Harpies in the sky using Radiant Reflection — Shadow Harpy mode.
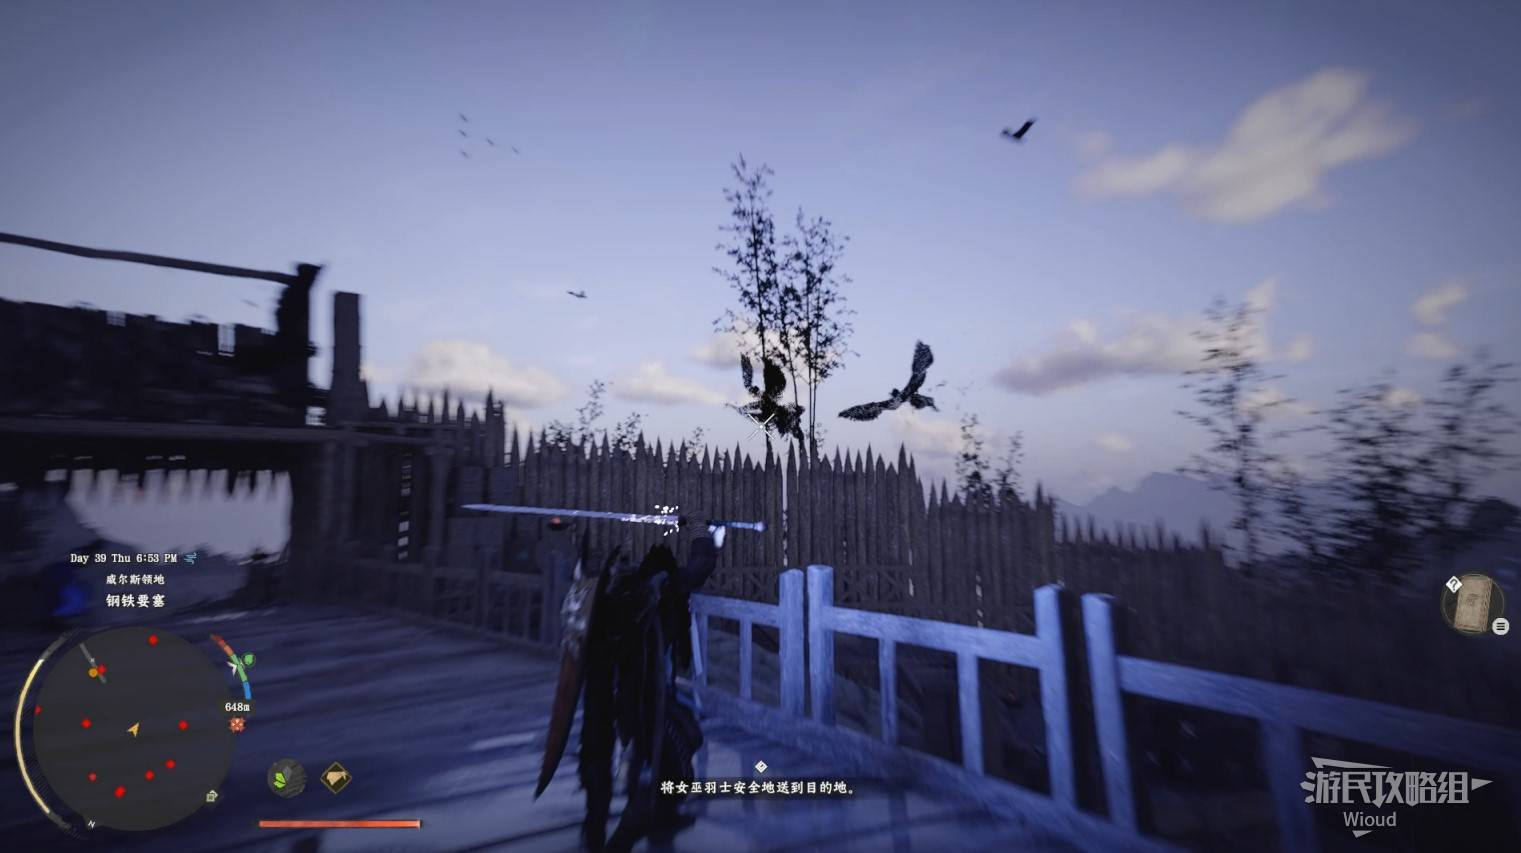
Image credit: GamerSky.com
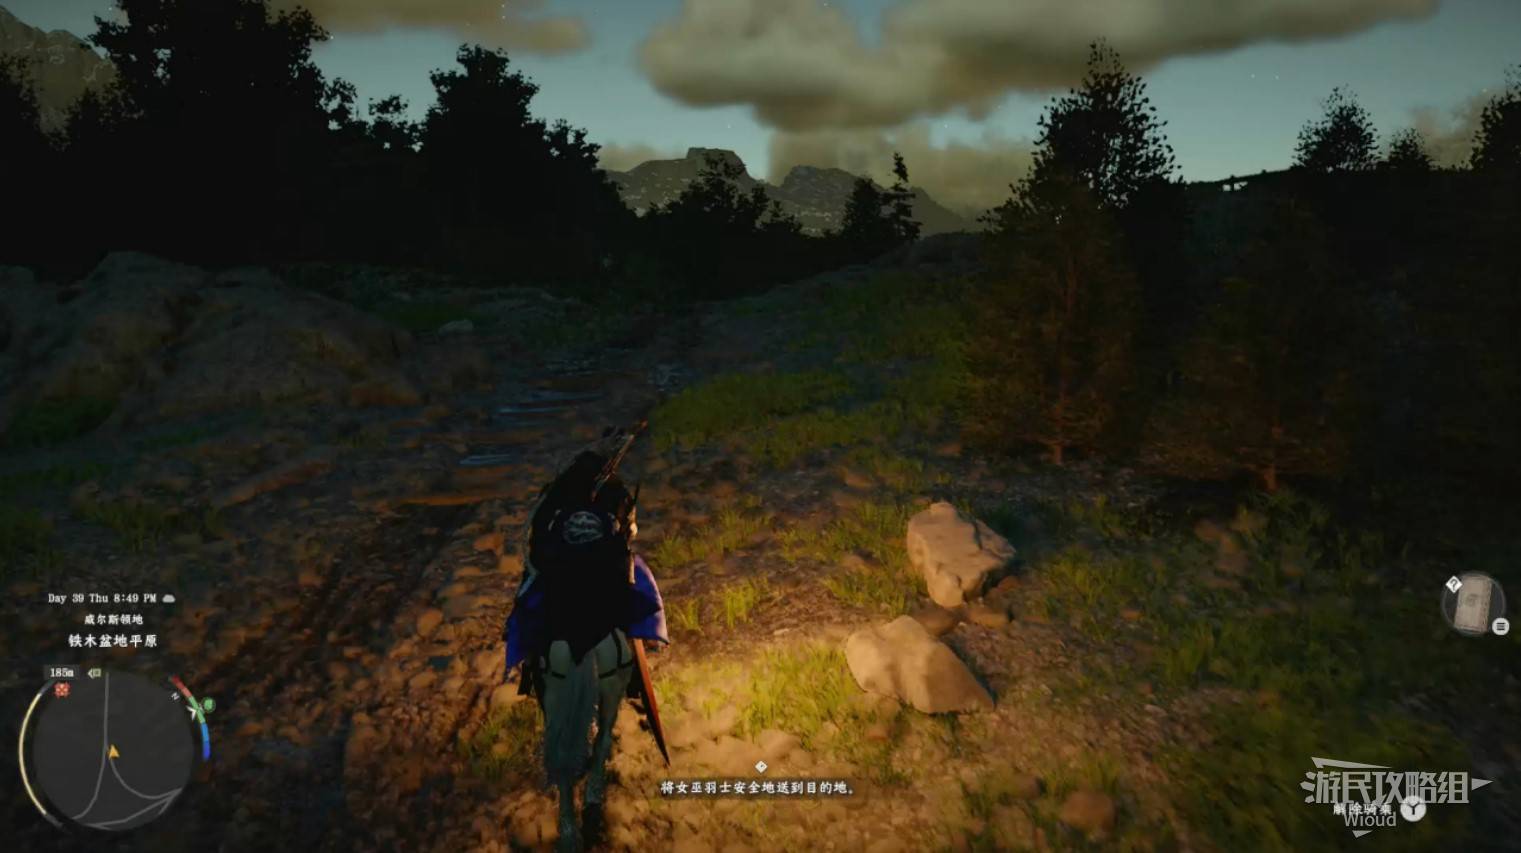
Image credit: GamerSky.com
Rewards: 1 Abyss Artifact + Special Equipment "Golden Pioneer" and "Sunlight Necklace"
To Demeniss Walkthrough
TO DEMENISS
Collectibles: Recipe × 1 (Gourmet Combo), Special Equipment × 3 (Ancient Earring, Dark Mark, Forceful Bond), Books × 4, Abyss Artifact × 1
Quest Chain: Chasing a Shadow → Blazing Fire → Whispering Shadows → Bloodied Invitation → Resolve Amidst a Storm → Preparations for Advance → Rebel Suppression → The Cursed Knight (BOSS) → The Blood Coronation
CHASING A SHADOW
Go to the shrine at Howling Hill. Interact with the dragon head statue to obtain and read "Mordi's Whereabouts Report."
Image credit: GamerSky.com
BLAZING FIRE — AZERIAN MANSION INFILTRATION
Follow the markers to Azerian Mansion. Climb around to the back and enter through the window shown below.
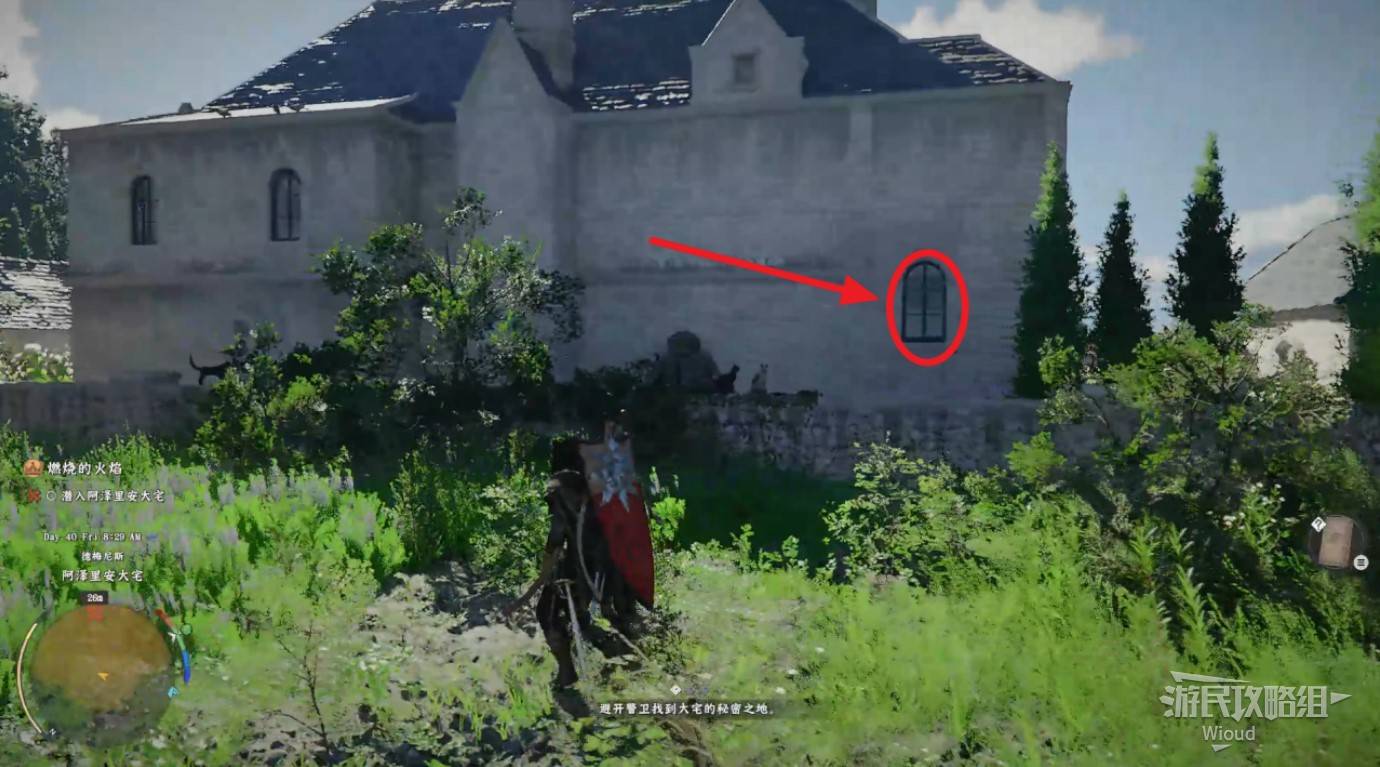
Image credit: GamerSky.com
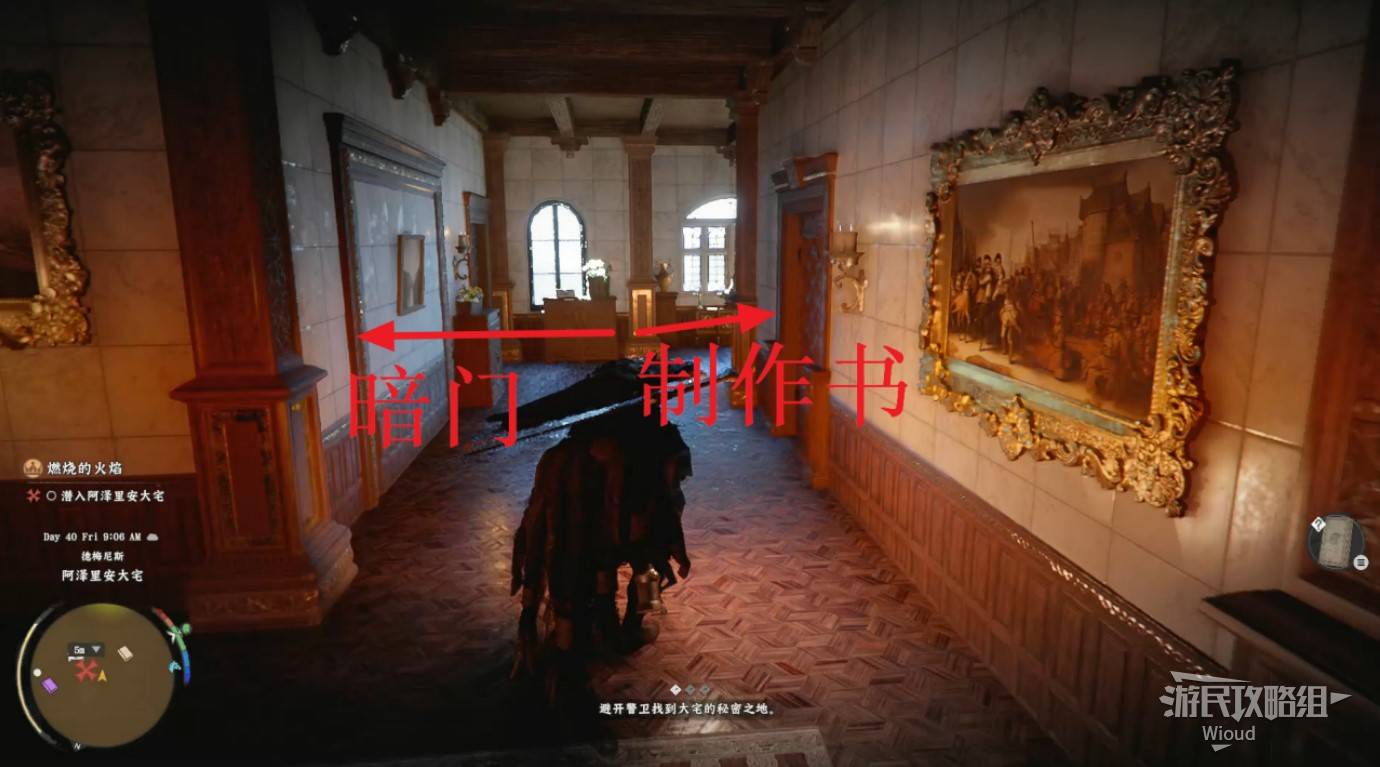
Image credit: GamerSky.com
Move to the second-floor corridor. On the left side is a hidden door — enter to find a safe containing special equipment "Ancient Earring" and an investigation report on the bed-side cabinet.
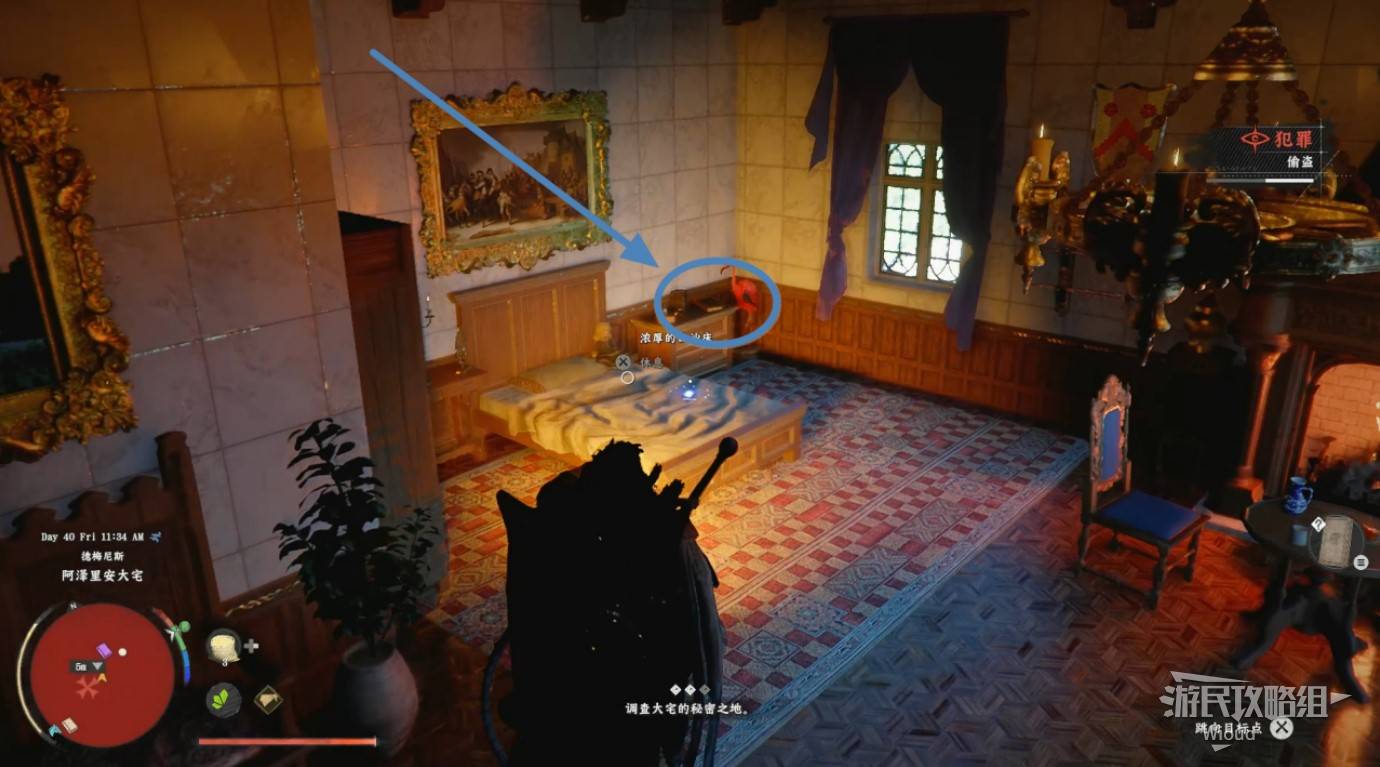
Image credit: GamerSky.com
Exiting the hidden room triggers a cutscene, after which you can freely explore the mansion.
On the right side of the corridor, find the book "World Leather Armor Collection Vol. 1" on a corner bookshelf. Note: positioning is tricky — adjust your stance if the pickup prompt doesn't appear.
Downstairs, find a memory fragment that fills in the mansion sisters' storyline.
WHISPERING SHADOWS — SUNLIGHT GROVE MANSION
Head to Sunlight Grove Mansion. Walk around the exterior until the minimap's yellow circle shows a safe icon. Enter through the window on that wall.
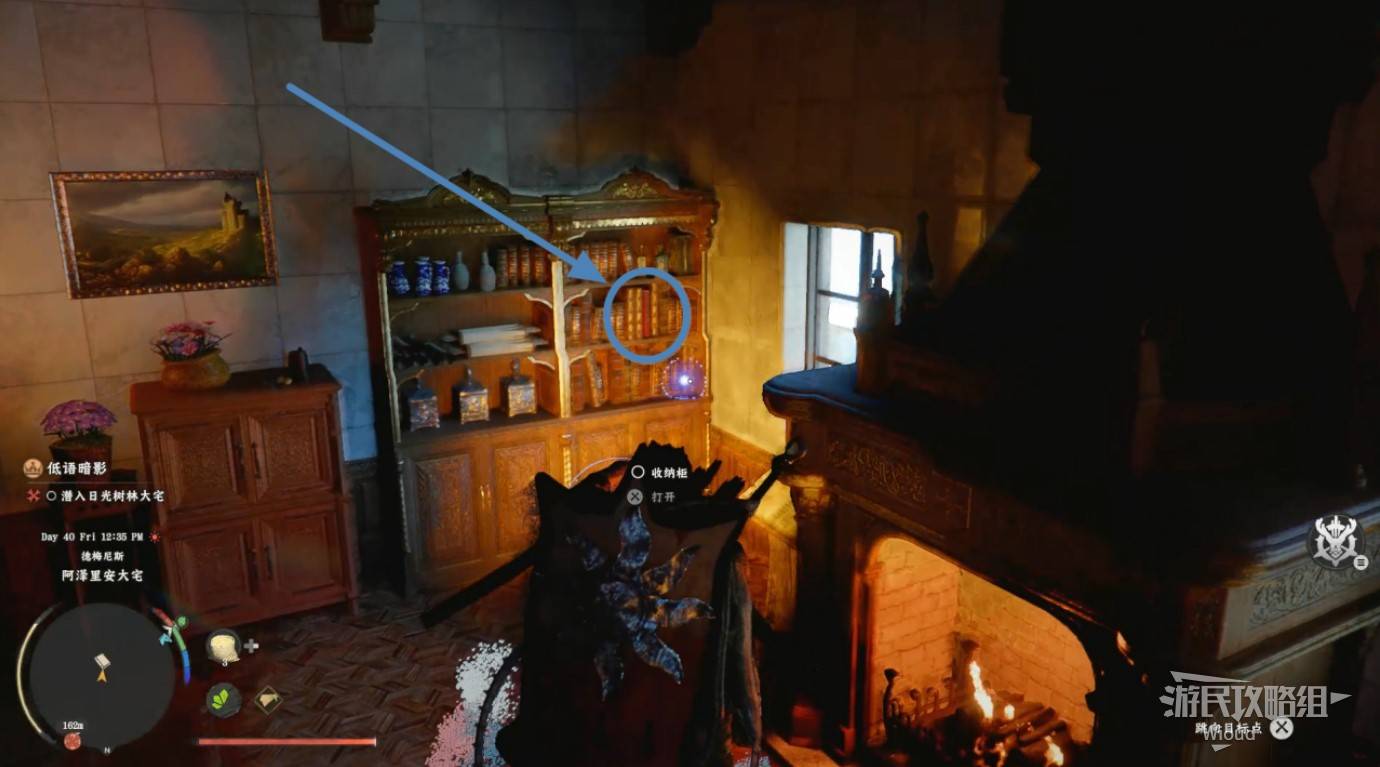
Image credit: GamerSky.com
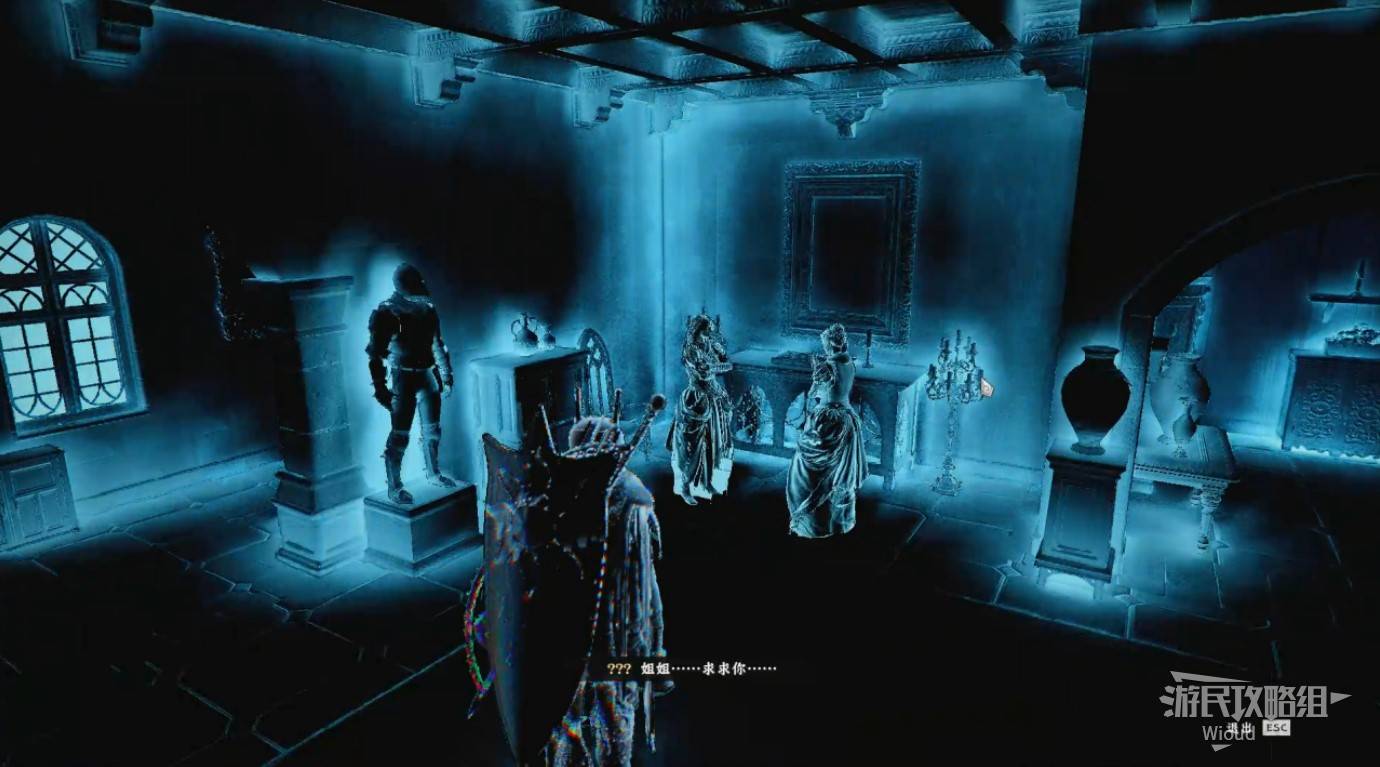
Image credit: GamerSky.com
Inside, open the safe to get "Sunlight Forest Mansion Key." Watch the memory fragment in the room.
Go downstairs — if soldiers spot you, just knock them down and tie them up. The second memory fragment is in the ground-floor corridor.
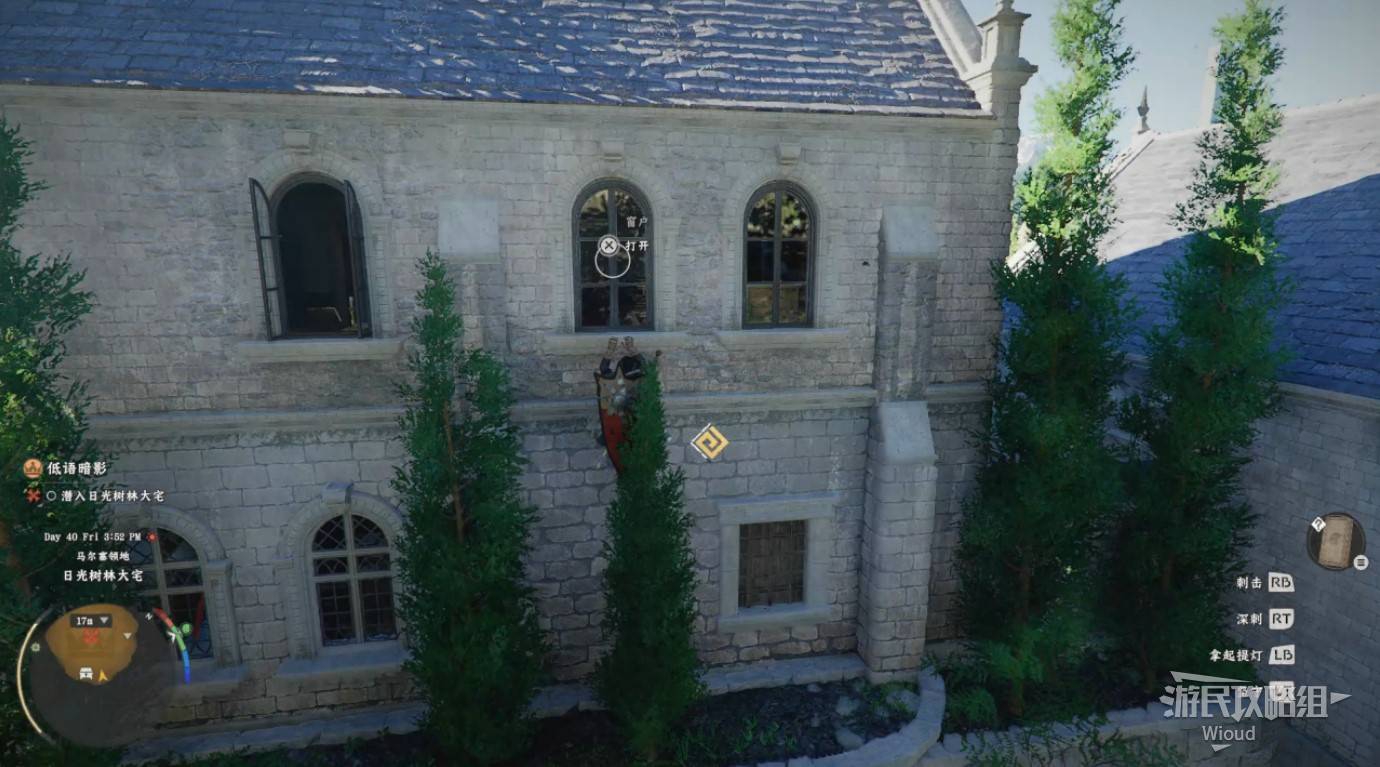
Image credit: GamerSky.com
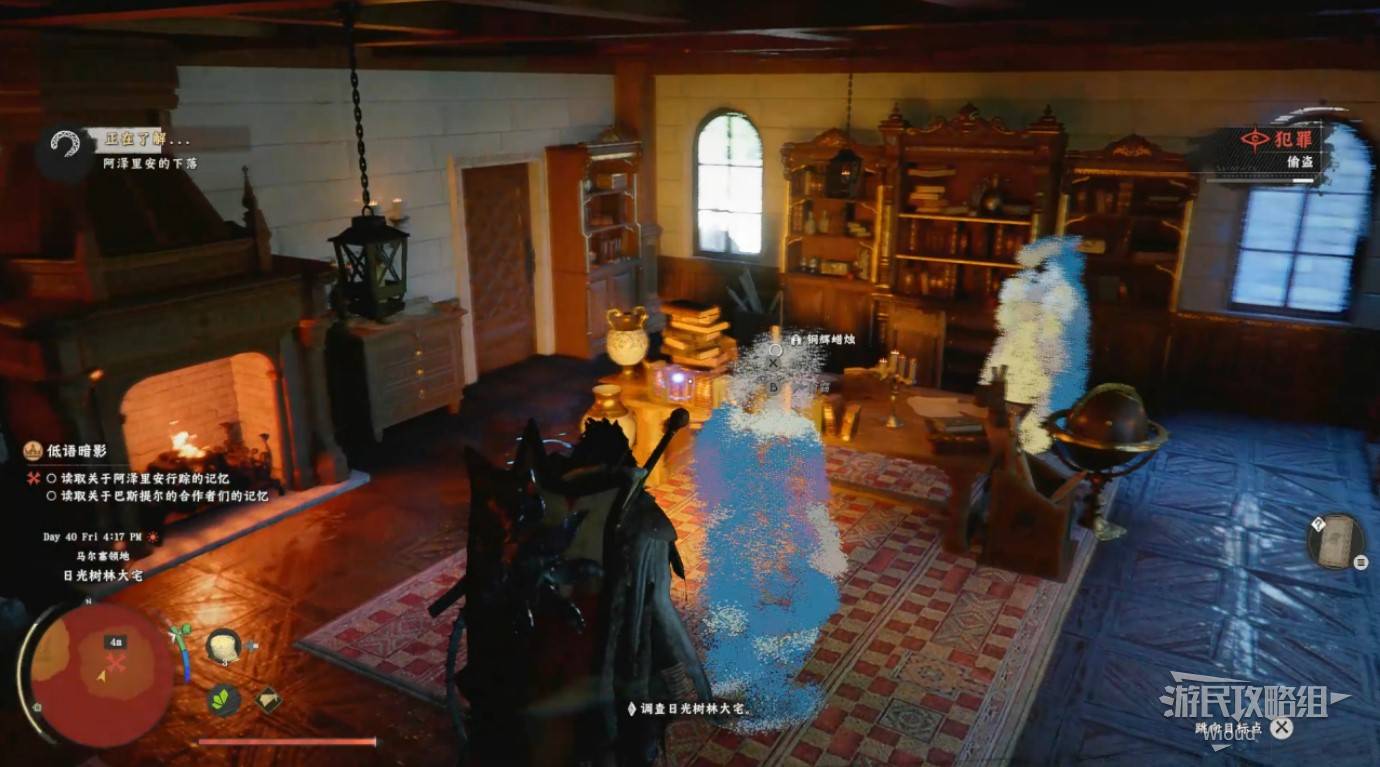
Image credit: GamerSky.com
BLOODIED INVITATION — ASSASSINATION
Head to the third mansion. Climb around back and enter through the window shown below.
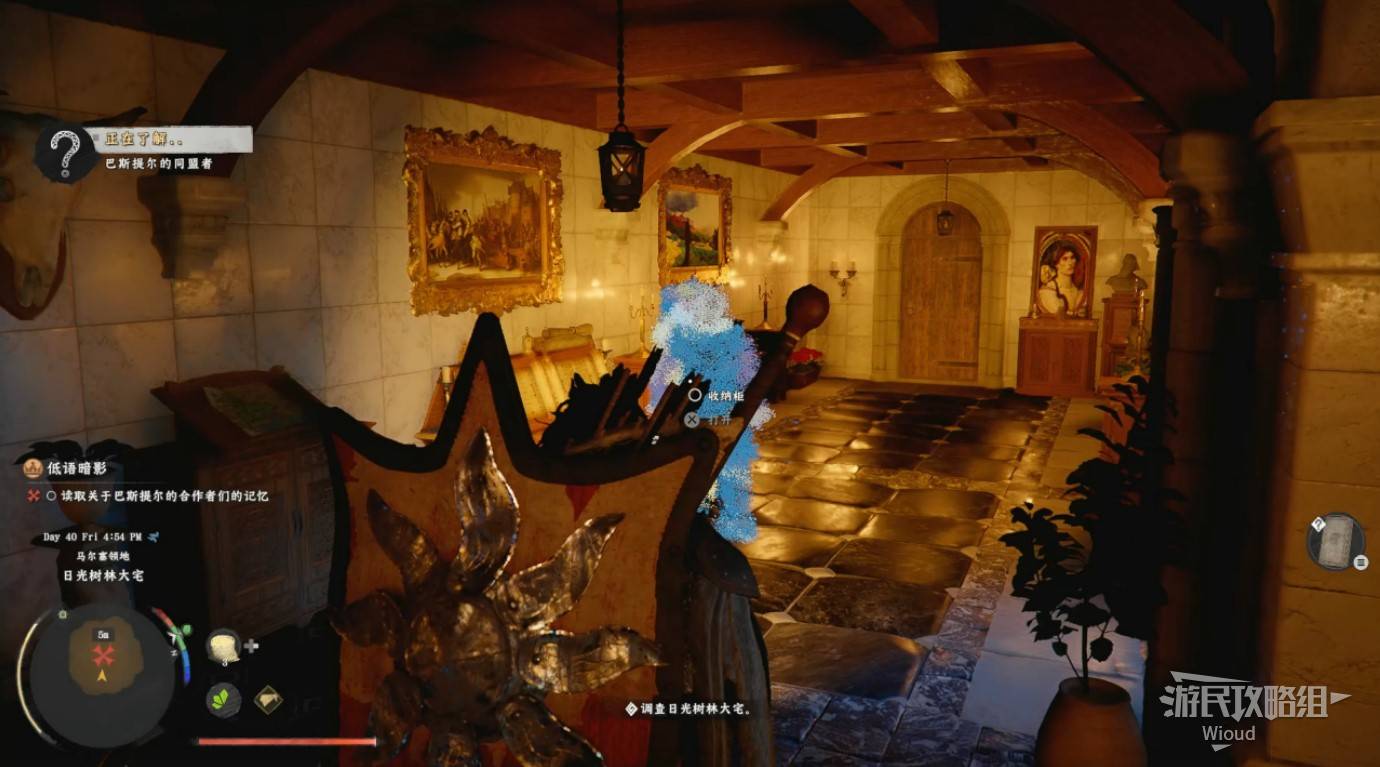
Image credit: GamerSky.com
The assassination target is inside looking at a painting. Sneak behind him and use the "Assassinate" prompt.
In the room to the left, pick up the book "World One-Handed Weapons Collection Vol. 1" from the bookshelf. The corner safe contains special equipment "Dark Mark."

Image credit: GamerSky.com
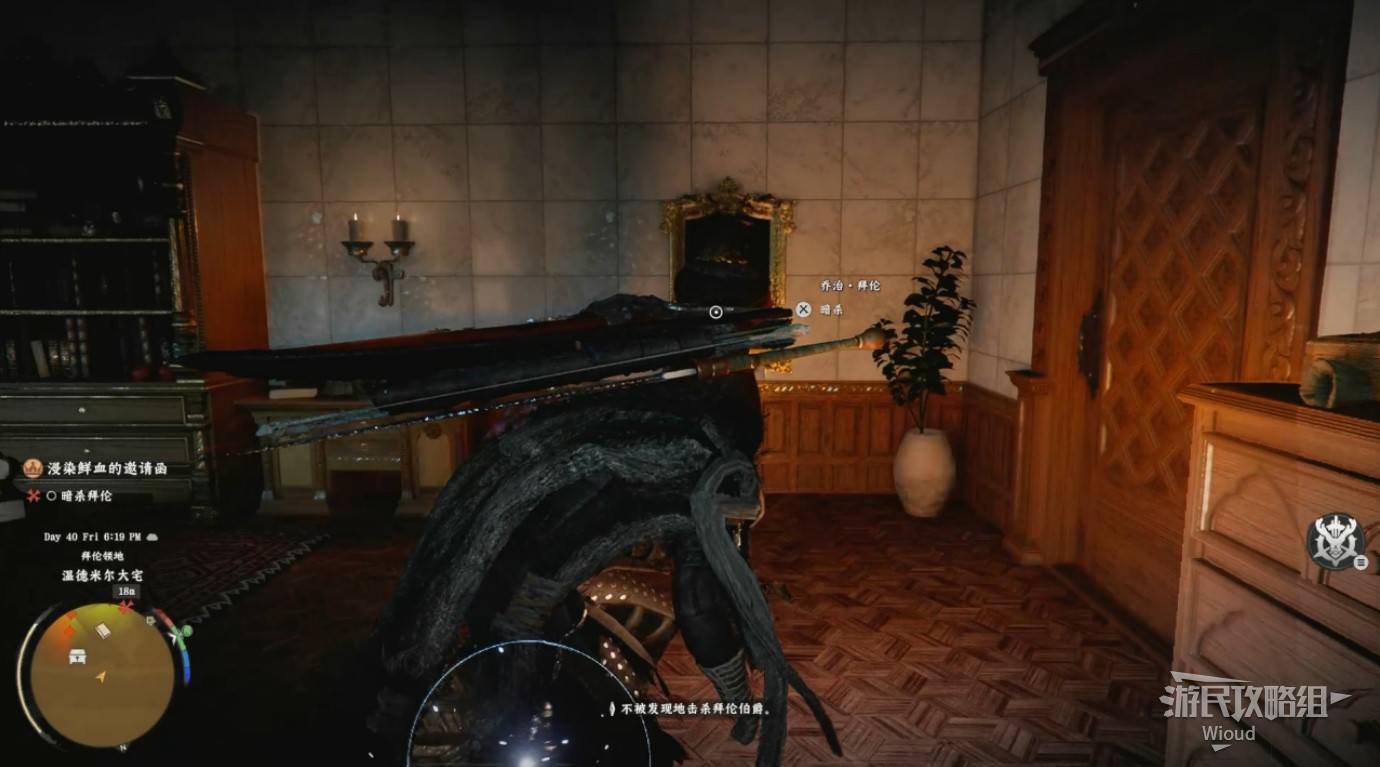
Image credit: GamerSky.com
RESOLVE AMIDST A STORM
After exploring all three mansions, return to the first mansion to speak with the Baroness. Demian is also here — the cutscene advances the plot.
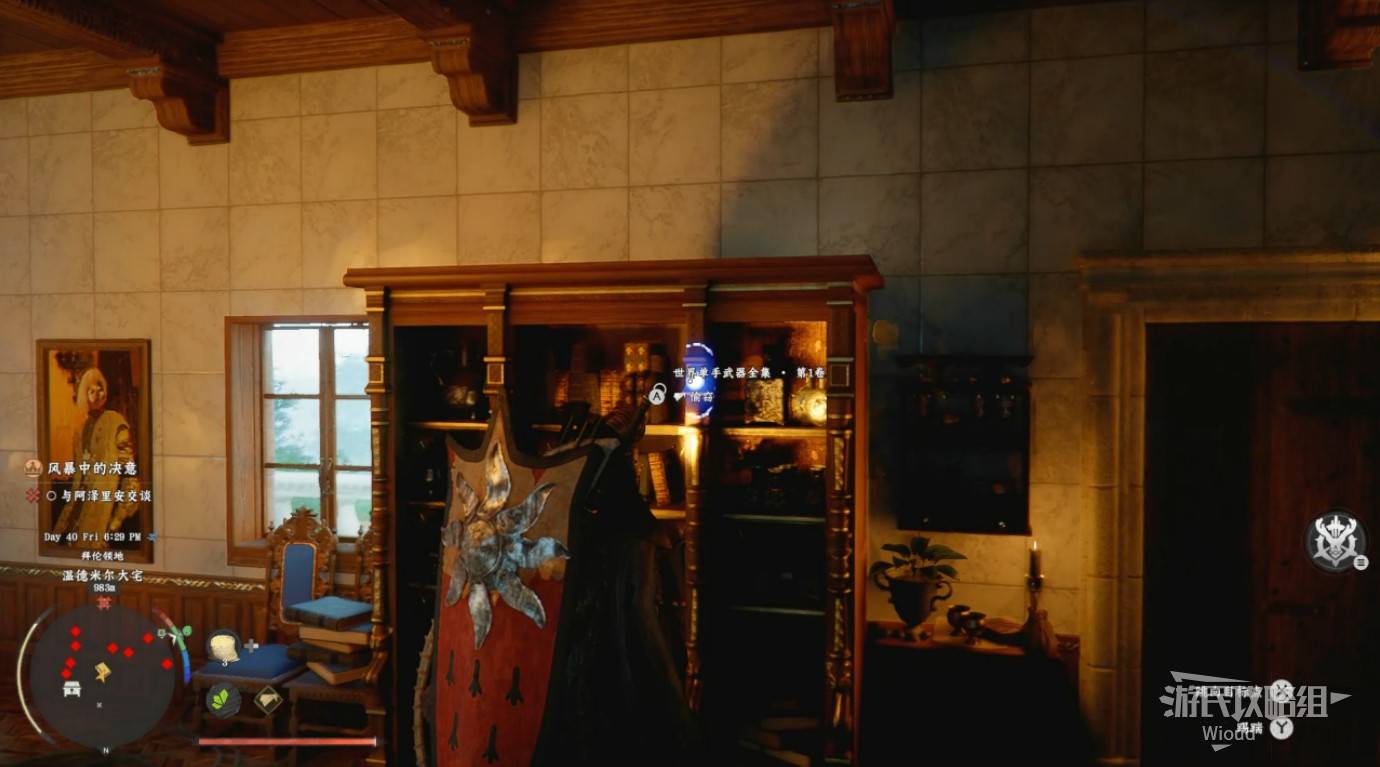
Image credit: GamerSky.com
PREPARATIONS FOR ADVANCE
Go to the marker for a cutscene: the enemy left for a military exercise, so now is the time to seize the city.
REBEL SUPPRESSION
Head to the first objective and defeat enemies until the left progress bar reaches zero. The boss "Cursed Knight Fortaine" will also appear on the battlefield — like previous field bosses, defeating him here doesn't matter. Just avoid him and focus on clearing the meter.
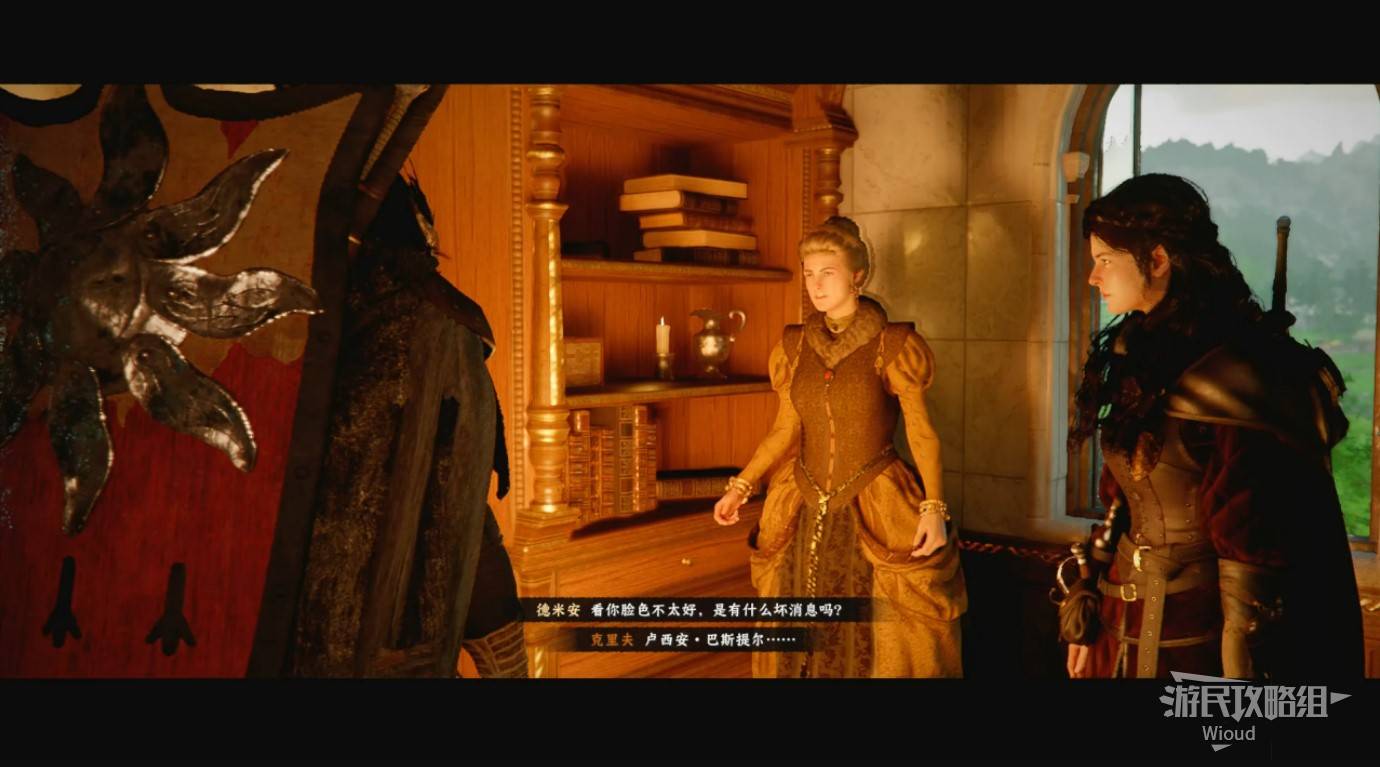
Image credit: GamerSky.com
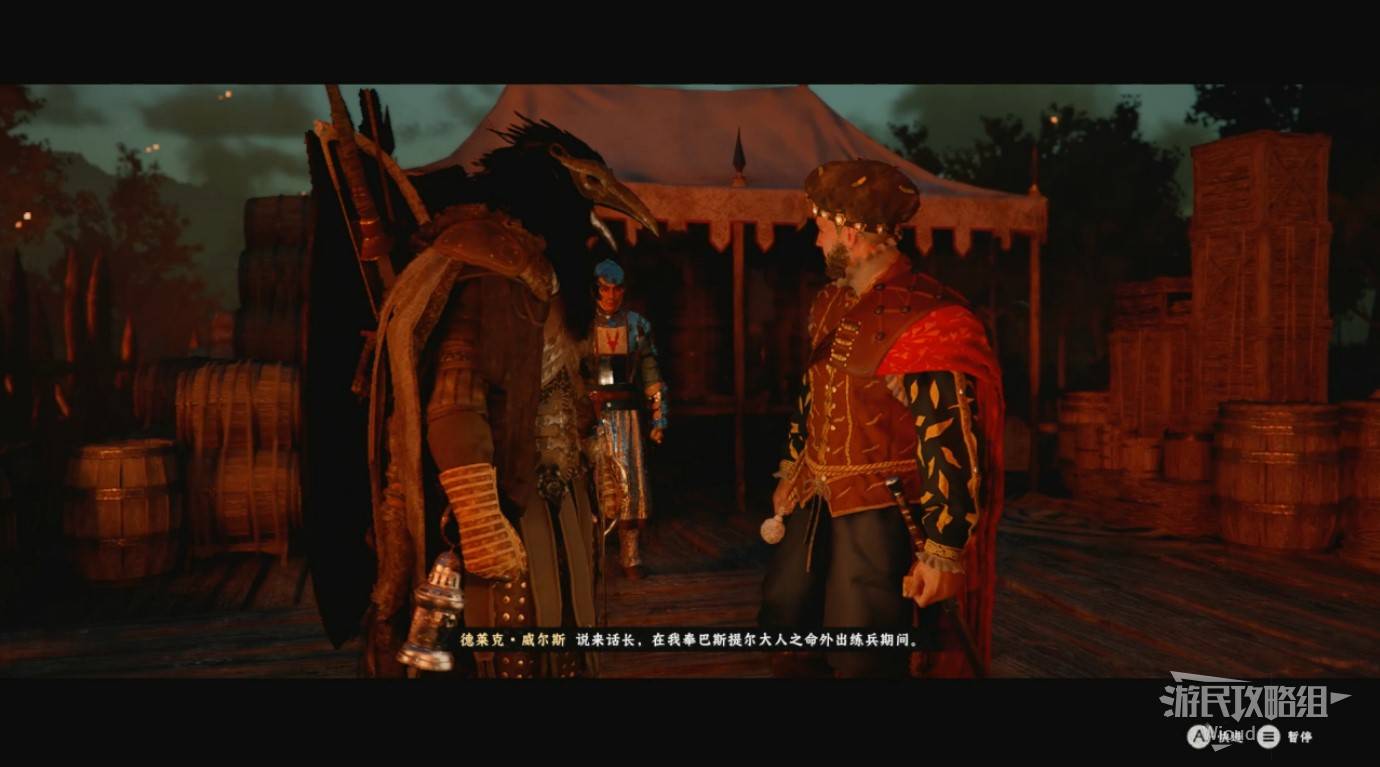
Image credit: GamerSky.com
THE CURSED KNIGHT — BOSS FIGHT: FORTAINE
After capturing the main district, you'll spawn at the castle entrance. Enter and turn right, then go through the first gate on the left. Walk to the end for the boss arena.
Fortaine is a human enemy with one health bar but annoying mechanics:
- - He summons sword and bow ghosts that attack from different directions — you can't predict where they appear
- - He blocks frequently with his shield — standard attacks get deflected
- - Soldiers in the background provide additional harassment
Recommended: Use the "Taoliya Curved Sword" — its heavy attack combo breaks through his guard reliably.
Developer note (from GamerSky): If this fight feels impossible, your gear likely needs upgrades — consider this boss a mid-game equipment check.
Rewards: Special Equipment "Forceful Bond" + 1 Abyss Artifact
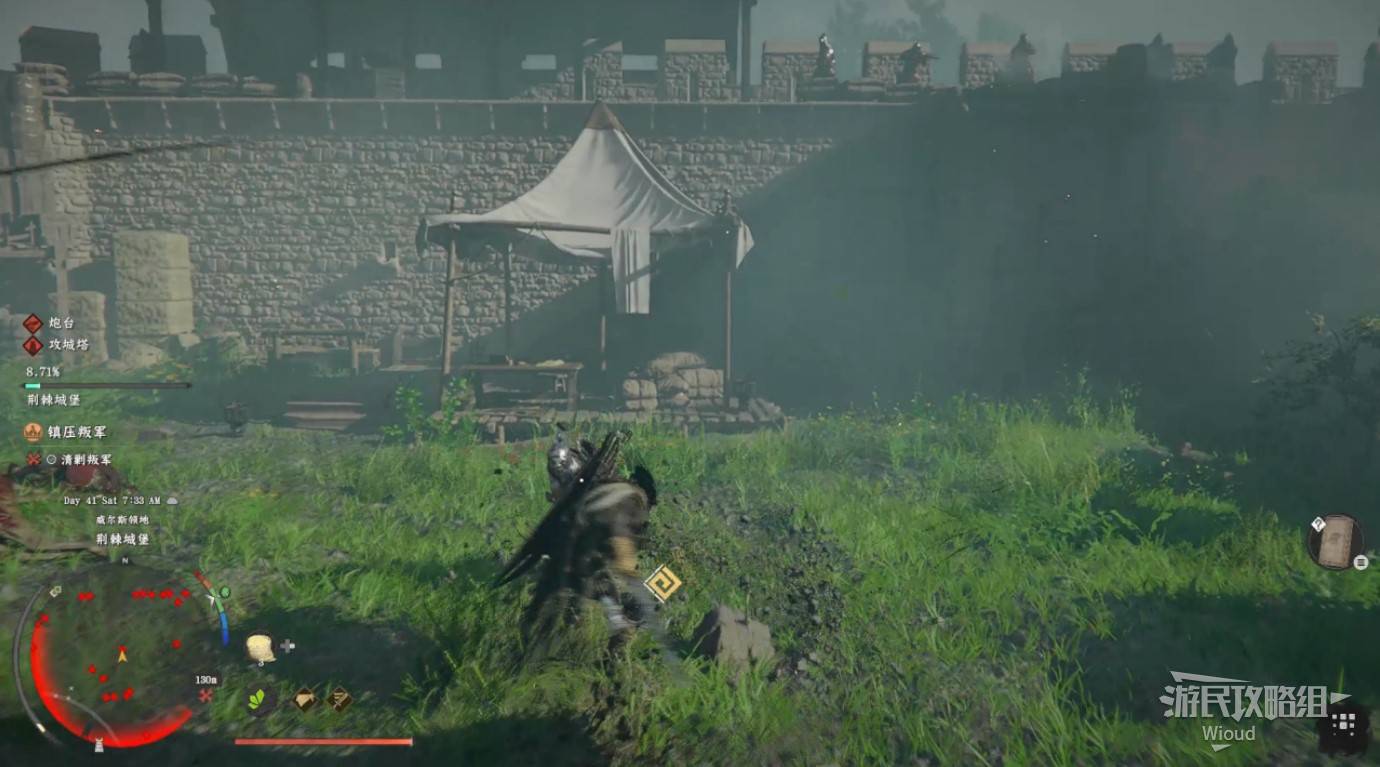
Image credit: GamerSky.com
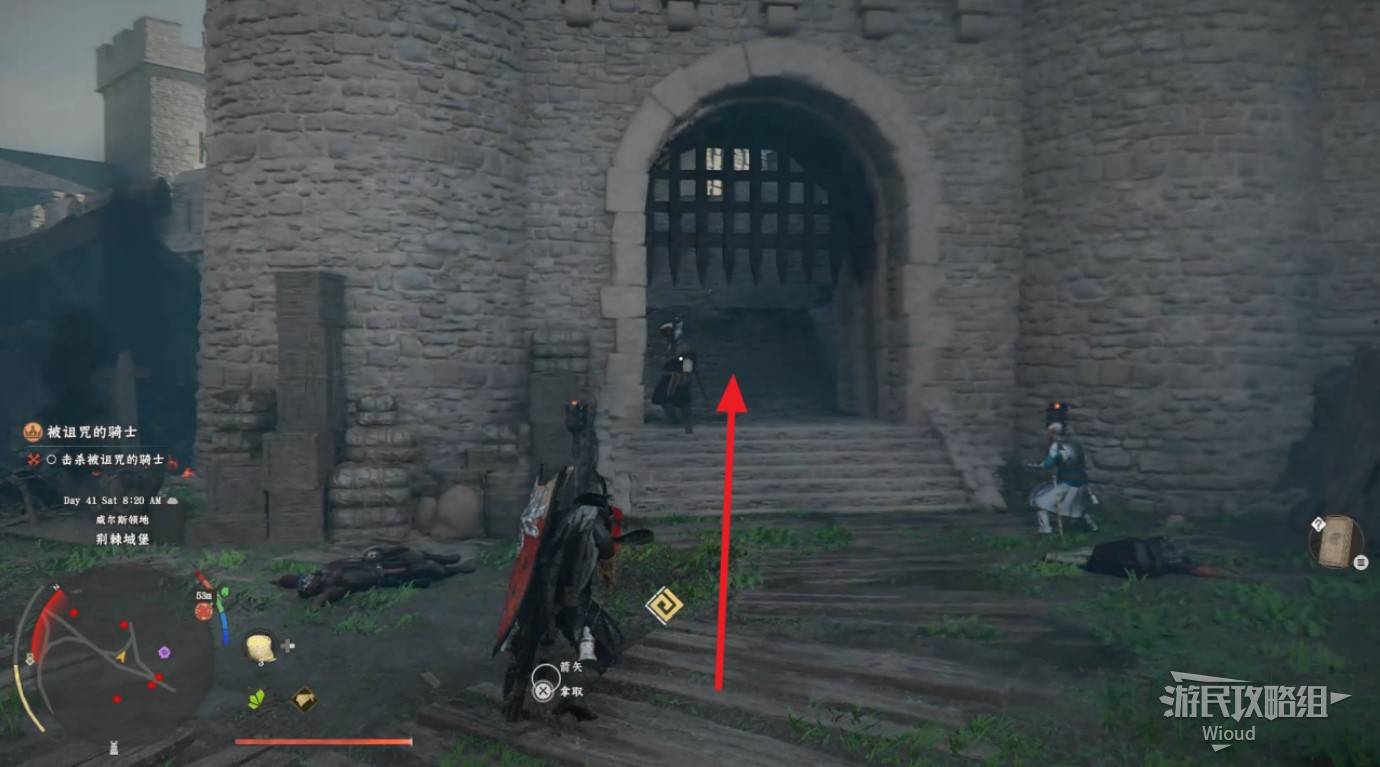
Image credit: GamerSky.com
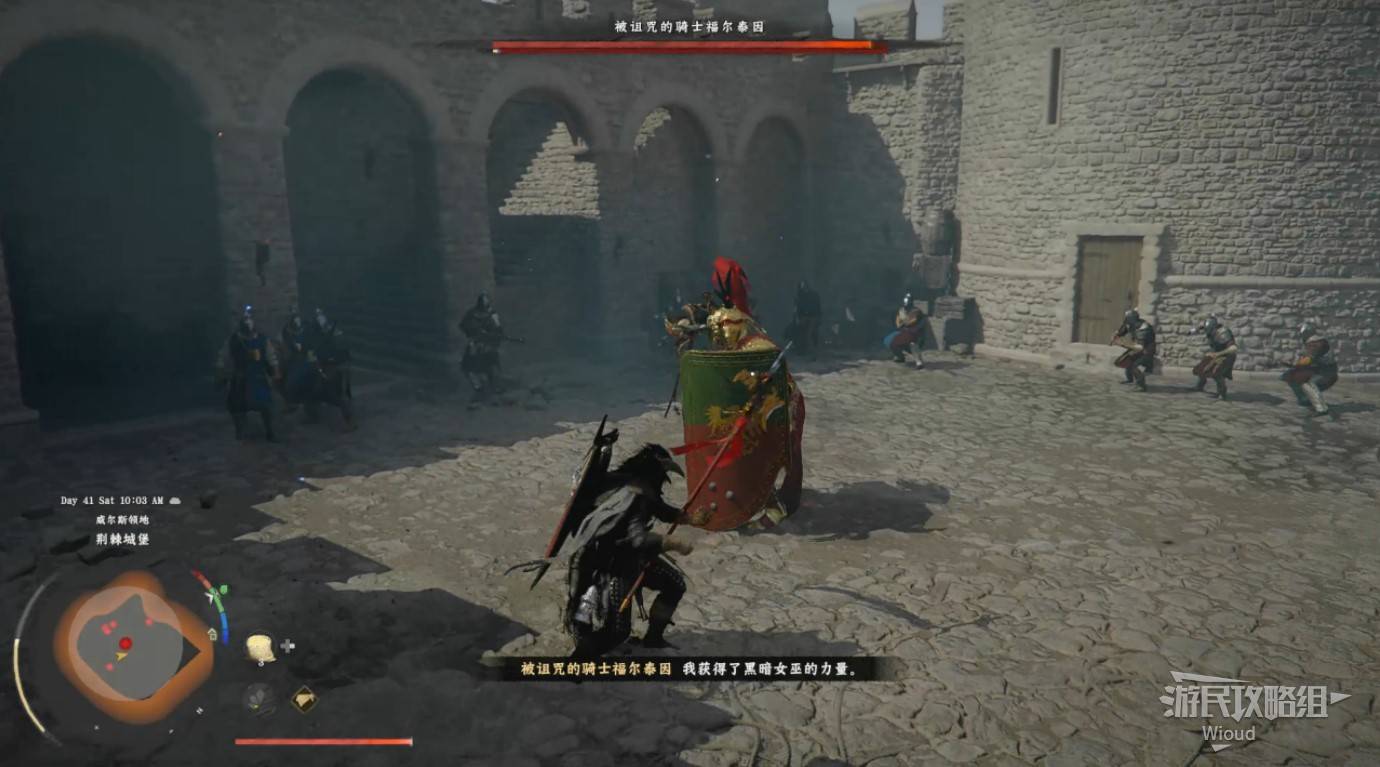
Image credit: GamerSky.com
THE BLOOD CORONATION
⚠️ Before proceeding: buy extra Keys from the Black Market — you'll need them for collectibles in the castle.
Follow the markers to Demeniss Castle. Climb the small hill to the marked spot. There are two climbable windows — the left one has a ledge midway, making it safer if stamina is low.

Image credit: GamerSky.com
Inside the castle, enter the banquet hall. Read the memory here to advance the quest — but don't rush, collect items first:
Collectibles in Demeniss Castle:
- Exit the banquet hall through the double doors on the right
- Enter the second room on the left — bookshelf contains "World Shield Collection Vol. 3"
- Climb the corridor stairs to the upper level. Enter the hallway straight across (not the right turn). In the last room, bookshelf contains "World Ranged Weapons — Archery Collection Vol. 3"
- Go to the lowest level via the stairs. Walk diagonally behind you, through the throne hall, into the opposite corridor and turn left. Enter the first room on the right. Through the double doors on the left, find the recipe "Gourmet Combo" on a wooden shelf by the doorway

Image credit: GamerSky.com
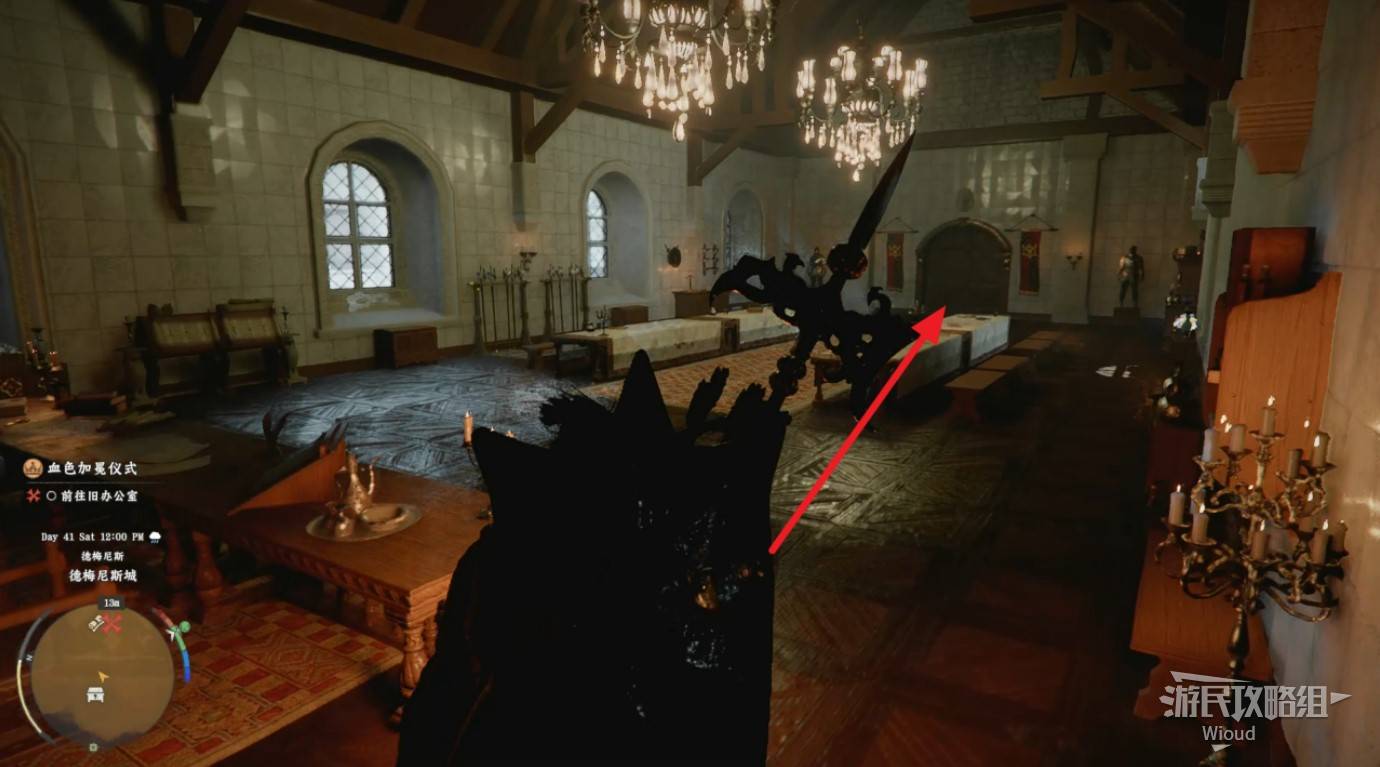
Image credit: GamerSky.com
⏳ To be continued — GamerSky update scheduled for March 28 at 6:30 PM CST.
Traitor Walkthrough
Traitor Walkthrough
Playable Character: Demian
Collectibles: Special Equipment x 1 (Royal Knight Armor Set)
Quest Chain: Clue -> A Fleeting Dream
---
CLUE
After Klev's defeat, the perspective switches to Demian. Head to the marked building and climb through a window to reach the second floor.

Image credit: GamerSky.com
Go down the stairs. Wait for the soldier to leave through the front door, then enter the room at the far end opposite the stairway. Inside, find an entrance leading underground.

Image credit: GamerSky.com
Enter the rightmost cell at the far end to trigger a cutscene. Several soldiers discover you — defeat them, then escape the city district.

Image credit: GamerSky.com
---
A FLEETING DREAM — BOSS FIGHT: LUCIEN BASTIEL
Follow the quest markers to reach the destination and trigger the boss fight against Lucien Bastiel. He has two health bars — after depleting the first, he transforms into Phase 2.
You can only fight as Demian. Before the fight, upgrade Demian's starting armor by 1-2 levels for better defense.
PHASE 1
Lucien wields a shield and mace. His attacks create explosive flame damage on the ground. He blocks all frontal attacks.
When dodging, roll sideways — rolling backward will get you hit by shockwave damage.
Key tactic: Demian's default weapon heavy attack summons lightning next to the boss. This can forcibly interrupt Lucien's first charge attack. Kiting the boss and repeatedly using heavy attacks is a high-safety strategy.

Image credit: GamerSky.com
PHASE 2
Lucien constantly teleports away and summons shadow minions that attack you. These shadows cannot be hit — when they appear, you must keep dodging until they disappear.
When the screen darkens, he rapidly summons large numbers of shadow demons. Stay in dodge mode.
When he briefly stops moving, immediately rush in with light attacks and deal as much damage as possible before he teleports again. This phase tests patience and evasion skills.
When he stands still with his arms raised defensively, he's about to counterattack — hit once, then immediately dodge sideways before continuing your offense.

Image credit: GamerSky.com
---
REWARDS
- - Special Equipment: Royal Knight Armor Set
- - Gear Tower Key
Chapter 9: The Sage of the Desert (Overview)
After the dramatic events of Blood Coronation, Kliff is drawn to the desert region of Pywel by mysterious voices. Chapter 9 introduces the Cloister of Enlightenment — an ancient temple buried beneath the sands — and the mystical powers of the witches Maegu and Woosa. This chapter focuses heavily on puzzles, exploration, and mastering the Force Palm mechanic, with several standout boss encounters.
Quest Groups:
- - The Calling
- - Shattered Ties
- - Thinning Blade
- - Six Pensive Statues and the Evil Spirit
- - Veiled Witch
- - Enlightenment
Key Rewards:
- - Stardust Necklace, Witch's Ring, Greymane's Earring — special equipment
- - Back Hang, Aerial Maneuver, Whirlwind Slash — Amplify skills
- - Force Palm mastery and dragon riding
The Calling Walkthrough
THE CALLING
Collectibles: None
Quest Chain: An Unknown Voice → Cloister of Enlightenment
AN UNKNOWN VOICE
After waking up, follow the markers to find and speak with the two witches who rescued you. Follow them to a cave entrance, pass through it to reach the upper-right map region called the Crimson Desert.
Image credit: GamerSky.com
Continue to the next waypoint. There's an Abyss Trace nearby that you can activate. Reach the destination to discover a large statue, triggering the next quest.
Image credit: GamerSky.com
CLOISTER OF ENLIGHTENMENT
Stand before the statue and enter Focus mode until a circular effect appears in front of you. Use Vigor directly on the statue to cleanse the corruption.
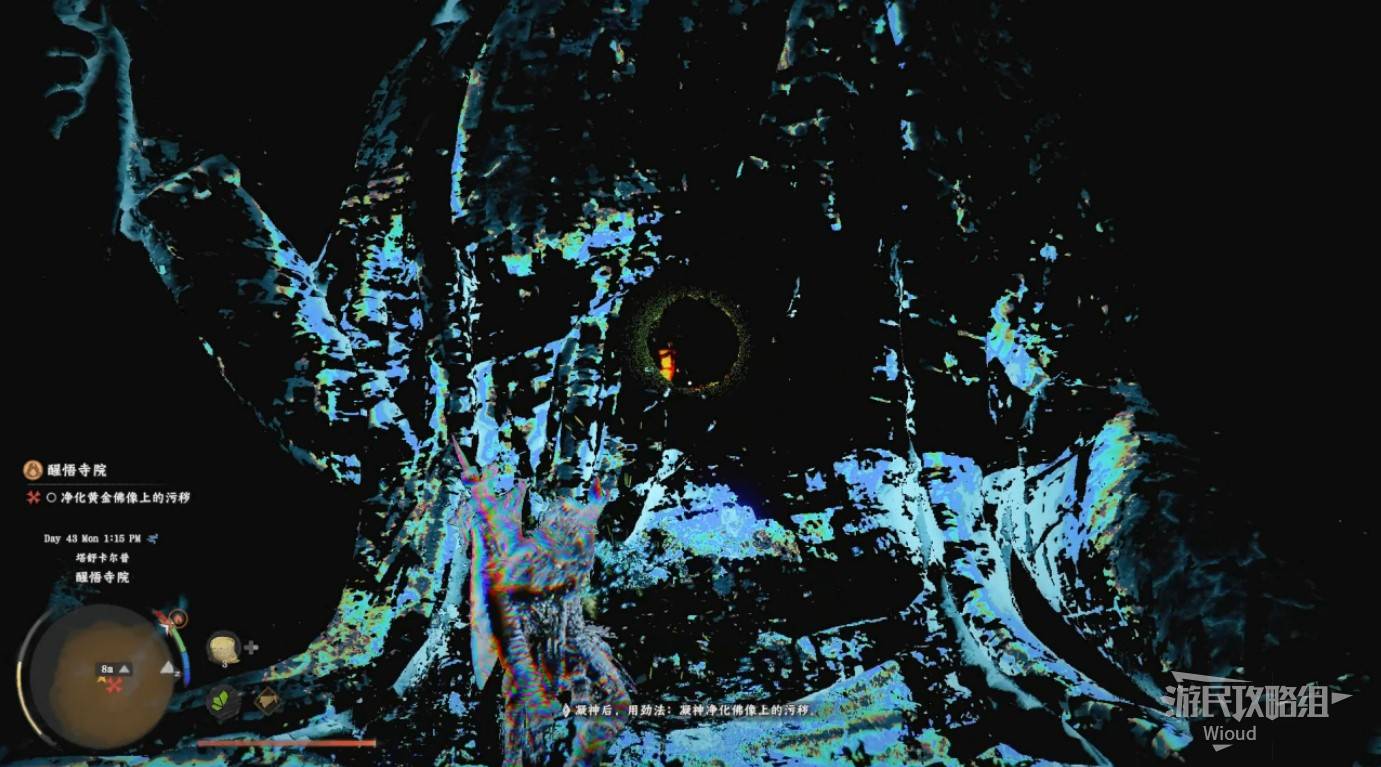
Image credit: GamerSky.com
Interact with the stone tablets in front of the four smaller statues to unlock four subsequent main quest branches.
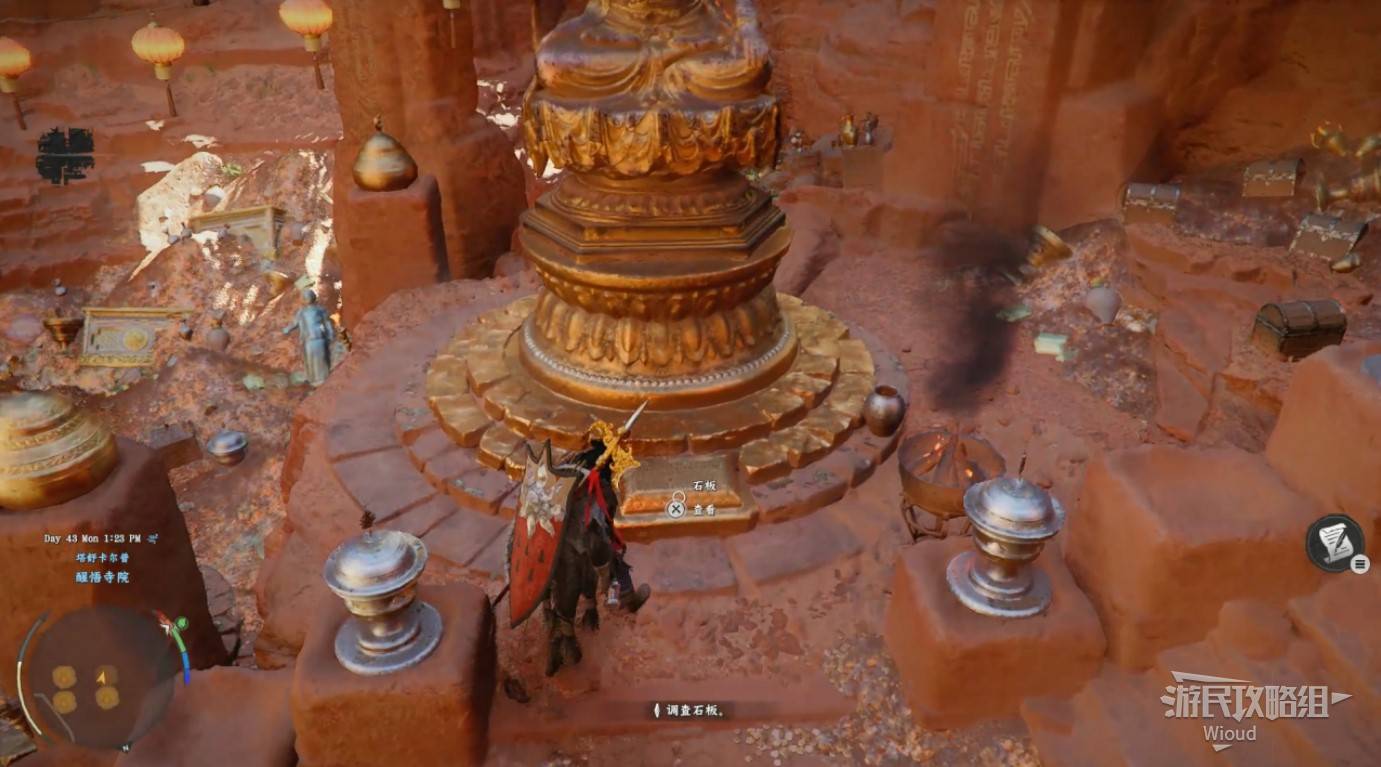
Image credit: GamerSky.com
Next: Shattered Ties Walkthrough
Shattered Ties Walkthrough
SHATTERED TIES
Collectibles: None
Quest Chain: Mark of the Scar → Shackles of Fate
Reward: Necklace Crafted from Stardust
MARK OF THE SCAR
Move to the first waypoint. You'll see a sleeping dragon. Wait for it to fly away, then activate the teleport point beneath it.
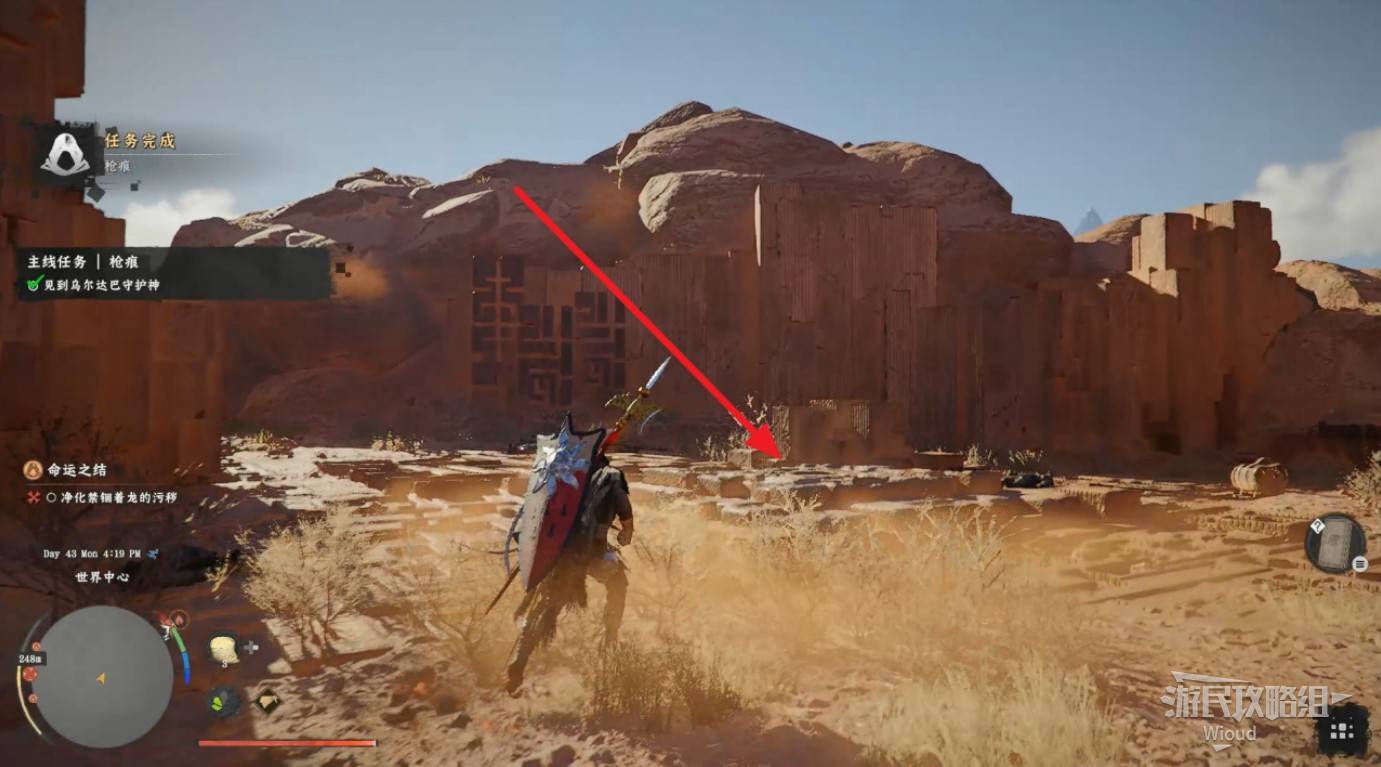
Image credit: GamerSky.com
SHACKLES OF FATE
Move to the city gate at the waypoint. Stand on the gate and you'll see a "Wait" option appear in the lower-right corner. Press Wait, and the dragon will fly toward you from the front. When it gets close, use Axiom Power to grab onto the dragon's body.
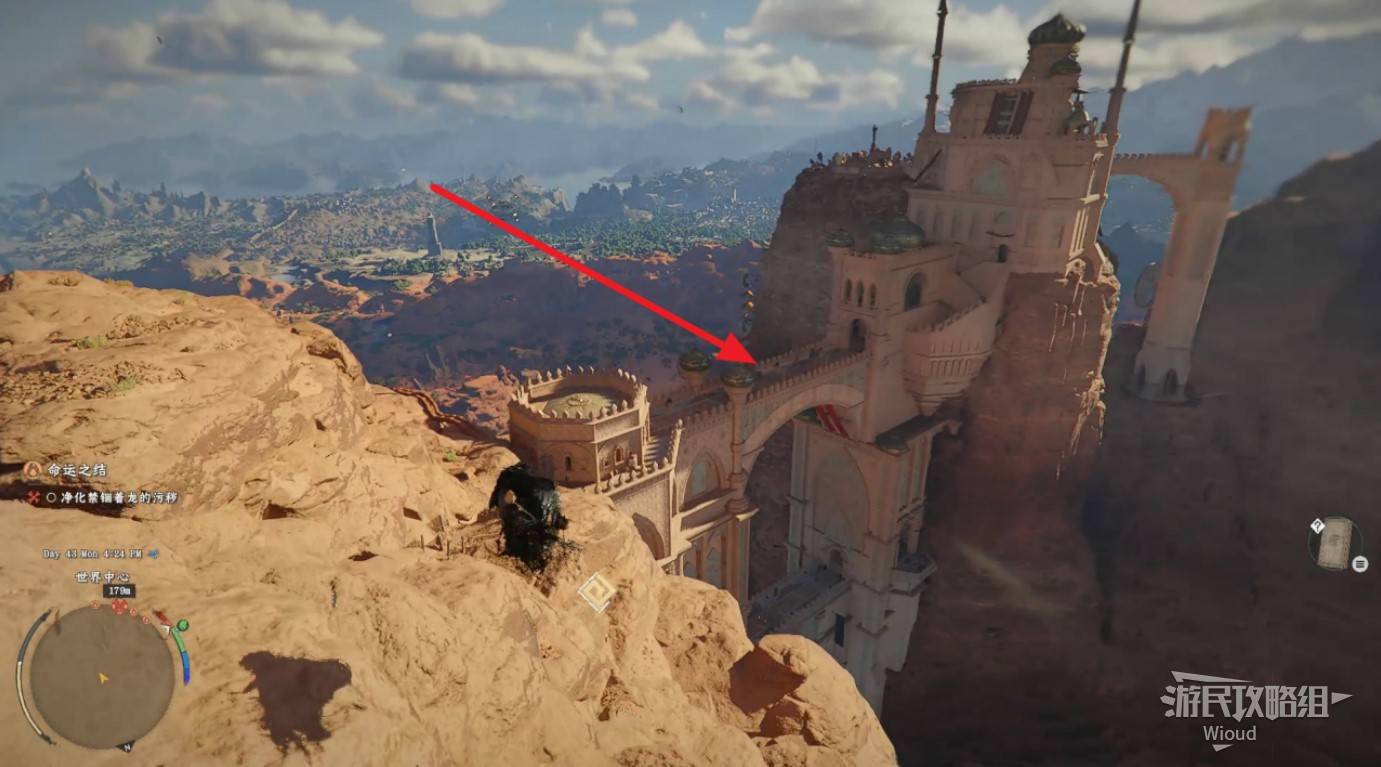
Image credit: GamerSky.com
Cling tight to the dragon's back. Watch your stamina carefully — don't let the dragon throw you off.
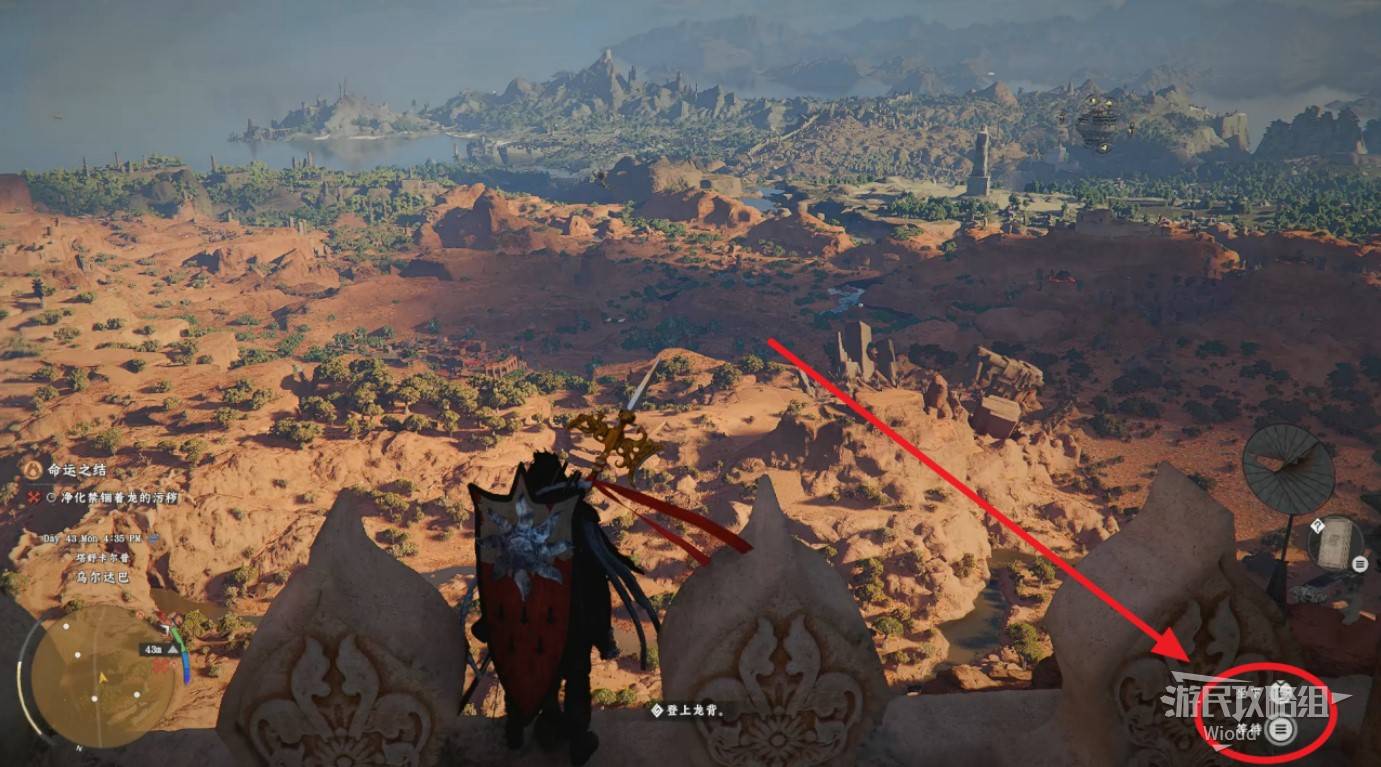
Image credit: GamerSky.com
When a cutscene triggers, enter Focus mode. Wait for a circle to appear on the dragon's body, then use Vigor. Completing this quest rewards the special equipment "Necklace Crafted from Stardust."
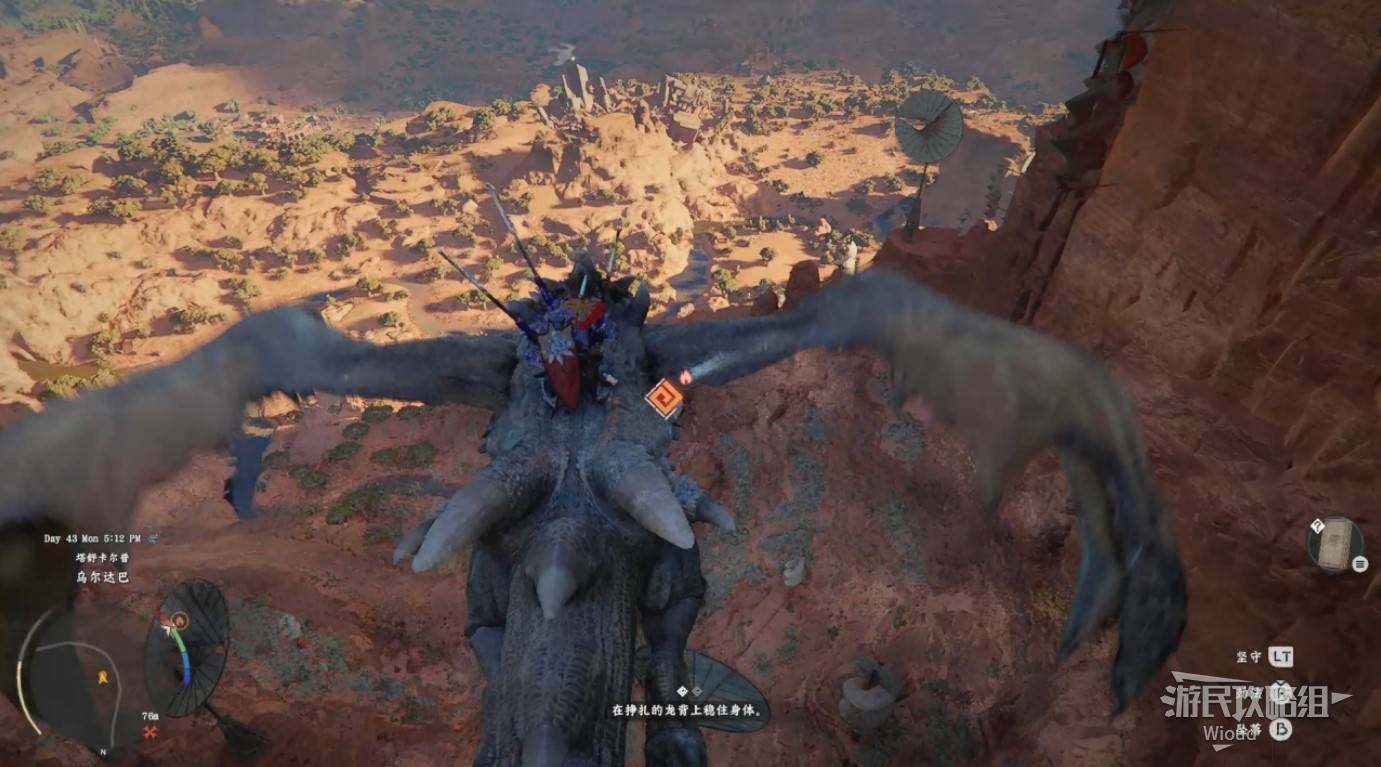
Image credit: GamerSky.com
Next: Thinning Blade Walkthrough
Thinning Blade Walkthrough
THINNING BLADE
Collectibles: None
Quest Chain: Crossing Point → Unwavering Steps
Rewards: Whirlwind Slash — Amplification skill, Fish Block Stew recipe, Black Destiny
Move to the first waypoint to reach the tower and trigger the puzzle. The puzzle area is behind the entrance. You need to direct light through multiple mirrors to unlock the tower door.
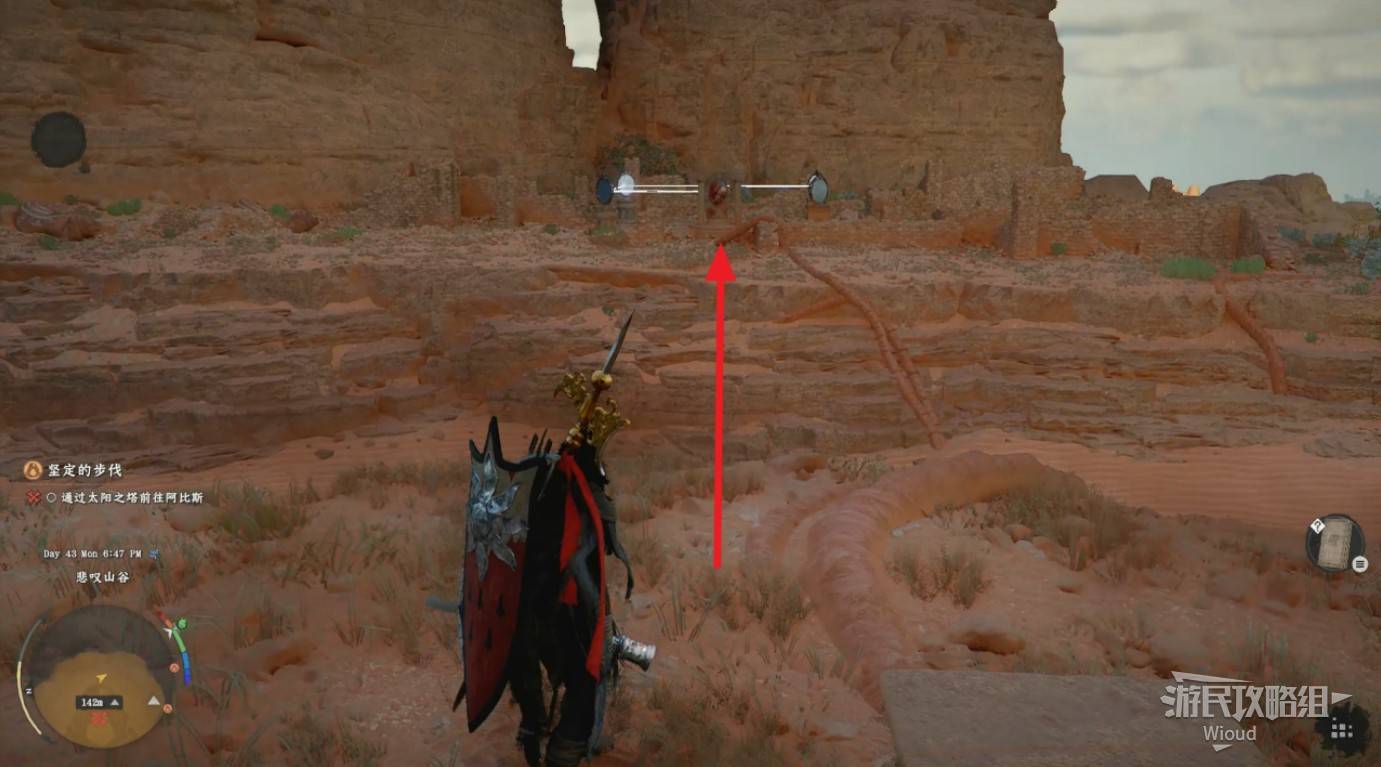
Image credit: GamerSky.com
Start at the puzzle area directly behind. Note the tracks below the mirrors — mirror bases can slide along these tracks. Push mirrors to the correct positions to reflect light from the crystal onto the disc. The first area only requires moving the mirror to the right side of the disc mechanism to the lower-right corner.
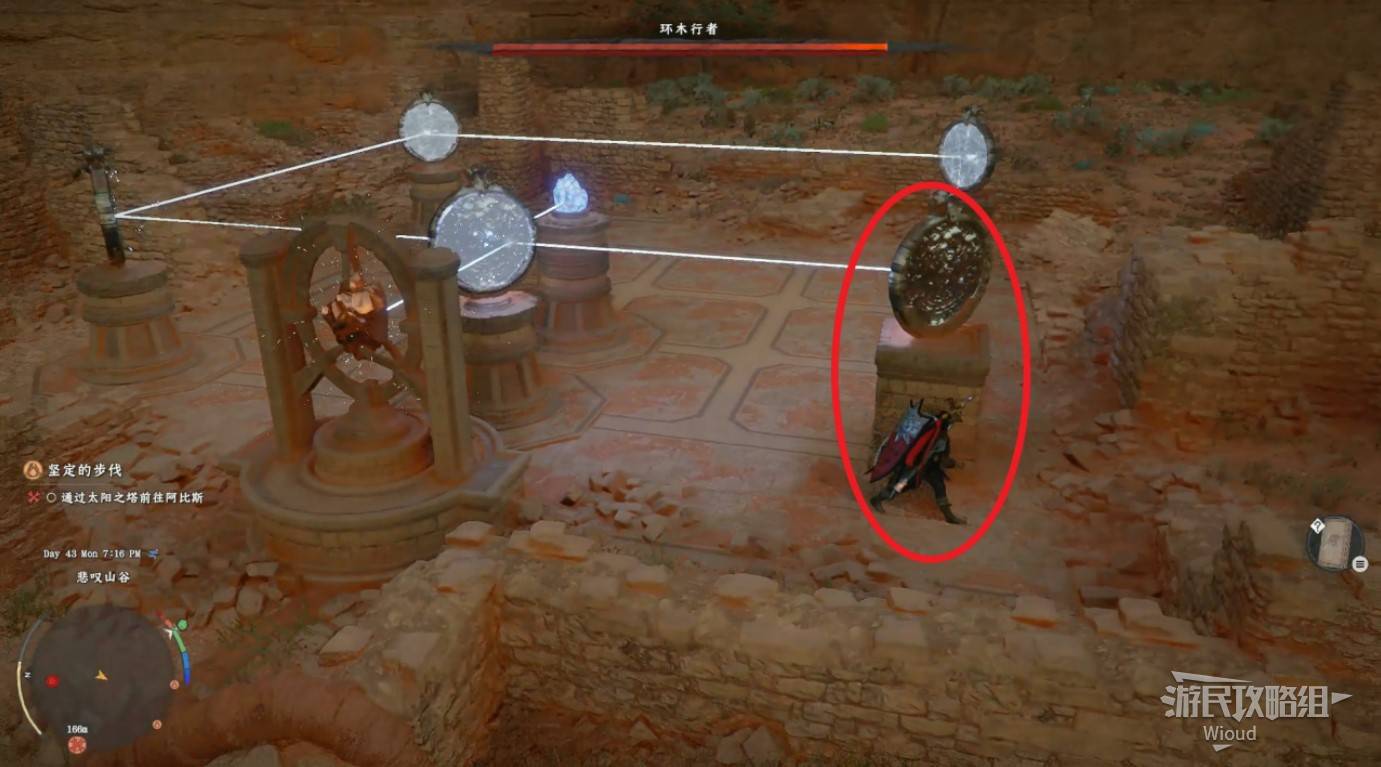
Image credit: GamerSky.com
Follow the light to the second puzzle area. This one is much harder than the first. The overall structure doesn't need major changes — adjust the mirrors according to the positions shown.
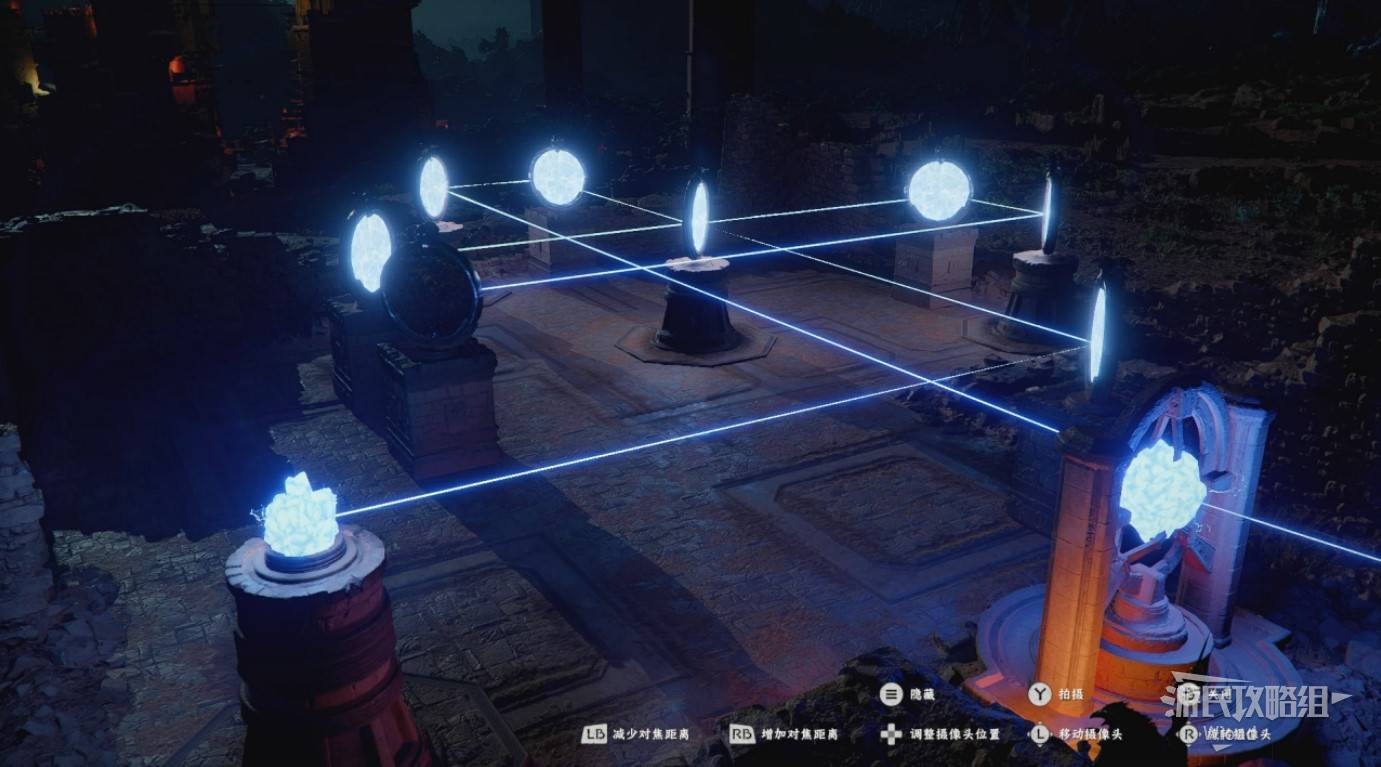
Image credit: GamerSky.com
After solving both areas, the tower door unlocks. Enter and climb the spiral staircase. At each break, interact with the mirror to reflect light upward. The broken stairs will reassemble. Repeat until you reach the top.
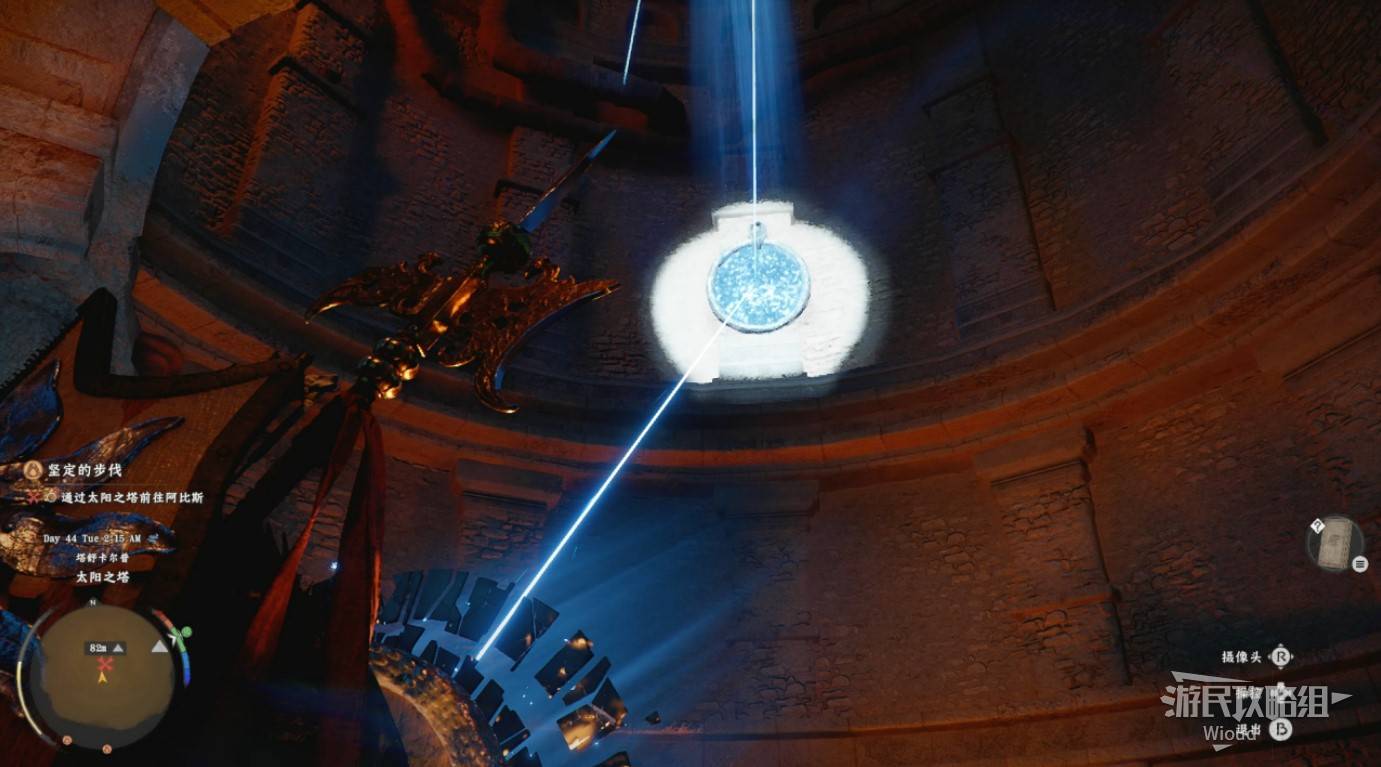
Image credit: GamerSky.com
BOSS FIGHT: GOYEN
Enter the Abyss "Valiant Nest" from the top entrance to fight the boss Goyen. You can learn the skill "Whirlwind Slash — Amplification" during this battle.
Goyen is a human enemy wielding a sword and shield with only one health bar. His moveset closely mirrors Kliff's own combat animations. Before engaging, activate the teleport point on the ground in front of the boss arena — if you're stuck, you can teleport away and return later.
His damage is extremely high — powerful moves can kill you in one or two hits. His most dangerous attack is a leap slam that sends out a shockwave. Depending on your armor and max HP, this can one-shot you. After the slam, he always follows with an aerial double kick. When he first jumps, the impact radius appears on the ground — dodge repeatedly. For the follow-up kicks, keep dodging sideways.
His sword combos mirror the player's own moveset. Due to his extreme damage, blocking and parrying are very risky. The safe approach is to dodge right, avoid his full combo, then punish during his recovery with four heavy attacks followed by light attacks. Heal to full immediately after taking any damage. If you're dying too quickly, upgrade weapons and armor to refinement level 7+ before retrying.
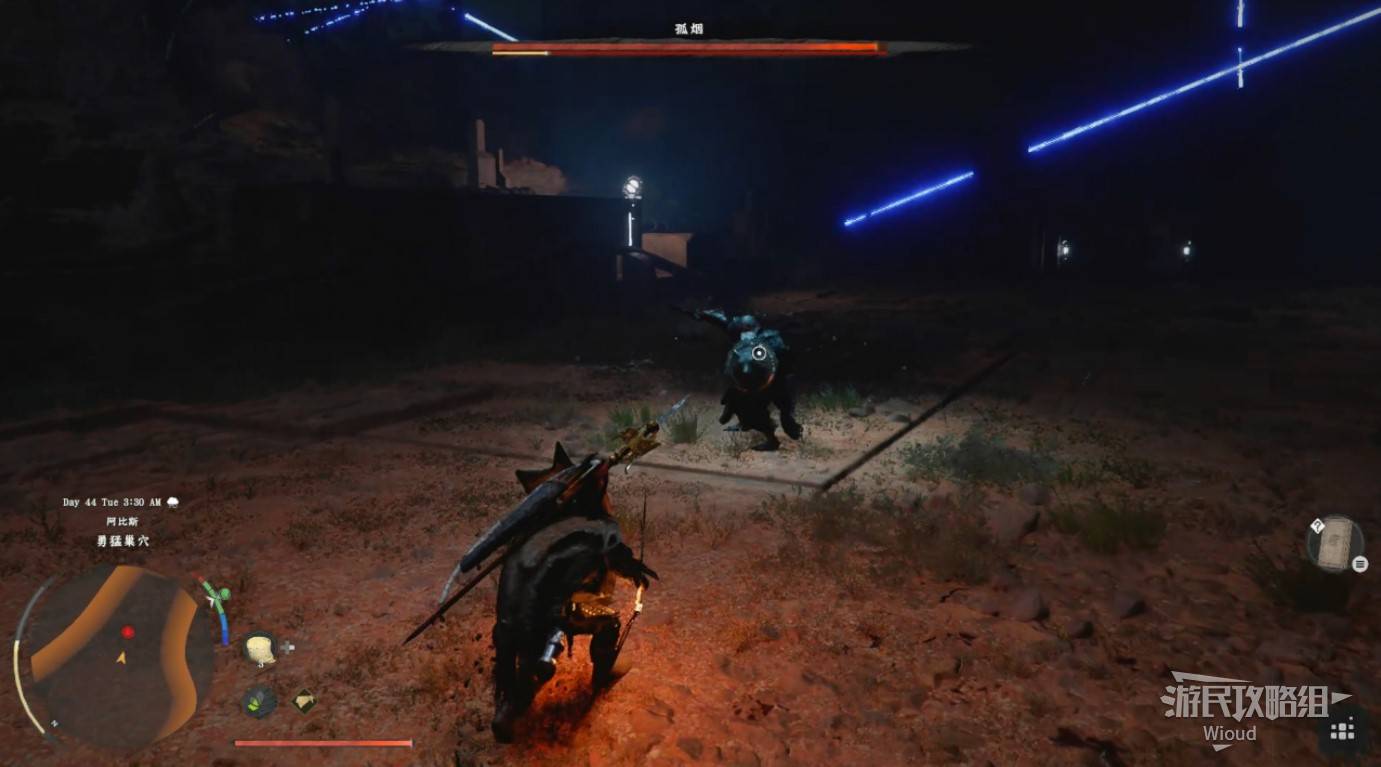
Image credit: GamerSky.com
Don't leave after the boss. Follow the left staircase to reach the Seat of Truth.
Image credit: GamerSky.com
Take the right staircase to find a room with the recipe "Fish Block Stew" on the table and the special equipment "Black Destiny" on the shelf nearby.

Image credit: GamerSky.com
Next: Six Pensive Statues and Evil Spirits Walkthrough
Six Pensive Statues Walkthrough
SIX PENSIVE STATUES AND EVIL SPIRITS
Collectibles: Turkan Helmet, Faith Wanderer Leather Gloves, Alchemy: Palmer Pill
Quest Chain: Morning Fog → Jijeong Temple in Chaos → Path to Enlightenment → Path of the Disciple → True Strength → Face the Inner Self
Rewards: Turkan Helmet, Faith Wanderer Leather Gloves, Turkan's Fighting Spirit, Abyss Artifact
Head to the waypoint area. Walk to the small courtyard to trigger a cutscene, then climb the stairs behind the statue up the mountain.
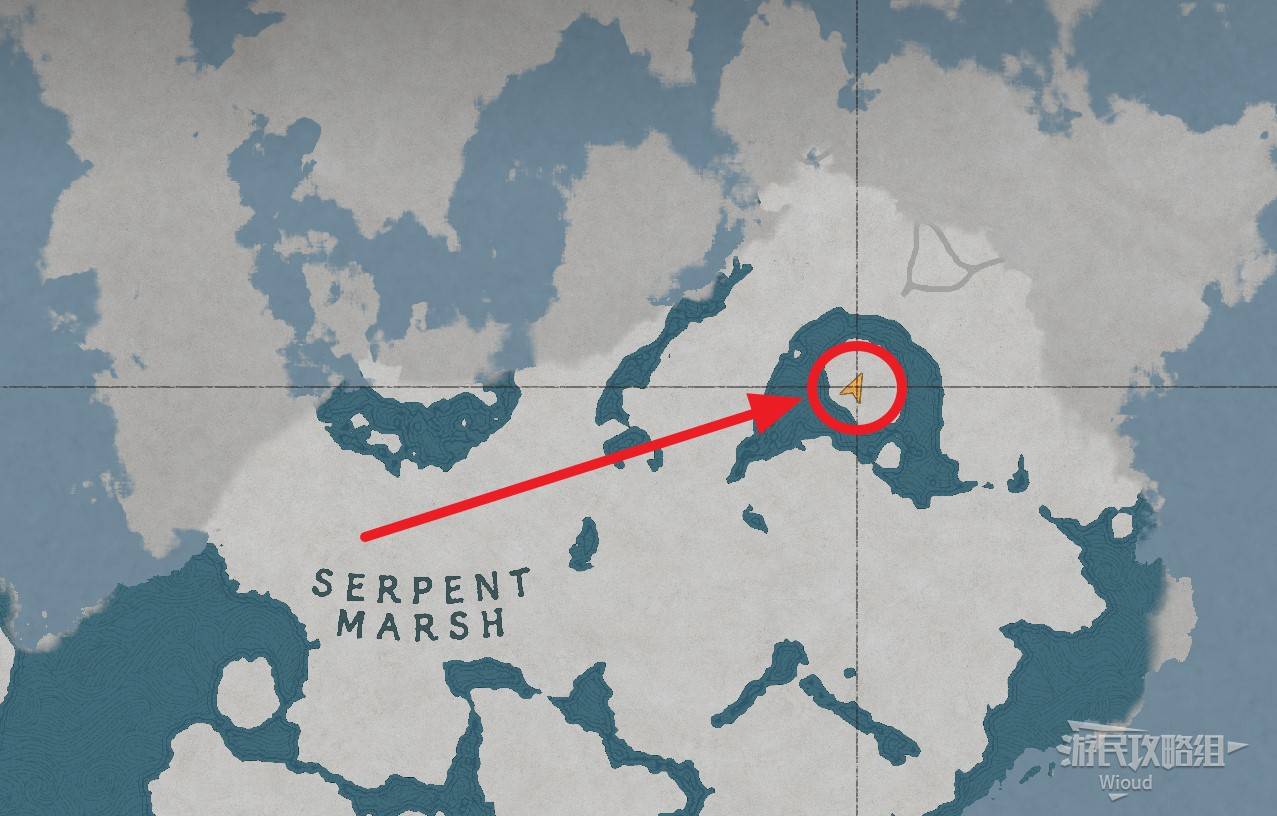
Image credit: GamerSky.com
Enter the damaged temple in the middle of the mountain to trigger another cutscene. An NPC will ask you to repair three broken statues.
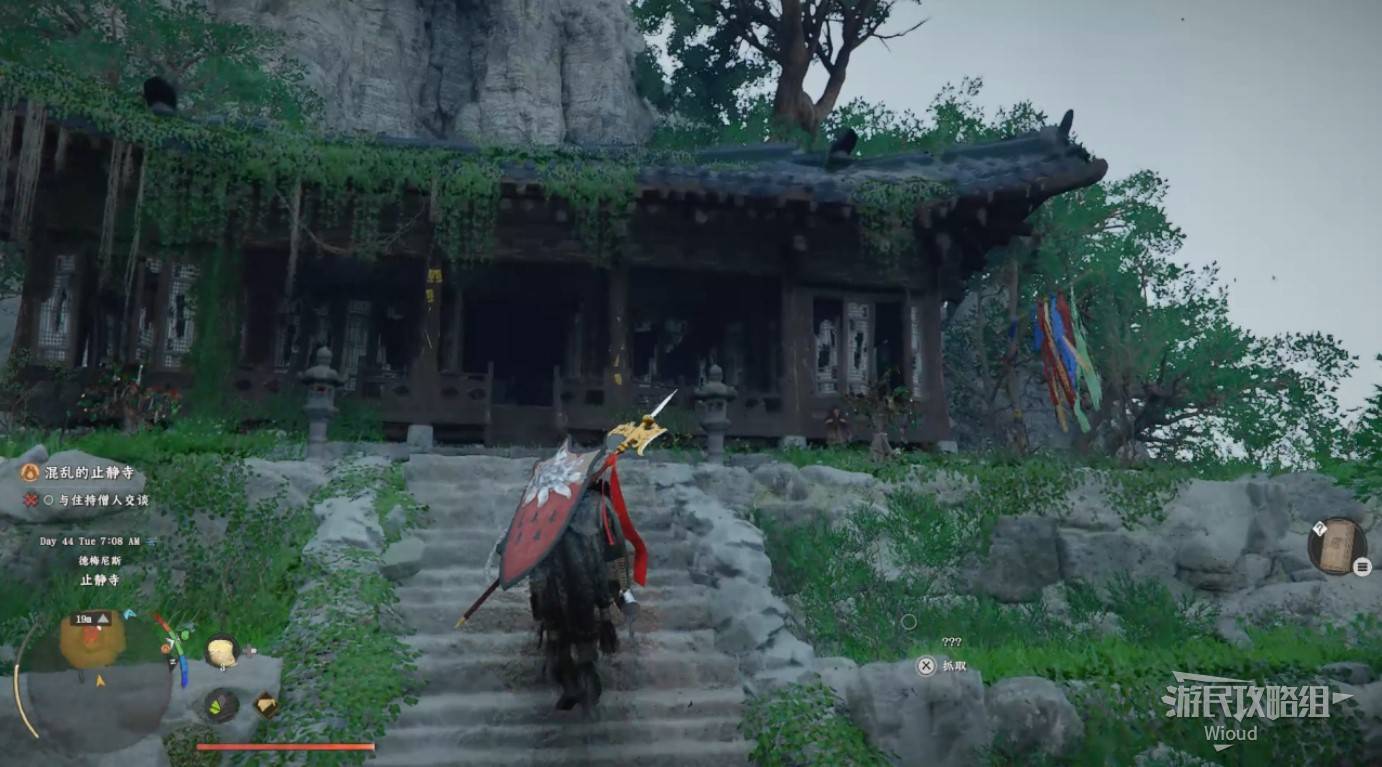
Image credit: GamerSky.com
REPAIRING THE FIRST STATUE
Go down the stairs you came up. The first statue is near the tiger mask. Before repairing, learn the skill "Vigor: Transfer" — grab objects with Axiom Power, then use Vigor to attach pieces when close to the joint.

Image credit: GamerSky.com
Find the broken hand near the courtyard entrance. Attach it to the right side of the statue, palm facing up.
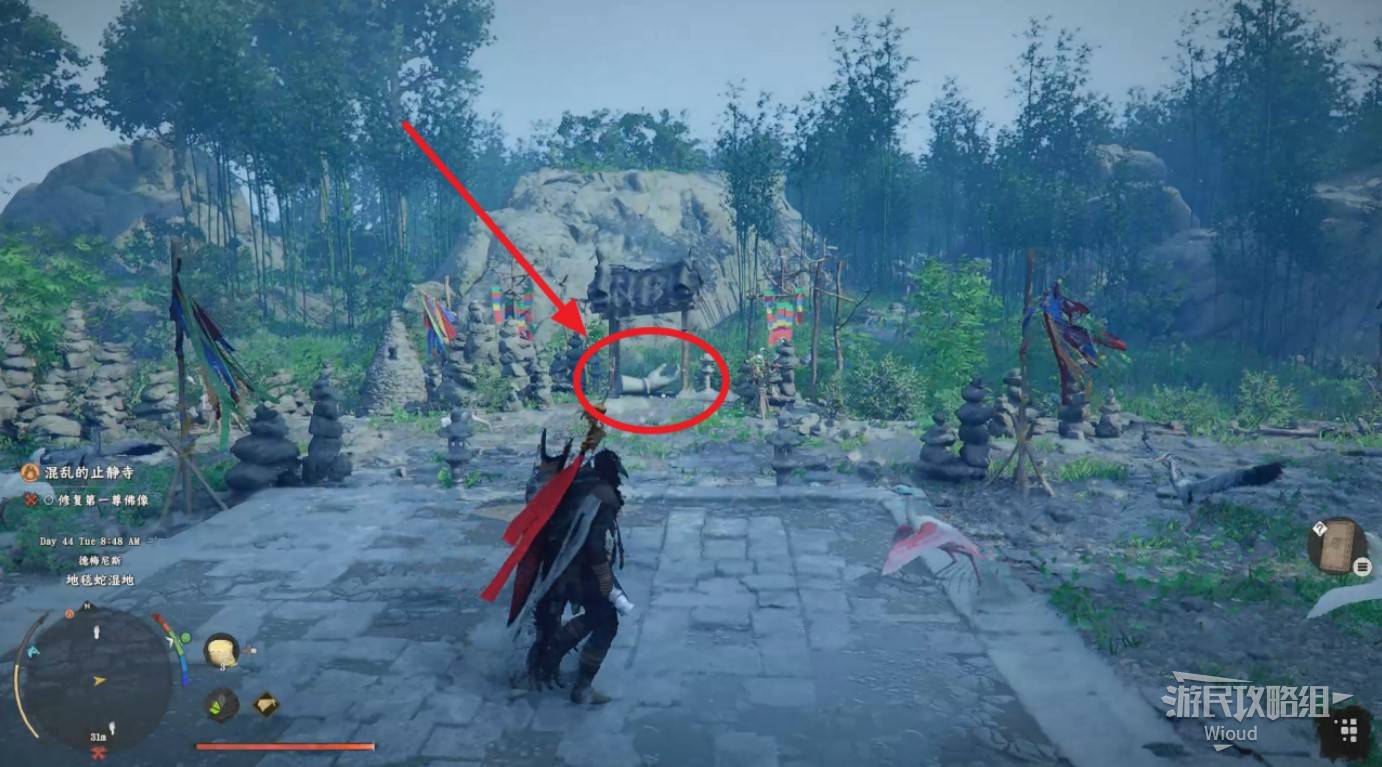
Image credit: GamerSky.com
Attach the left hand to the left side, palm facing forward.

Image credit: GamerSky.com
REPAIRING THE SECOND STATUE
Move to the second statue waypoint at the mountaintop. The statue's body has toppled over by the cliff edge. First place the body on the base at the top. Use the two stone lanterns in front of the base to orient yourself.
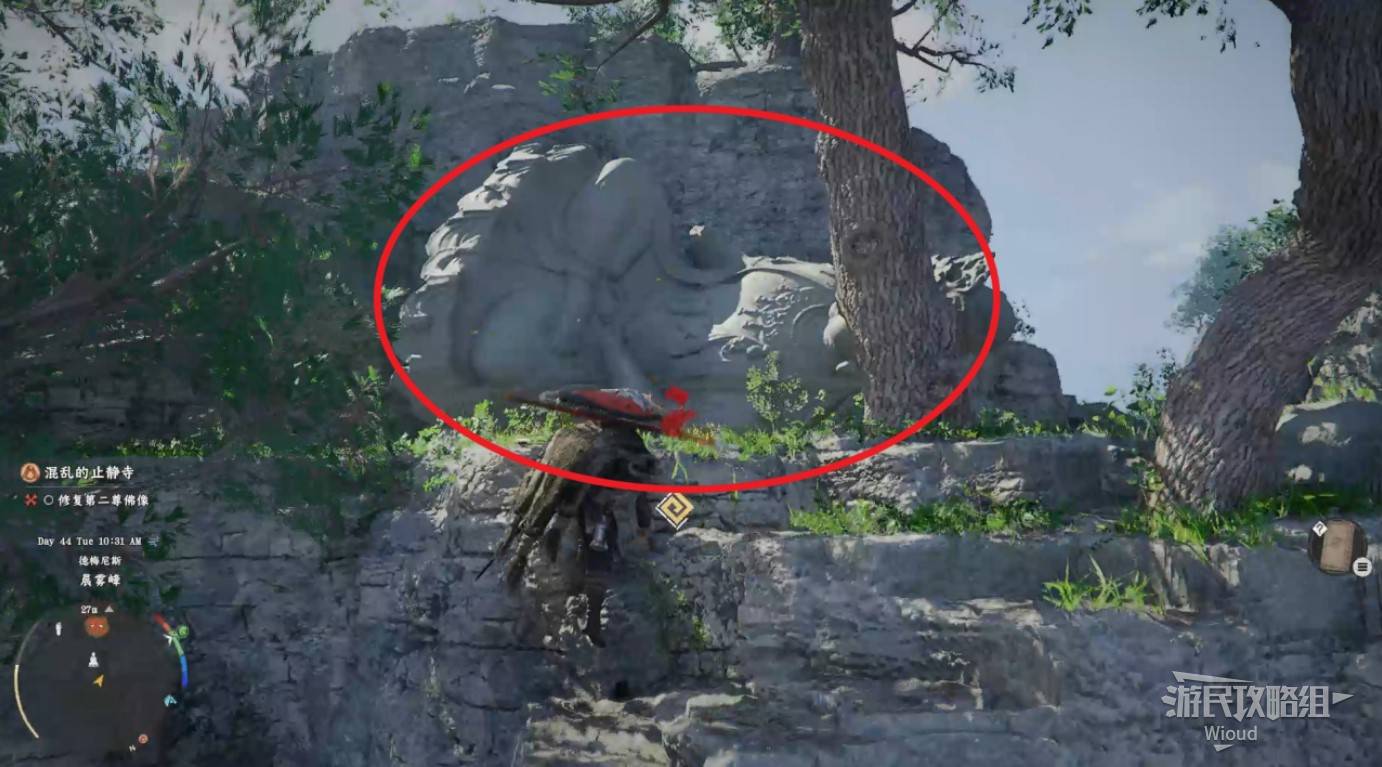
Image credit: GamerSky.com
Use the minimap to locate the two broken hands nearby. Attach them in the correct orientation.
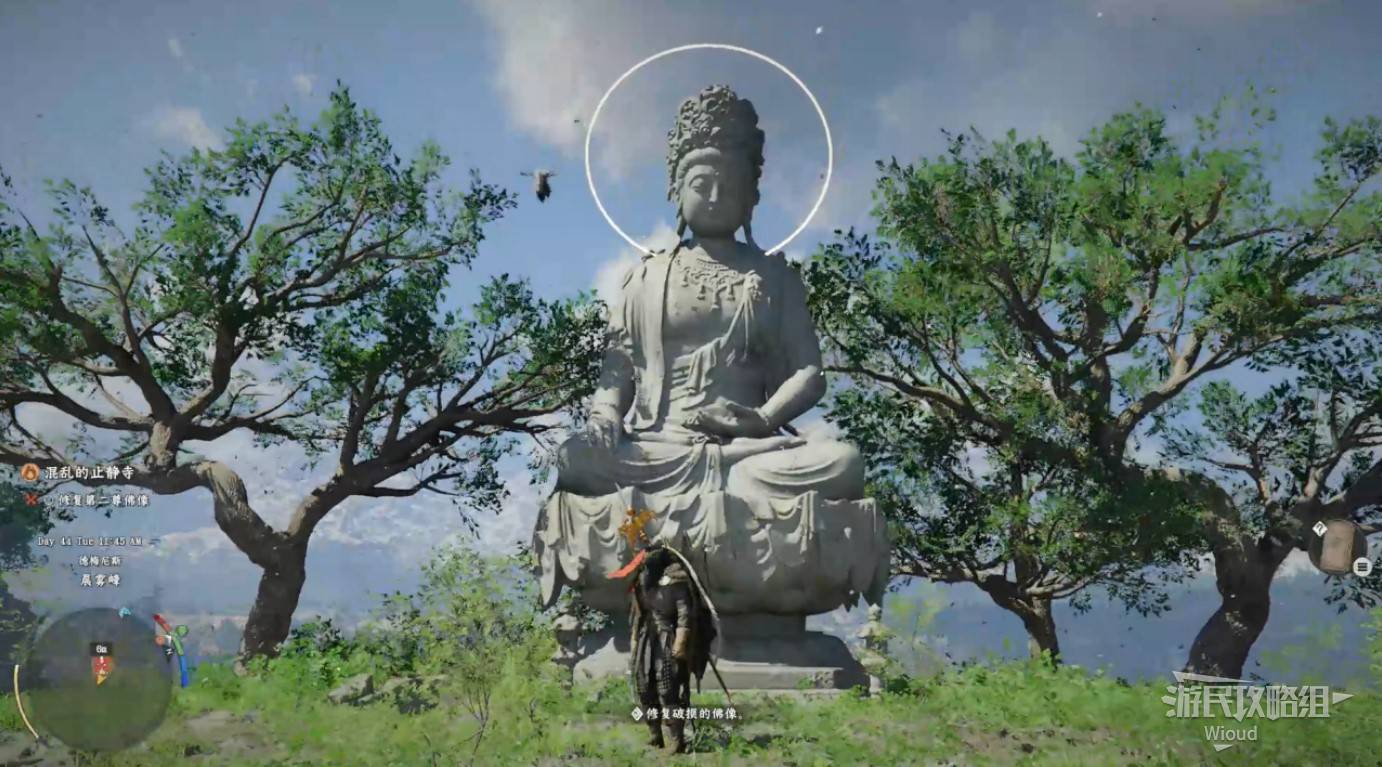
Image credit: GamerSky.com
REPAIRING THE THIRD STATUE
The third statue is hidden. Move to the waypoint mountain, then circle the base to find a hollow cave at the bottom — the statue is inside.
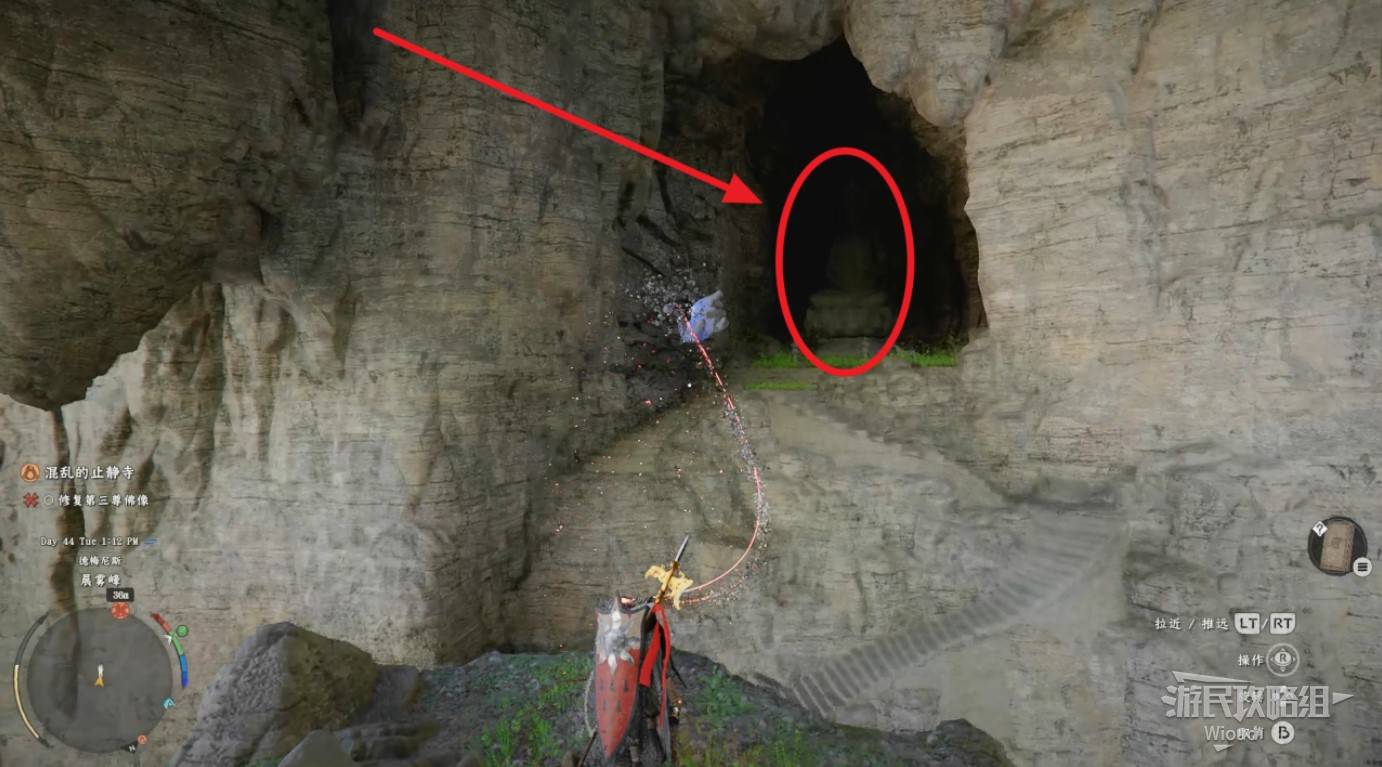
Image credit: GamerSky.com
This statue only needs two hands reattached. One hand is on the platform directly in front of the statue.
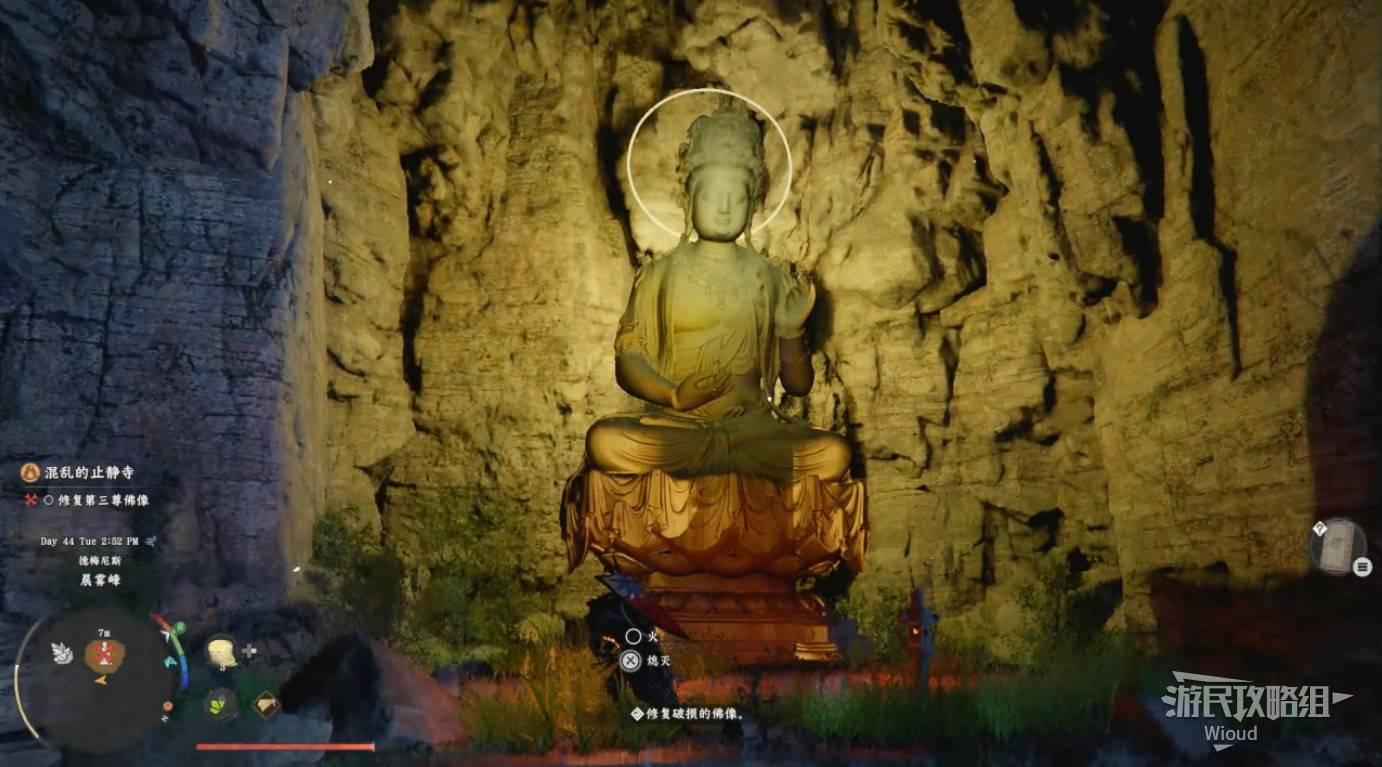
Image credit: GamerSky.com
TRAINING TRIALS
Go to the new waypoint and speak with the elder you met before to start the next phase.
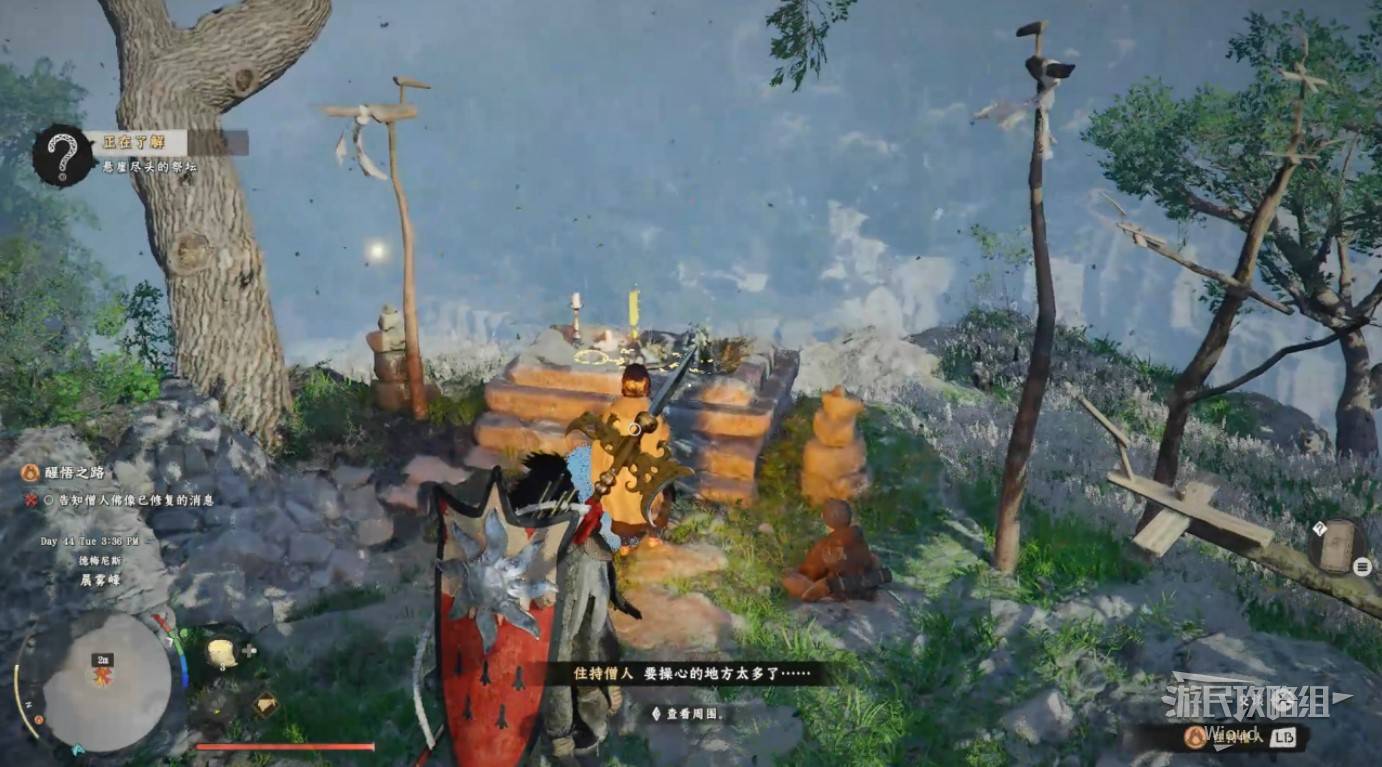
Image credit: GamerSky.com
Find the door in the middle of the mountain at the waypoint. Pass through from the other side to begin the trial. If the door won't open, try approaching from the opposite side.
A countdown starts. Touch all green orbs along the route and pass through the exit door before time runs out. Difficulty is moderate — after failing once to learn the route, the second attempt is usually successful.
If you fall far away, the system respawns you at the start but the timer keeps running. If too far away, wait at the entrance for the next attempt.
Each completed trial rewards an Abyss Artifact at the finish.
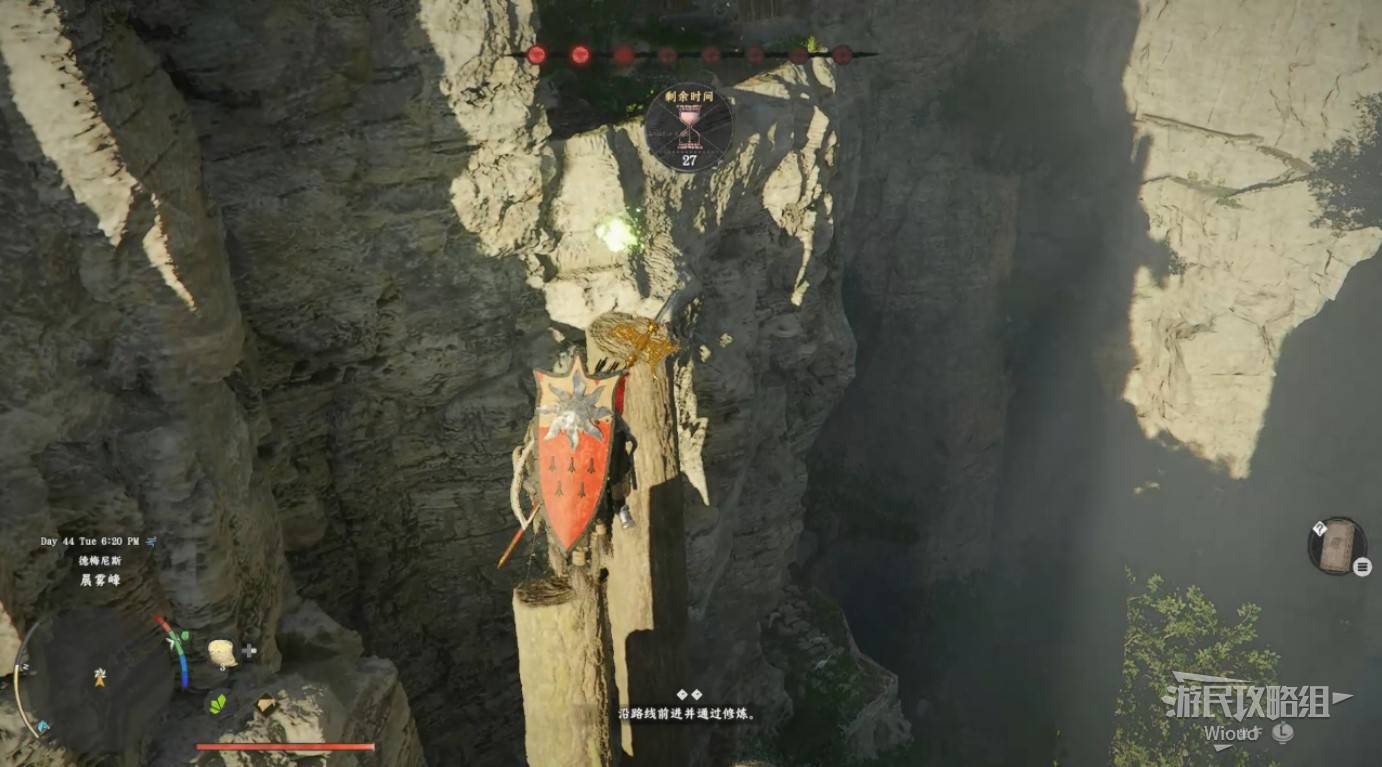
Image credit: GamerSky.com
BOSS FIGHT: TURKAN
Turkan fights primarily with fists. He has only one health bar with extremely fast punches and high damage, but low HP himself.
Recommended: Health attribute at least level 6 (base HP ≥ 750), equipped with level 6+ refined armor from the anvil and whetstone.
Block and counter at the right timing to break his guard — just hold the shield button. If you miss and get hit, roll away immediately. After a successful counter, follow up with 1-2 combo chains.
Lead with heavy attacks, then chain light attacks before he recovers. Alternatively, dodge behind him, wait for his combo to miss, then punish. Repeat this cycle.
The key is surviving his high-damage finishing moves, so max out health-related attributes. When he slows down and glows purple, he's about to summon spirits — back off immediately. During the purple barrage, block with your shield and heal, or dodge and heal simultaneously.
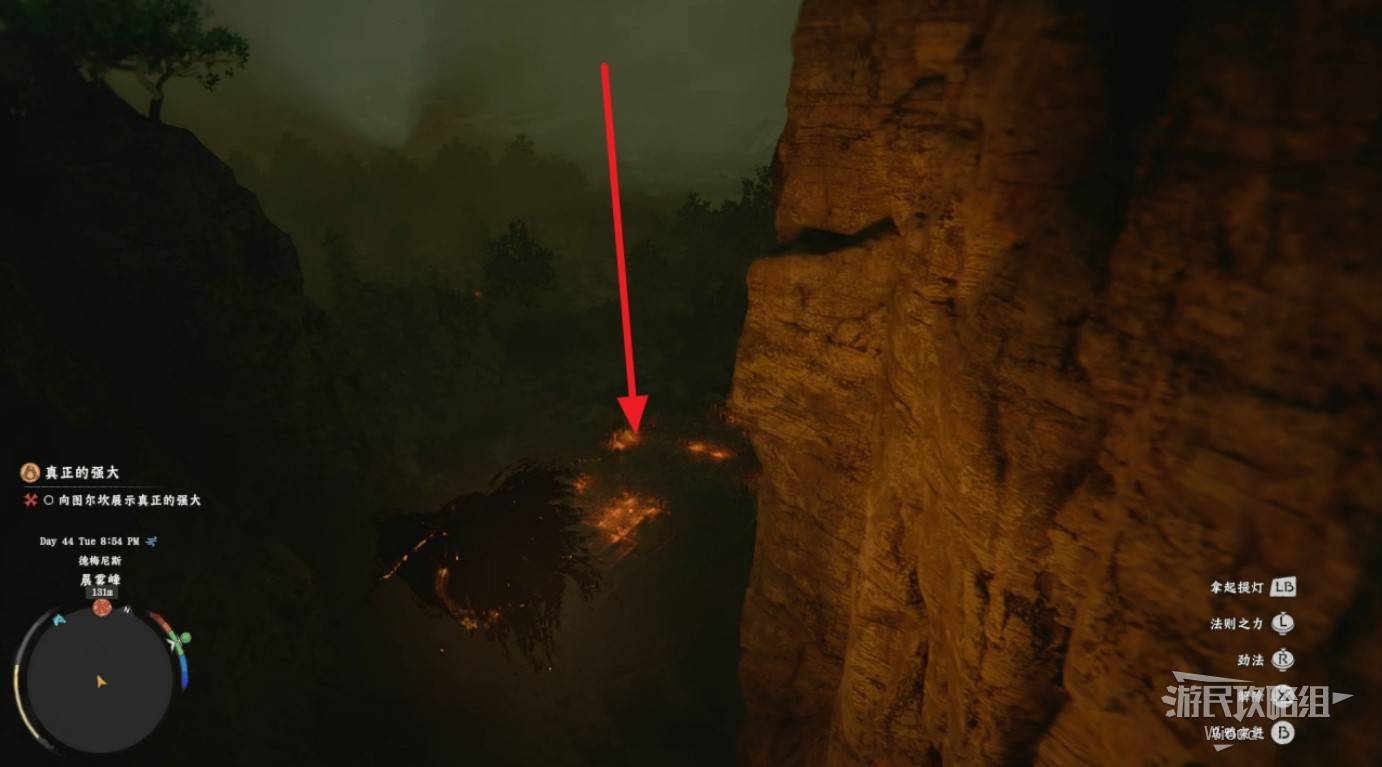
Image credit: GamerSky.com
Victory rewards: Turkan Helmet, Faith Wanderer Leather Gloves, Turkan's Fighting Spirit, and Abyss Artifact.
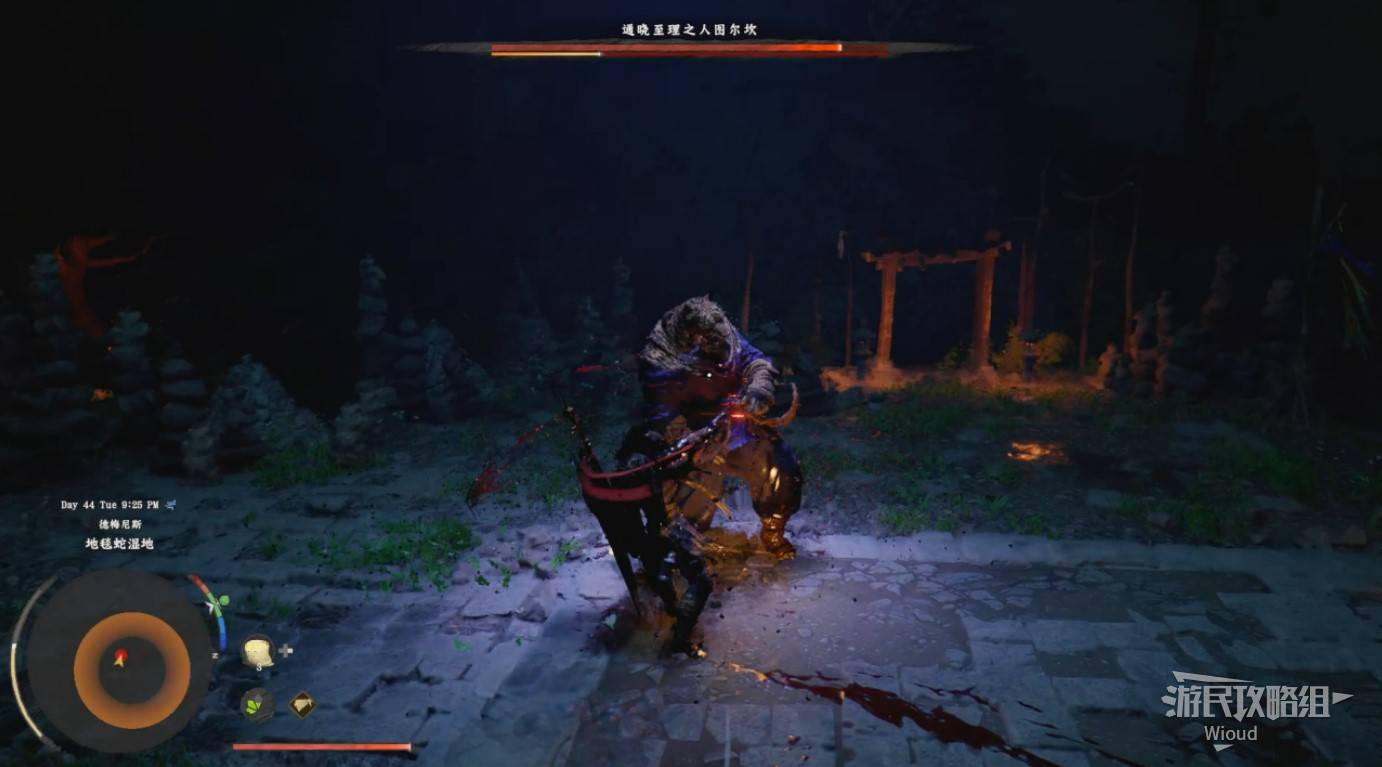
Image credit: GamerSky.com
ABYSS PUZZLE
After the boss, head to the mountaintop waypoint to enter the Abyss "Hermit's Roost." Go straight to the fork, turn left for a chest with a weapon inscription. Take the left staircase all the way down.
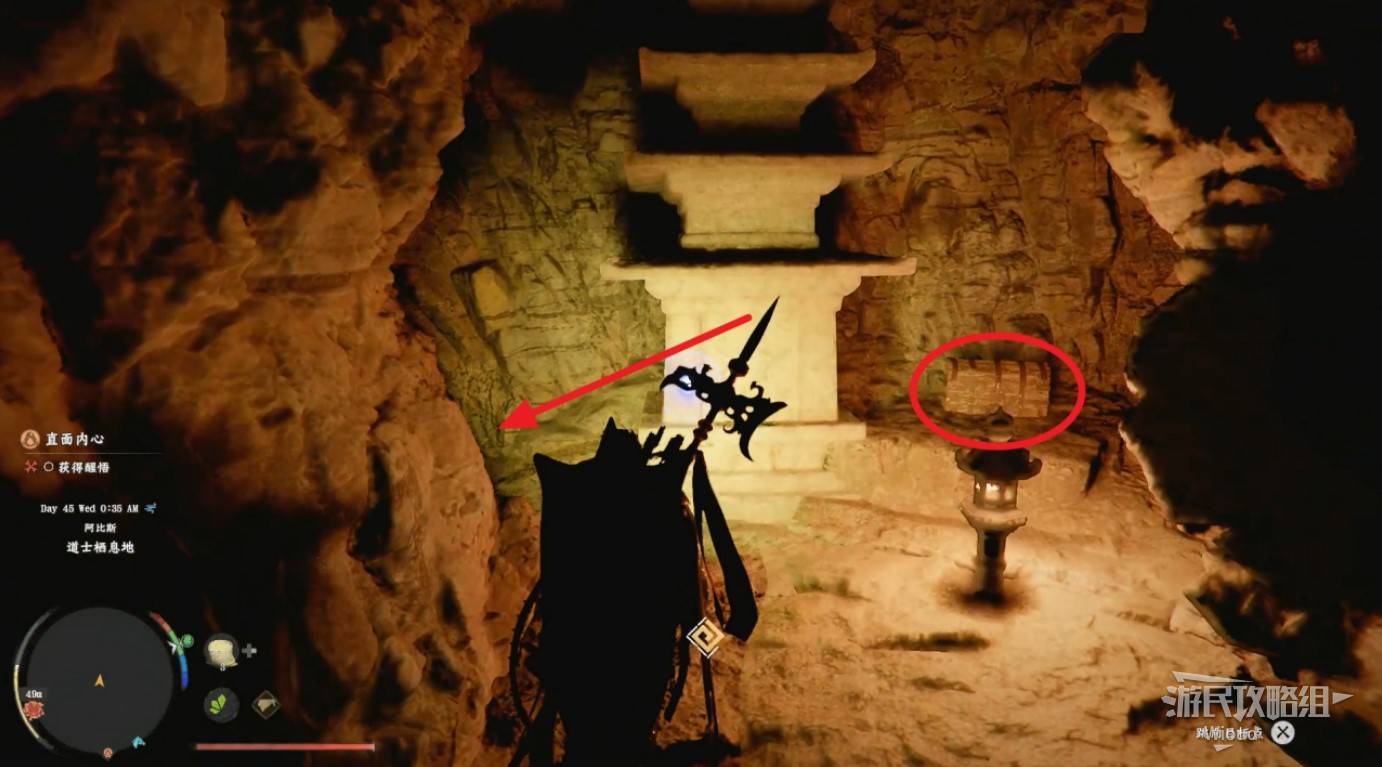
Image credit: GamerSky.com
Use a heavy sword attack to break the wall at the end. Water will pour out.
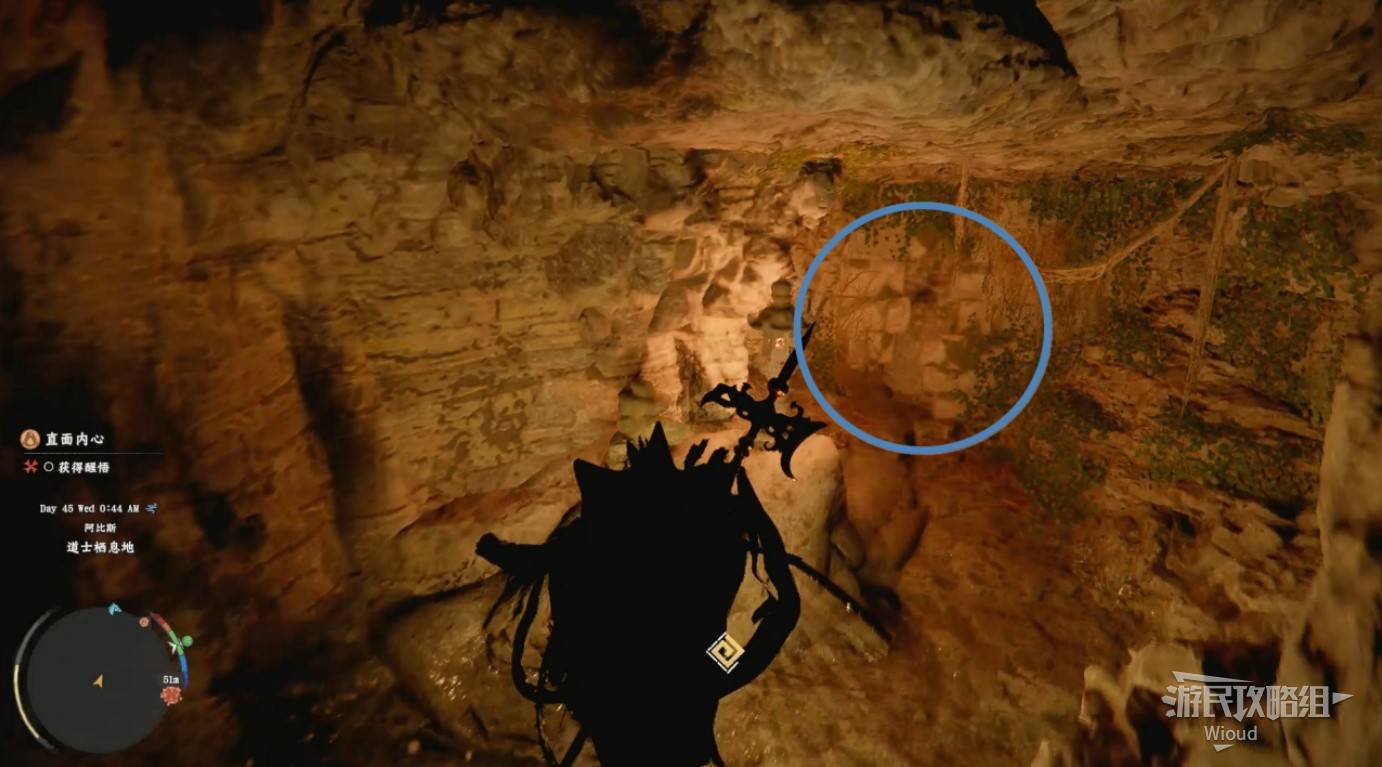
Image credit: GamerSky.com
Go back. The previously flooded area now reveals a tunnel. Use Axiom Power to pull out a lid from inside.
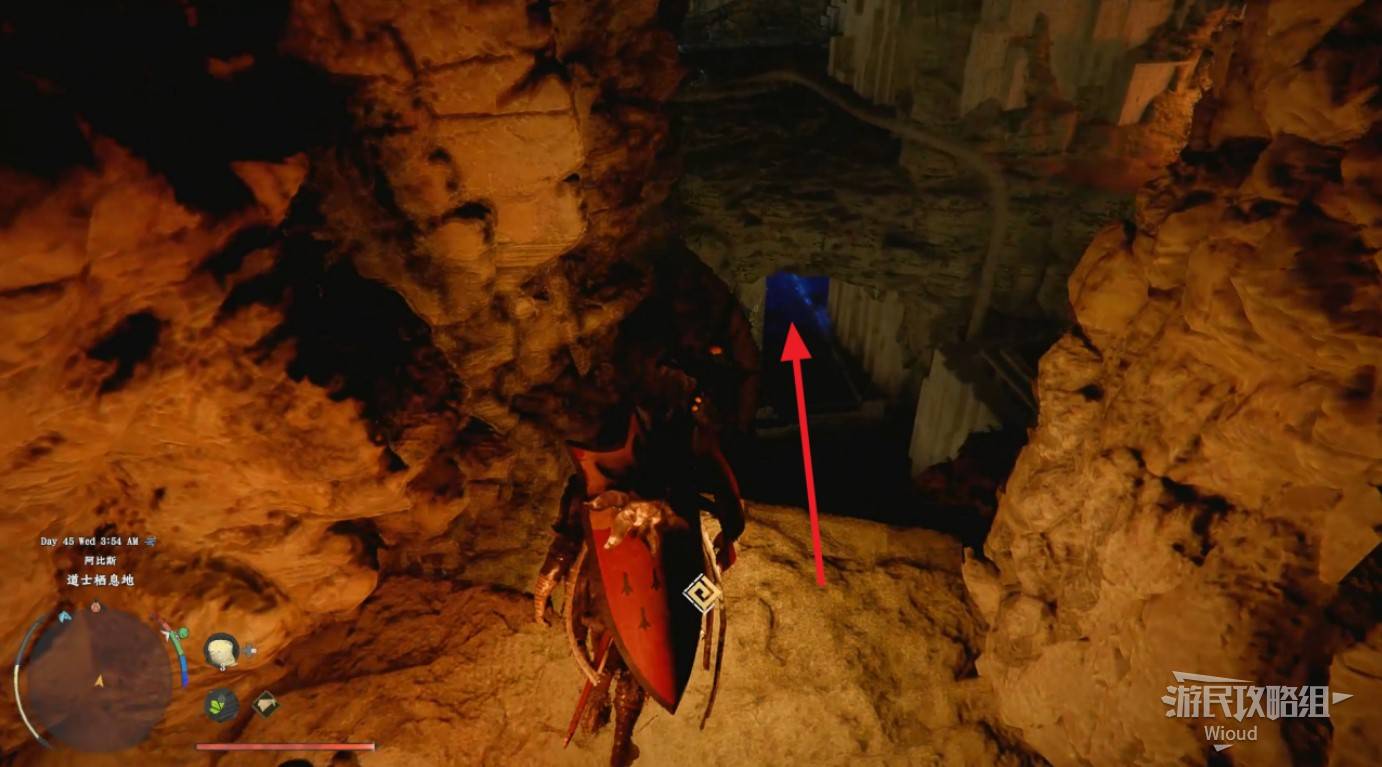
Image credit: GamerSky.com
At the fork, go right. Place the lid on the focus point, then use Vigor on the large disc to activate the mechanism.
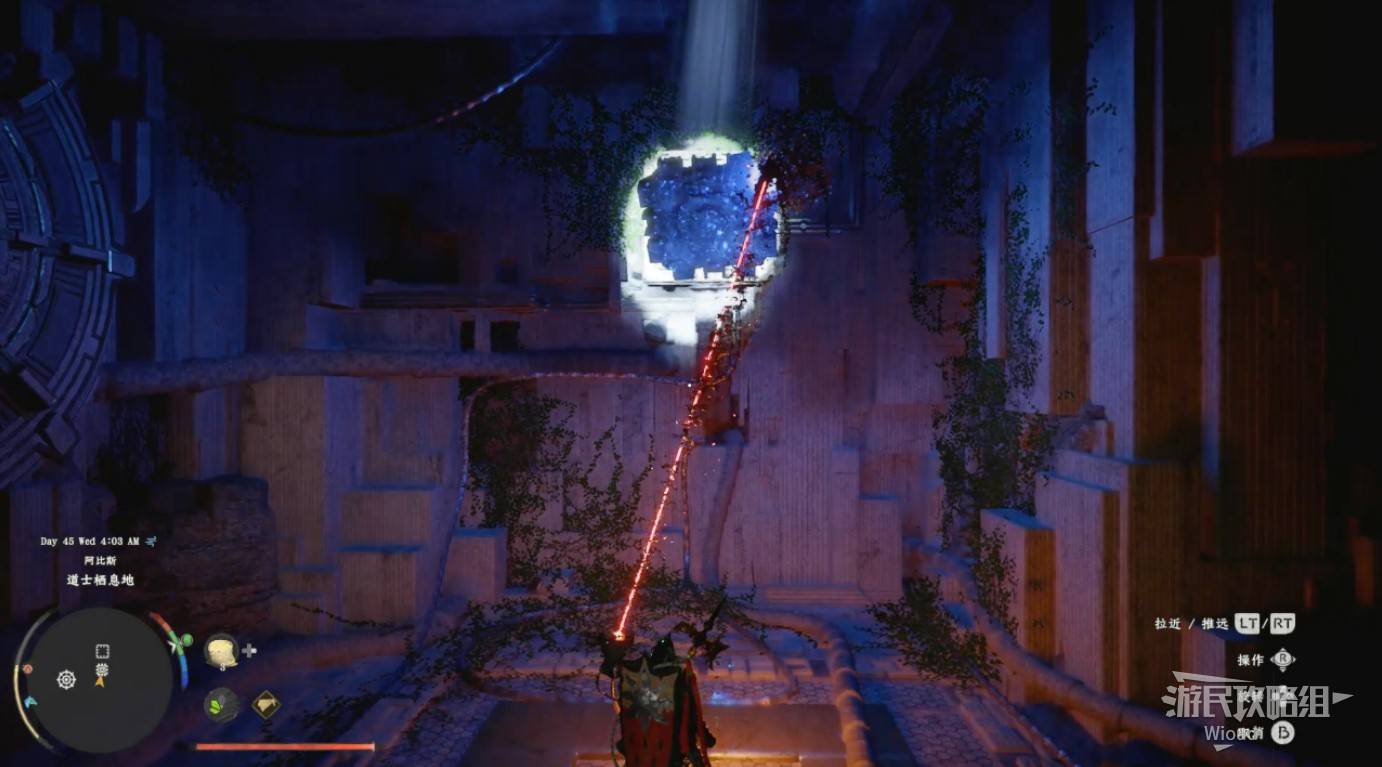
Image credit: GamerSky.com
Climb the stairs to find the alchemy recipe "Palmer Pill" — this lets you craft revival items, critical for later boss fights.
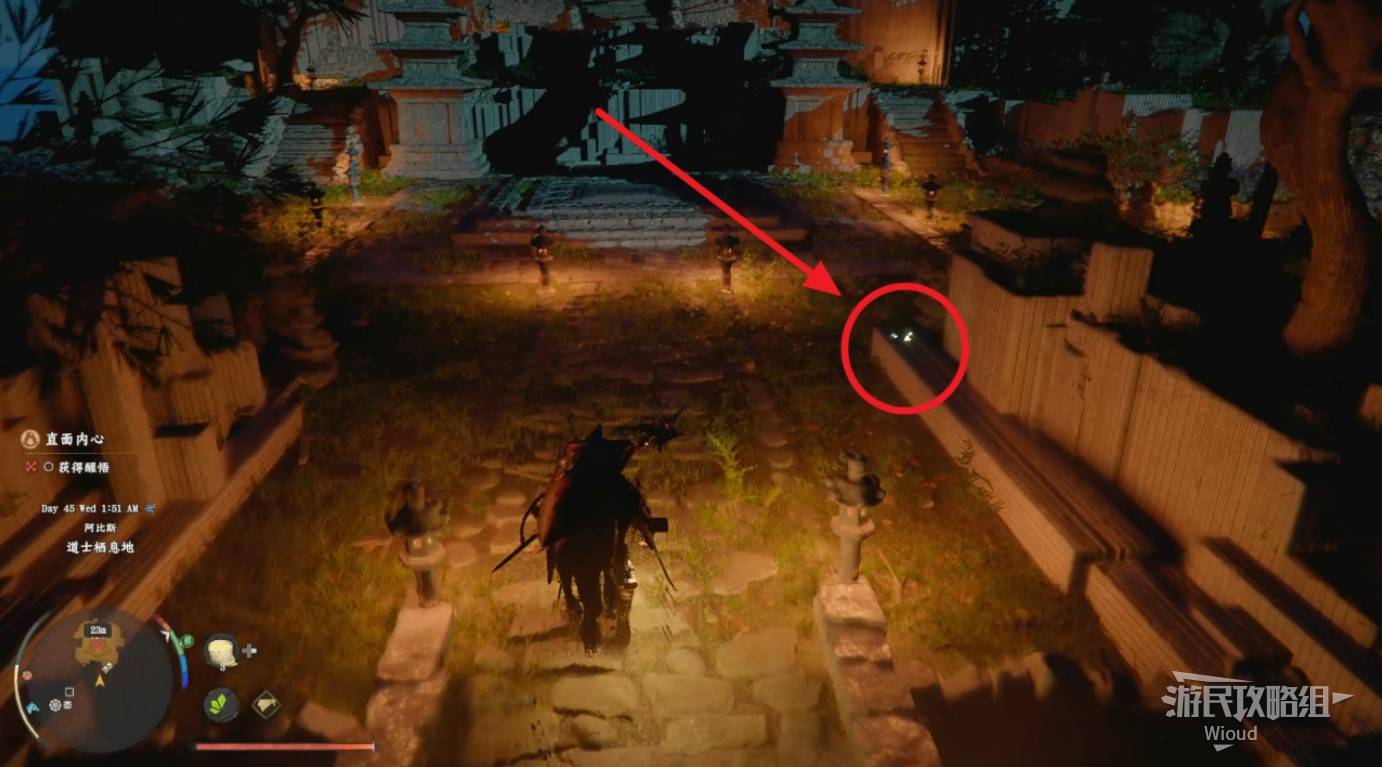
Image credit: GamerSky.com
Trigger a cutscene at the waypoint, then pass through the triangle door and use the teleporter at the end to reach an enclosed space.
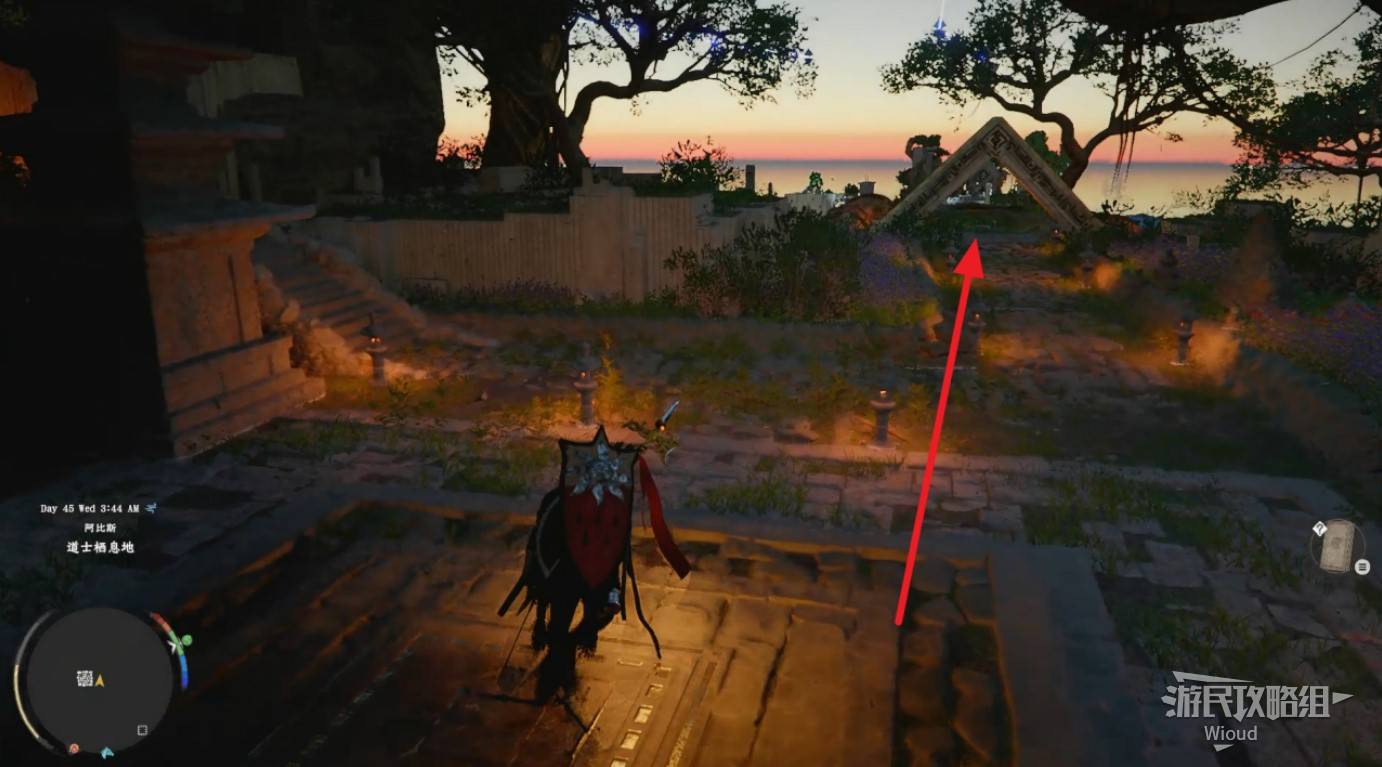
Image credit: GamerSky.com
Two floating batteries are inside. Install them into the three-battery housing.
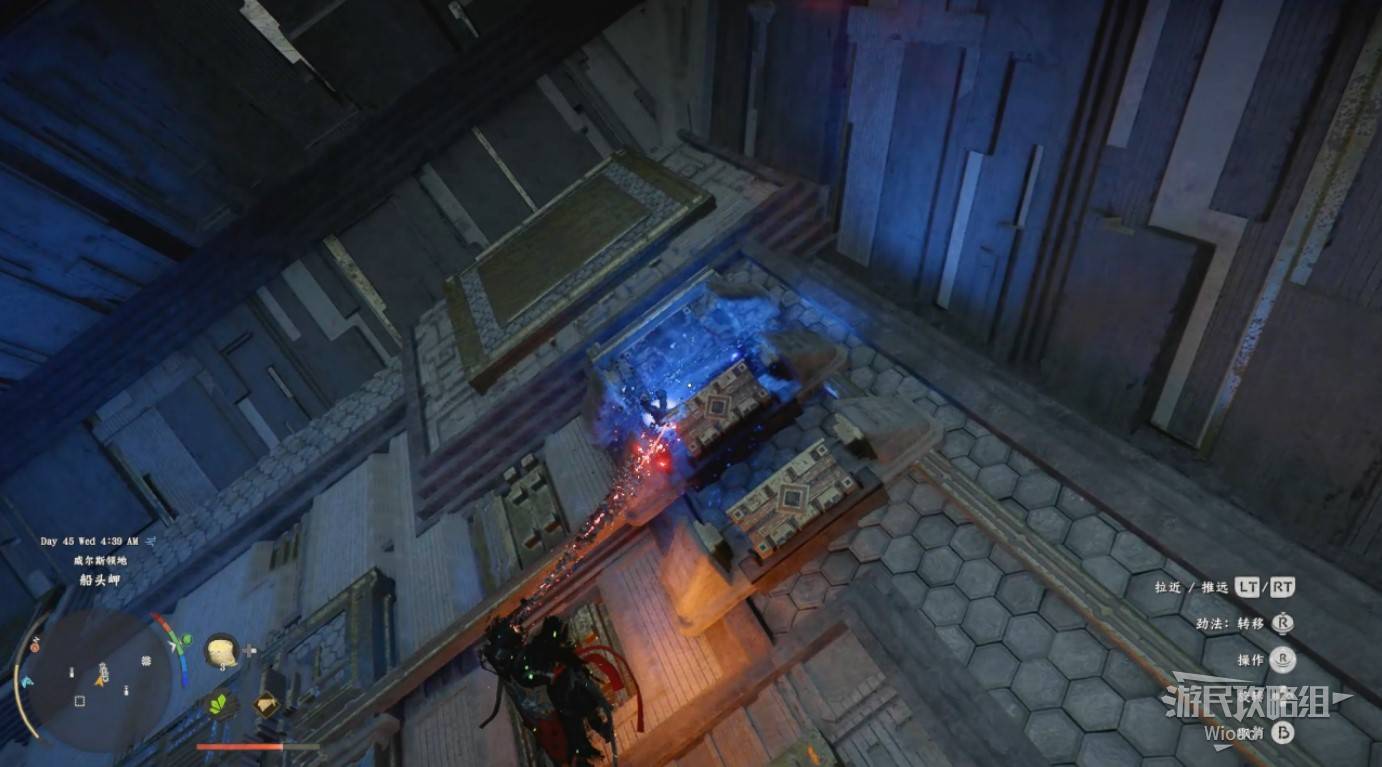
Image credit: GamerSky.com
Climb outside through the gap. A battery and cover plate are suspended in mid-air. Use the surrounding slopes to glide, then grab them with Axiom Power.
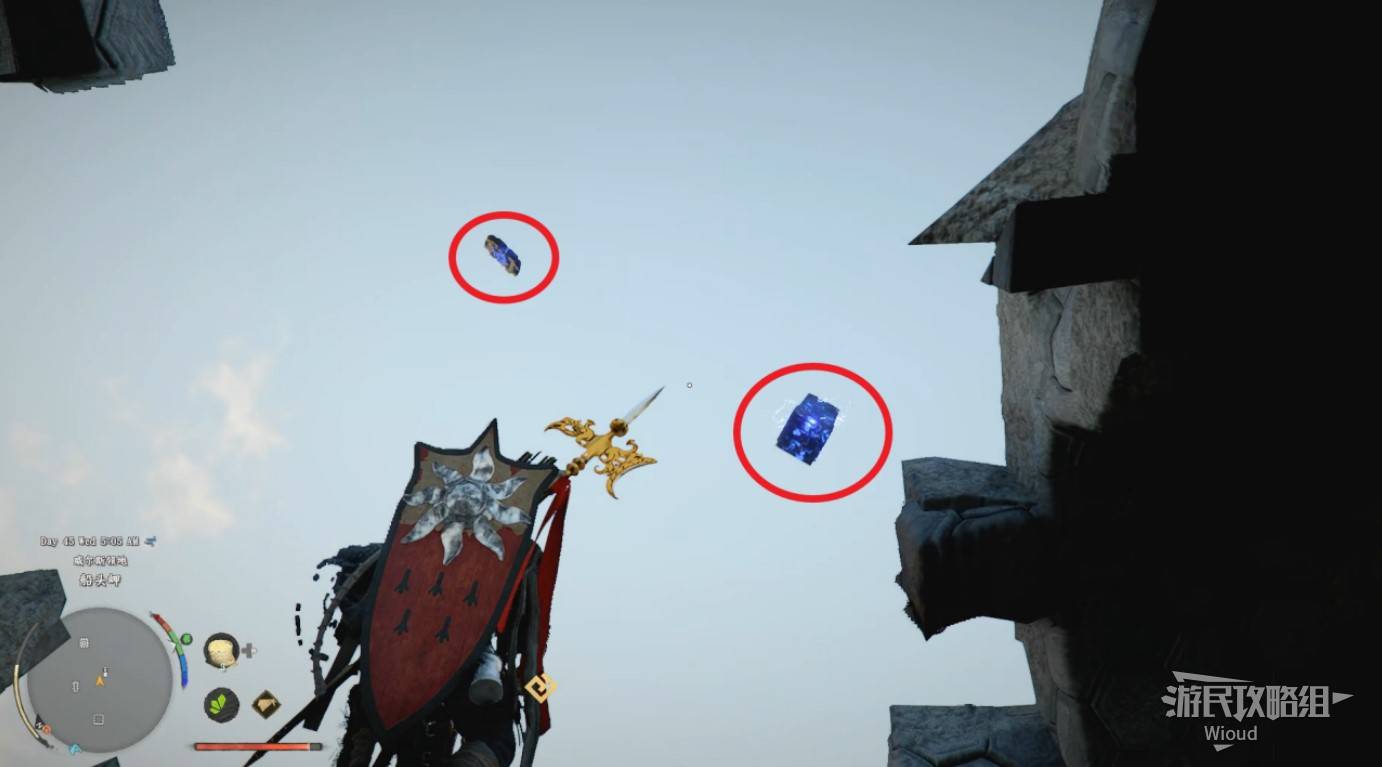
Image credit: GamerSky.com
Install the third battery and the cover plate. Once complete, the structure begins flying to its destination. Wait in place. When it stops the first time, a cover plate falls off — reattach it, then wait to arrive at the Abyss "Serpent's Path."
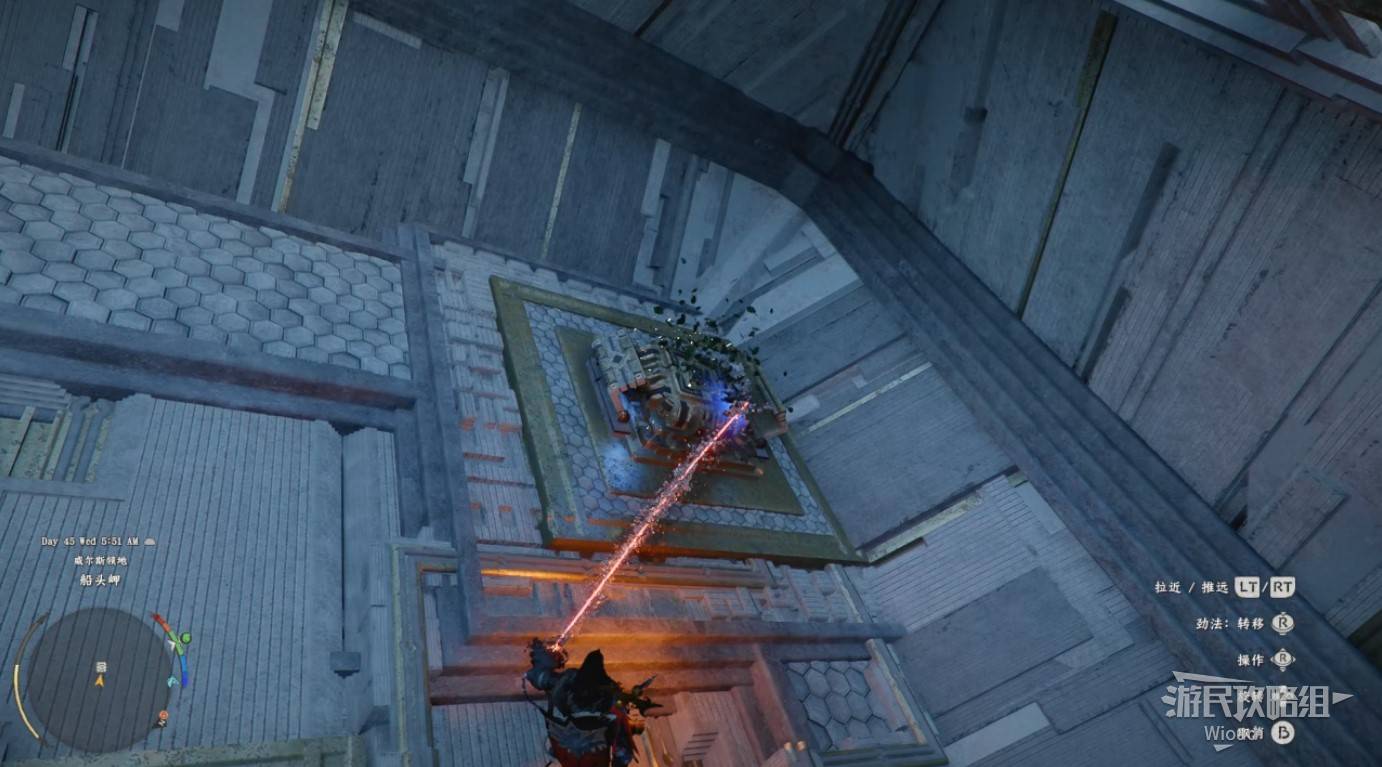
Image credit: GamerSky.com
Follow the path. Connect the power circuit along the red route to both side mechanisms. Enter the building opposite, activate the large disc with Vigor, jump up to ride the air current. Collect the "Glowing Fruit" and Abyss Artifact on both sides. Puzzle complete.
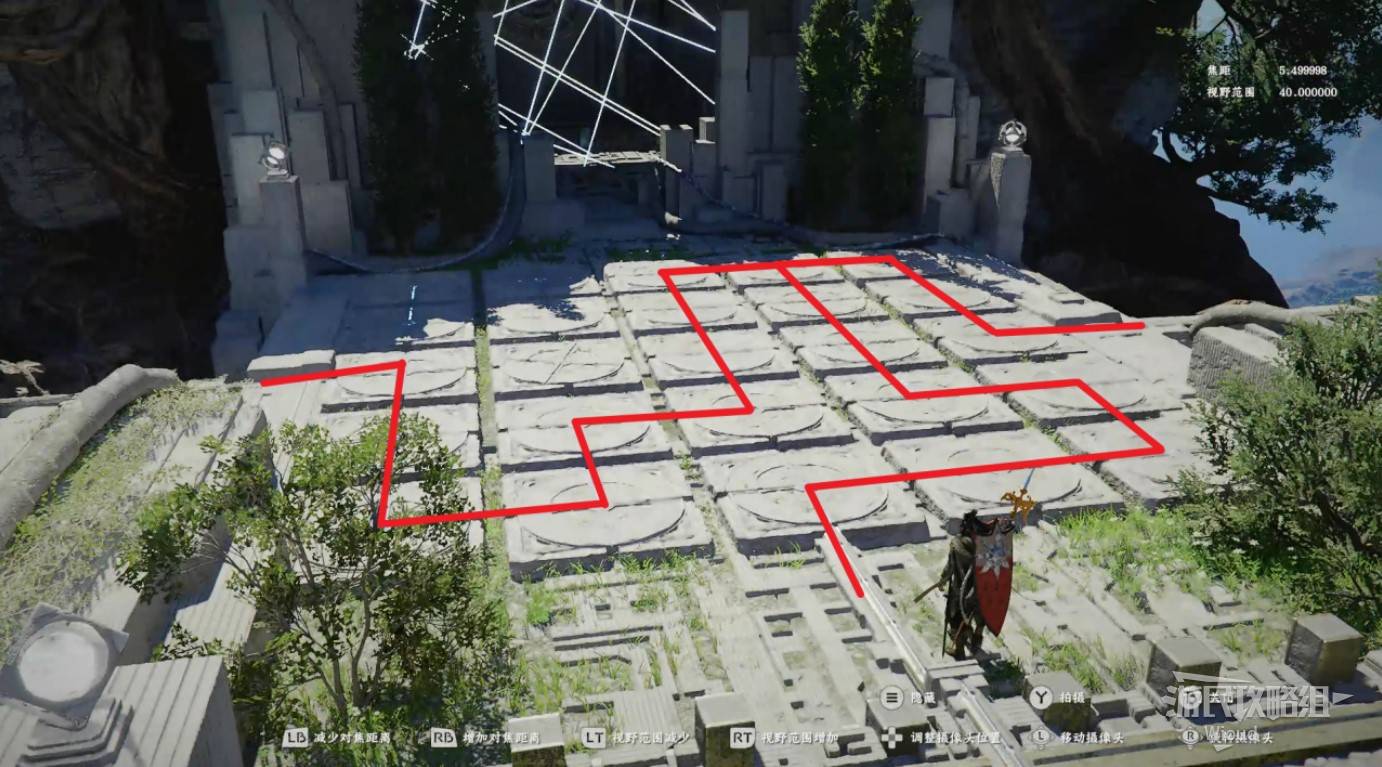
Image credit: GamerSky.com
Next: Veiled Witch Walkthrough
Veiled Witch Walkthrough
VEILED WITCH
Collectibles: World Accessory Collection Vol. 3, Autumn Forest Dress Leather Armor
Quest Chain: Fragments of Darkness → Pursuit Beyond the Veil → Black Witch
Rewards: Dark Magic Earring, Crow Pathfinder
Move to the quest waypoint. Enter the tower through the front door and speak with the talking painting inside.
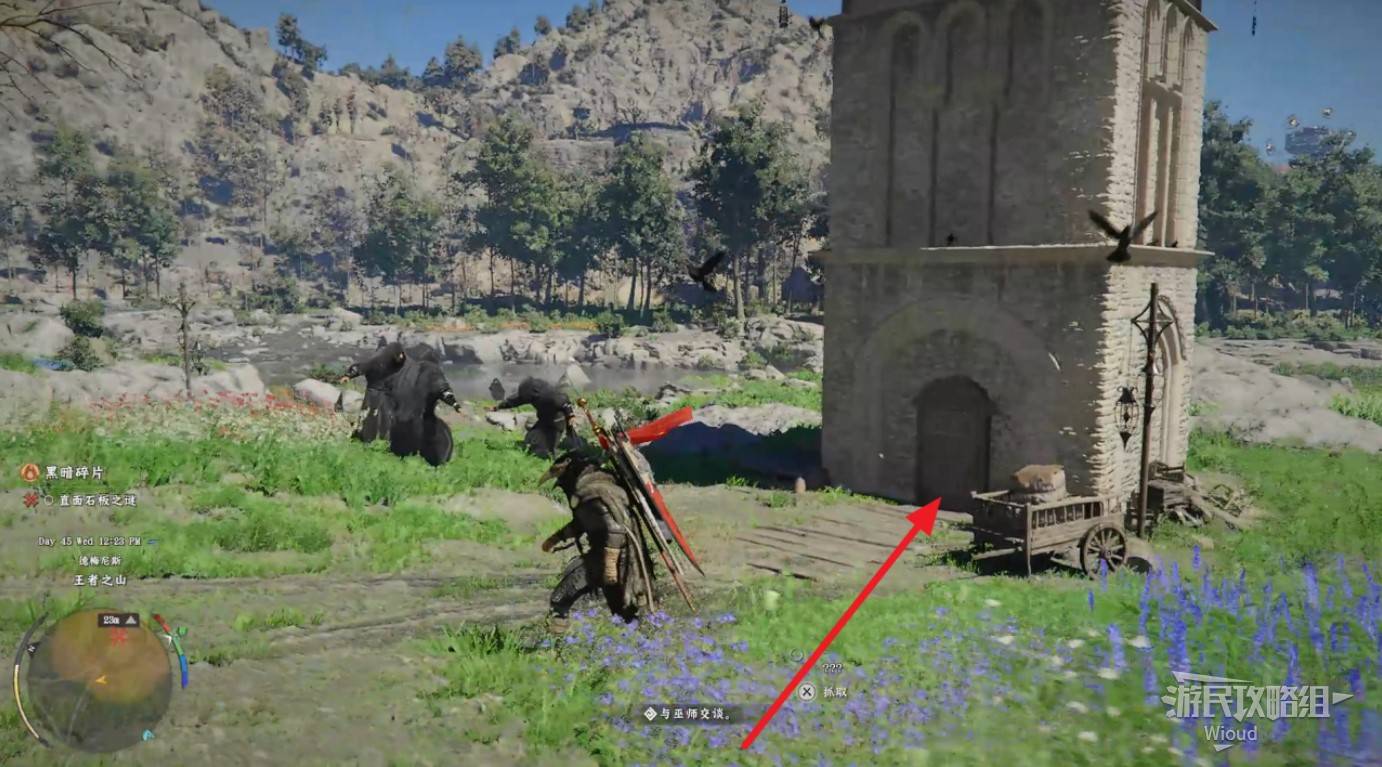
Image credit: GamerSky.com
Before leaving, pick up the book "World Accessory Collection Vol. 3" from the table at the top of the tower.
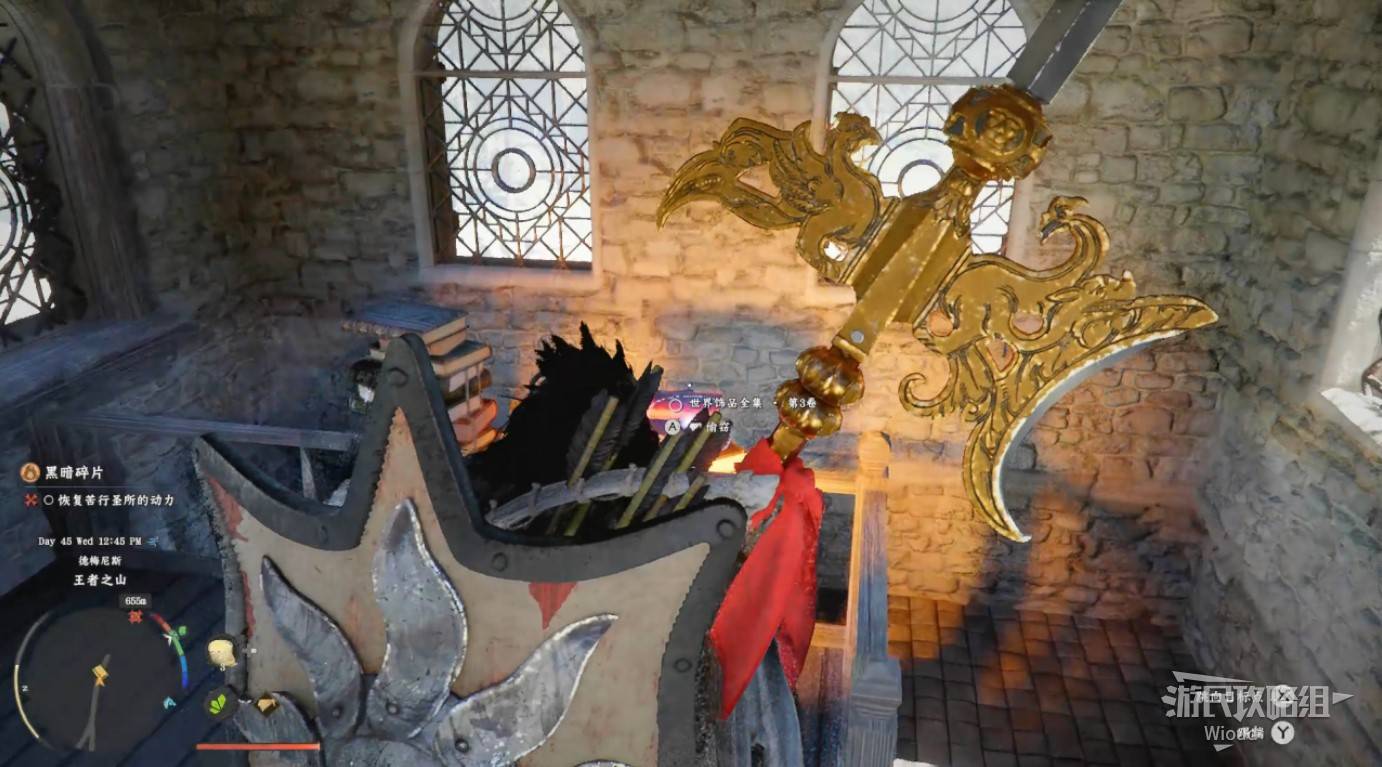
Image credit: GamerSky.com
SANCTUARY PUZZLE
Head to the front of the "Sanctuary of Suffering." Walk behind the main mechanism, climb over the low wall, pass through the opposite archway, and enter the building on the right. Climb the stairs to find a stone sphere. Use Axiom Power to pull the sphere back to the mechanism.
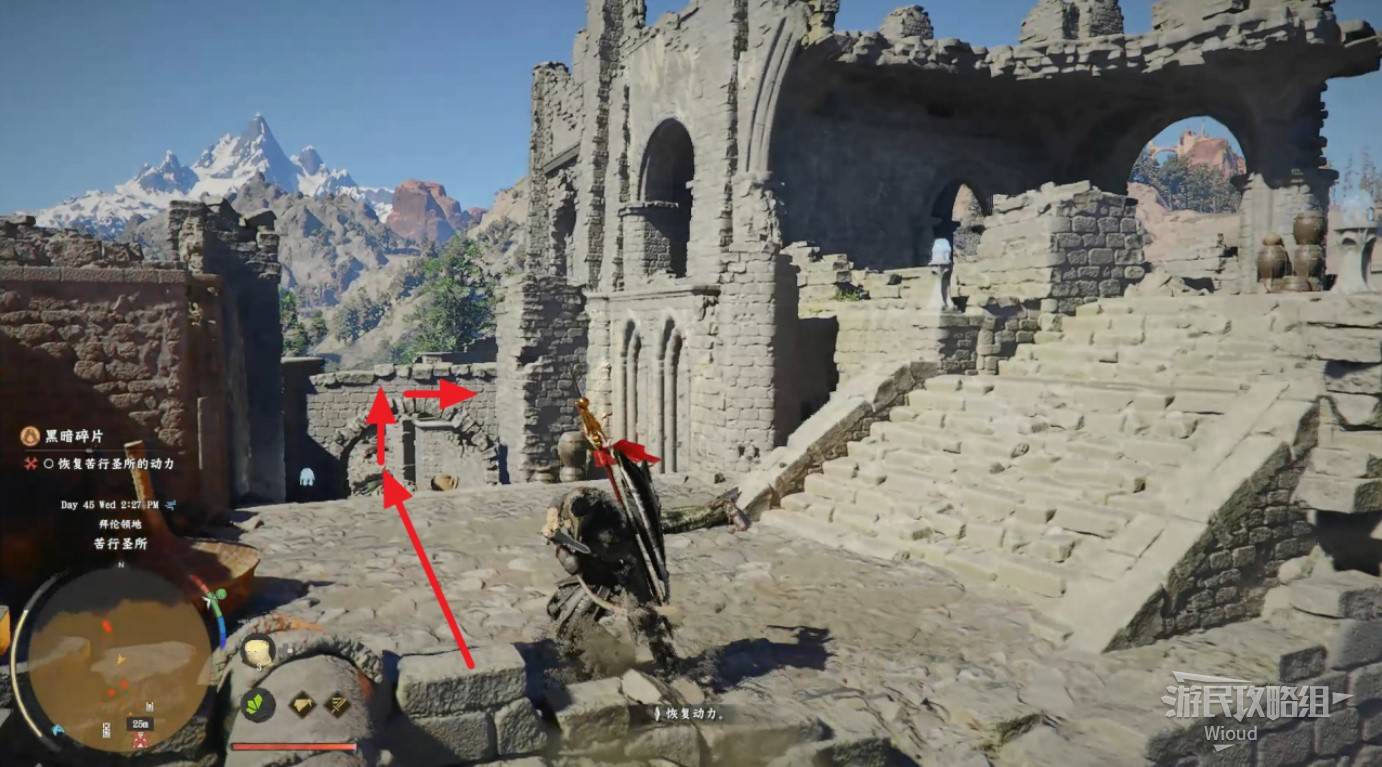
Image credit: GamerSky.com
Place the sphere on top of the incomplete pillar using "Vigor: Transfer" to attach it.
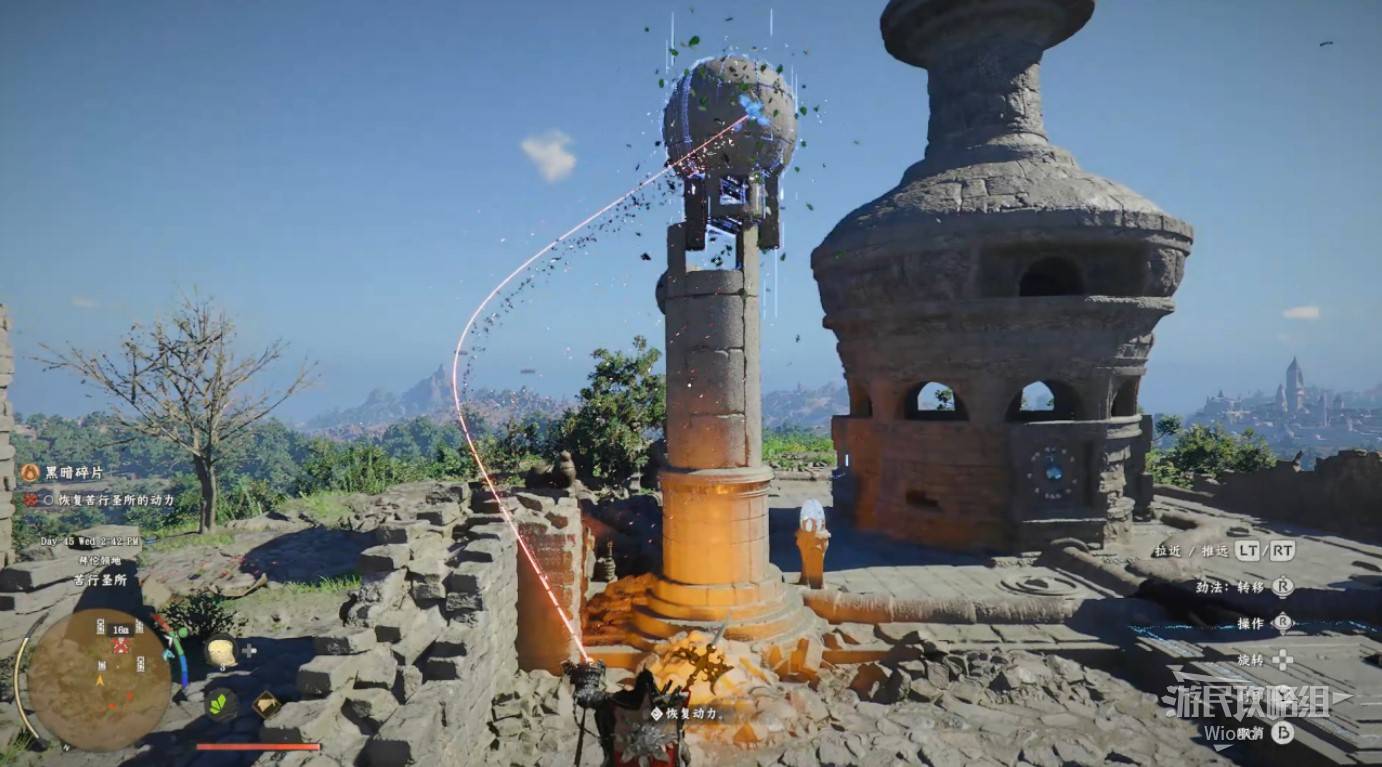
Image credit: GamerSky.com
Walk behind the mechanism again, through the archway straight to the outer perimeter. Near the ruins exit, turn right. Use "Brilliant Reflection — Focus" to ignite the dry vegetation covering the building, revealing a hidden cell.
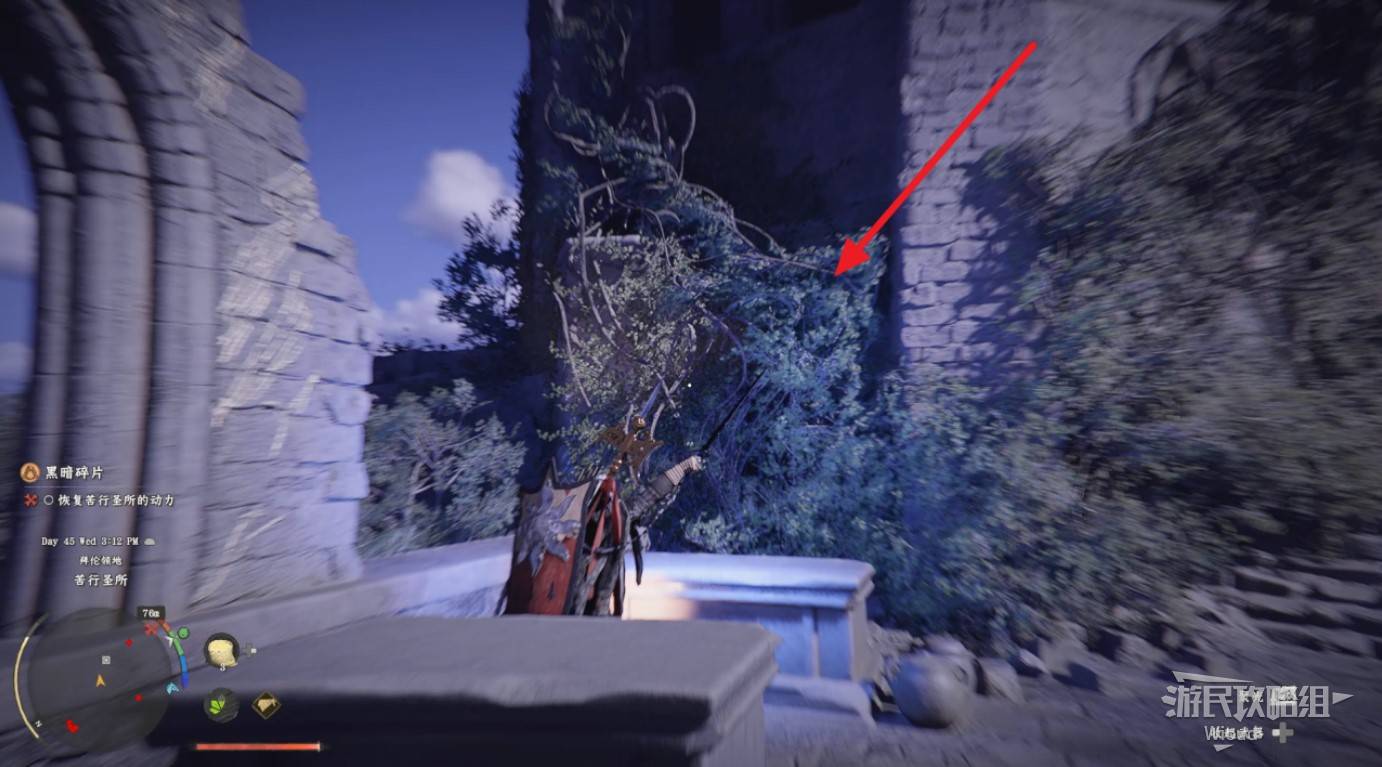
Image credit: GamerSky.com
Use Axiom Power to pull out the stone from inside the cell, then press the "Seal" prompt shown in the lower-right corner.

Image credit: GamerSky.com
Return to the mechanism. Check the mechanism body for an empty square slot. Open your inventory's "Dodo Iron Pot," select "Fusion Core: No. 8," and choose Discard. Then use Axiom Power to guide it into the slot, and push it in with Vigor to complete the puzzle.
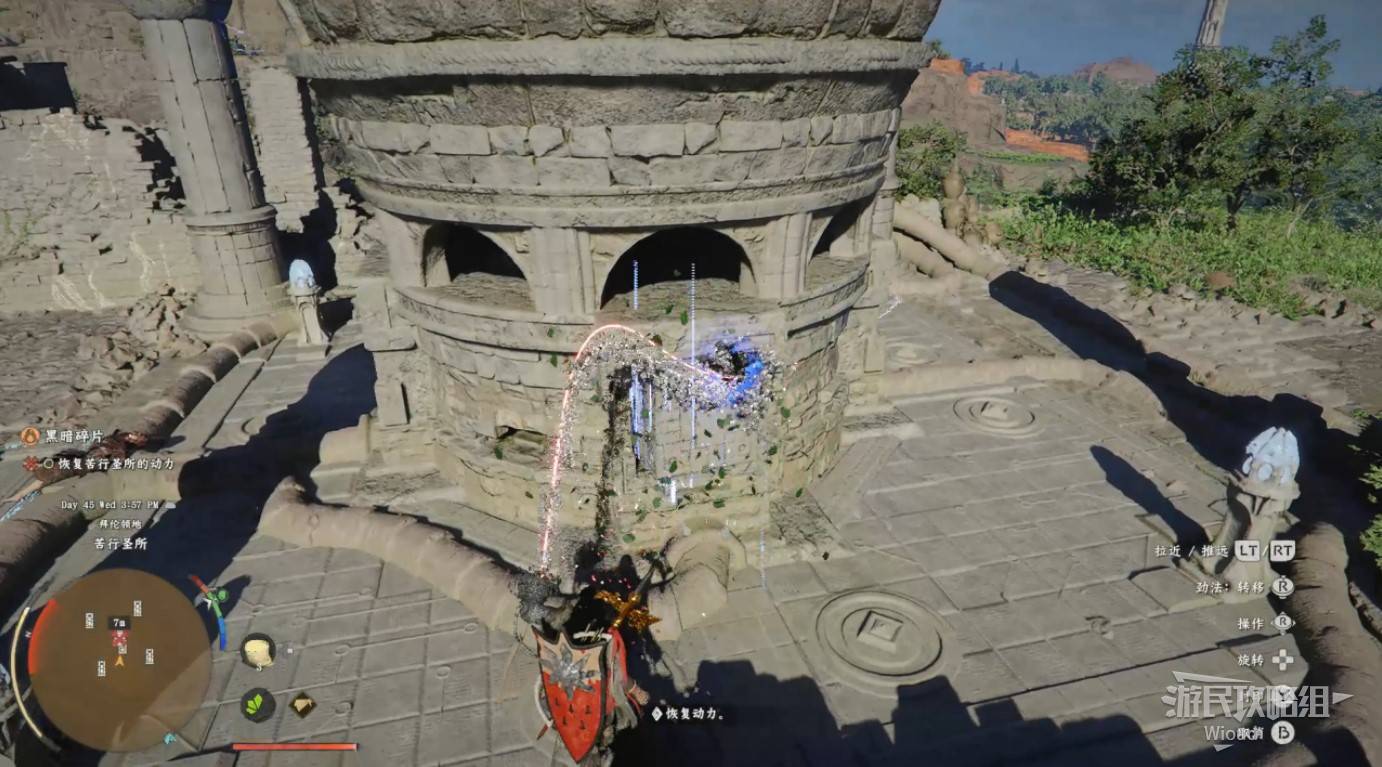
Image credit: GamerSky.com
Go through the archway behind the mechanism again. Turn left to find a cell — light the two stone lanterns at the door to unlock it. The chest inside contains "Autumn Forest Dress Leather Armor."
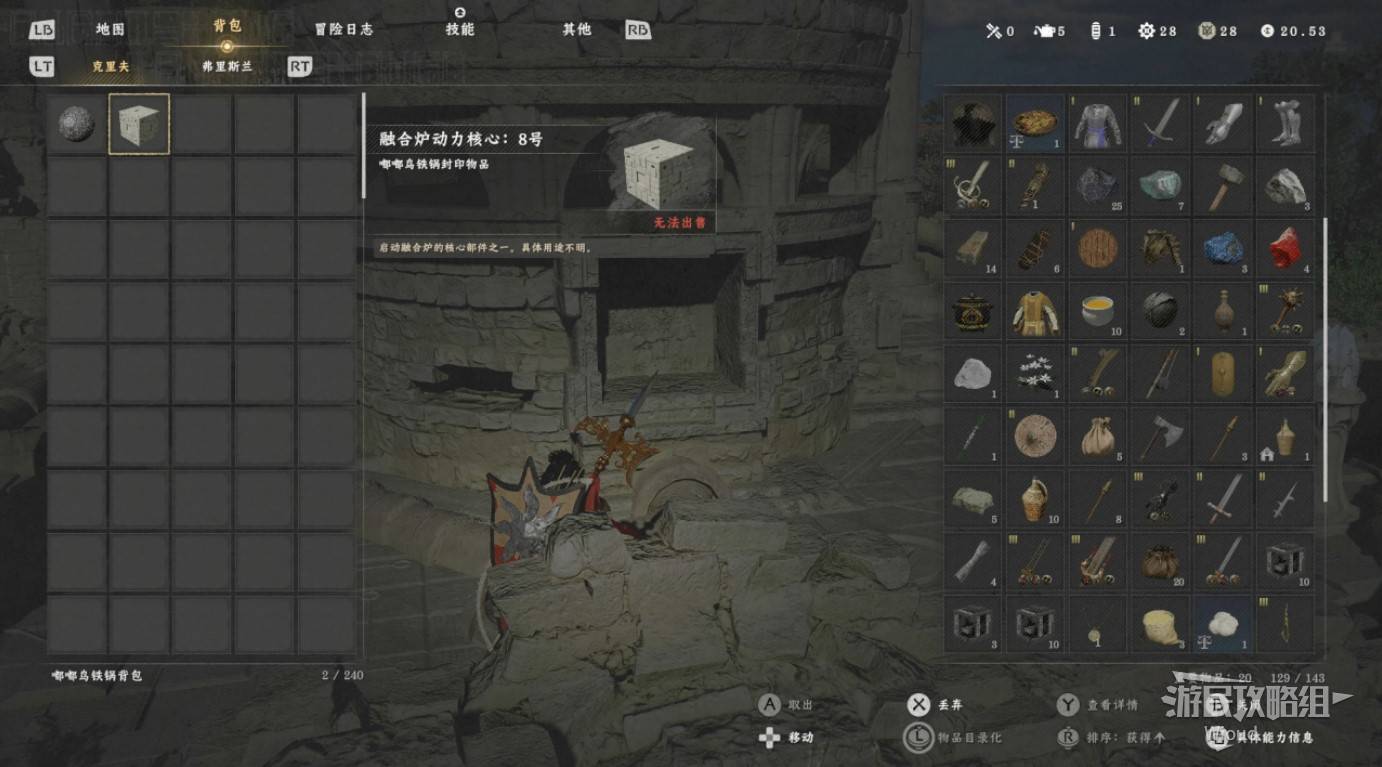
Image credit: GamerSky.com
DESTROYING THE GUARDIANS
If you haven't learned "Whirlwind Slash" yet, unlock it now.
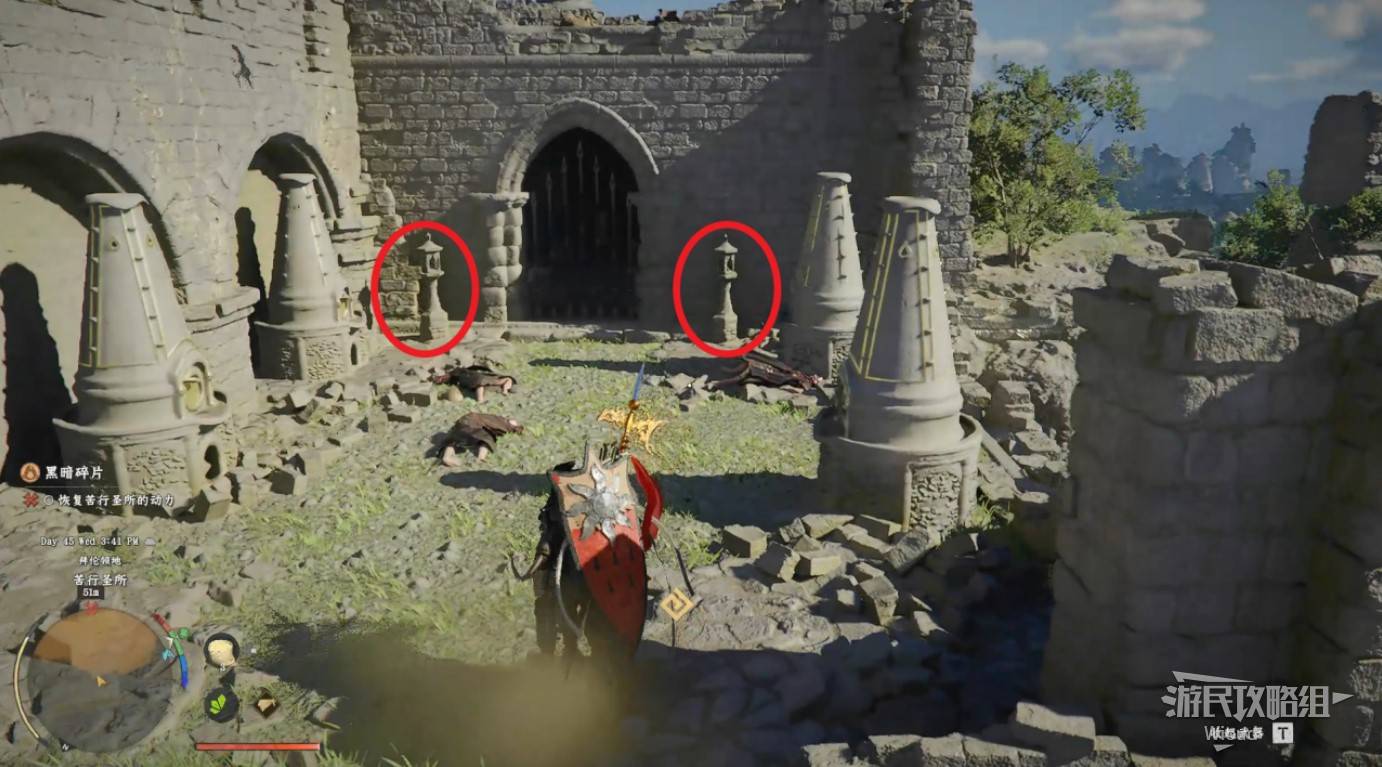
Image credit: GamerSky.com
The map marks four waypoints, each with a guardian object to destroy. Normal attacks can't break them — get close and use "Whirlwind Slash" for a one-hit destroy. The boss "Herse Mary" will spawn nearby when you approach, but ignore her — destroy the target and flee immediately. Repeat four times to complete this quest.
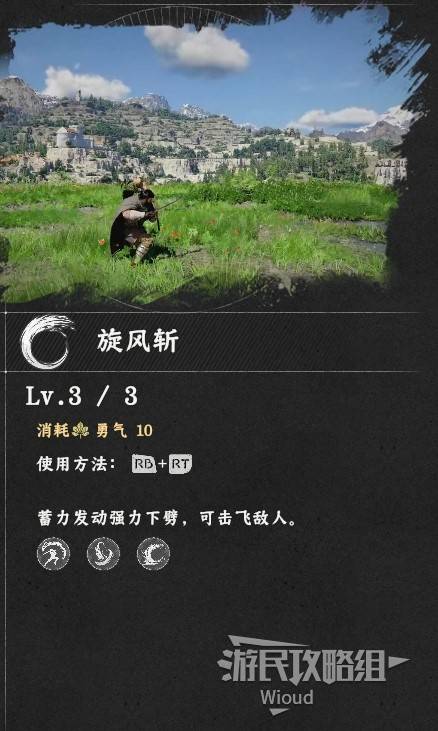
Image credit: GamerSky.com
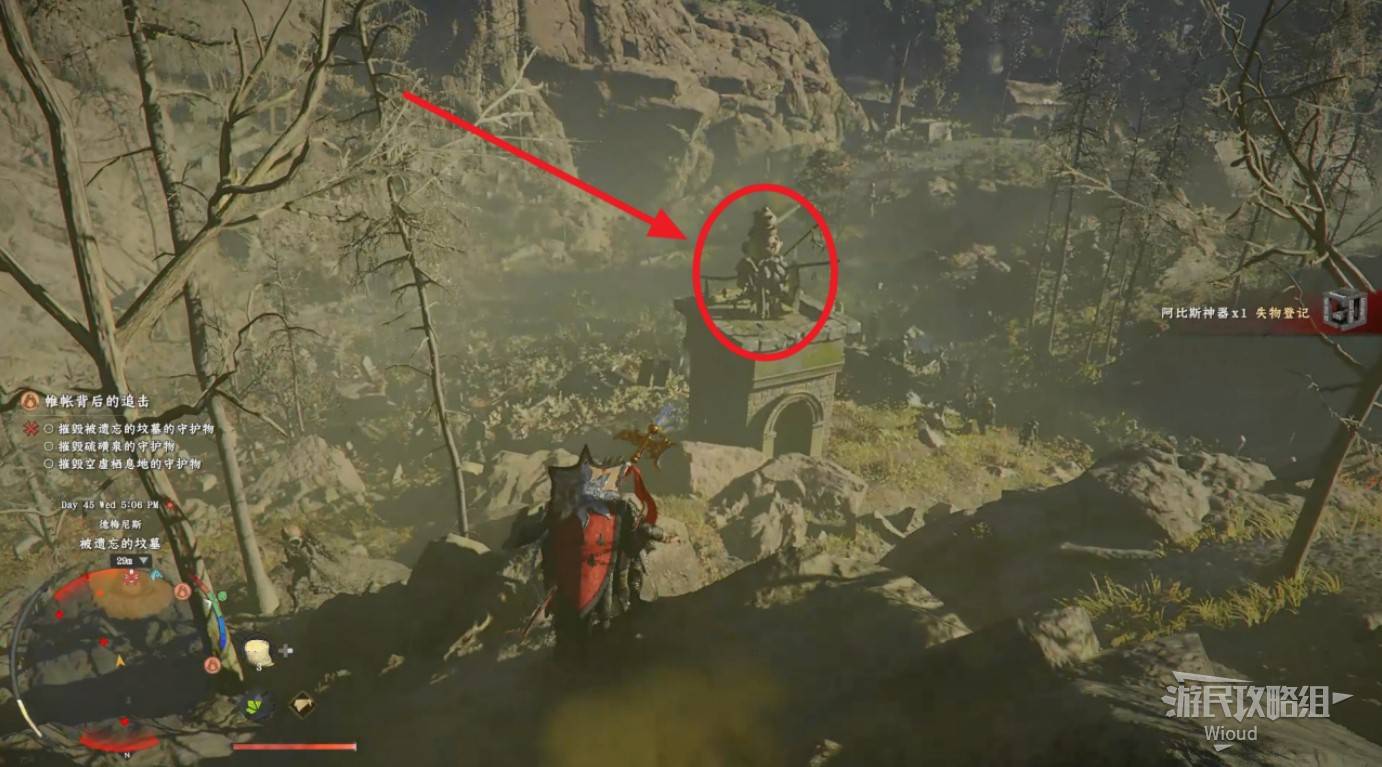
Image credit: GamerSky.com
BOSS FIGHT: HERSE MARY
Herse Mary has two health bars. Her primary attacks are releasing crows and summoning minions. The minions die in one hit. Crows fly in straight lines — sidestep to dodge easily. She frequently teleports around.
Whenever she stands still, dodge her opening attack, get behind her, land four heavy attacks followed by light attack chains until she teleports away. Her damage is low, so you can tank some hits while attacking and healing simultaneously. If you dodge every attack, the fight drags on with almost no openings.
When she summons minions, clear them first, then refocus on Mary. In phase one she's less aggressive with fewer summons. In phase two, summon frequency increases dramatically.
Victory rewards: Dark Magic Earring, Crow Pathfinder.
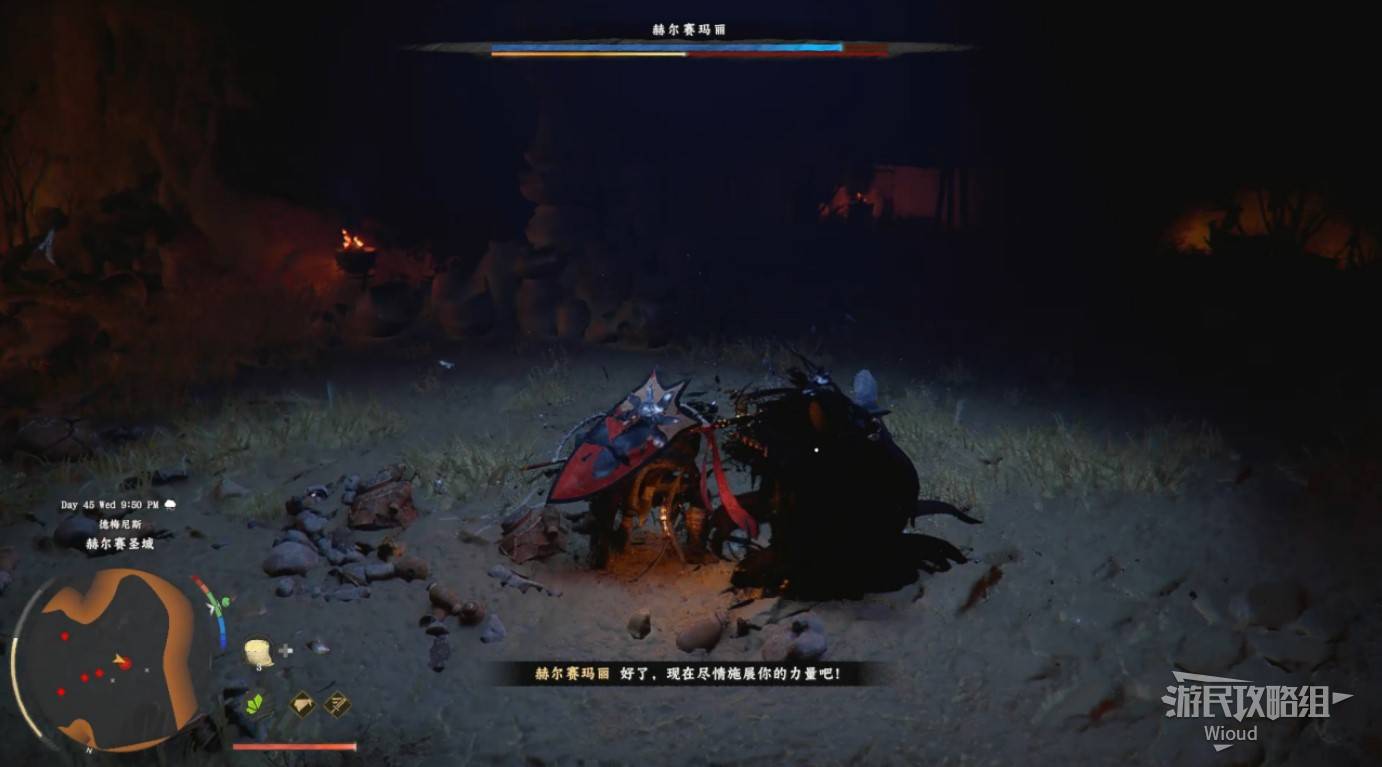
Image credit: GamerSky.com
Next: Enlightenment Walkthrough
Enlightenment Walkthrough
ENLIGHTENMENT
Collectibles: World One-Handed Weapon Collection Vol. 3, Faded Abyss Artifact
Quest Chain: The Cloister of Enlightenment → The Sage of the Desert → New Perspectives → Lust for Power
Rewards: Du Master's Crown, Faded Abyss Artifact
THE CLOISTER OF ENLIGHTENMENT
※ The chapter boss is very difficult. Prepare 50+ food items in advance, from basic grilled meat to high-healing foods.
Move to the quest waypoint. There's a cave with a drop.
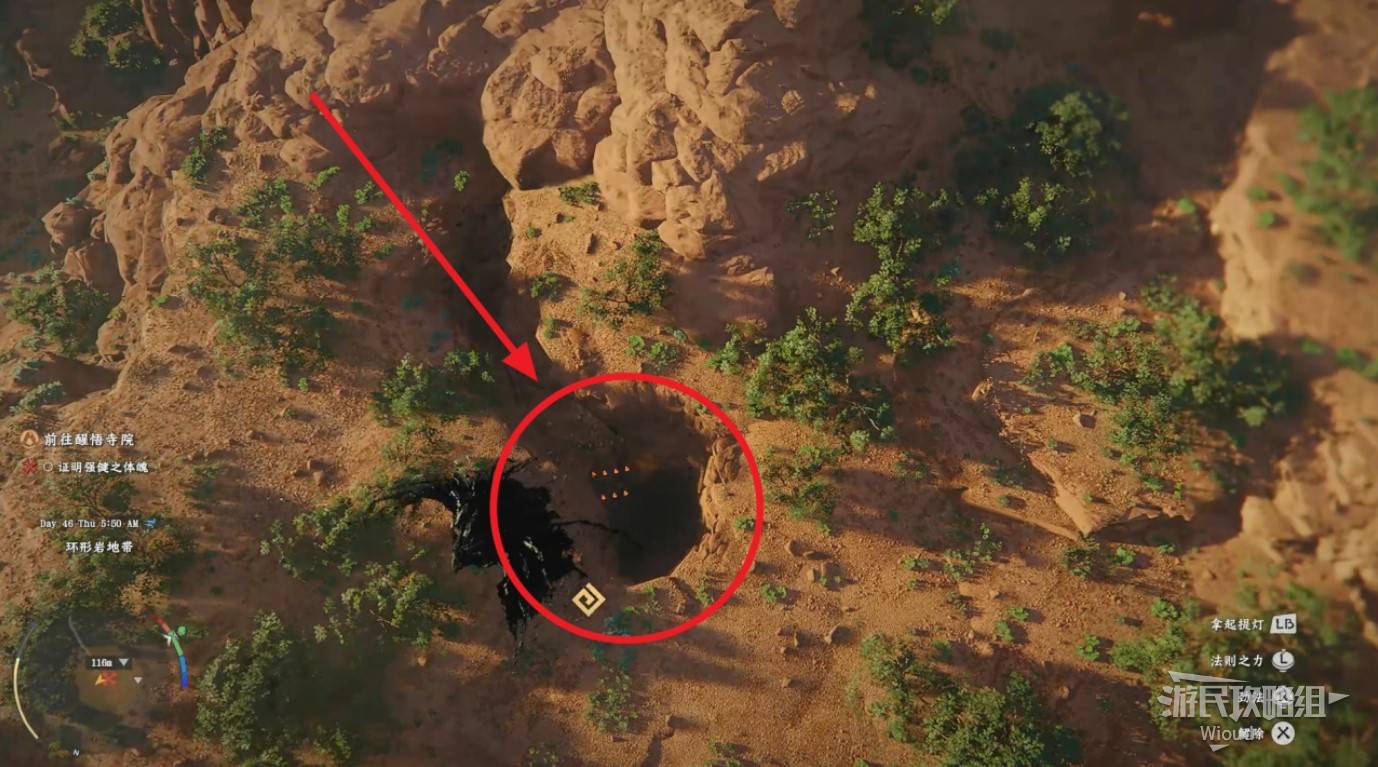
Image credit: GamerSky.com
Jump down. At the end you'll see a circular stone door. Ignore it first — go left. In the room at the end, pick up the book "World One-Handed Weapon Collection Vol. 3" from the right-side table.
On the stone platform, pick up a "Faded Abyss Artifact." Check your three base attributes — Health, Stamina, and Courage — and ensure each is at least level 5, or you can't continue the main quest. Use the Faded Abyss Artifact to respec if needed.

Image credit: GamerSky.com
Return to the stone door. Stand in the center and push. This consumes your base attributes to open the door. If your points are sufficient, it opens normally. The room inside immediately triggers the boss fight with Du Master.
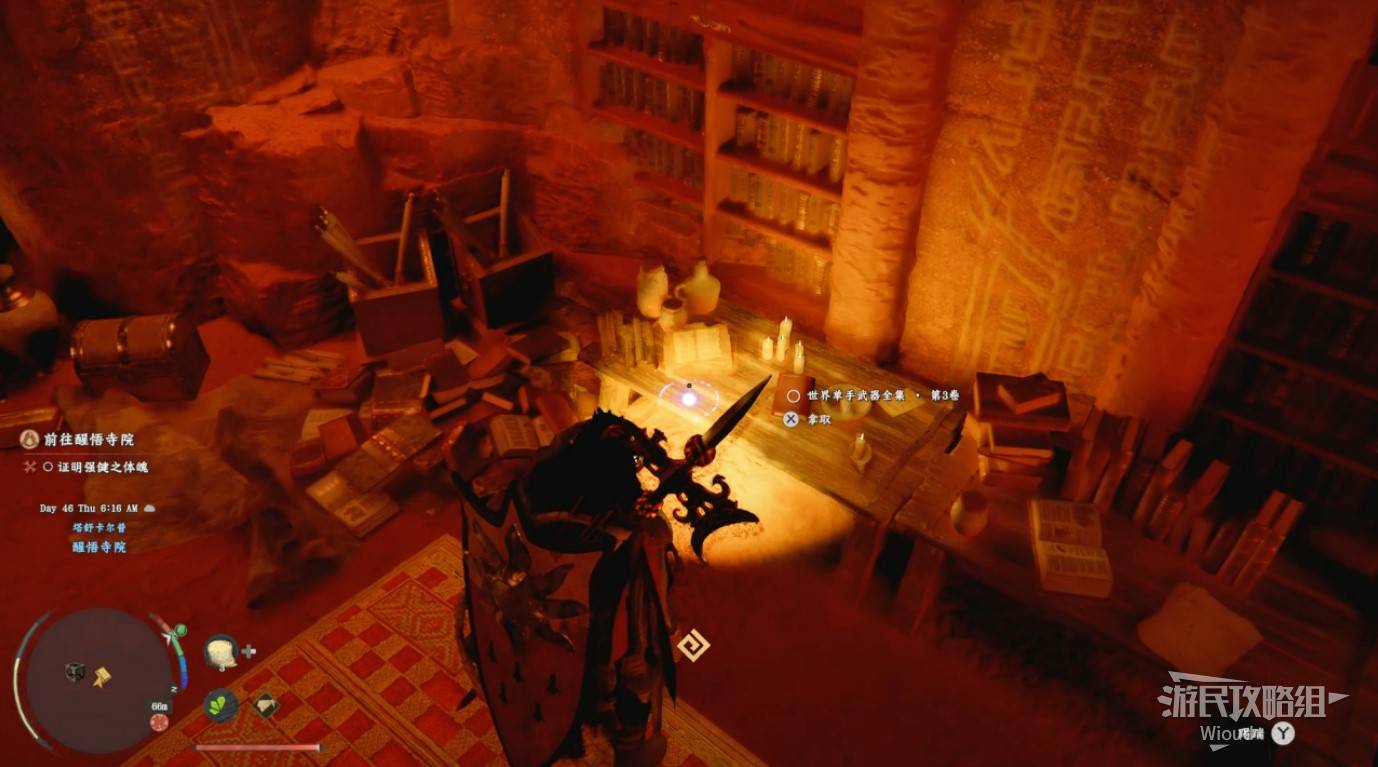
Image credit: GamerSky.com
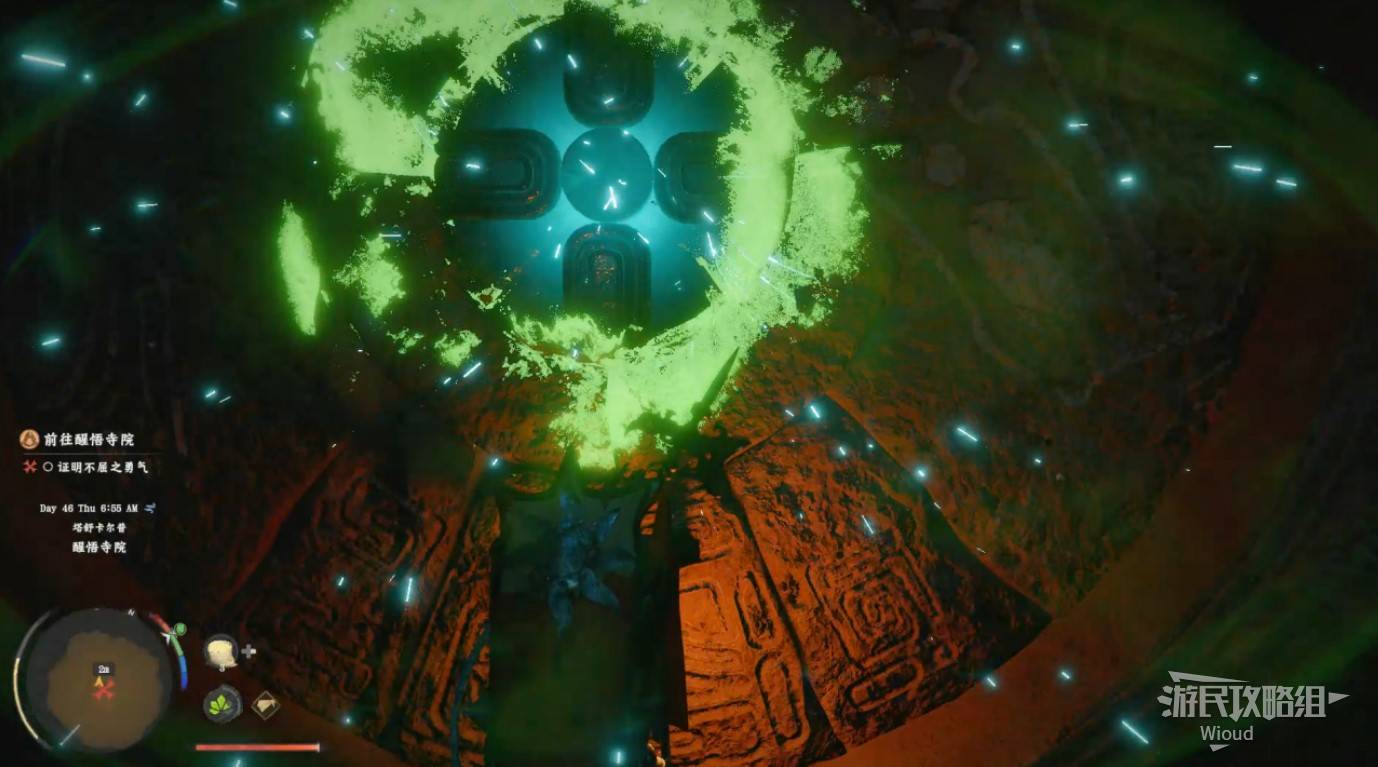
Image credit: GamerSky.com
BOSS FIGHT: DU MASTER (THE SAGE OF THE DESERT)
Du Master has two health bars and fights with a sword. Have revival pills ready for phase two — his laser attacks can instantly kill you.
During normal melee attacks, try parrying. A successful parry staggers him briefly — follow up with four heavy attacks then light attack chains. During your heavy attacks, he can barely move, so attack freely.
Phase one killer move: He rapidly leaps between stone pillars in the arena, then lunges straight at you. This deals massive damage. When he finishes the pillar jumps, there's a brief telegraph — you must dodge sideways repeatedly. Always heal to full when he starts pillar-jumping, as surviving a hit depends on max HP. Blocking does nothing against this move.
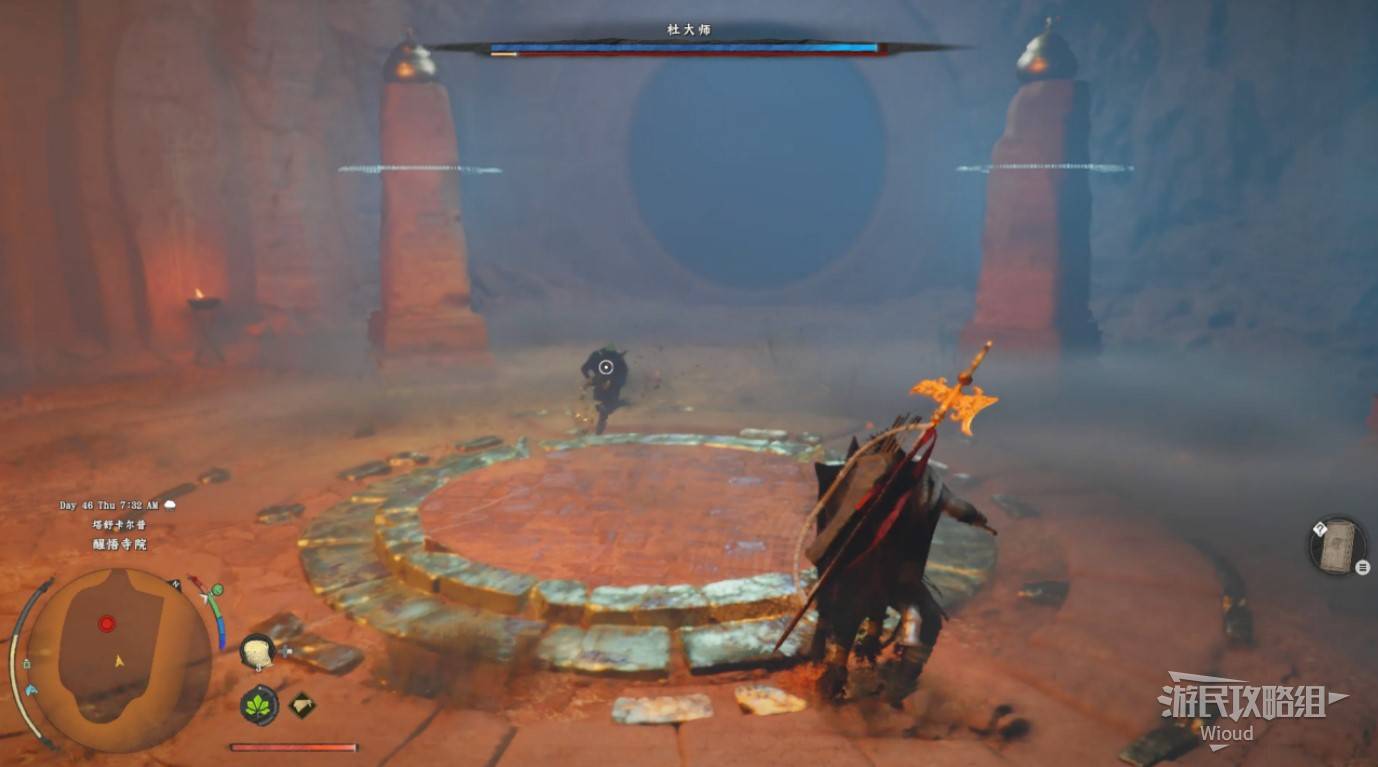
Image credit: GamerSky.com
In phase two, he fires green lasers with extremely high damage. If your Health skill is below level 8, you'll be one-shot.
When he fires three consecutive lasers, you must perfect-dodge all three or die. Getting hit by one knocks you down, leaving you helpless for the second. With maxed Health (level 10+) and armor refinement level 8+, you might survive a single laser at full HP.
Revival pills become your lifeline in this phase. He occasionally fires a weaker single laser between normal attacks, dealing less damage than the triple burst. Lasers pierce through pillars — hiding behind them is useless, and blocking doesn't work either. For other attacks, continue using the parry-and-punish strategy from phase one.
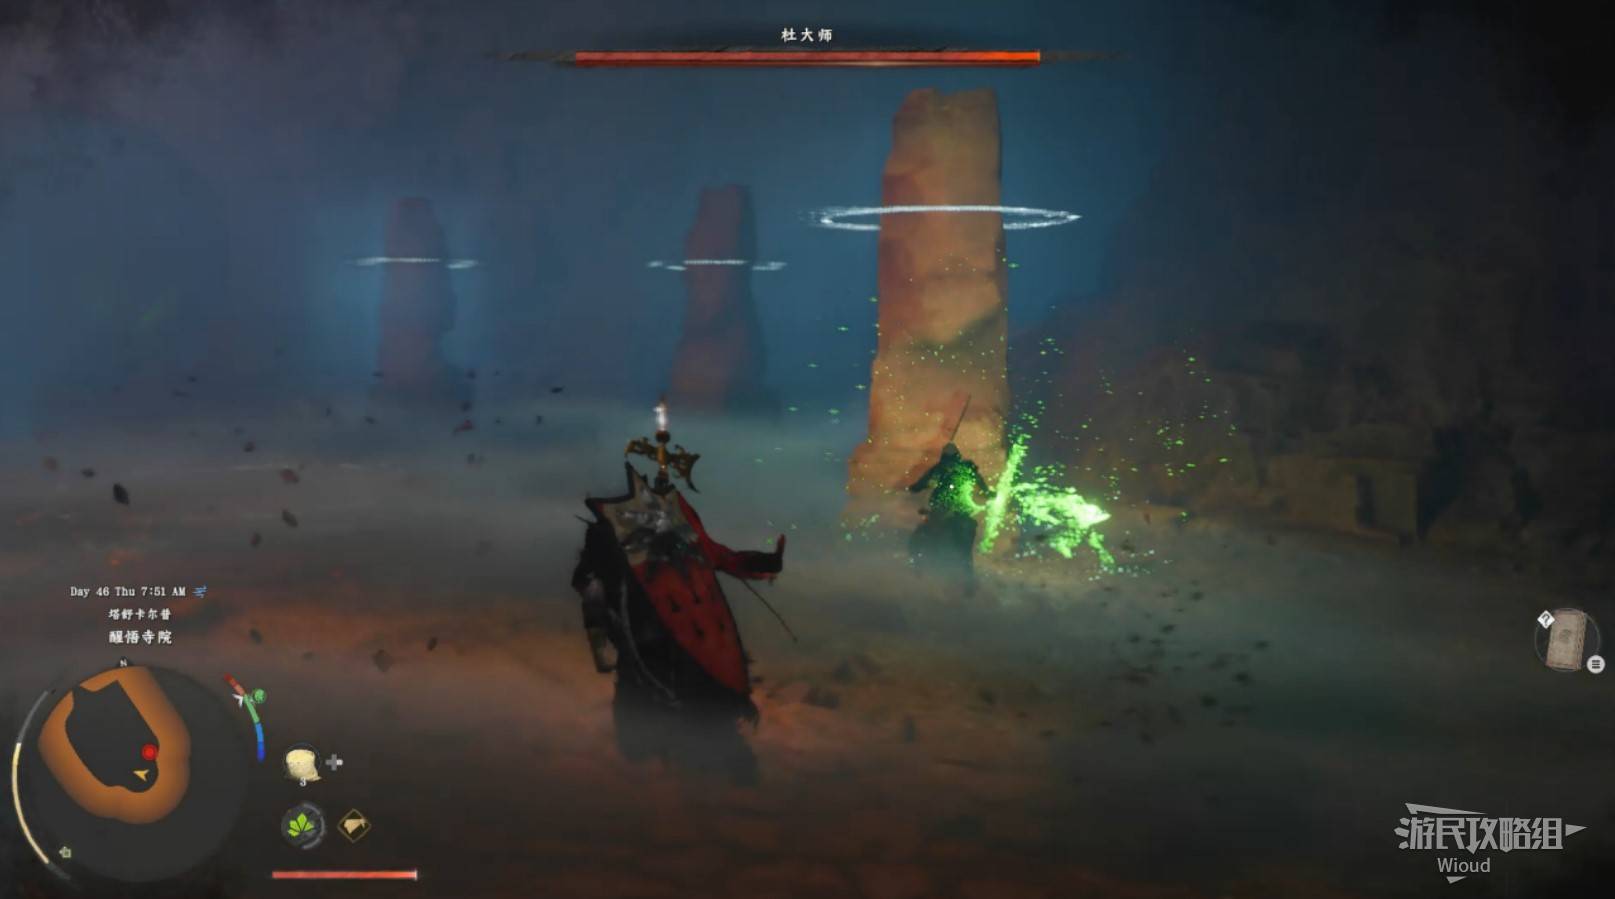
Image credit: GamerSky.com
NEW PERSPECTIVES
Teleport to the "Valiant Nest" on the Abyss map. The quest sends you back through the Sun Spire again.
Head left down the staircase, jump across platforms through the triangle door, and teleport at the end.
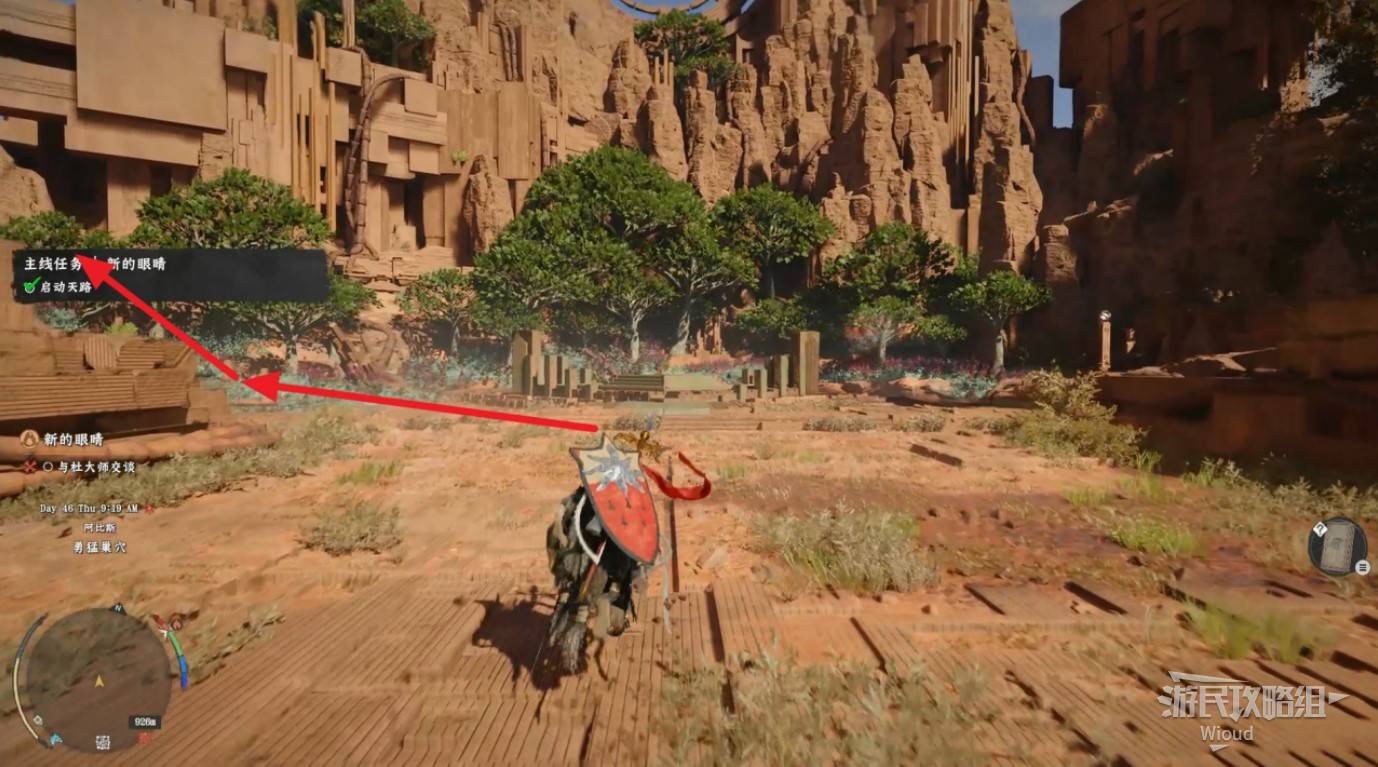
Image credit: GamerSky.com
Continue along the path. Grab onto moving rectangular platforms — climb over from the side or top. Follow the path to the large platform at the end.
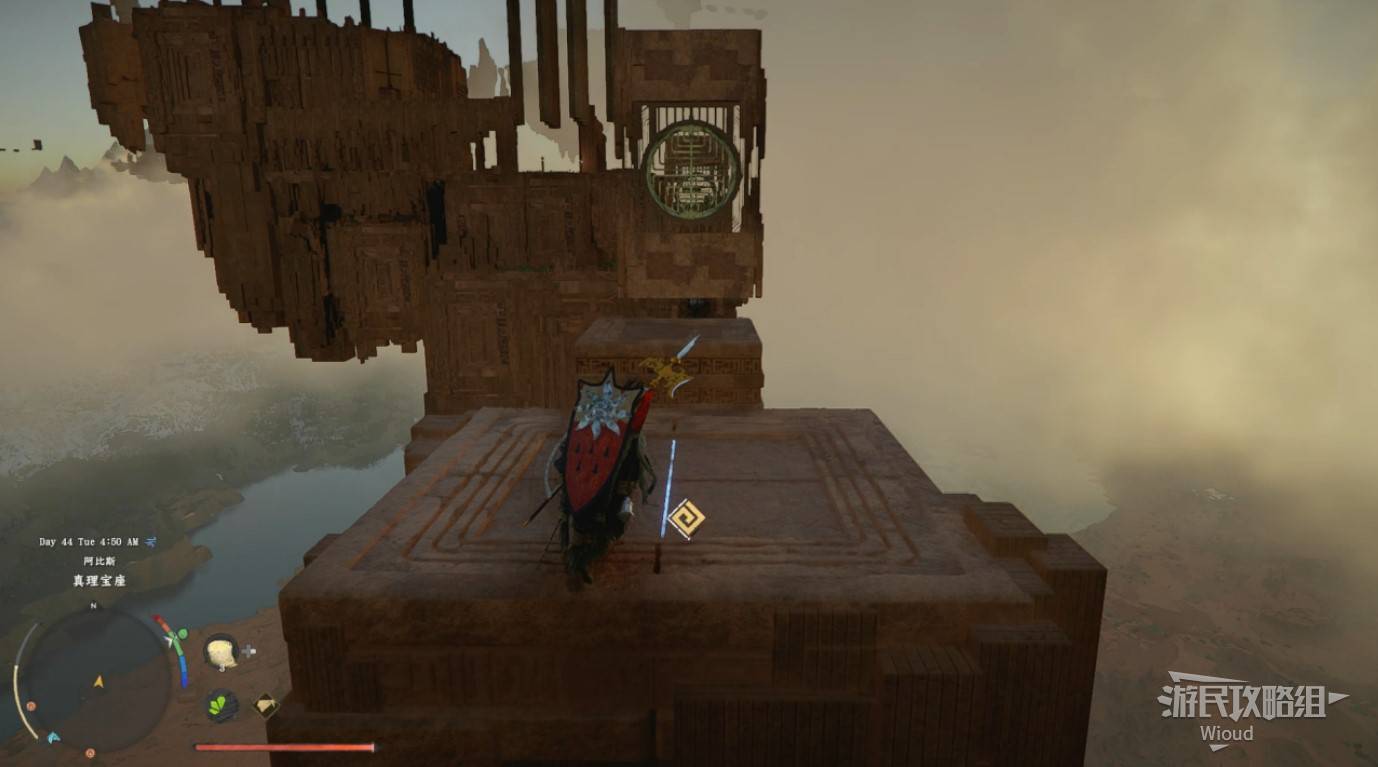
Image credit: GamerSky.com
Jump down through the opening.

Image credit: GamerSky.com
Below, interact with the broken wire to reconnect it.
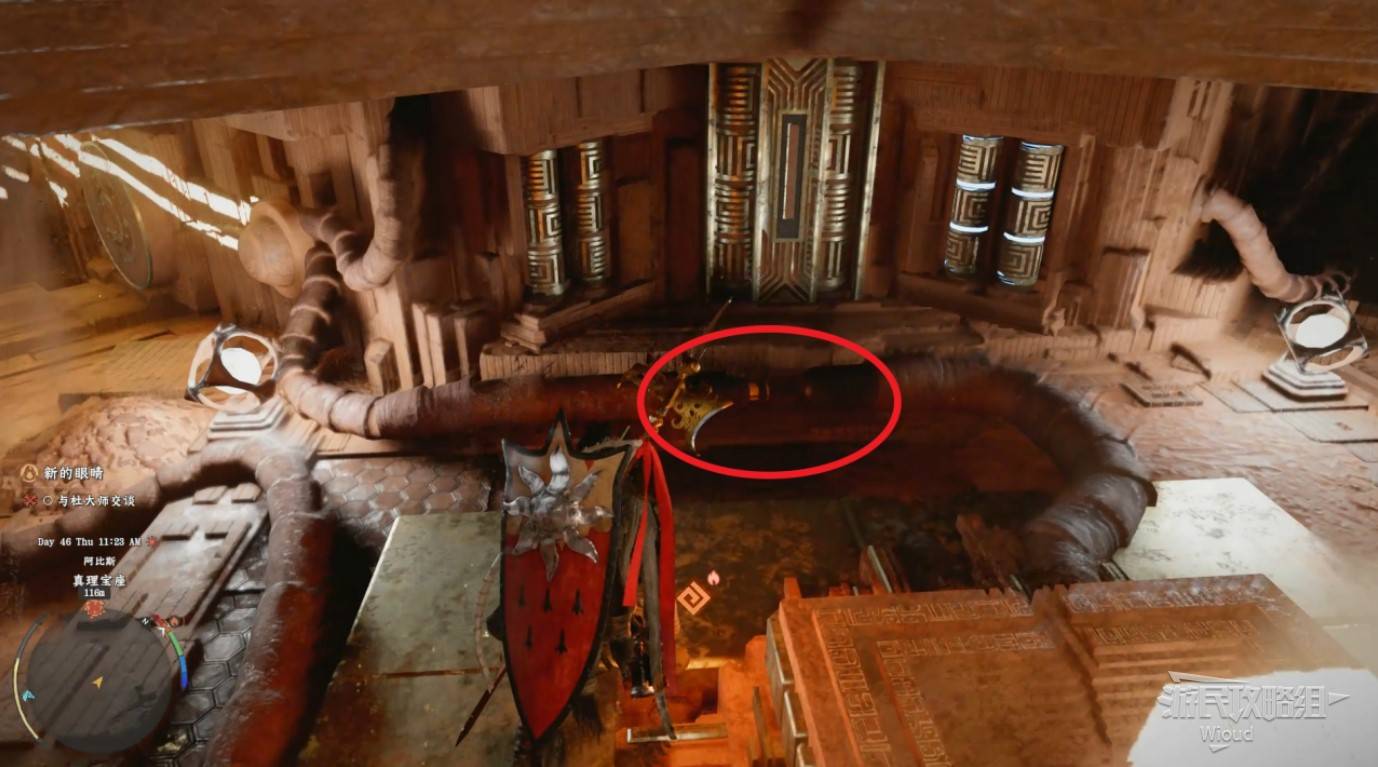
Image credit: GamerSky.com
Open the skill panel and learn "Gale Impact."
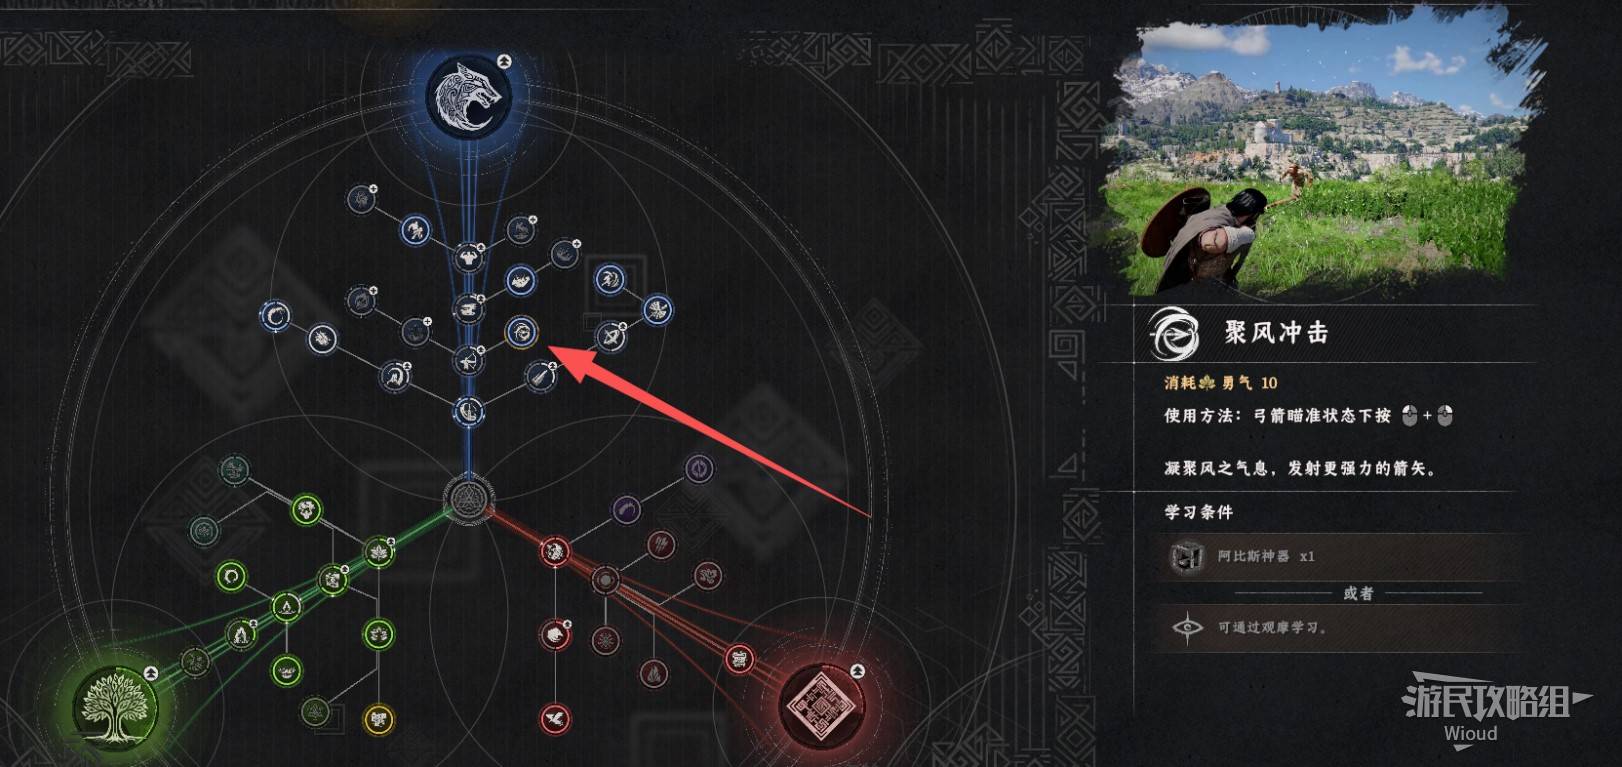
Image credit: GamerSky.com
Use charged "Gale Impact" shots to hit the discs in numerical order. After hitting the second disc, jump to the platform below disc 1, then shoot the disc on the right side.
Note: This puzzle has several different sequence templates with different disc arrangements. Save before attempting — repeat using the sequence shown until you get the matching template.
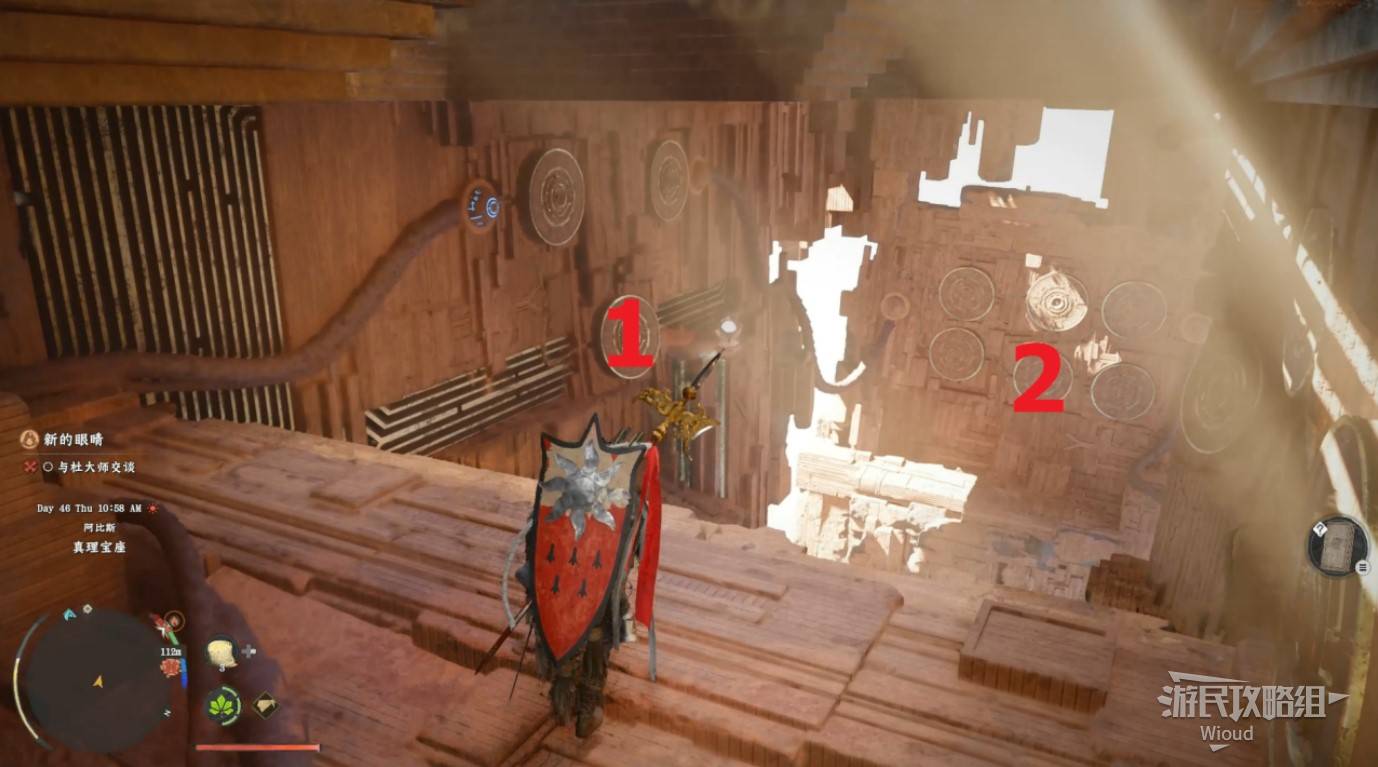
Image credit: GamerSky.com
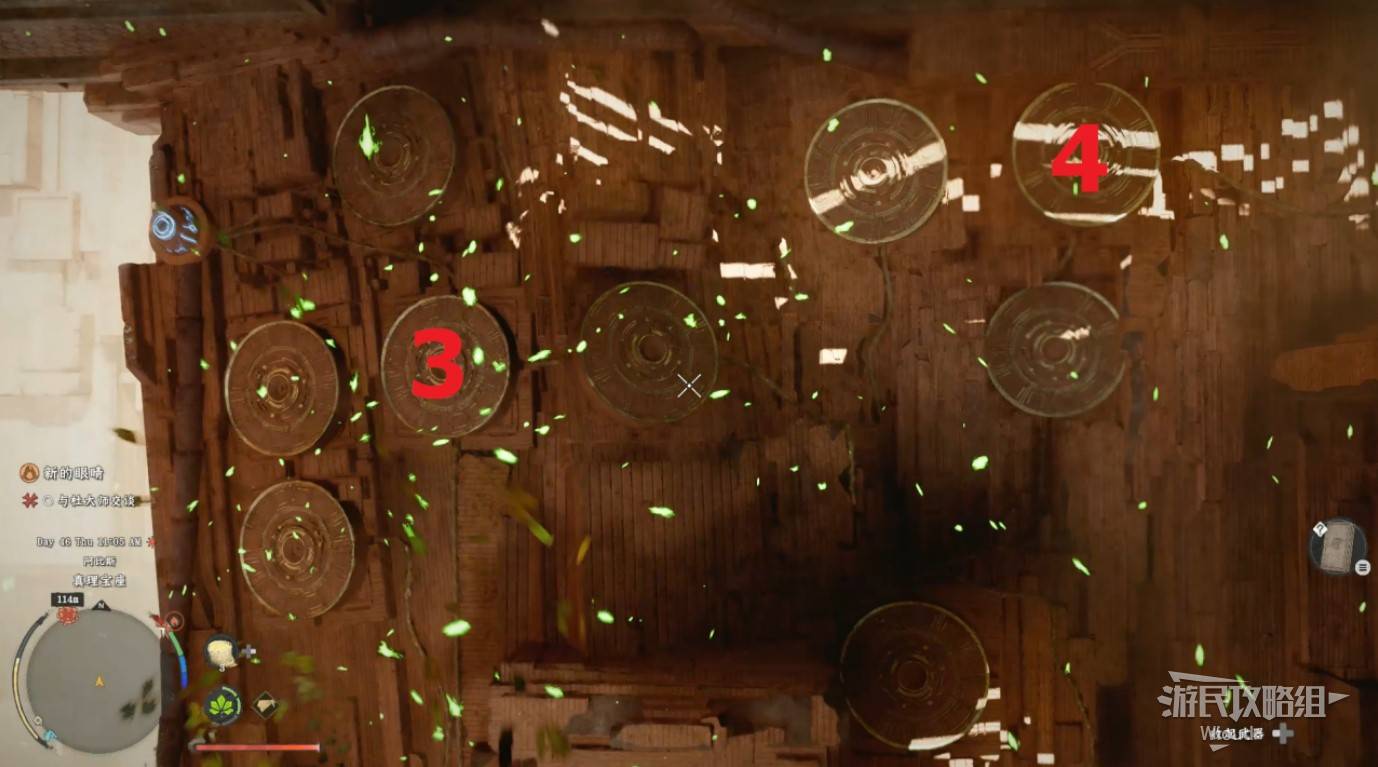
Image credit: GamerSky.com
Climb up, ride the air current to the upper platform. A cutscene grants the special equipment "Du Master's Crown."
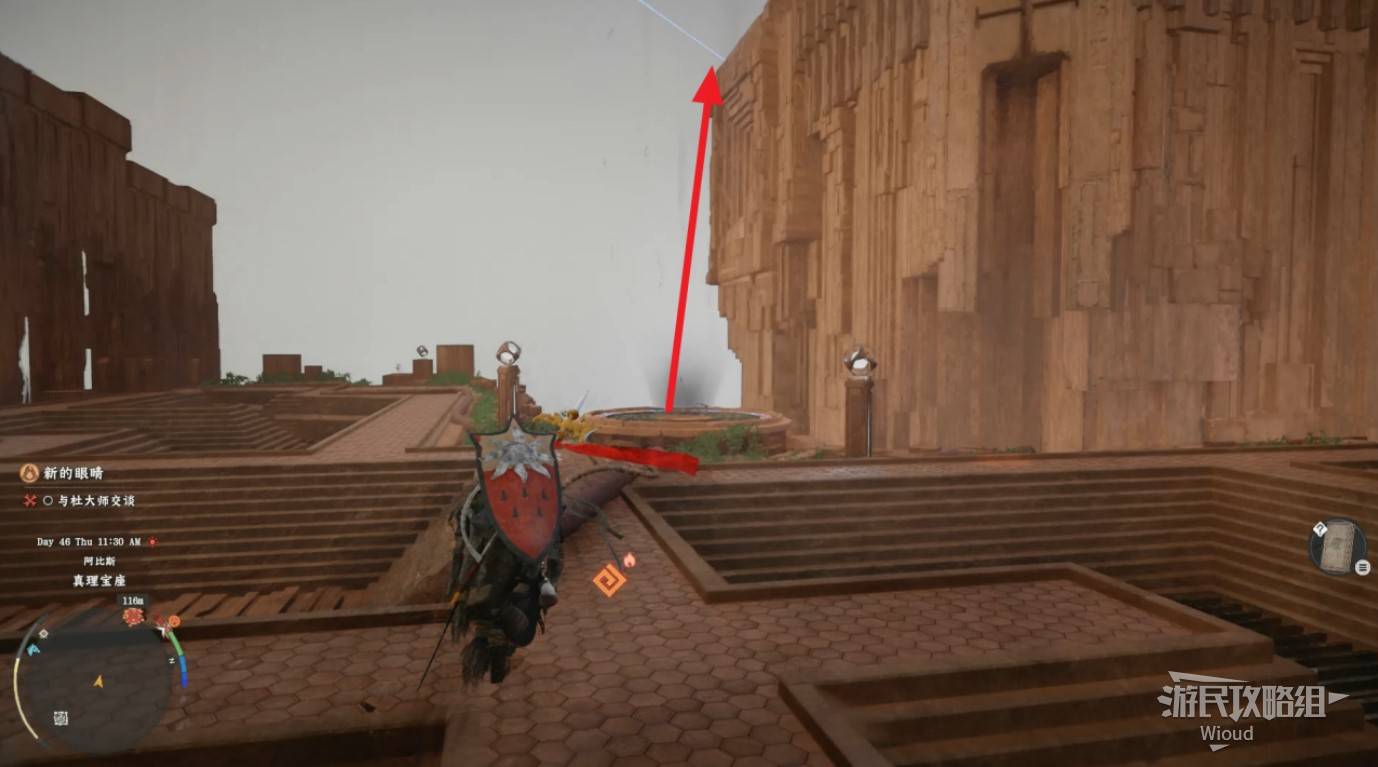
Image credit: GamerSky.com
After the cutscene, pass through the triangle door ahead. Activate the pillar and walk along platforms to the end. Wait for a moving rectangular platform — grab on and float upward.
When jumping to the second platform, note the small space opposite with a chest containing a Faded Abyss Artifact and weapon inscription.

Image credit: GamerSky.com
Move to the top of the opposite platform and teleport to the "Dimensional Labyrinth."
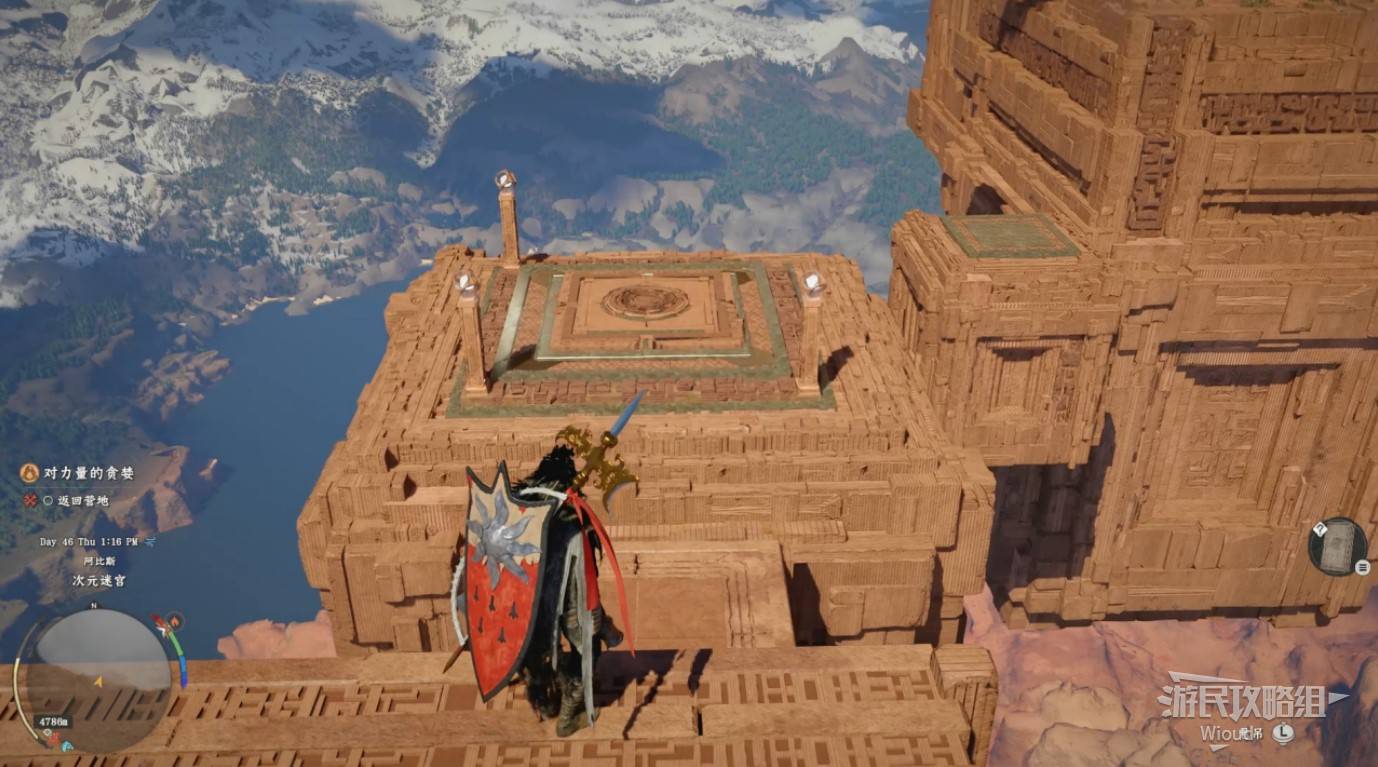
Image credit: GamerSky.com
Wait for the rectangular platform on the right to approach. Grab on and ride to the first platform on the right. Activate the teleport point and leave to continue the next main quest.
LUST FOR POWER
Teleport to Wolf Hill. Watch the cutscene to complete this chapter.
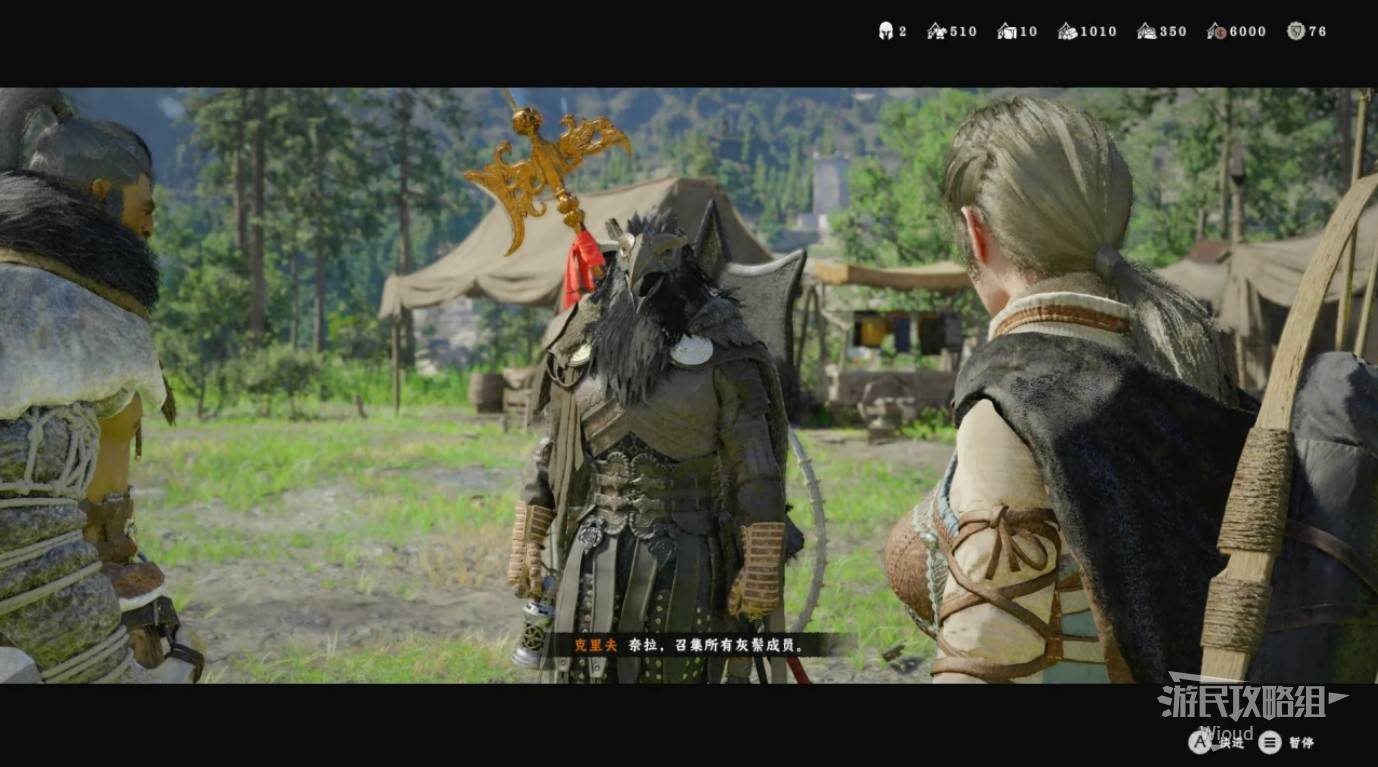
Image credit: GamerSky.com
Next: Chapter 10 — Counterattack
Chapter 10: Counterattack (Overview)
The Greymanes and their allies launch a full-scale counteroffensive across Pywel. Chapter 10 features large-scale battles, mech piloting sequences, and turret defense sections. One of the shorter chapters, but the combat intensity is among the highest in the game.
Quest Groups:
- - Trump Card
- - Firepower, More Intense Firepower
Key Rewards:
- - War Fortress mech combat abilities
- - Turret defense skills
Trump Card Walkthrough
TRUMP CARD
Collectibles: World Sheet Metal Armor Collection Vol. 3
Quest Chain: Untouchable → The Gate of War → Master of the Ironworks → Hidden Ace → Clockwork Insect Clash
UNTOUCHABLE / THE GATE OF WAR
Head to the first waypoint at the "White Tent." After the cutscene, move to the second waypoint for another dialogue sequence. Exit left and climb the stairs on the opposite side.
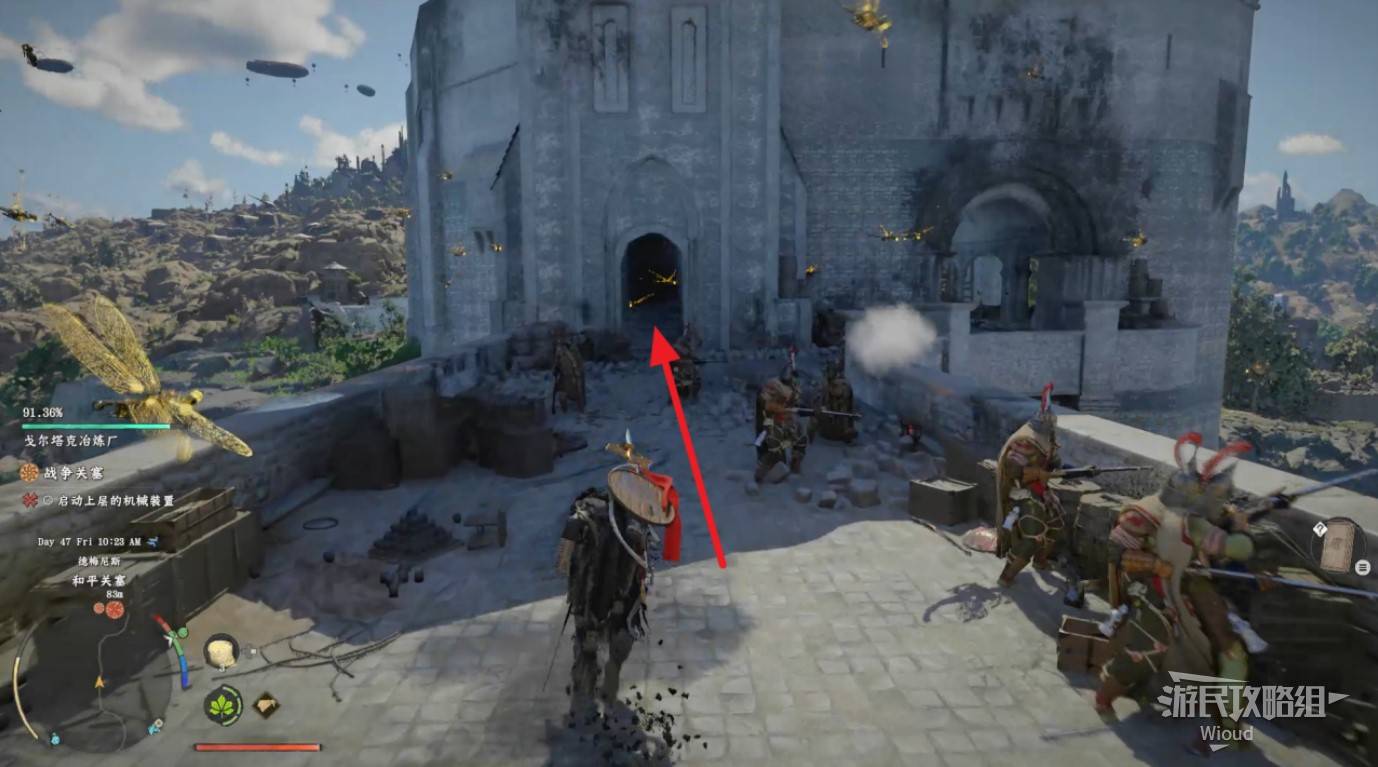
Image credit: GamerSky.com
Pass through the rooms on the first floor to reach the spiral staircase entrance. There's a chest on the left side of the entrance.
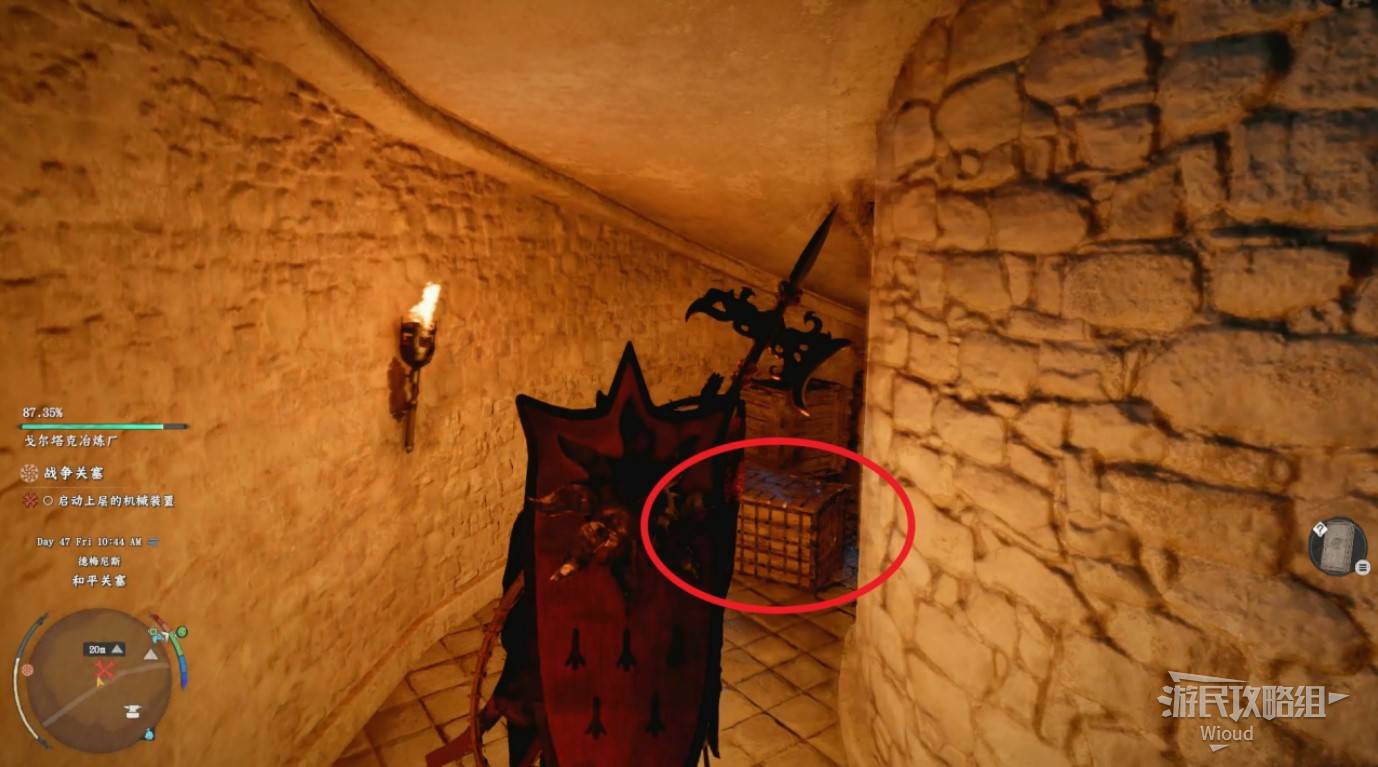
Image credit: GamerSky.com
MASTER OF THE IRONWORKS
Climb to the building's rooftop to find the jammer. First interact with the "Electromagnetic Jammer" on the right side, then pull the central lever. After successfully activating the machine, proceed to the next waypoint to speak with the NPC.

Image credit: GamerSky.com
HIDDEN ACE
Go to the waypoint and speak with "Balgash." Follow him through a cutscene. At the camp, follow the markers to enter the blue robot at the destination.
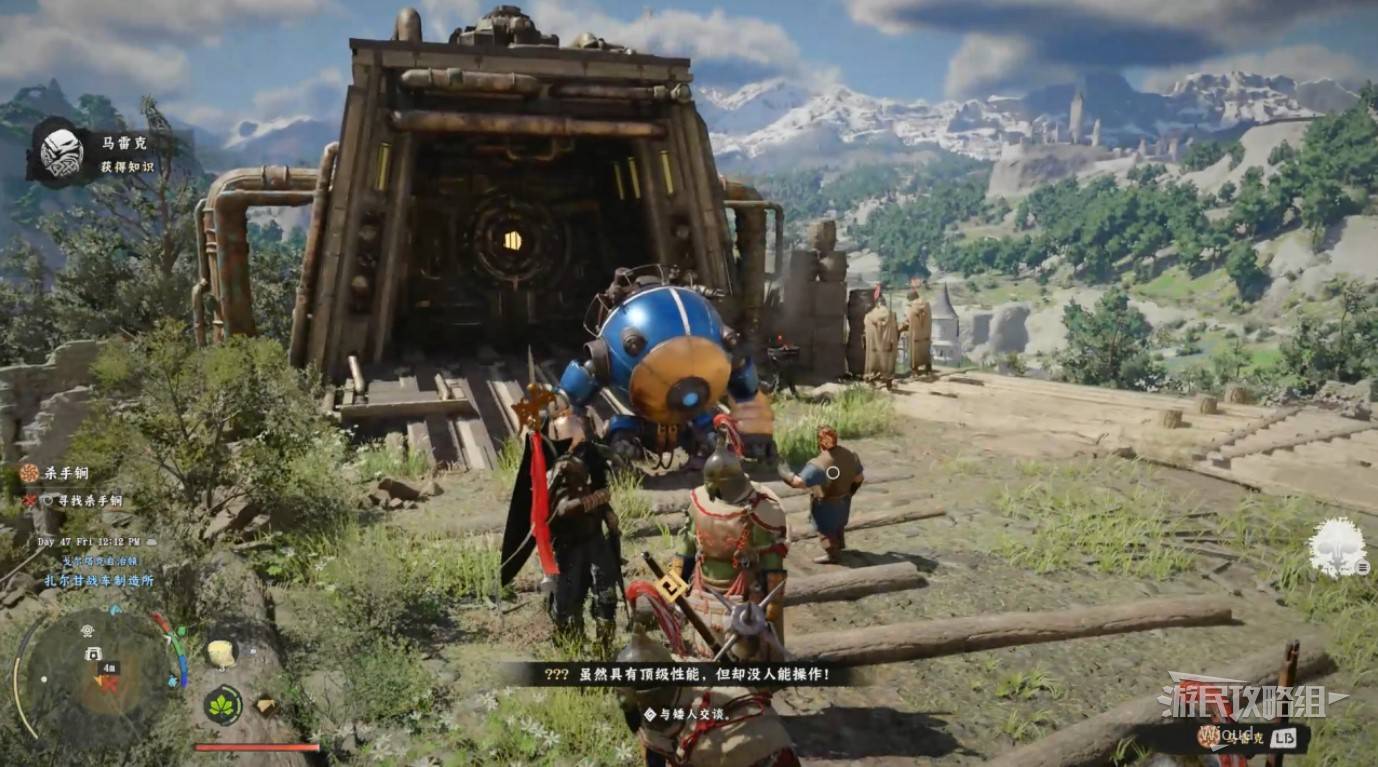
Image credit: GamerSky.com
Move to the nearby shooting range. Use the robot's "Burst Fire" or "Cannon Shell" to shoot the blue targets in the distance. Hit 15 consecutive targets to complete the objective — no time limit, very easy.
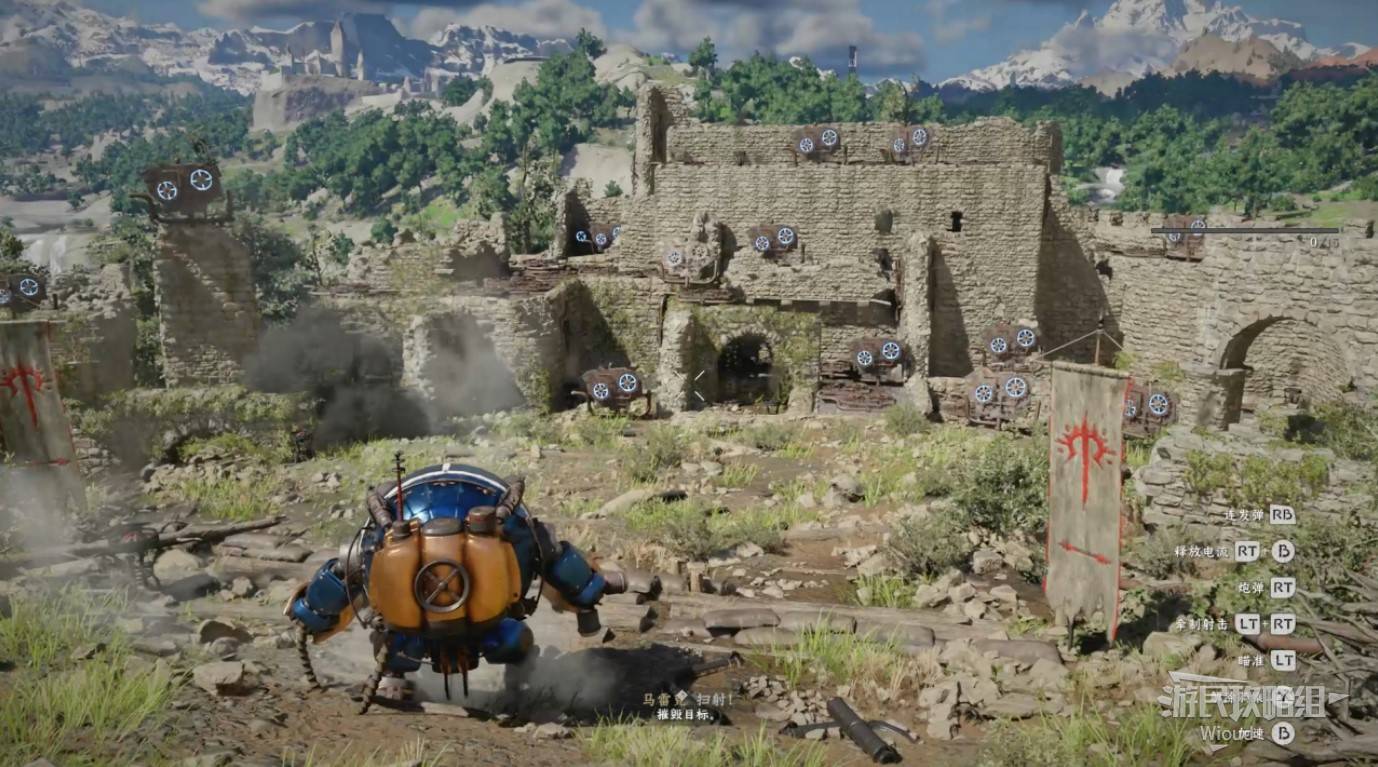
Image credit: GamerSky.com
Then head to the facility at the waypoint. These facilities are scattered across many locations, each containing a controllable robot. Interact with the lever at the facility entrance to open the gate and pilot the robot inside.
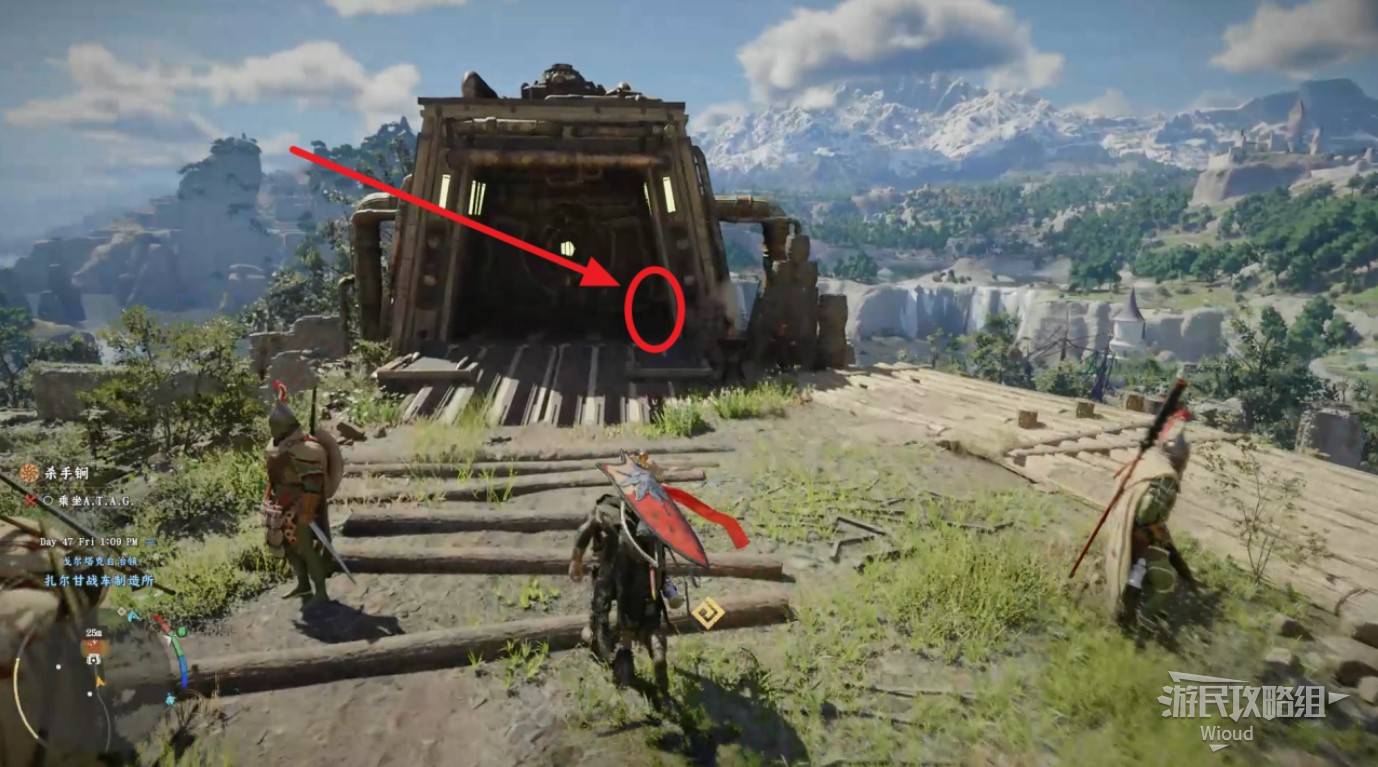
Image credit: GamerSky.com
CLOCKWORK INSECT CLASH
You need to pilot the robot to eliminate all enemies in "Gorthak." Note that enemies are mainly distributed along the red route areas, not in the marked city district. But first walk to the marked point — a platform with many soldiers. Pick up the book "World Sheet Metal Armor Collection Vol. 3" from the table here.
Image credit: GamerSky.com
Piloting the robot makes eliminating enemies here relatively easy. Continue until the progress bar on the left side of the screen reaches zero.
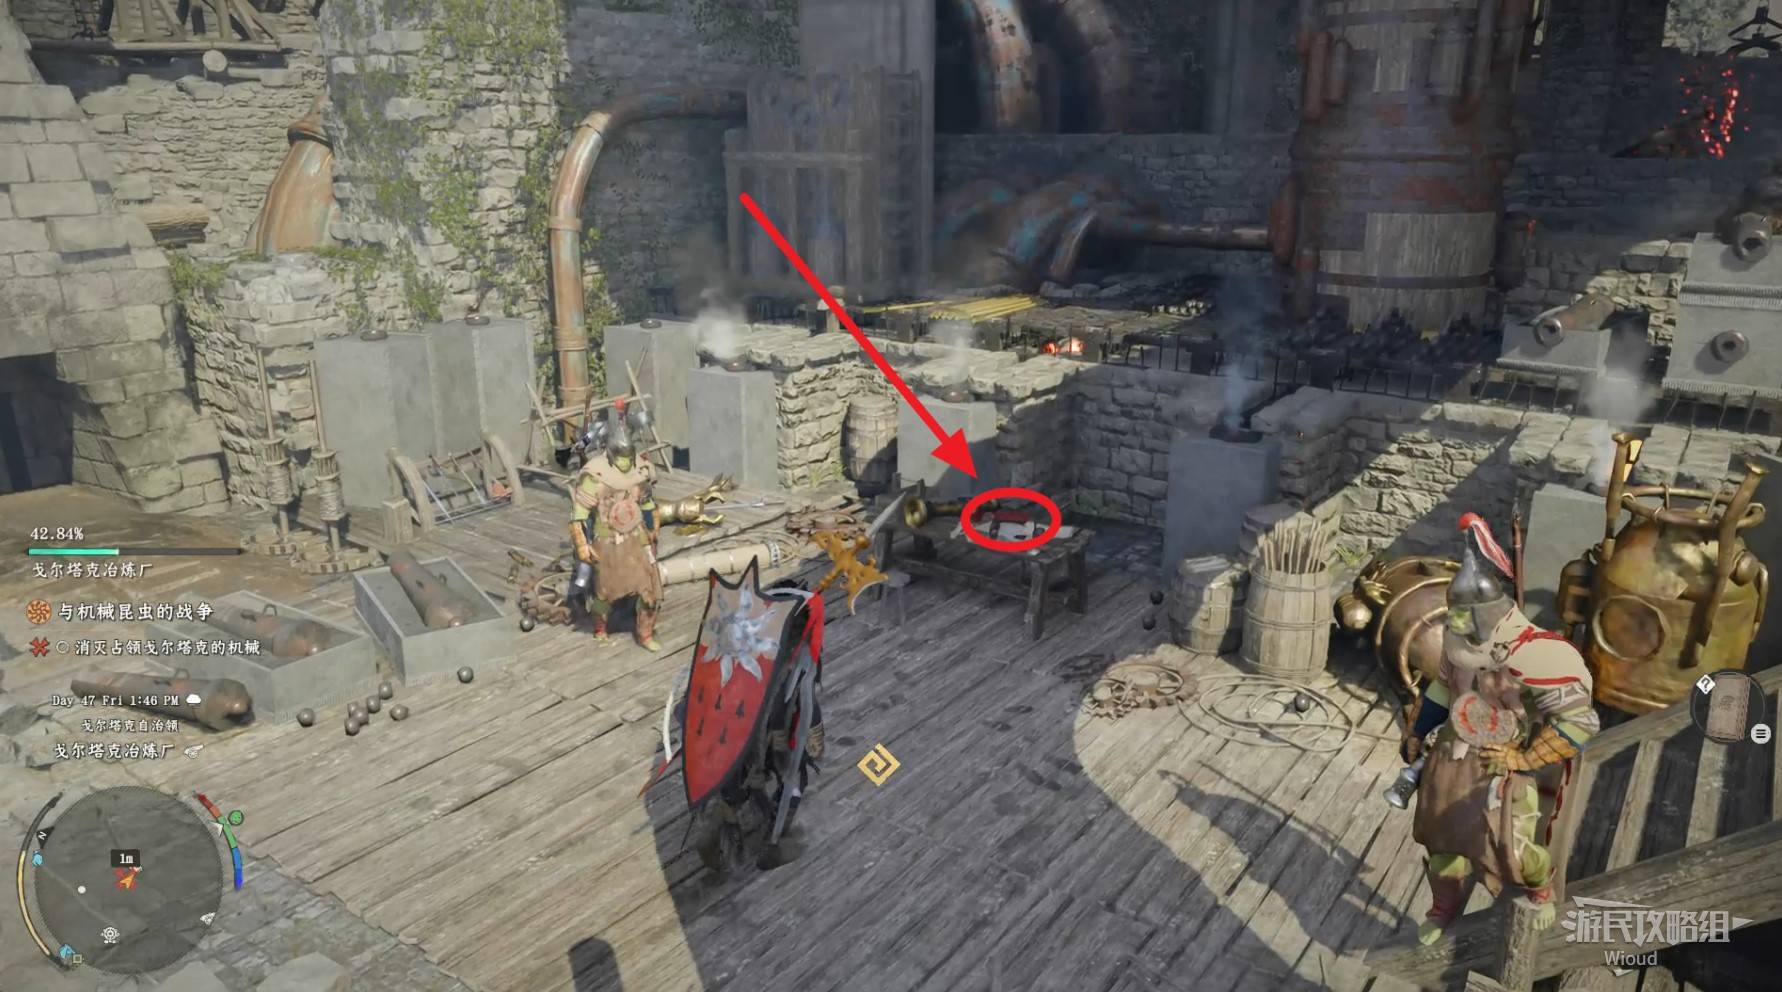
Image credit: GamerSky.com
Next: Firepower Walkthrough
Firepower Walkthrough
FIREPOWER
Collectibles: None
Quest Chain: Beating Heart → Invaders from the East → Frozen Hearted Predator → Lingering Shadow
Reward: Leofric Musket
BEATING HEART
Head to the map marker. The generator is in the lowest-level building at the marked location. Pull the left lever first, then move right and press "Look" followed by "Kick" so your character's foot hits the button with the white circle marker. Interact with the lever above the button to start the generator.
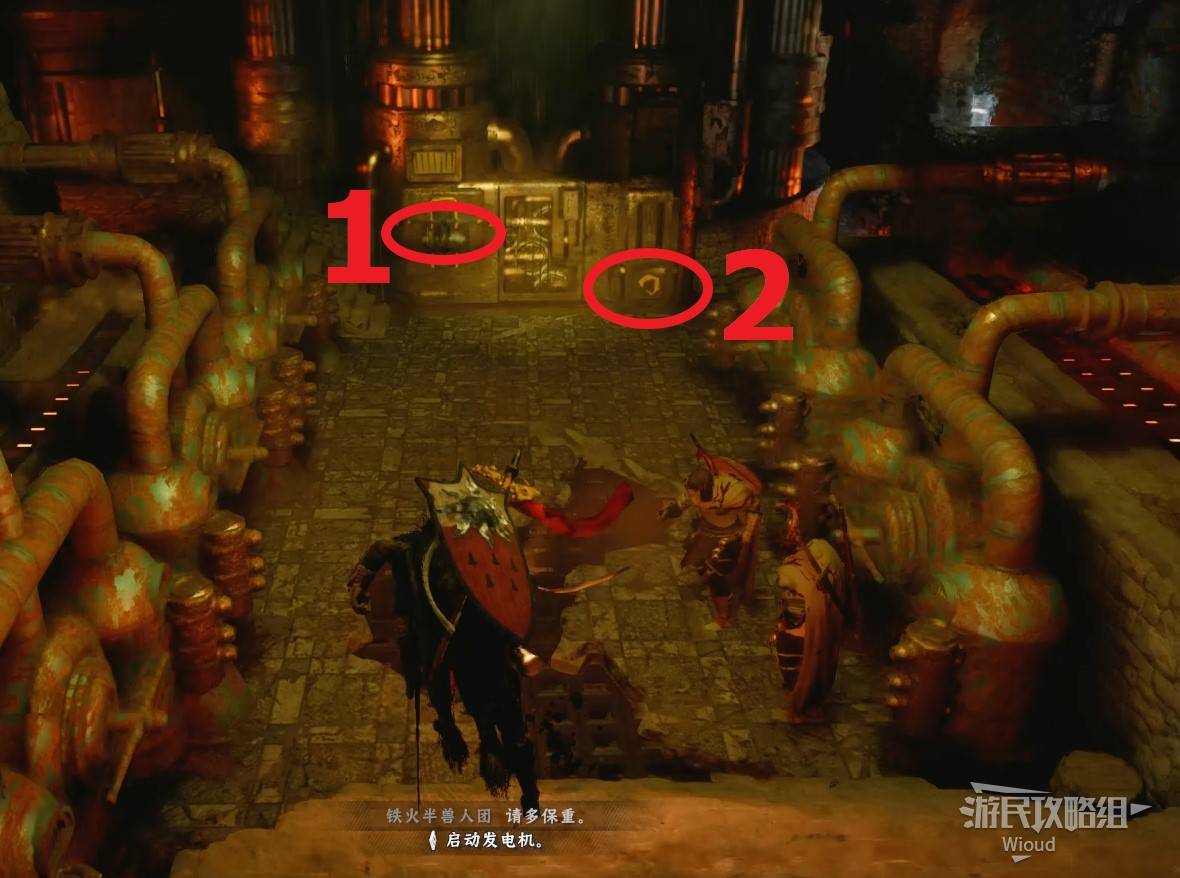
Image credit: GamerSky.com
INVADERS FROM THE EAST
Move to the rooftop and interact with the facility to pilot a robot. You have 180 seconds to defend the turbine from enemy attacks. Enemies generally spawn at a distance. Use "Burst Fire" at medium range toward enemy clusters — no need to aim precisely, the system auto-targets nearby enemies when they're close enough.
Enemies come in three types: fast-moving bugs that charge directly at the turbine, hovering dragonflies that shoot from the air, and hot air balloons carrying bombs that deal massive turbine damage. Balloons move slowly — prioritize bugs first, then dragonflies, and handle balloons when they get close.
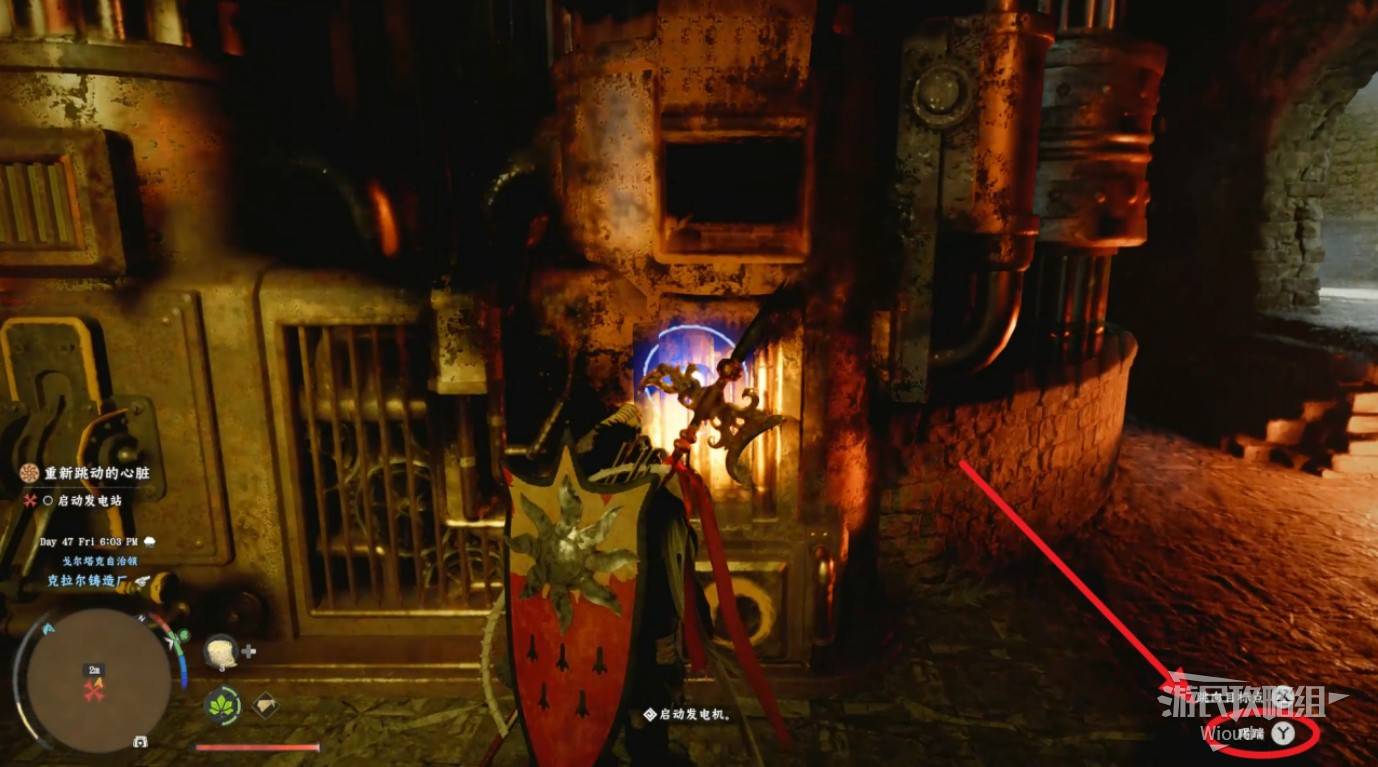
Image credit: GamerSky.com
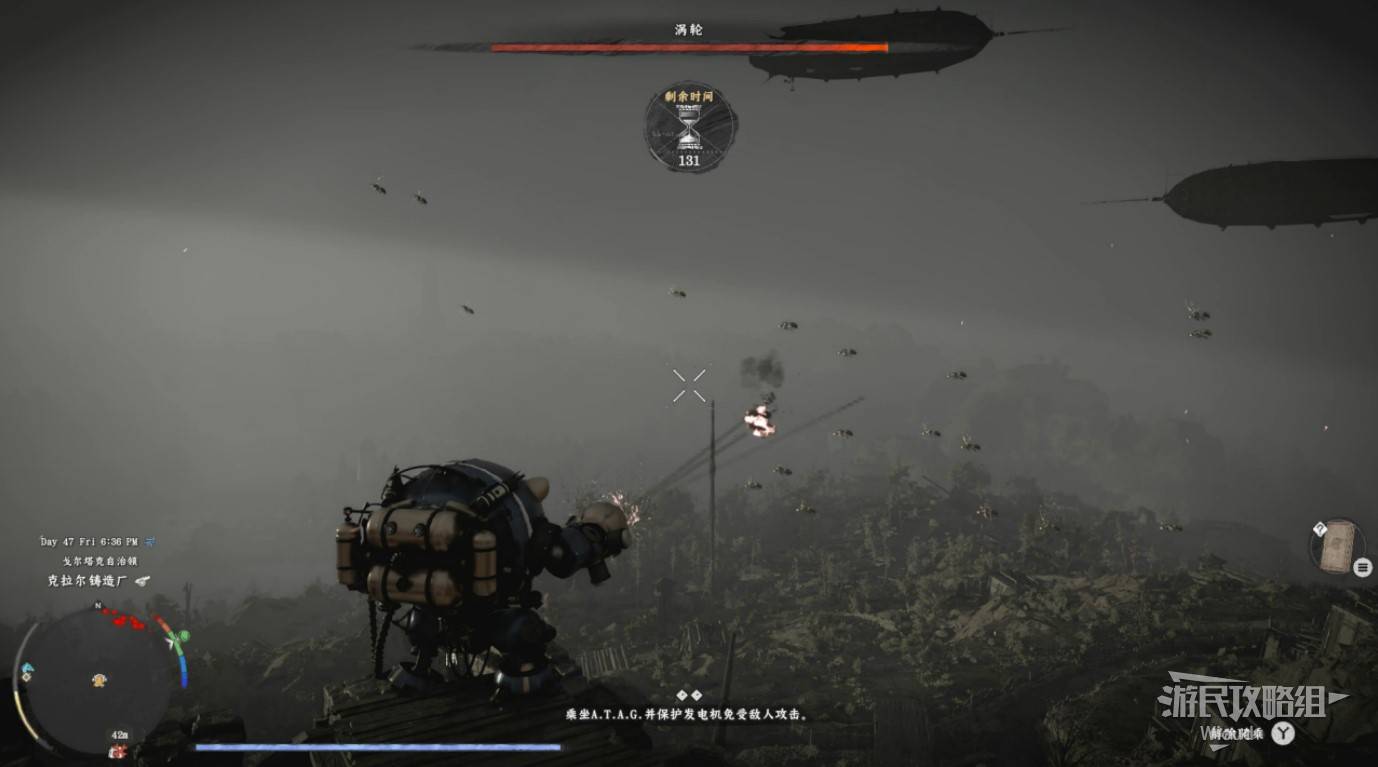
Image credit: GamerSky.com
After the 180-second countdown, fly down to the cannon below. Interact with the wheel to operate it. Use the button prompts in the lower-right to adjust the cannon's direction until you can see the airships in the sky. Press "Aim" and fire directly at the airships. There are only two — shooting them both down is simple.
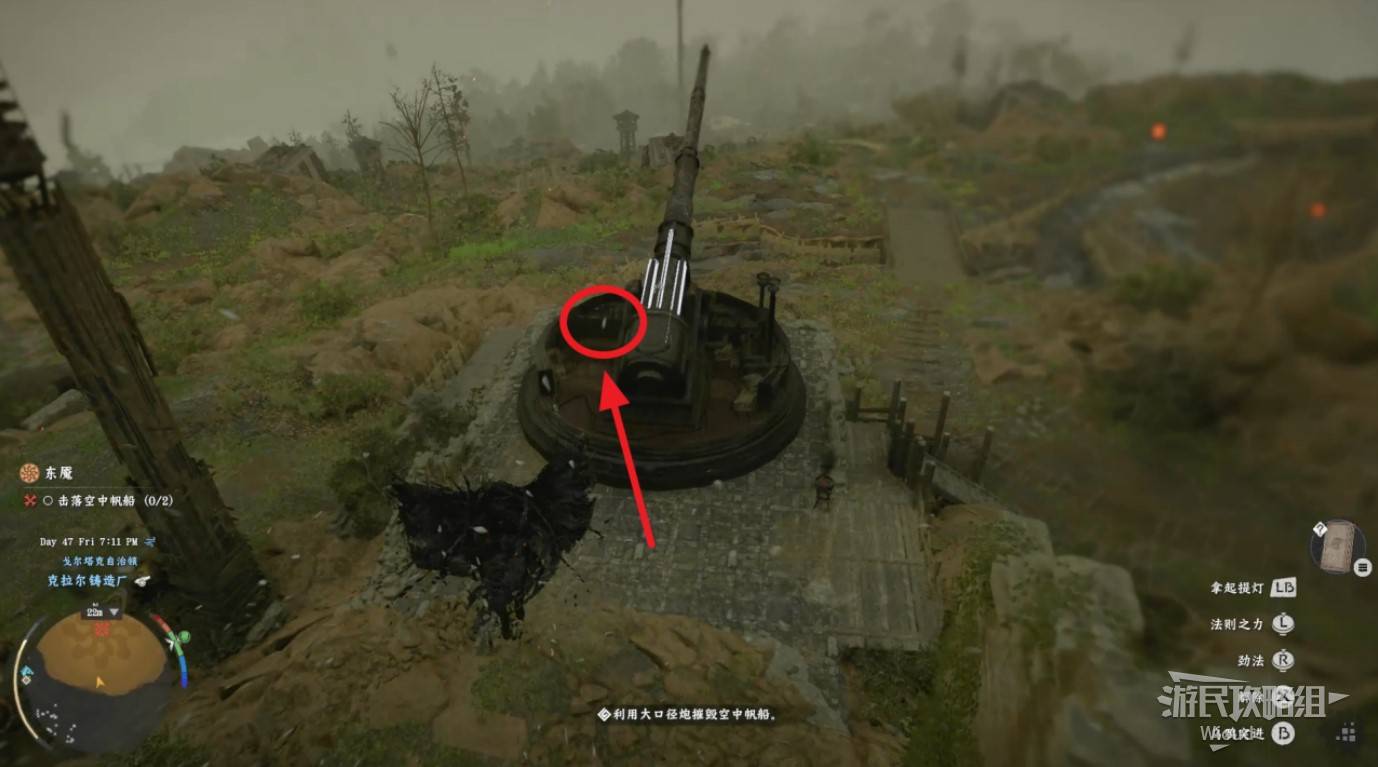
Image credit: GamerSky.com
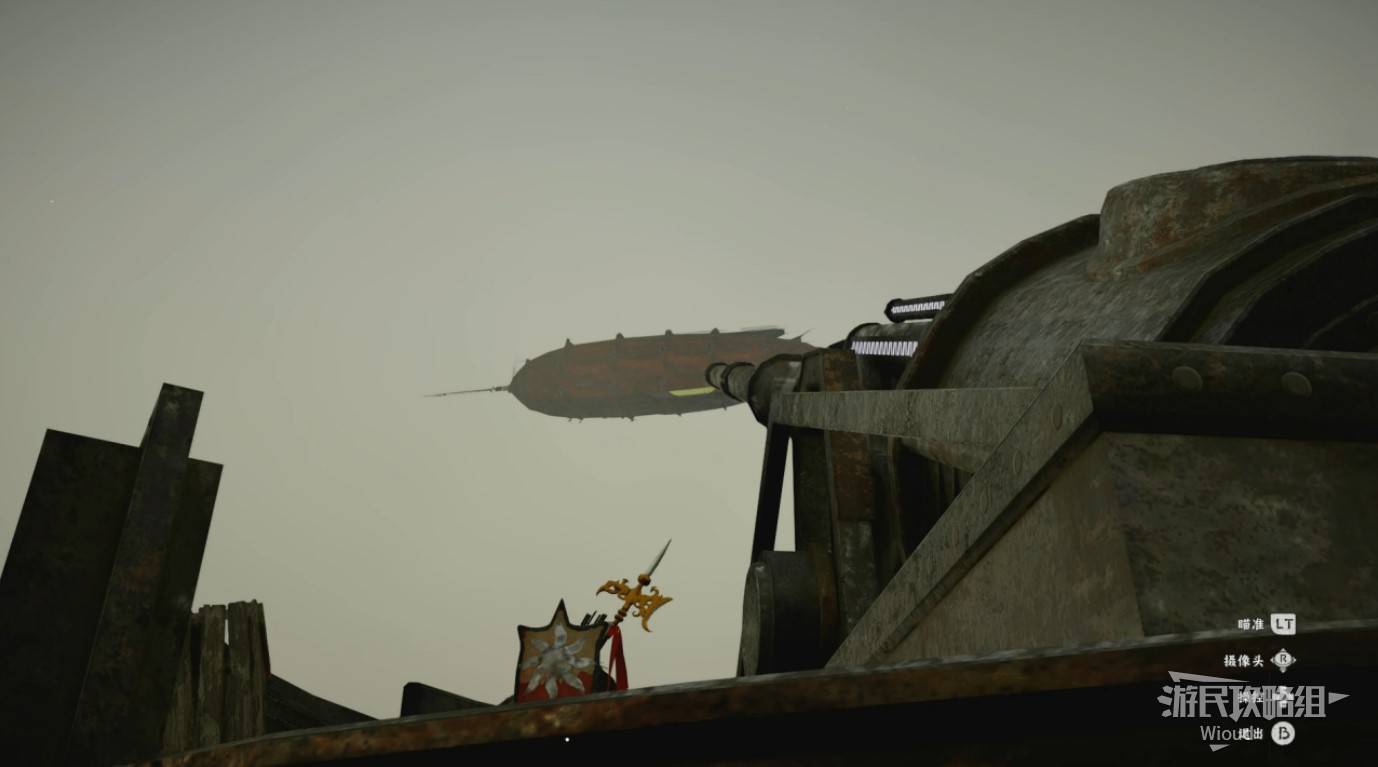
Image credit: GamerSky.com
FROZEN HEARTED PREDATOR — BOSS: MARONI MECHANICAL MANTIS
Follow the final waypoint to the airship crash site, triggering the boss fight against the "Maroni Mechanical Mantis." It has only one health bar. Despite its intimidating appearance, it's actually easier than recent bosses.
Its most dangerous move is the yellow laser — extremely high damage. Consecutive lasers can instantly kill you based on your max HP. Its melee attacks deal relatively low damage. Before firing the laser, there's a visible charging animation with plenty of reaction time.
Its normal attacks have large wind-ups, but many attacks are unblockable. For consistency, dodging is recommended over blocking.
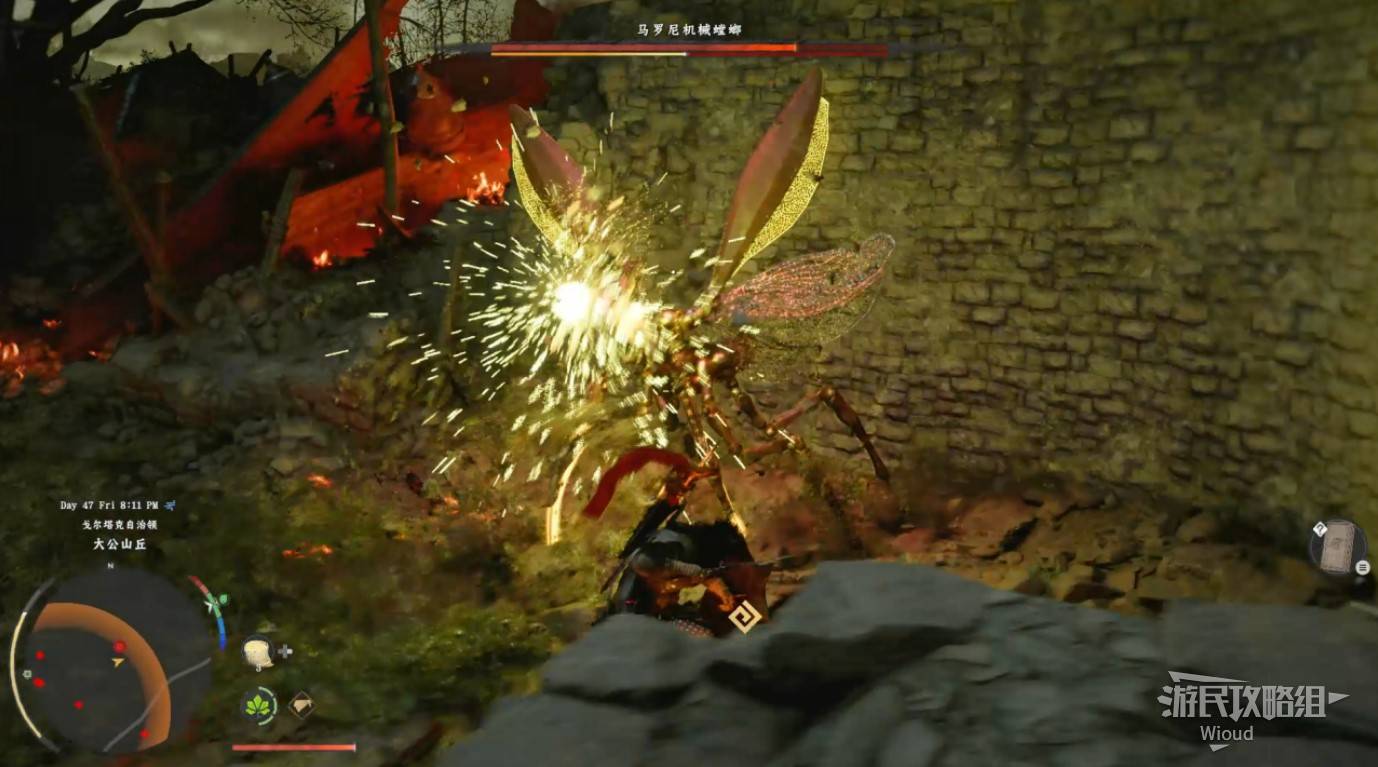
Image credit: GamerSky.com
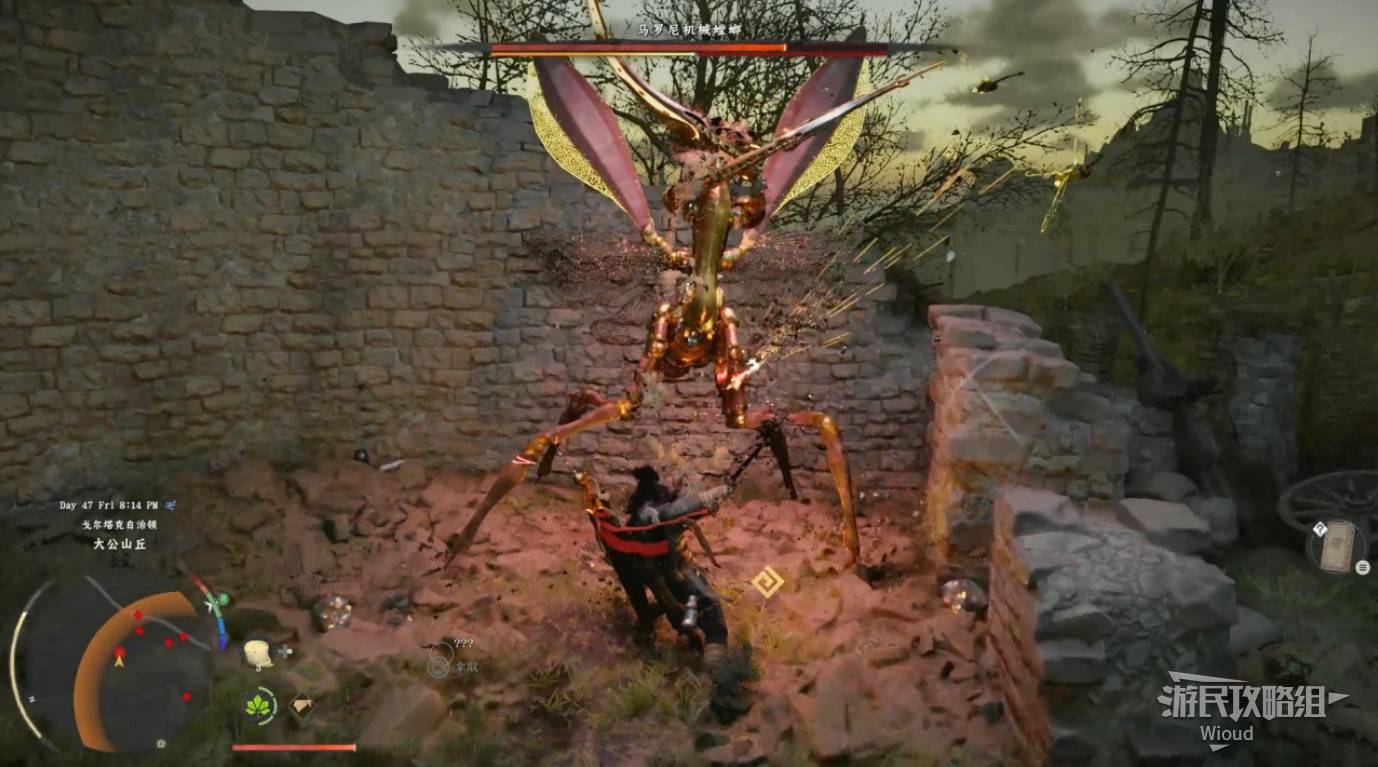
Image credit: GamerSky.com
LINGERING SHADOW
Move to the final waypoint and speak with the NPC. Ride alongside him on horseback. Watch the cutscene to complete this chapter and receive the rare equipment "Leofric Musket."
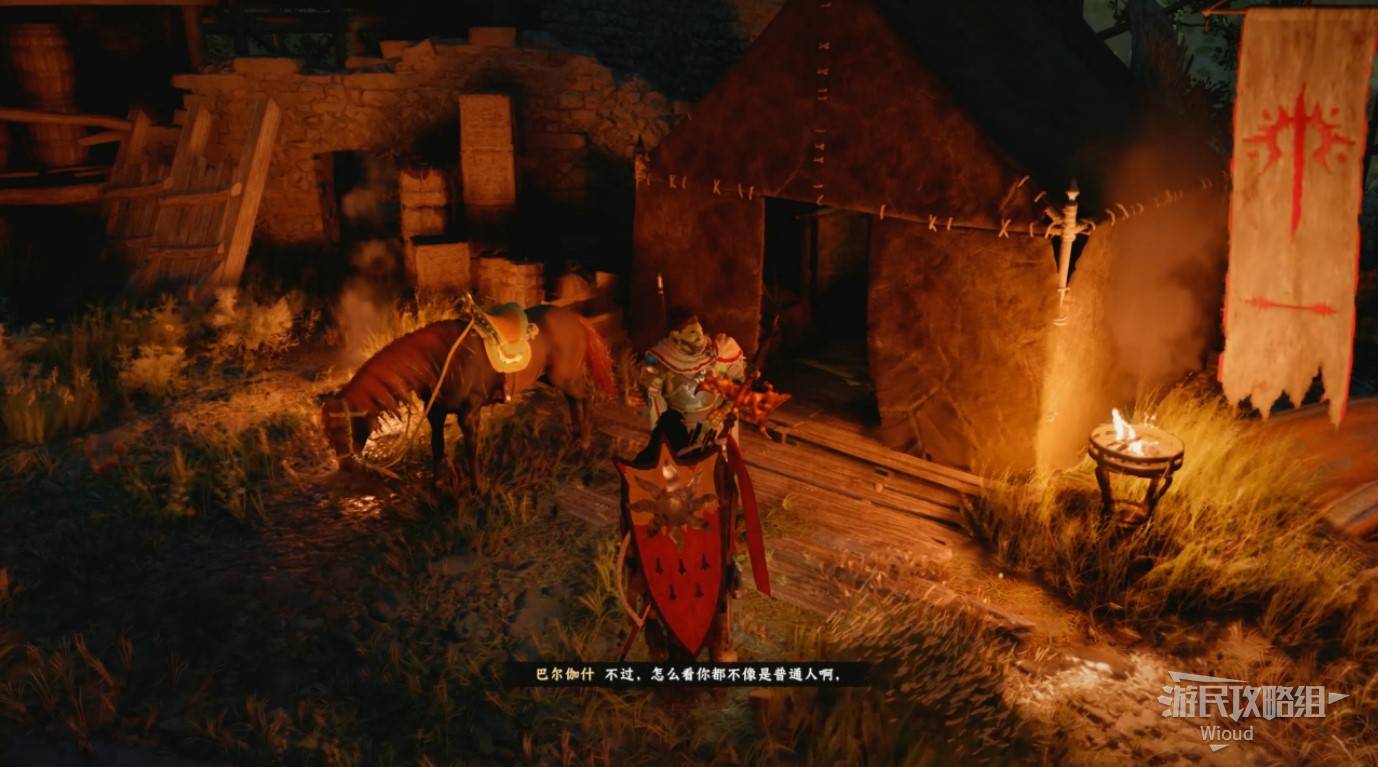
Image credit: GamerSky.com
Next: Chapter 11 — Truth and Reality
Chapter 11: Truth and Reality (Overview)
The story enters the City of Steel, revealing truths that have been hidden throughout the journey. This chapter features complex fortress infiltration and multiple high-difficulty boss encounters that test your full combat repertoire.
Quest Groups:
- - Wonderful New World
- - Days of Obscured Sky
Key Rewards:
- - Golden Star Dragon mount
- - Cloud Fortress access
Wonderful New World Walkthrough
WONDERFUL NEW WORLD
Collectibles: World Ranged Weapons: Guns Collection Vol. 1, Ancient Research Journal, Thoughts on H.A.L.L., Golden Star Blueprint
Quest Chain: The City of Steel → Crossroads → Strange Manor → Fortress Keys → Truth and Lies
Rewards: Dressian Ornamental Shield, Maroni Musket, Clockwork Handheld Cannon, Sound Resonator, Cold Heart Sheet Metal Cloak
THE CITY OF STEEL
Follow the markers to reach the target town. Activate the "Bell Tower" and "Teleport Point" inside the city. Then enter the innermost castle — you need to equip the "Bigione" to enter.
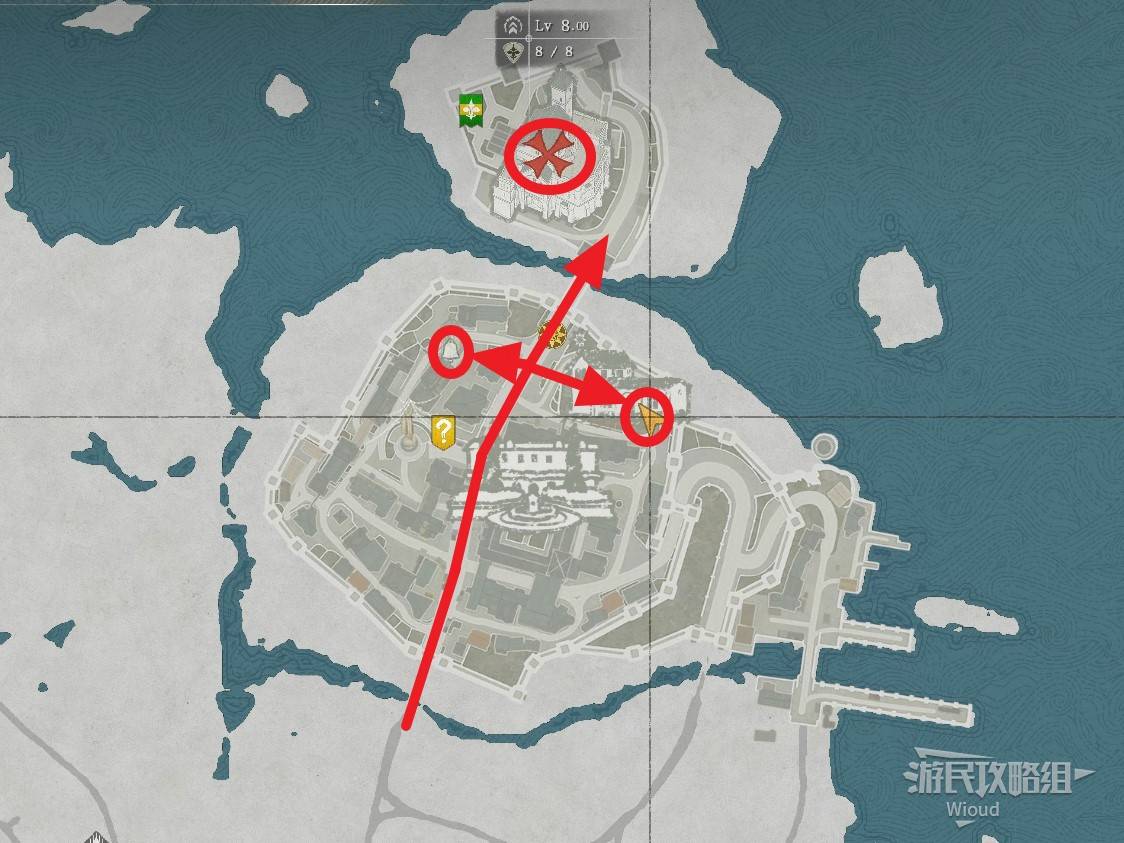
Image credit: GamerSky.com
CROSSROADS
When trapped in the castle basement during a cutscene, push the lever on the left first.
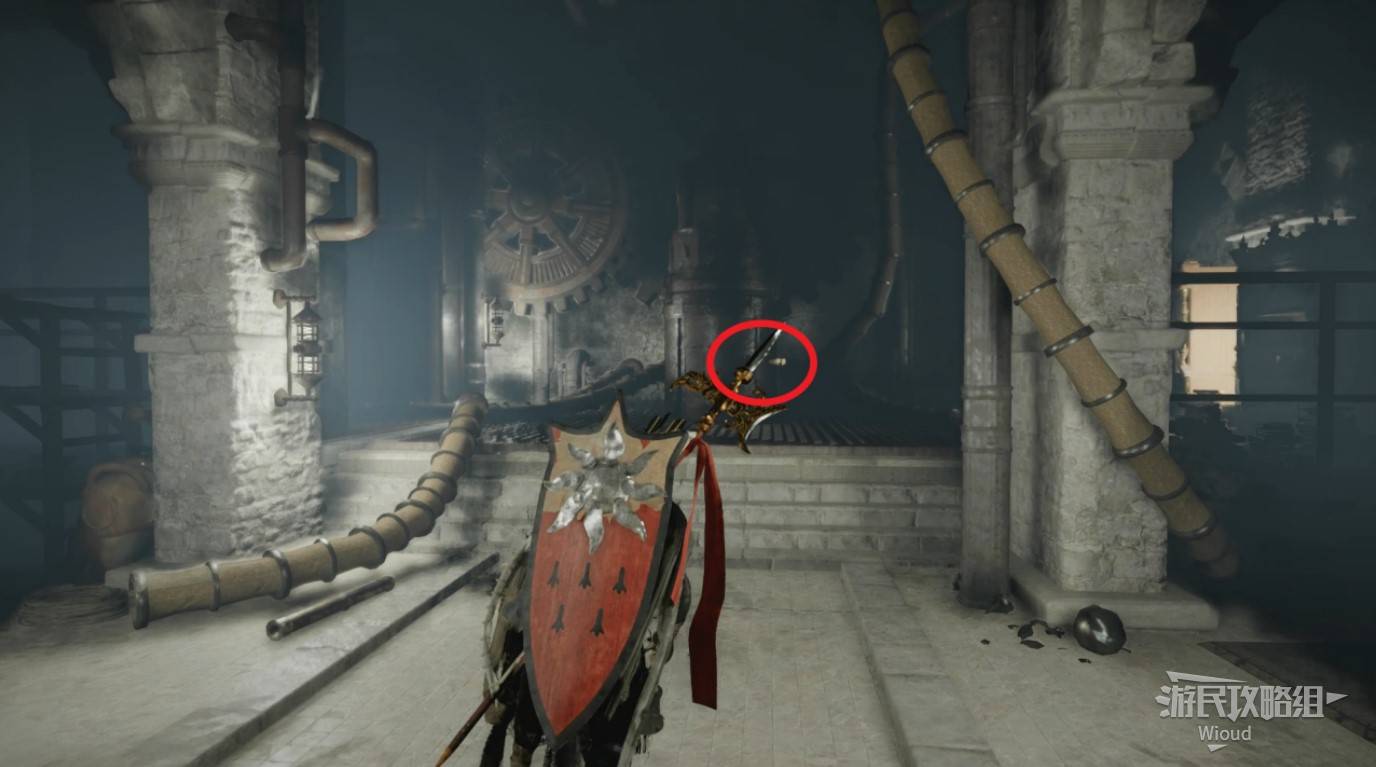
Image credit: GamerSky.com
Interact with the revealed mechanism. Hold the two buttons shown in the lower-right simultaneously and wait for it to activate — no additional input needed.
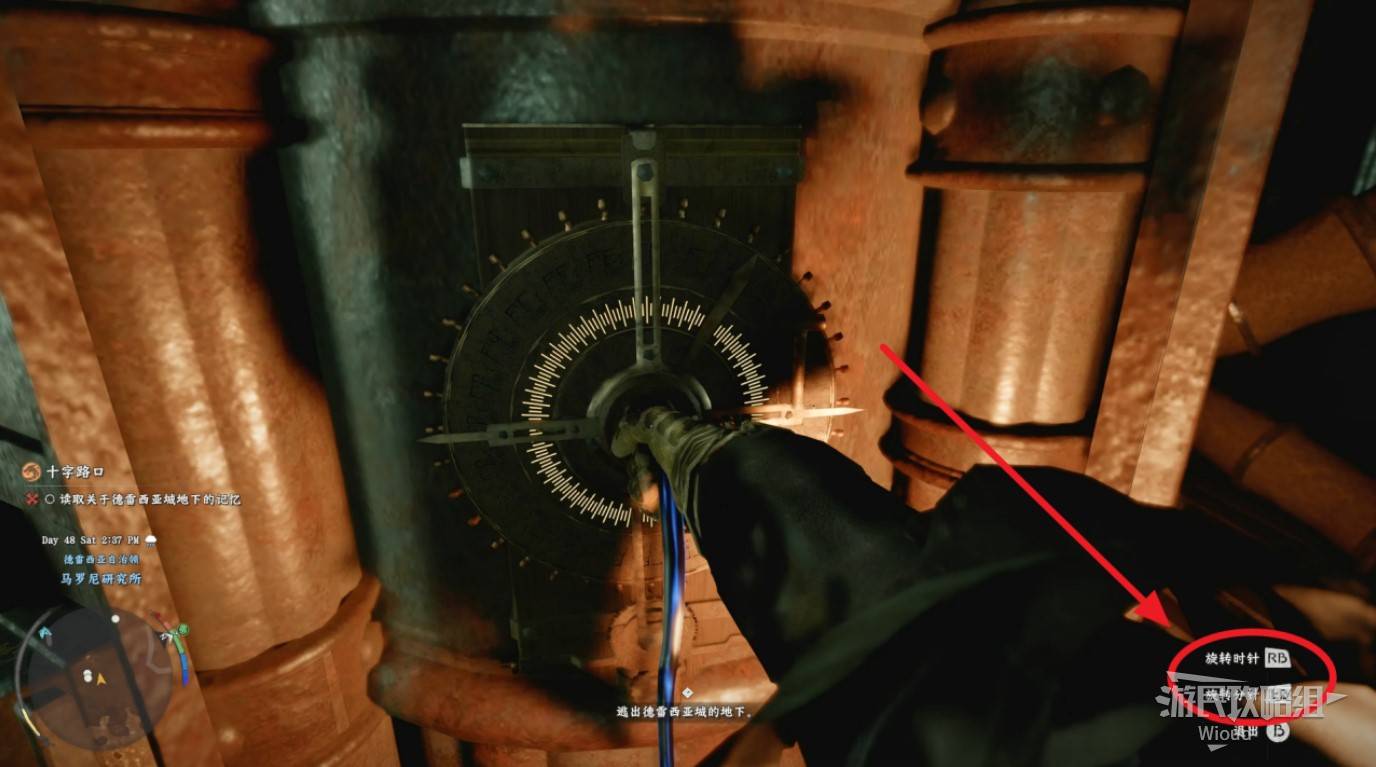
Image credit: GamerSky.com
After entering the blue filter state, turn around and walk toward the back wall. Exit the state while touching the wall — a door appears. Enter and interact with the teleporter inside.

Image credit: GamerSky.com
STRANGE MANOR
After teleporting to the next location, first activate the teleport point on the left.
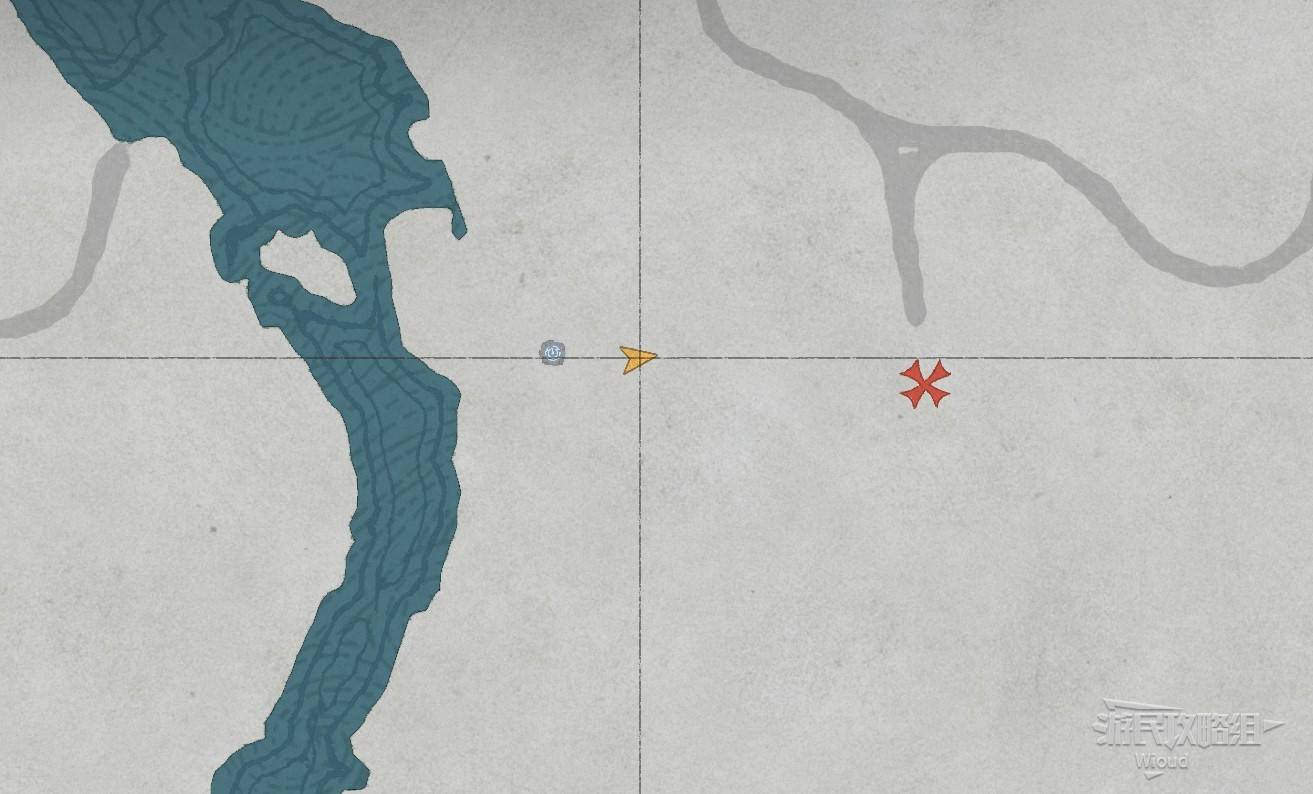
Image credit: GamerSky.com
Enter the manor at the waypoint. The bookshelf on the left has the book "World Ranged Weapons: Guns Collection Vol. 1."
Remove the painting from the center wall, interact with the mechanism, press both buttons to enter blue filter state, then open the door beside the left bookshelf and follow the path.
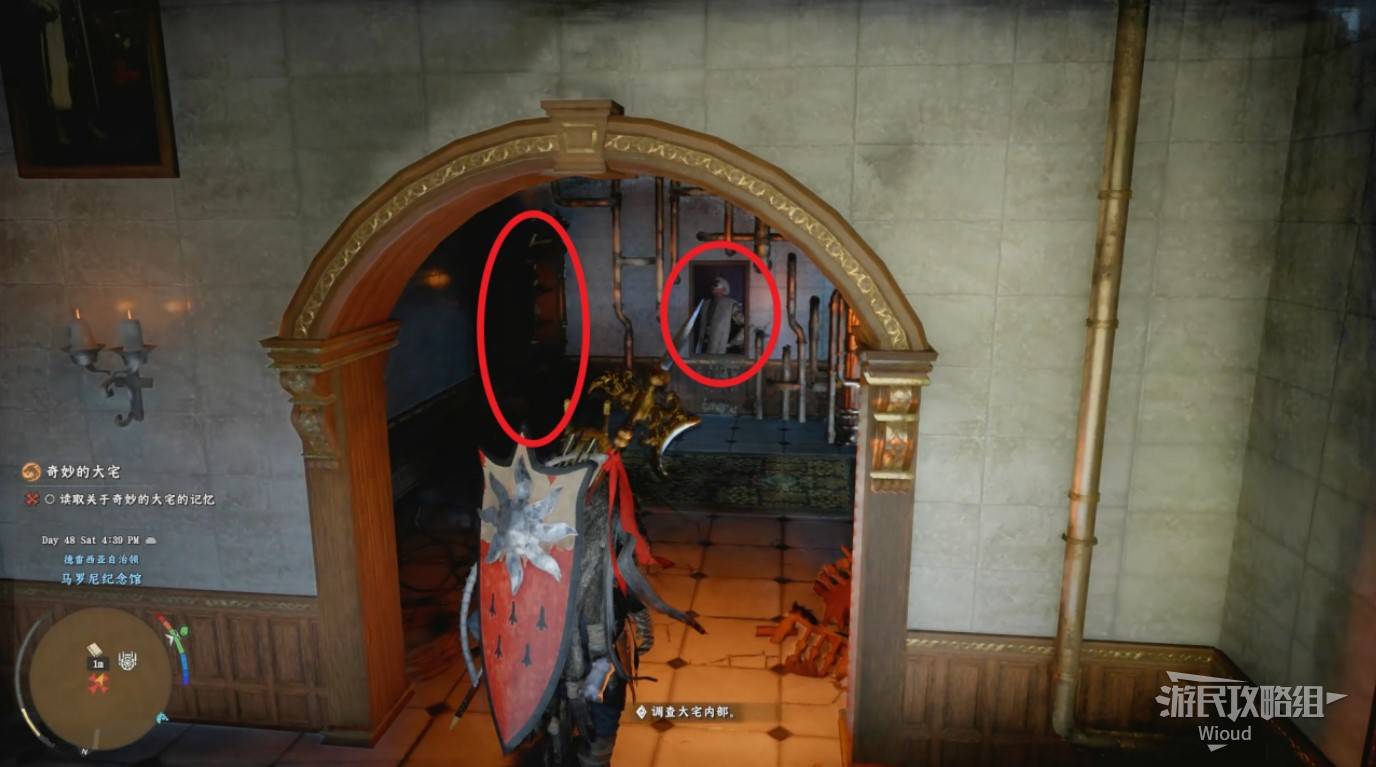
Image credit: GamerSky.com
When the path ends, exit the filter — a new door appears ahead. In the stairwell, interact with the "Bigione Information Input Device" in the corner to activate the blue filter.
Enter the room behind the stairs. Pick up "Ancient Research Journal" from the table. Go up to the second floor, enter the first room, walk to the front-right, exit the blue filter, and enter the adjacent room.
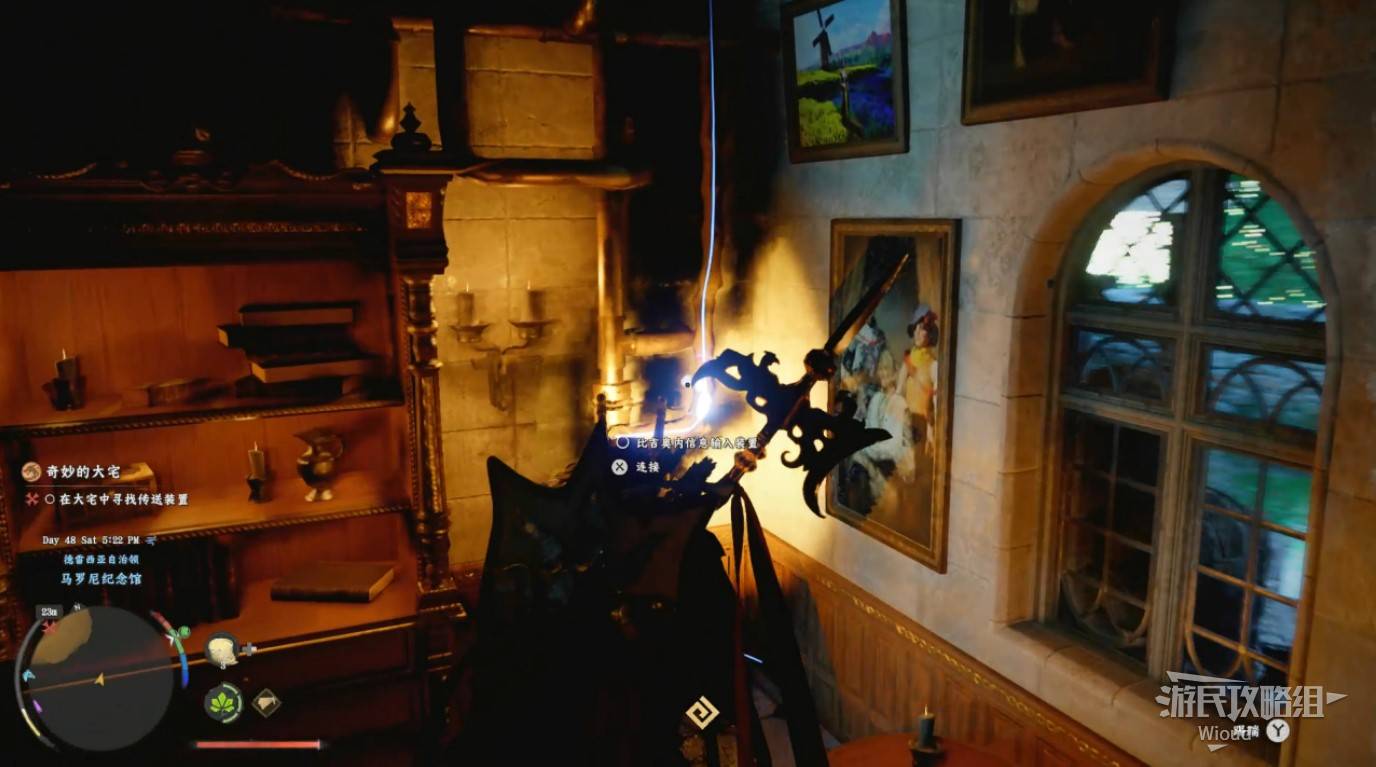
Image credit: GamerSky.com
This room contains a Memory Fragment. Activate the blue filter from the right-side device, go through the left door to find the manor's teleporter. Interact with it to unlock the next quest, then retrace your steps out of the manor.
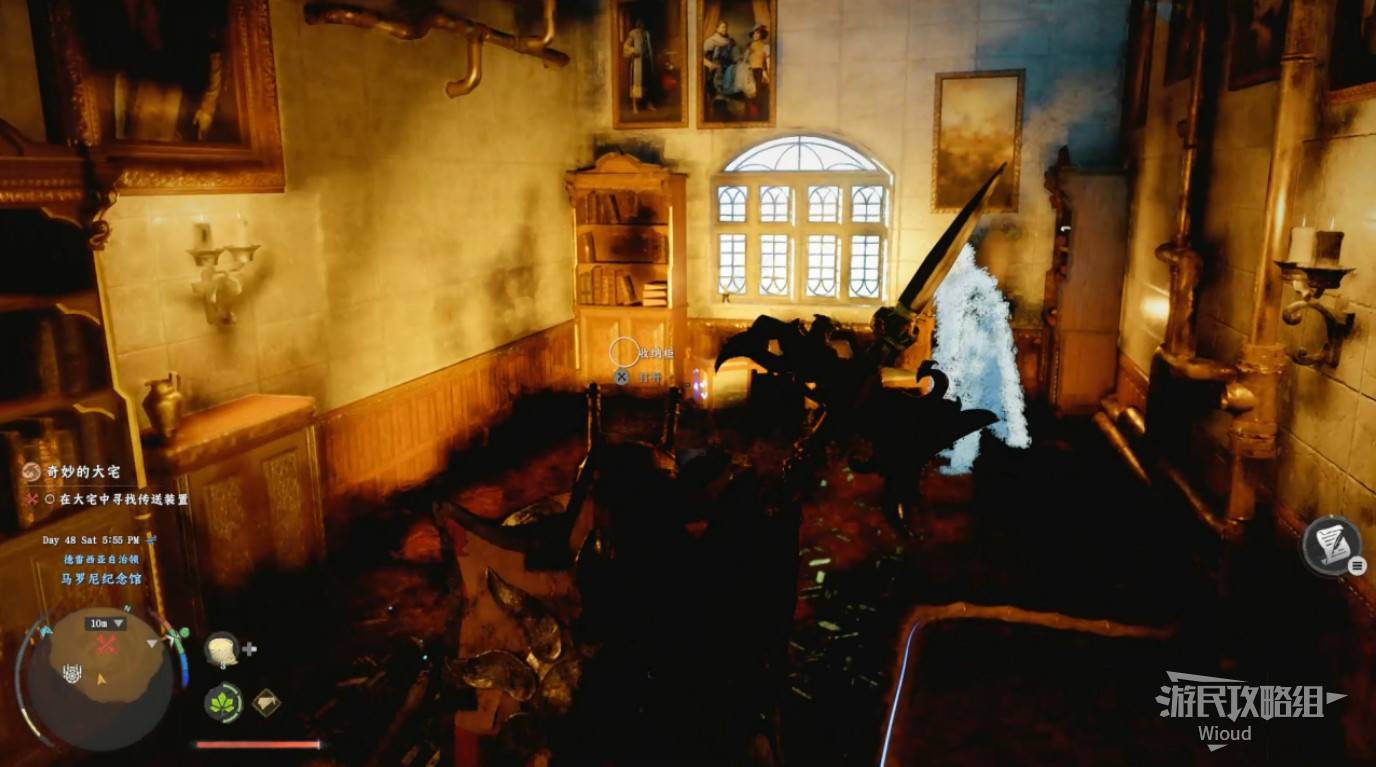
Image credit: GamerSky.com
FORTRESS KEYS
※ Exploration order: Flight Research Base → Barrier Fortress → Maroni Laboratory.
Image credit: GamerSky.com
Retrieving the Flight Research Base Key
Head to the "Flight Research Base." Go directly to the top of the main building to trigger the "Storm War Chariot" boss fight.
This boss is easy. Rush in close immediately — it only repeats one attack pattern. When the red circle appears and the cannon glows, roll and then close in for heavy attacks. Repeat to defeat it.
Victory rewards: Dressian Ornamental Shield and Maroni Musket.
Image credit: GamerSky.com
Go to the lower level. Interact with the handle on the left, then take the "Flight Research Base Key" from the mechanism beside it. While out of combat, interact with the teleporter directly ahead.
Image credit: GamerSky.com
Select the upper pattern for "Barrier Fortress" to teleport directly.
Image credit: GamerSky.com
Retrieving the Barrier Fortress Key
Follow the path inside. The key mechanism is not far in. Climb to the rooftop to trigger the "Thunder War Chariot" boss fight. Defeat it, then return for the key.
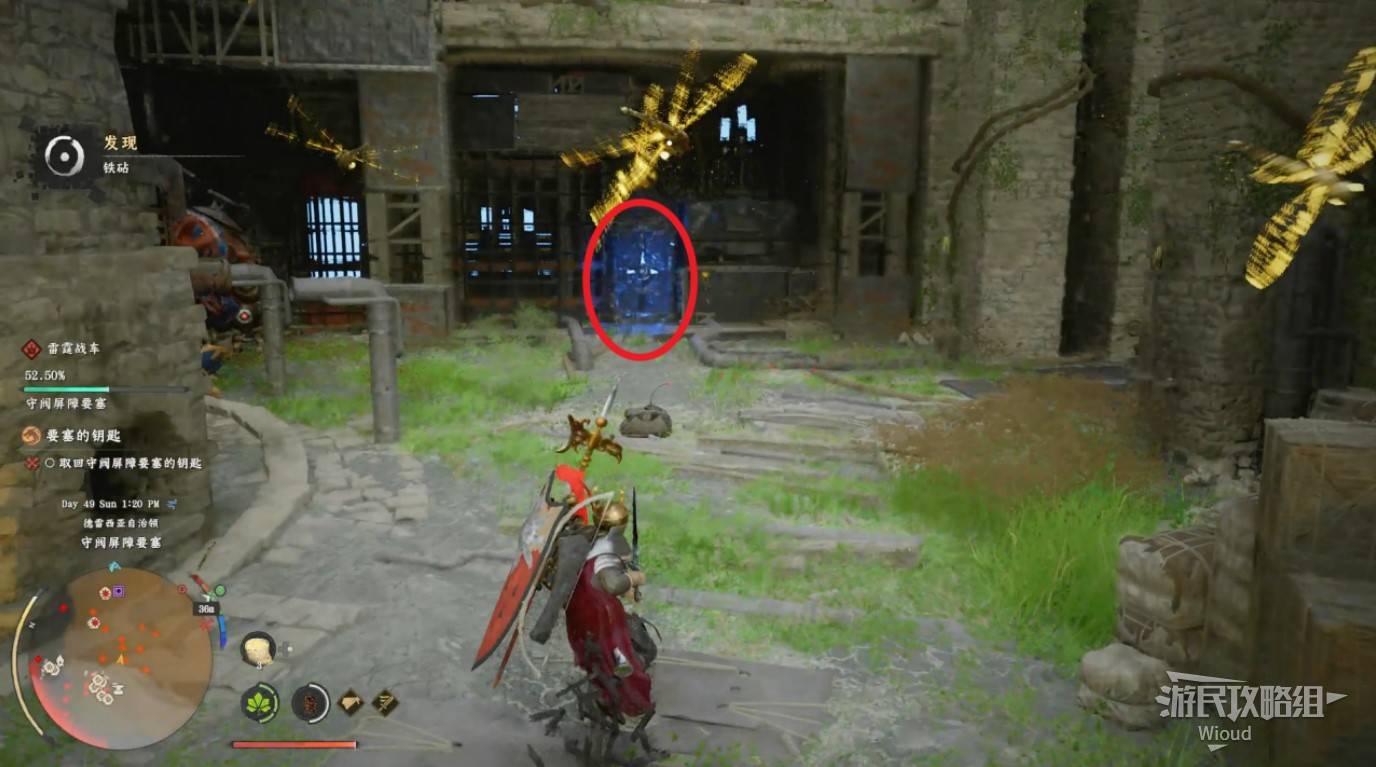
Image credit: GamerSky.com
For the Thunder War Chariot fight, max out "Wind Curtain" first.
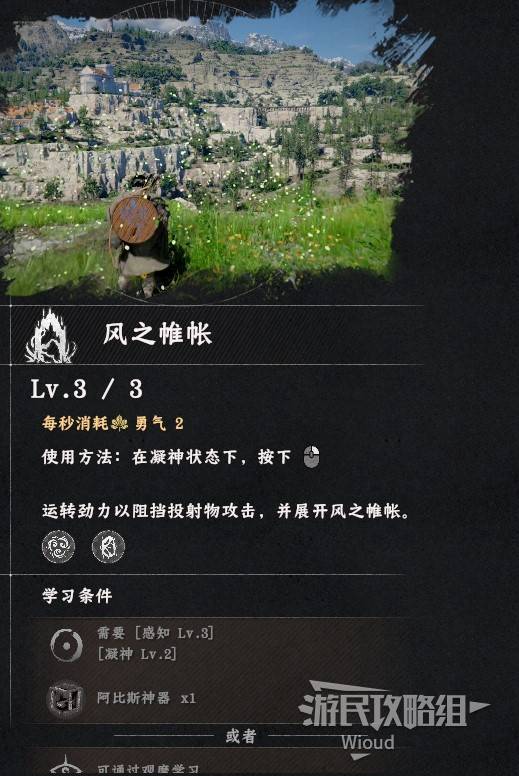
Image credit: GamerSky.com
Stay far from the boss and wait in Focus mode. The moment it fires a ranged attack, immediately use "Wind Curtain" to catch and redirect the projectiles back. Repeat this pattern.
Victory reward: Clockwork Handheld Cannon.
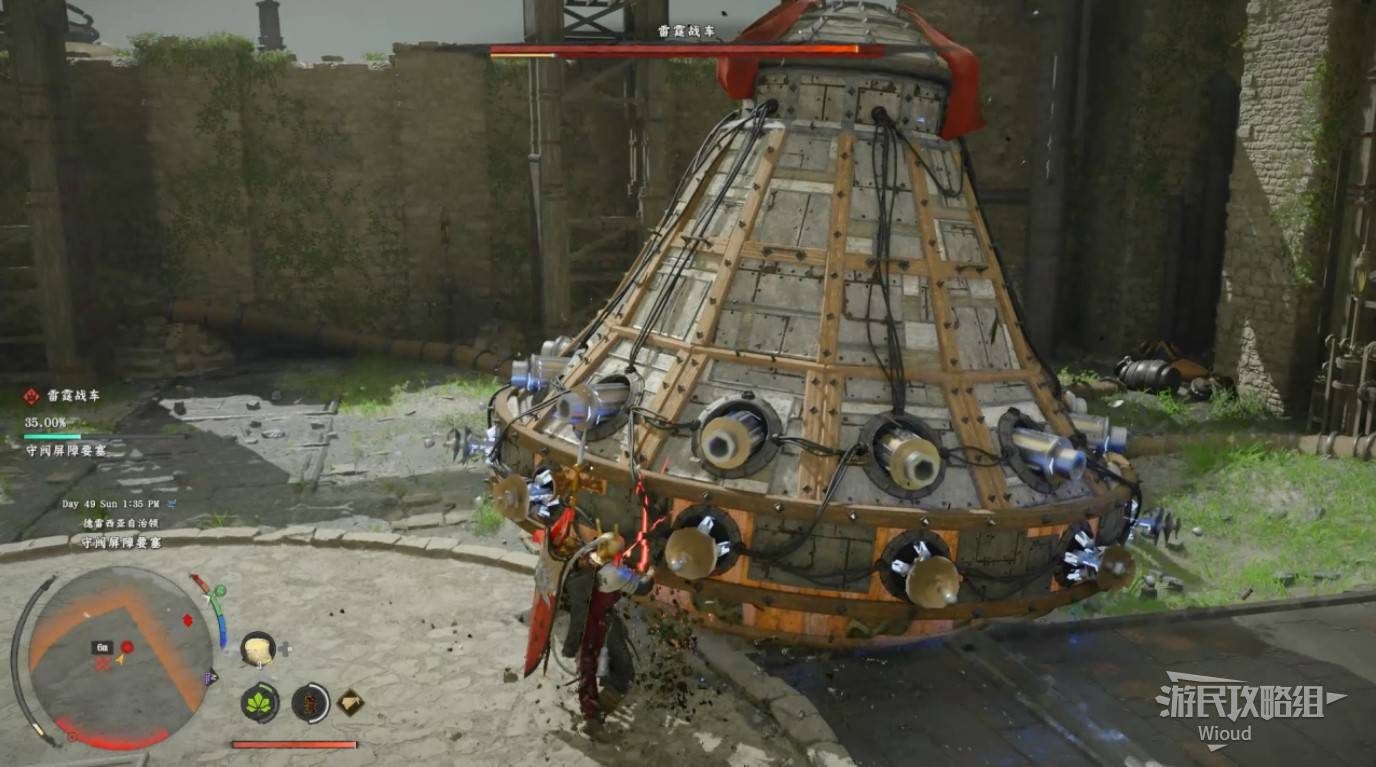
Image credit: GamerSky.com
Retrieving the Maroni Laboratory Key
Follow the waypoint into this area. The key mechanism is in the central cell. Exit through the left side of the cell to trigger the "Dreadnought" boss fight.
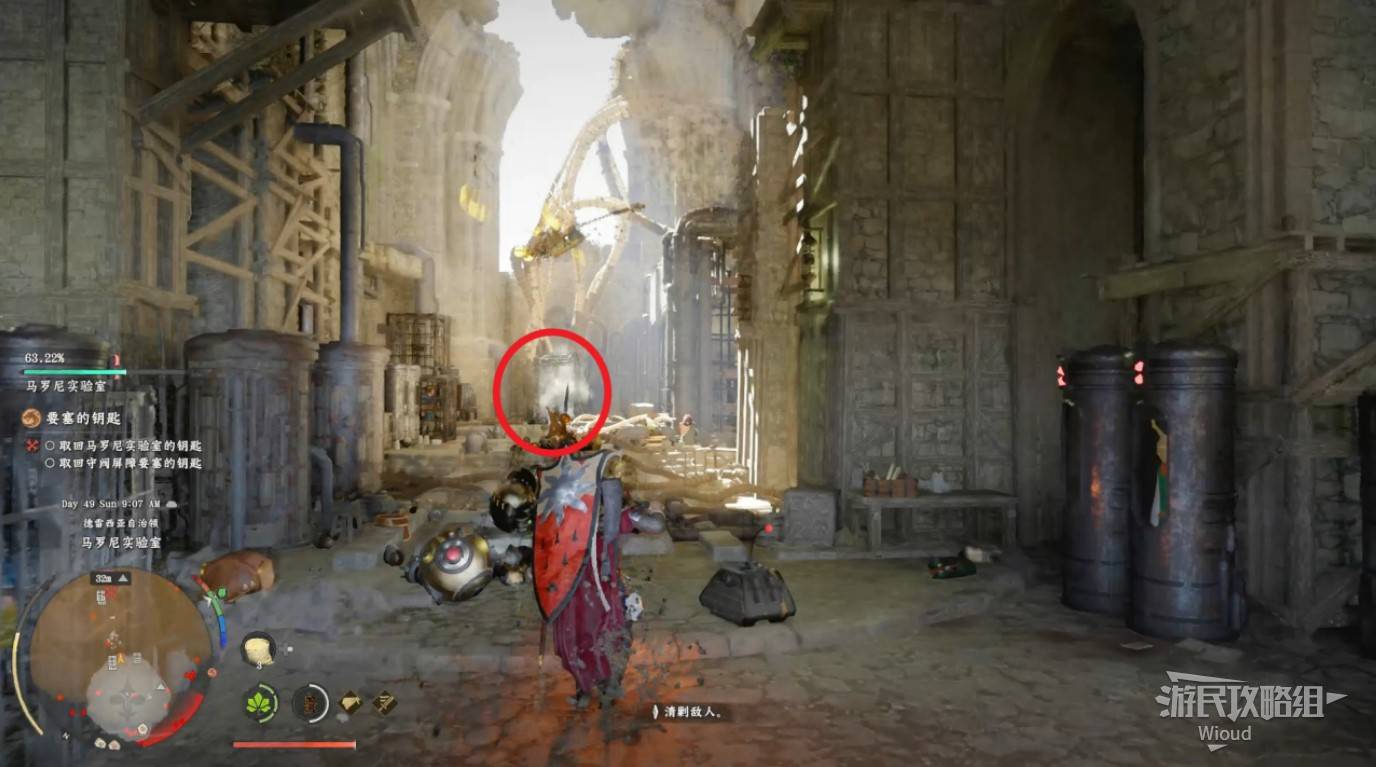
Image credit: GamerSky.com
This boss's deadliest move is the yellow eye laser — extremely high damage. Circle-strafe around it to dodge easily. Its melee attacks are low-threat and easy to avoid. Fight it like any large mech, just with more HP.
Victory rewards: Sound Resonator and Cold Heart Sheet Metal Cloak.
Image credit: GamerSky.com
TRUTH AND LIES
With all three keys, teleport back to the manor. Place the three keys on the teleporter.
In the unfamiliar room, pick up "Thoughts on H.A.L.L." from the table opposite.
Image credit: GamerSky.com
Walk right. Pick up "Golden Star Blueprint" from the table against the right wall.
Image credit: GamerSky.com
Continue right until you see a group of silhouettes. After the dialogue, turn around and press the button behind you. Then exit through the gate.
Image credit: GamerSky.com
Next: Days of Obscured Sky Walkthrough
Days of Obscured Sky Walkthrough
DAYS OF OBSCURED SKY
Collectibles: None
Quest Chain: Master of a Forgotten Land → Flying Fortress Orbian
Rewards: Golden Star Power Core, Mechanical Dragon Parts
MASTER OF A FORGOTTEN LAND
Move to the system waypoint to trigger the "Golden Star" boss fight. This is a mechanics-based kill — pick up javelins at the marked locations and throw them at the dragon. After several hits, the dragon crashes to the ground. Attack freely while it's down.

Image credit: GamerSky.com
Victory rewards: Golden Star Power Core and Mechanical Dragon Parts.
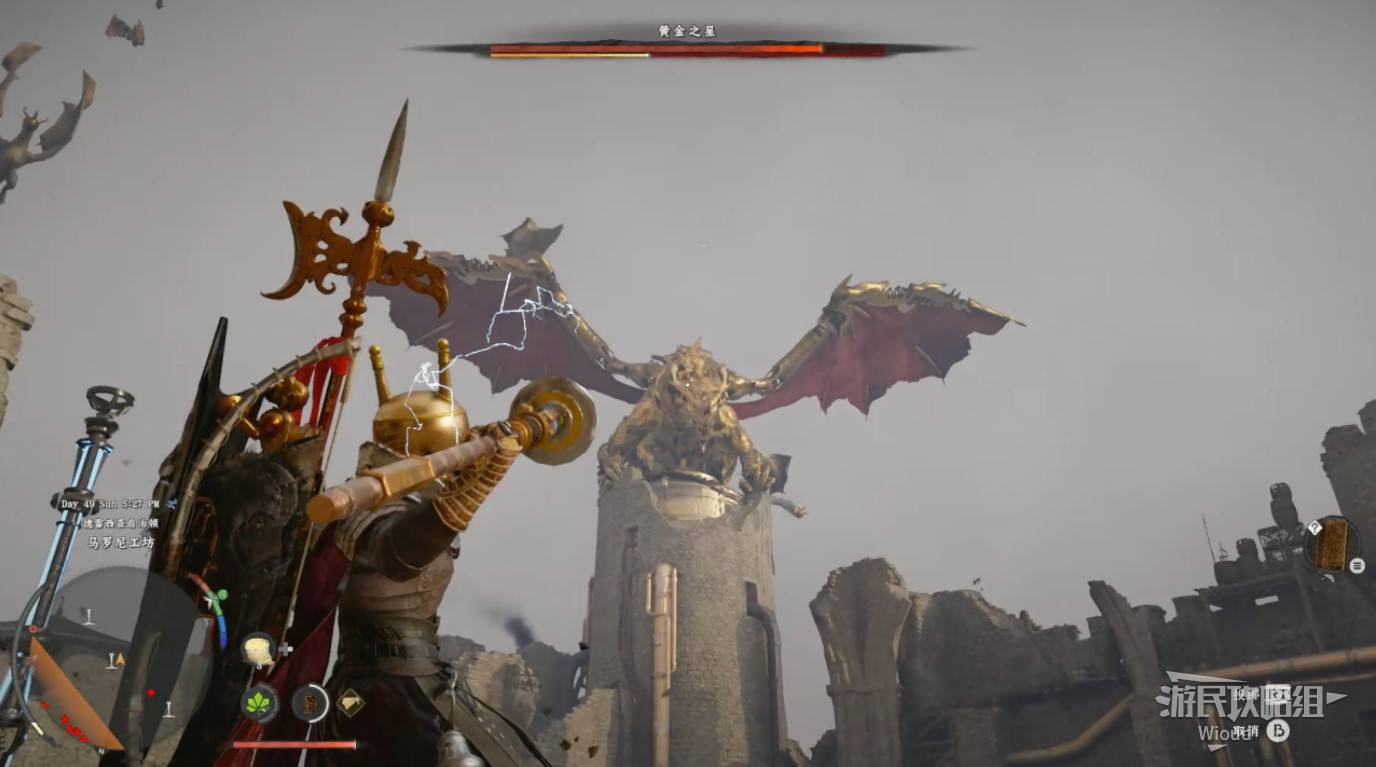
Image credit: GamerSky.com
FLYING FORTRESS ORBIAN
After the cutscene, you can now ride a dragon and fly. Head to the Cloud City location. You need to destroy six components — they're only vulnerable when they glow yellow. Destroy all six to enter the city.
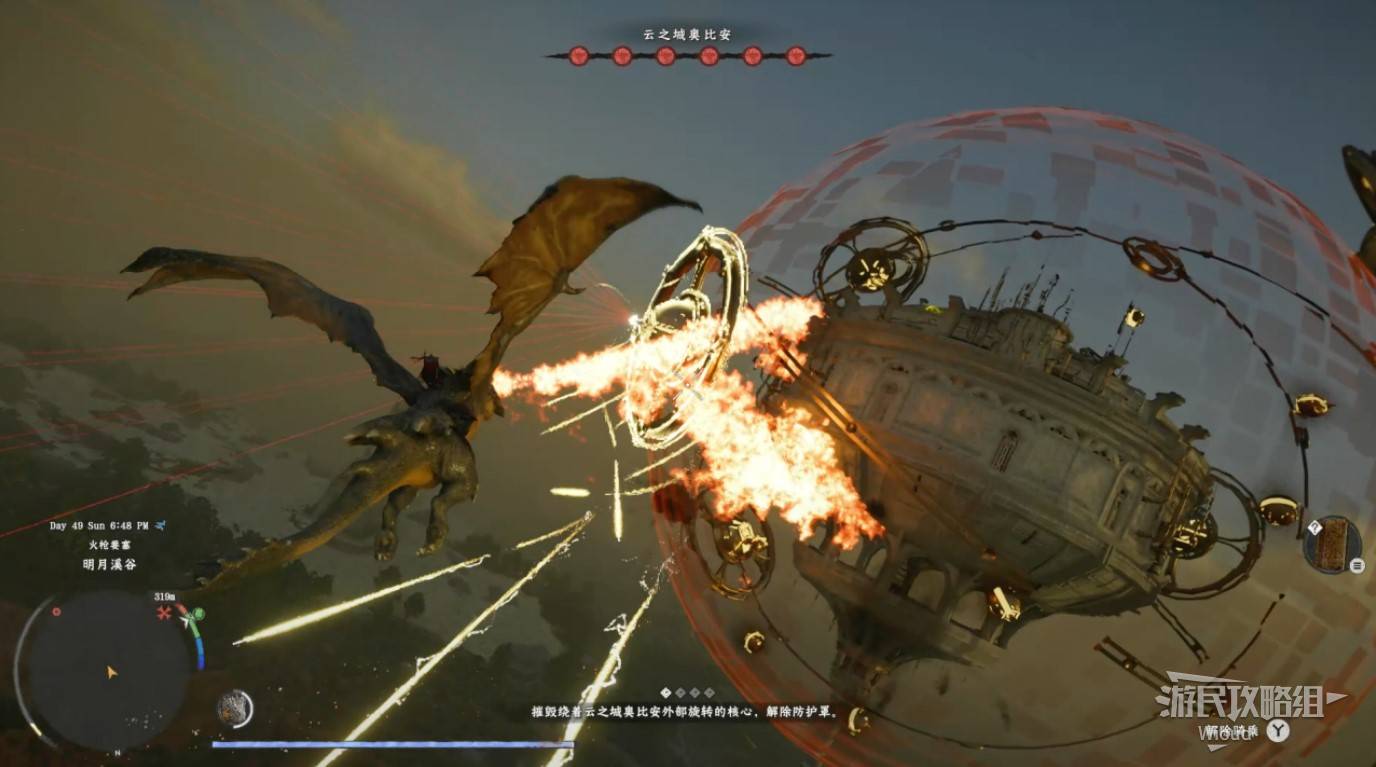
Image credit: GamerSky.com
Use "Dash" to drive your sword into the central post and push to the other side. Then jump up from the semi-enclosed areas on both sides.
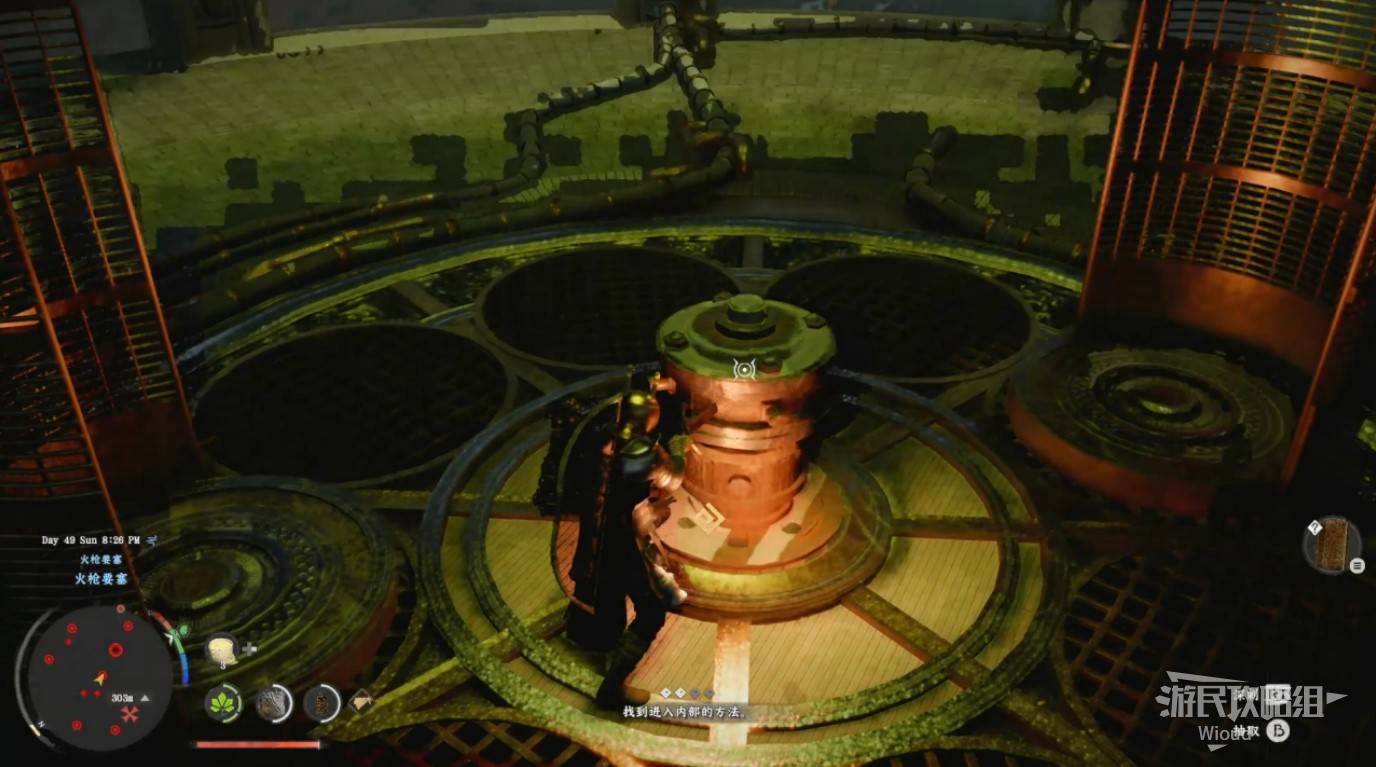
Image credit: GamerSky.com
Clear a wave of enemies. Use "Dash" again to drive your sword into the central "Green Orb," then press "Deep Thrust" to destroy it. Walk to the outside of the city from the side, climb the outer walls to the top, and circle around to destroy all green orbs on the roof.
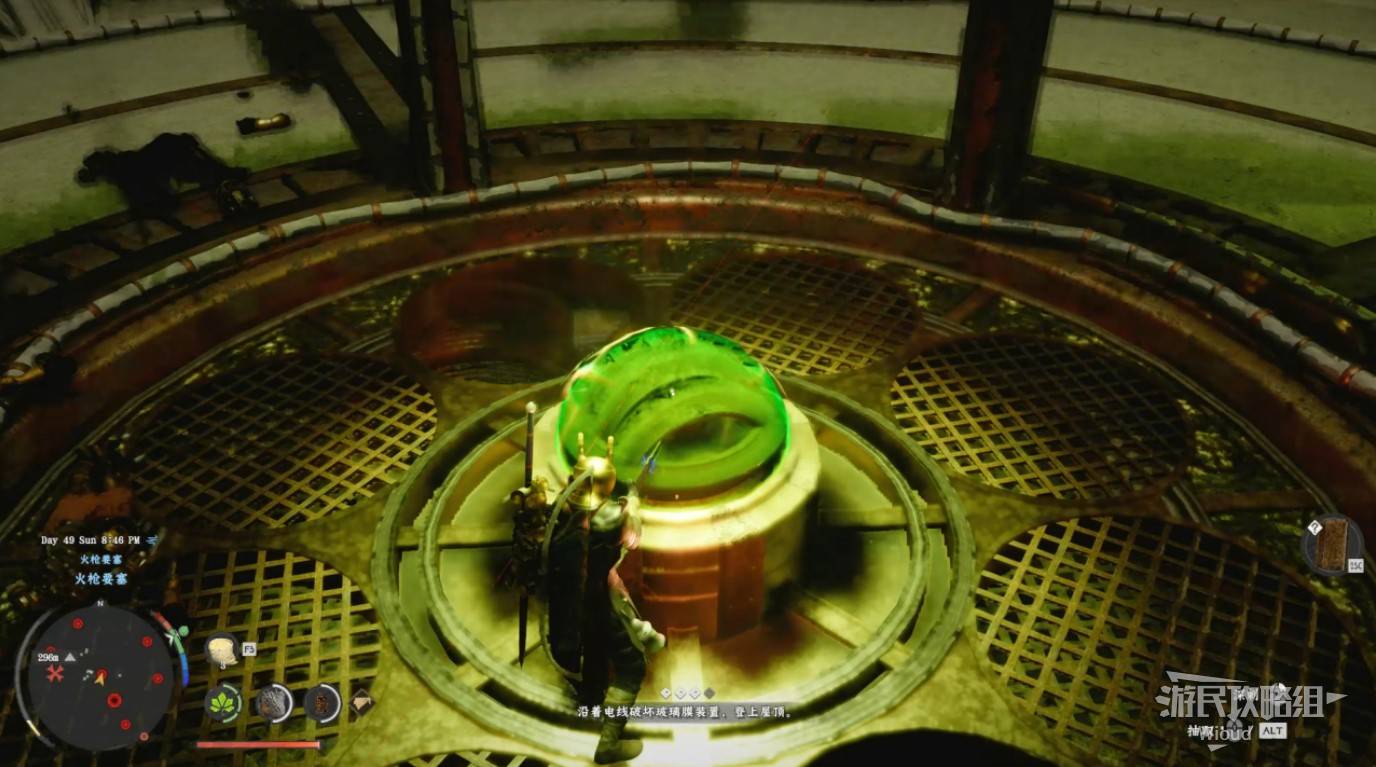
Image credit: GamerSky.com
Enter through the slowly opening gate from the cutscene. Head left inside.
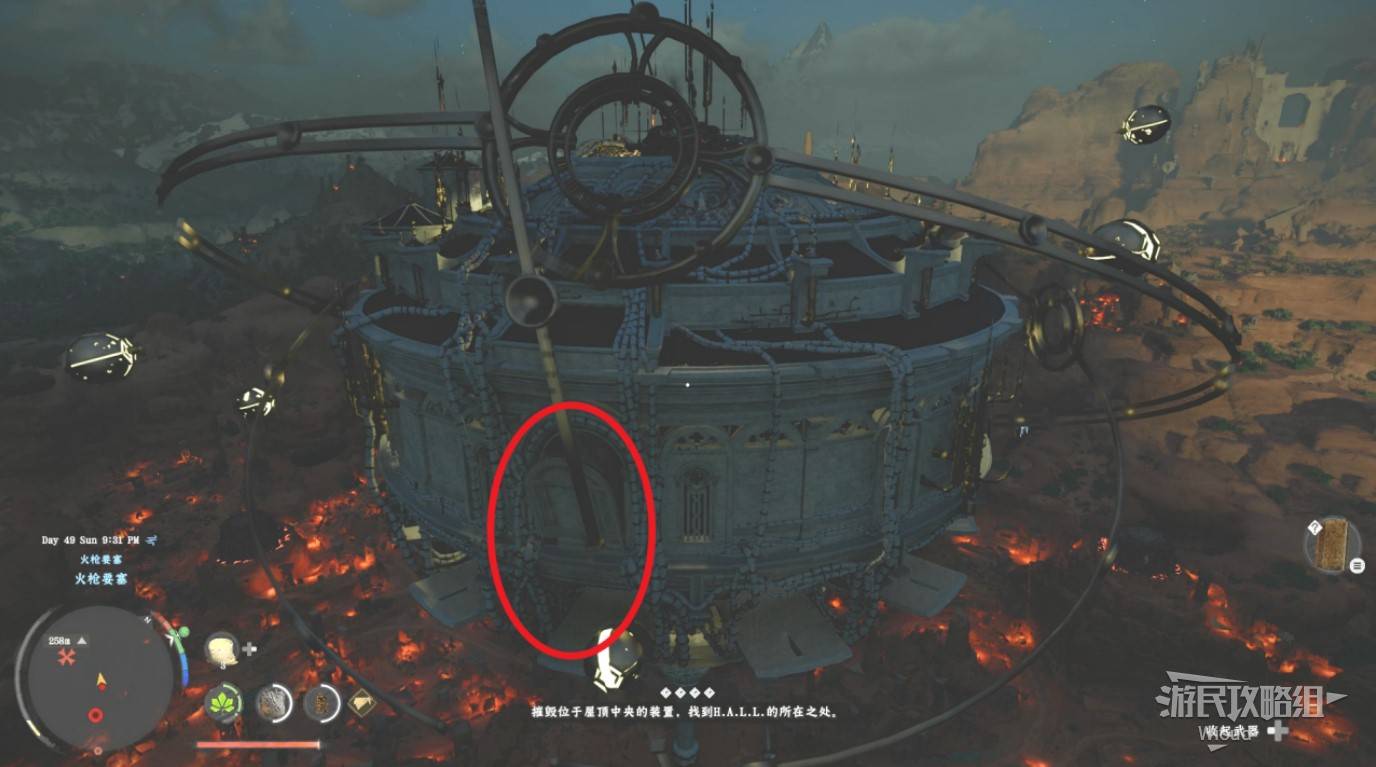
Image credit: GamerSky.com
Continue until an archway appears on the right wall. Grab onto the archway and select "Hold," then use Vigor to flip to the other side, triggering the boss fight.
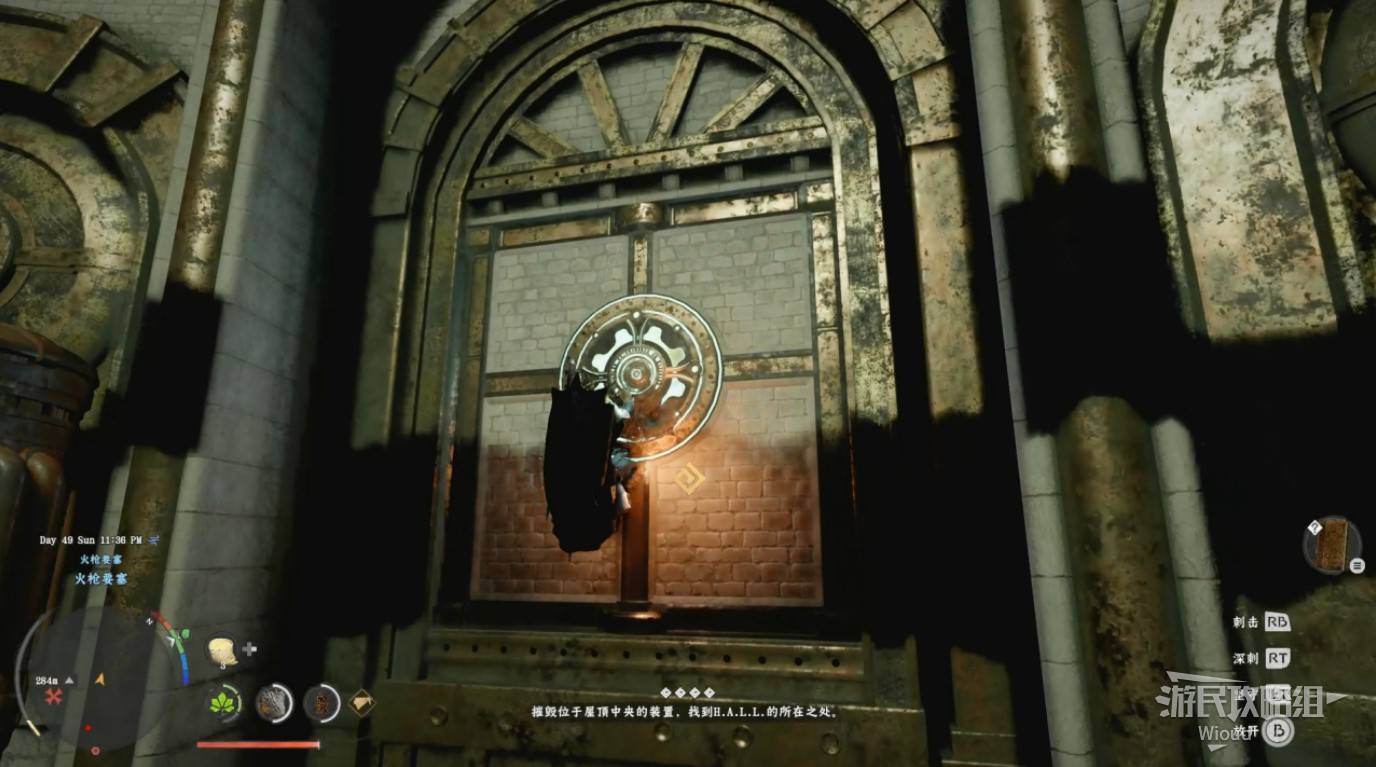
Image credit: GamerSky.com
BOSS FIGHT: FLYING FORTRESS ORBIAN
Max out "Wind Curtain" for this fight. When the enemy is stationary, stay in Focus mode to regenerate Courage. The moment it prepares to attack, immediately activate Wind Curtain to gather all its lasers and redirect them back. Orbian only uses laser attacks, so this strategy — while slower — is completely safe and reliable.

Image credit: GamerSky.com

Image credit: GamerSky.com
Next: Chapter 12 — The Abyss
Chapter 12: The Abyss (Overview)
The final chapter. Descend into the heart of the Abyss to face the ultimate evil. Puzzle complexity and combat difficulty reach their peak. The cube laser puzzle is one of the most intricate in the game, and the final boss sequence features multiple phases.
Quest Groups:
- - The Final Battle
- - The Void
Key Rewards:
- - Endgame equipment
- - Final story completion
The Final Battle Walkthrough
THE FINAL BATTLE
Collectibles: None
Quest Chain: Precise Execution → Deferred Advance → Departure of the Brave → Forbidden Gate
PRECISE EXECUTION
Follow the markers to the Musket Fortress outpost. Approach the NPCs in conversation to trigger a cutscene.
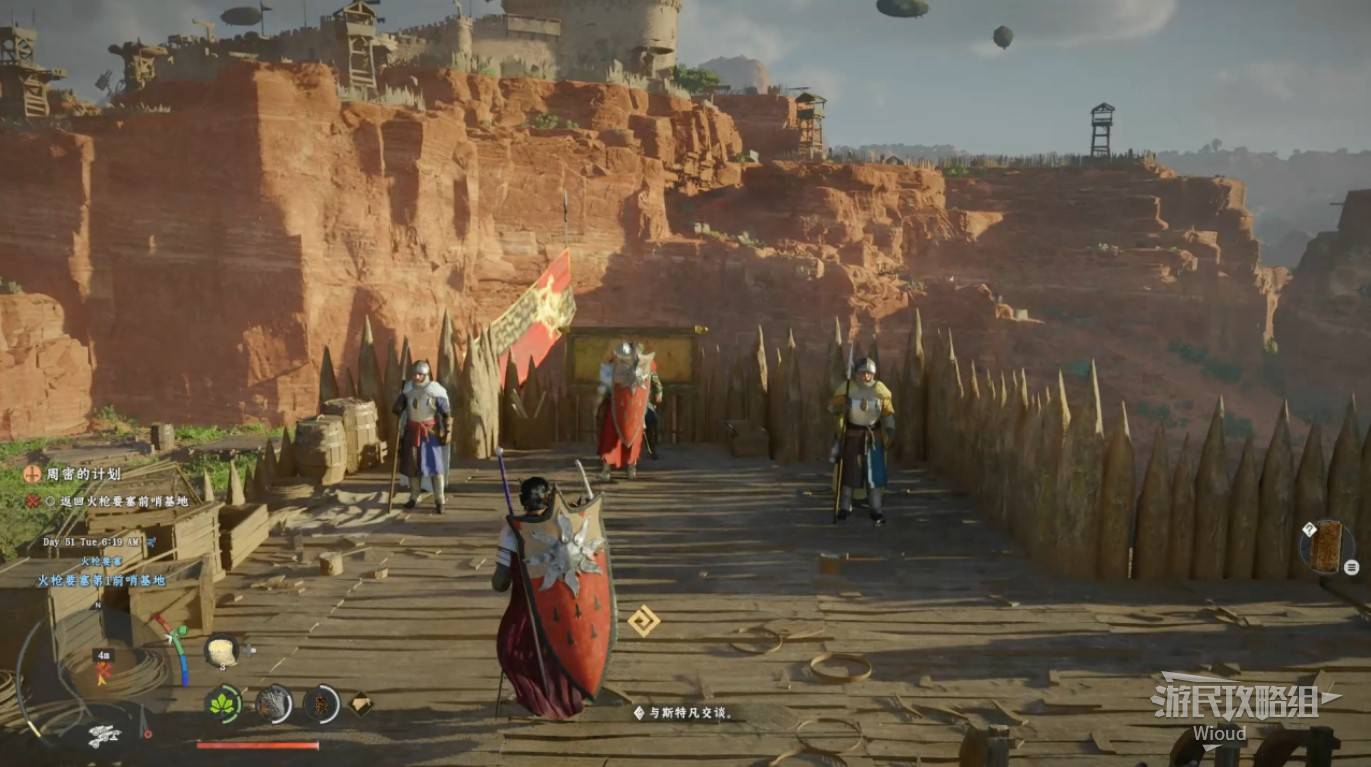
Image credit: GamerSky.com
DEFERRED ADVANCE
Open the character/mount quick menu and select "Dark Star" in the lower-left to mount the dragon and take flight.
Fly into the marked circle to spot three prominent gun turrets. Use "Fireball" to destroy them in order: center, right, then left. The center turret has the least HP but its attacks are hardest to dodge. The right turret has long range — deal with it second. The left turret is easy as long as you keep your distance.
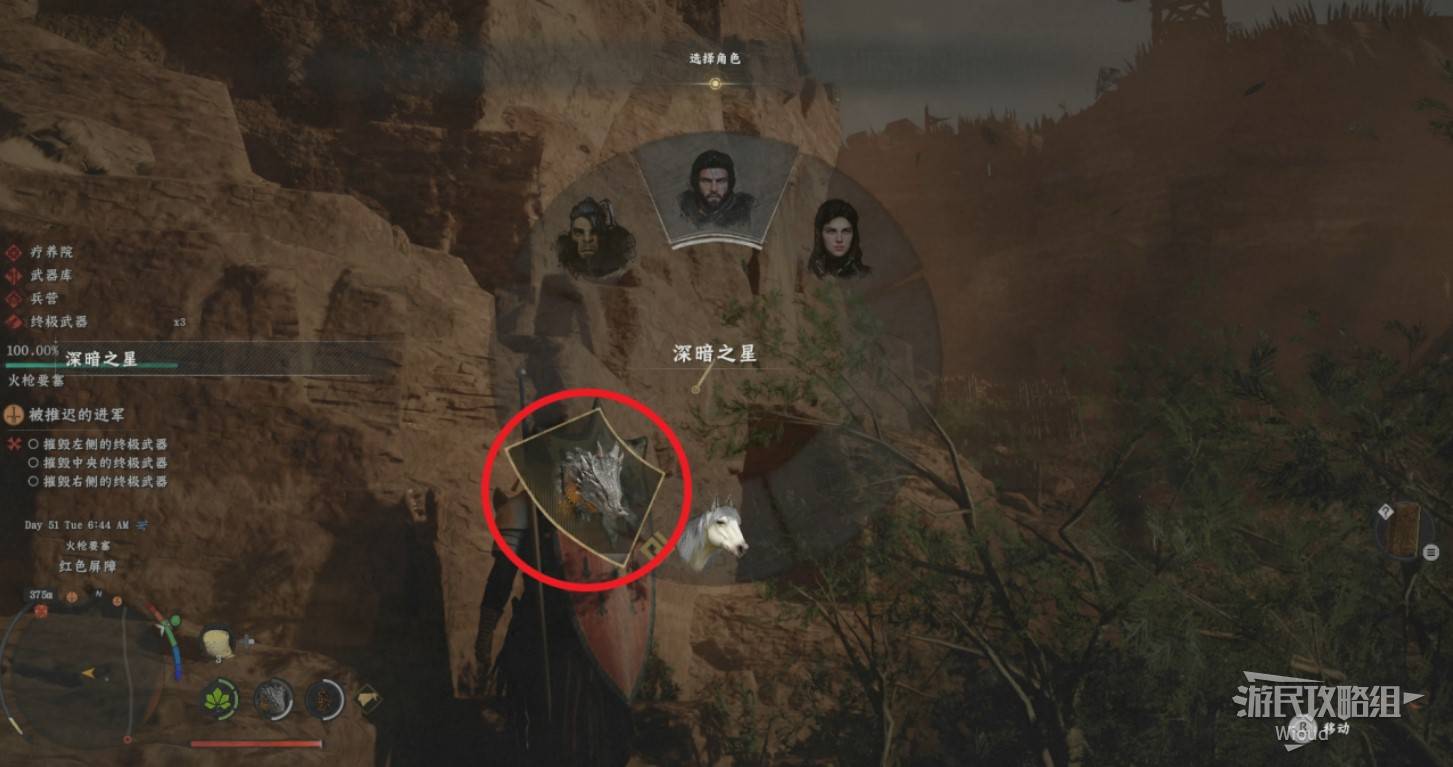
Image credit: GamerSky.com
DEPARTURE OF THE BRAVE
A cutscene teleports you to the rally point. Watch the "soul-stirring" departure ceremony.
Charge into the Musket Fortress with the army. You only need to defeat the enemies at the front gate — the system automatically teleports you to the castle entrance.
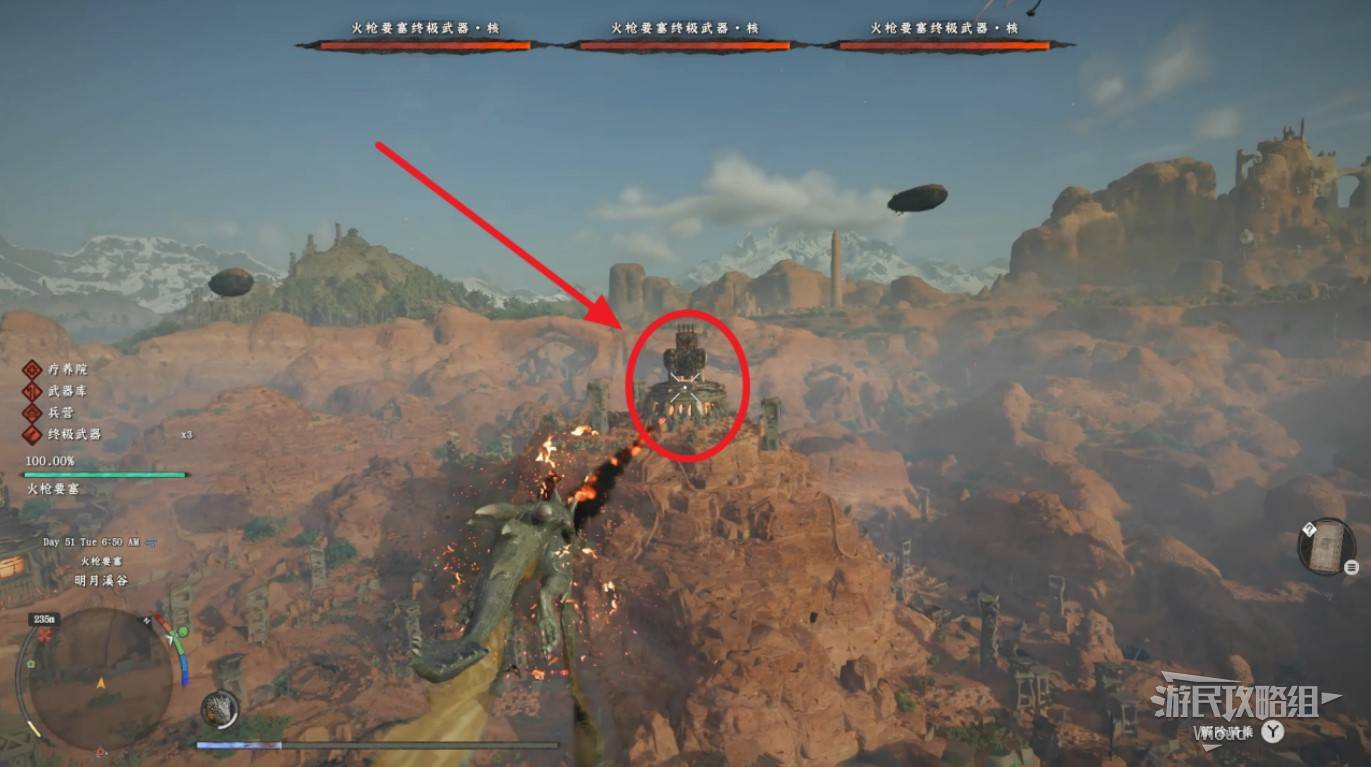
Image credit: GamerSky.com
Image credit: GamerSky.com
FORBIDDEN GATE
Run straight through the Musket Fortress. Ignore the enemies fighting on the sides — the progress bar on the left has no effect on the main quest.
At the building at the end, climb the stairs to find Caliban. Watch the cutscene to unlock "Ultimate Abyss."
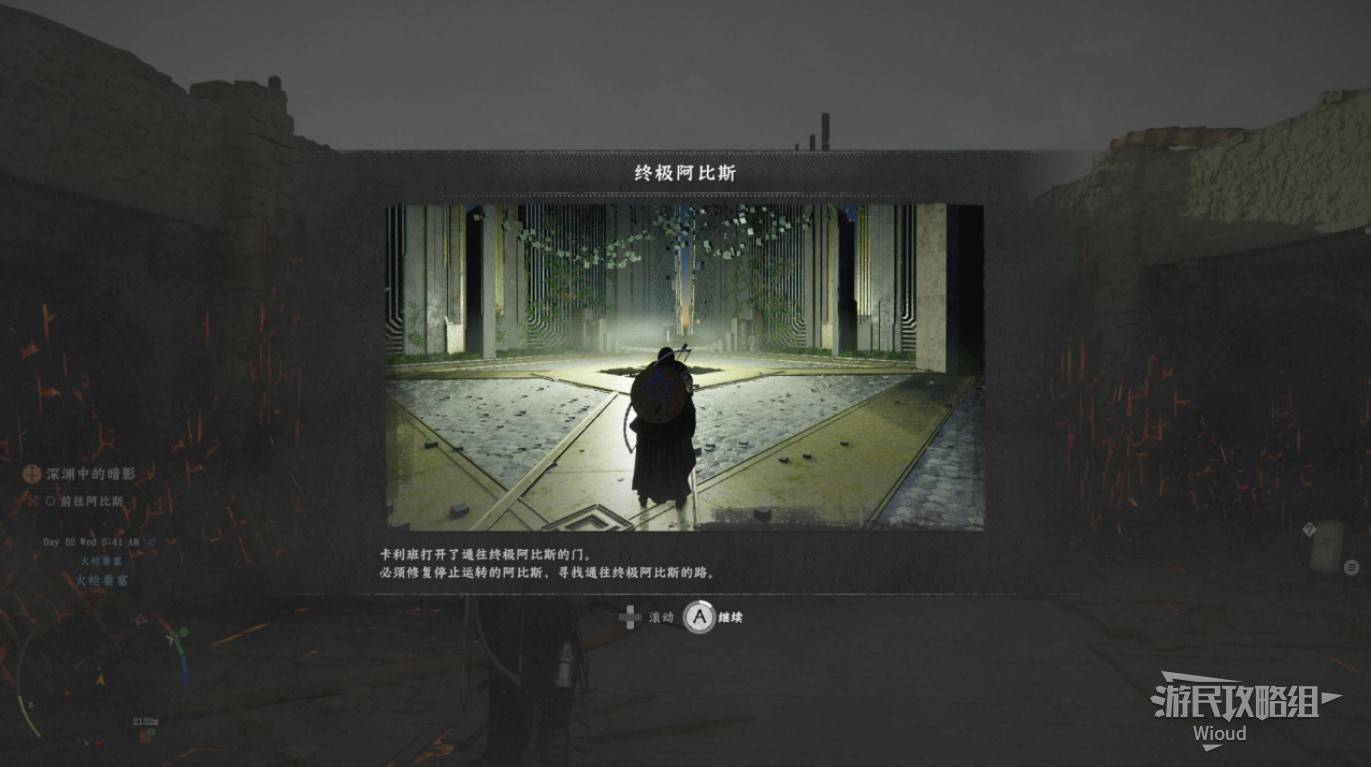
Image credit: GamerSky.com
Next: The Void Walkthrough
The Void Walkthrough
THE VOID
Collectibles: None
Quest Chain: A Shadow in the Void → Blinding Darkness
Rewards: False Judgment, Doomsday Axe
A SHADOW IN THE VOID
Open the map and switch to the "Abyss" page. Teleport to "Crow's Nest."
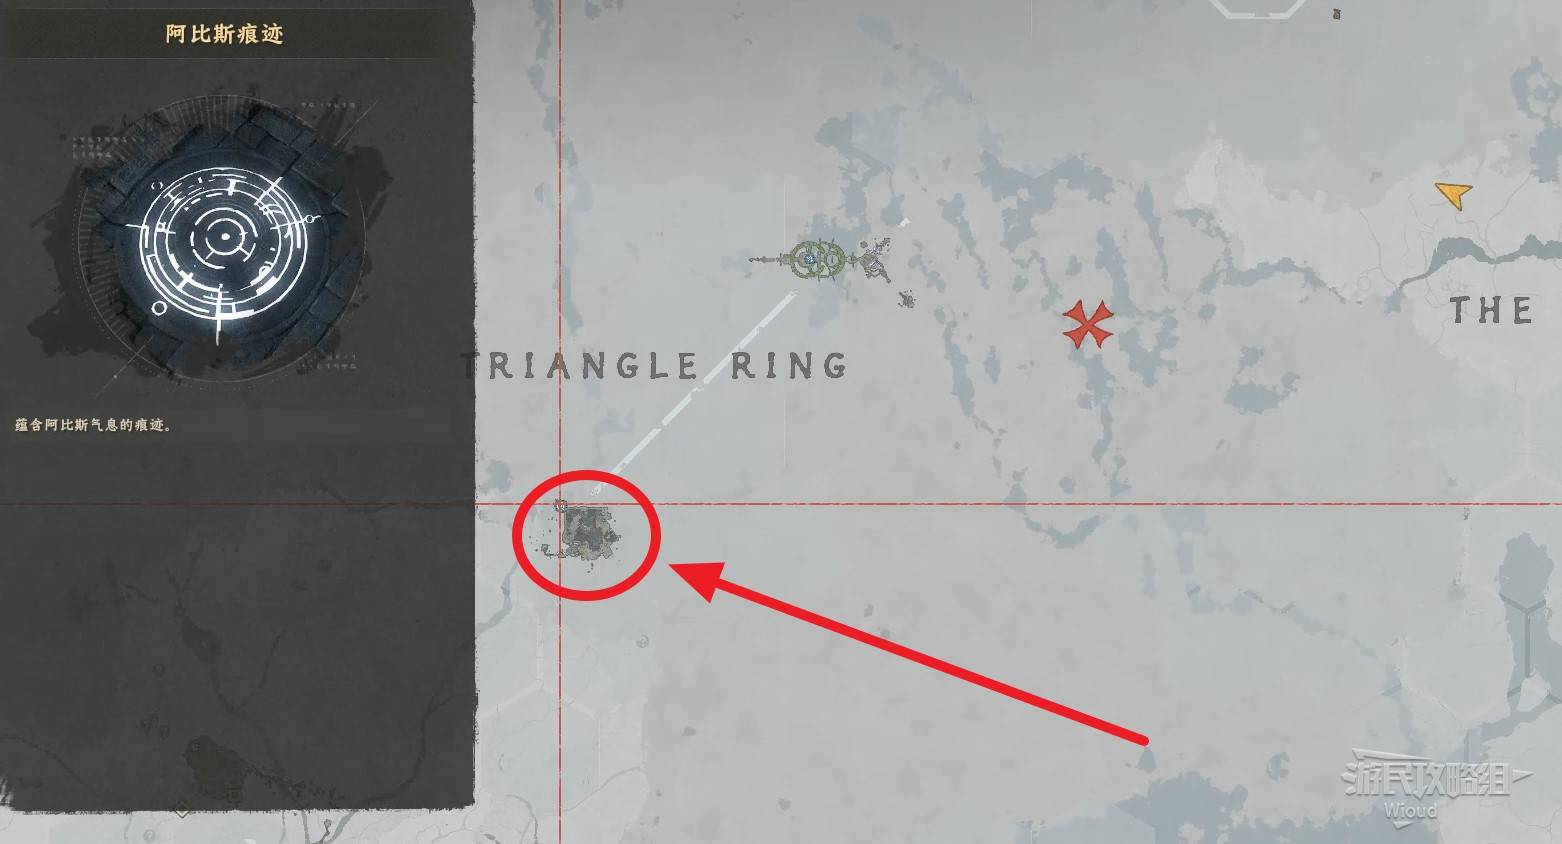
Image credit: GamerSky.com
Pass through the archway to the front-right. Activate the pillar and follow the path to the teleporter at the end. Teleport to "Boulder Crown."
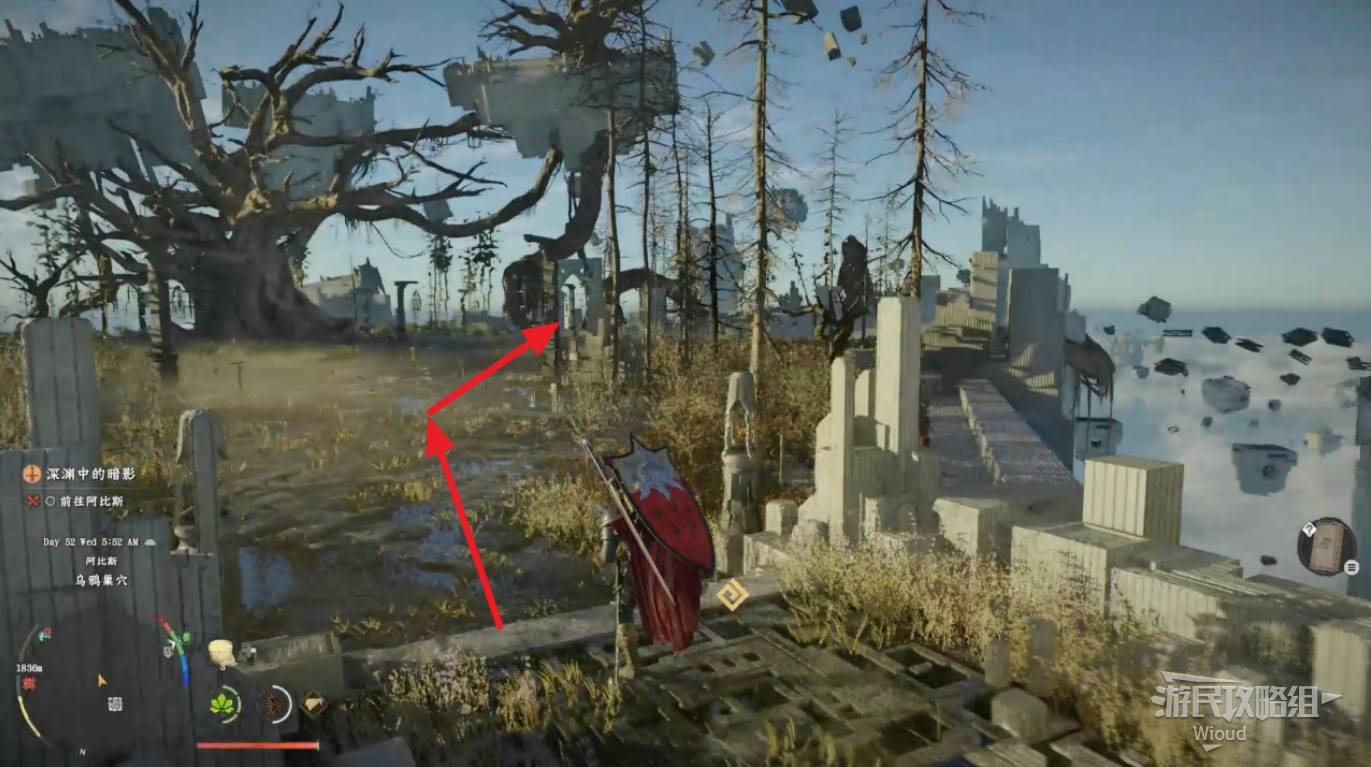
Image credit: GamerSky.com
Follow the path to the large ruins. Activate the Abyss Vestige at the ruins entrance.
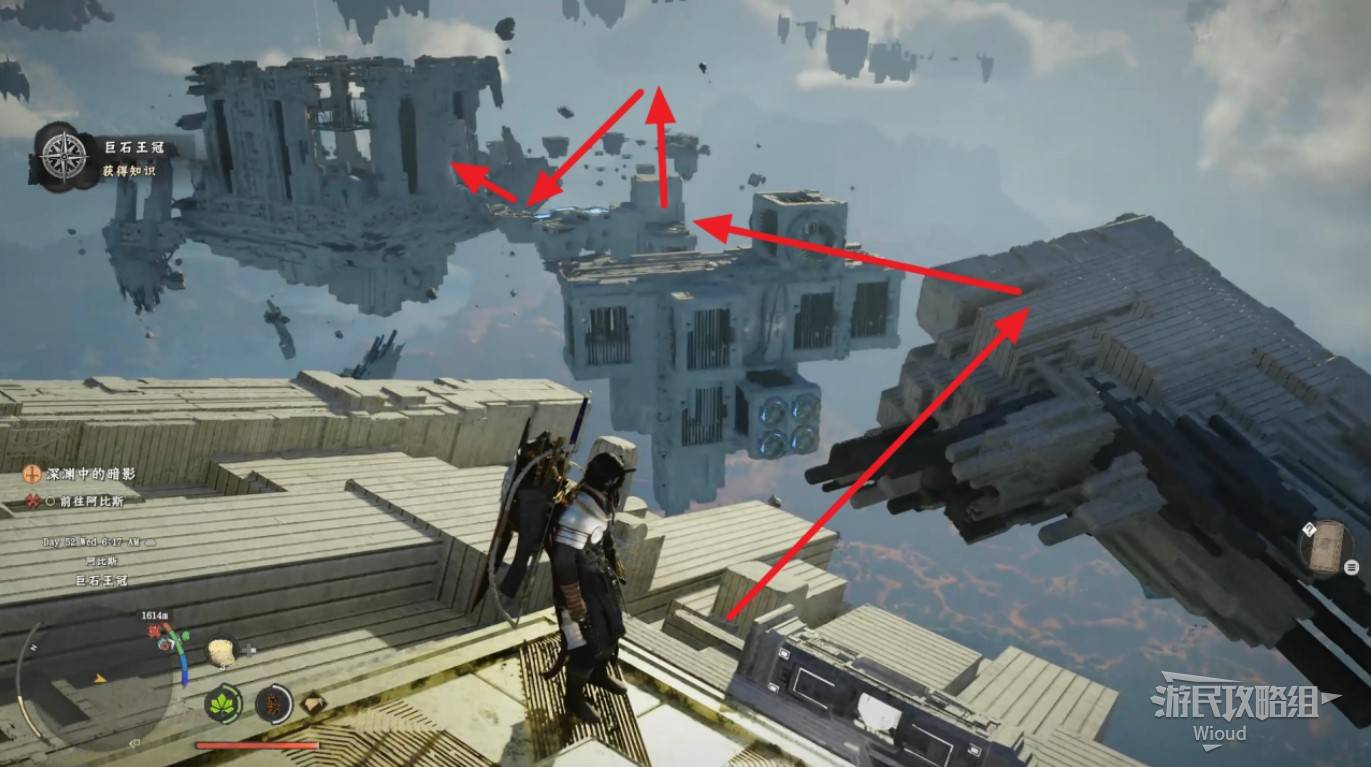
Image credit: GamerSky.com
CUBE LASER PUZZLE
Inside the ruins, move to the upper-left corner.
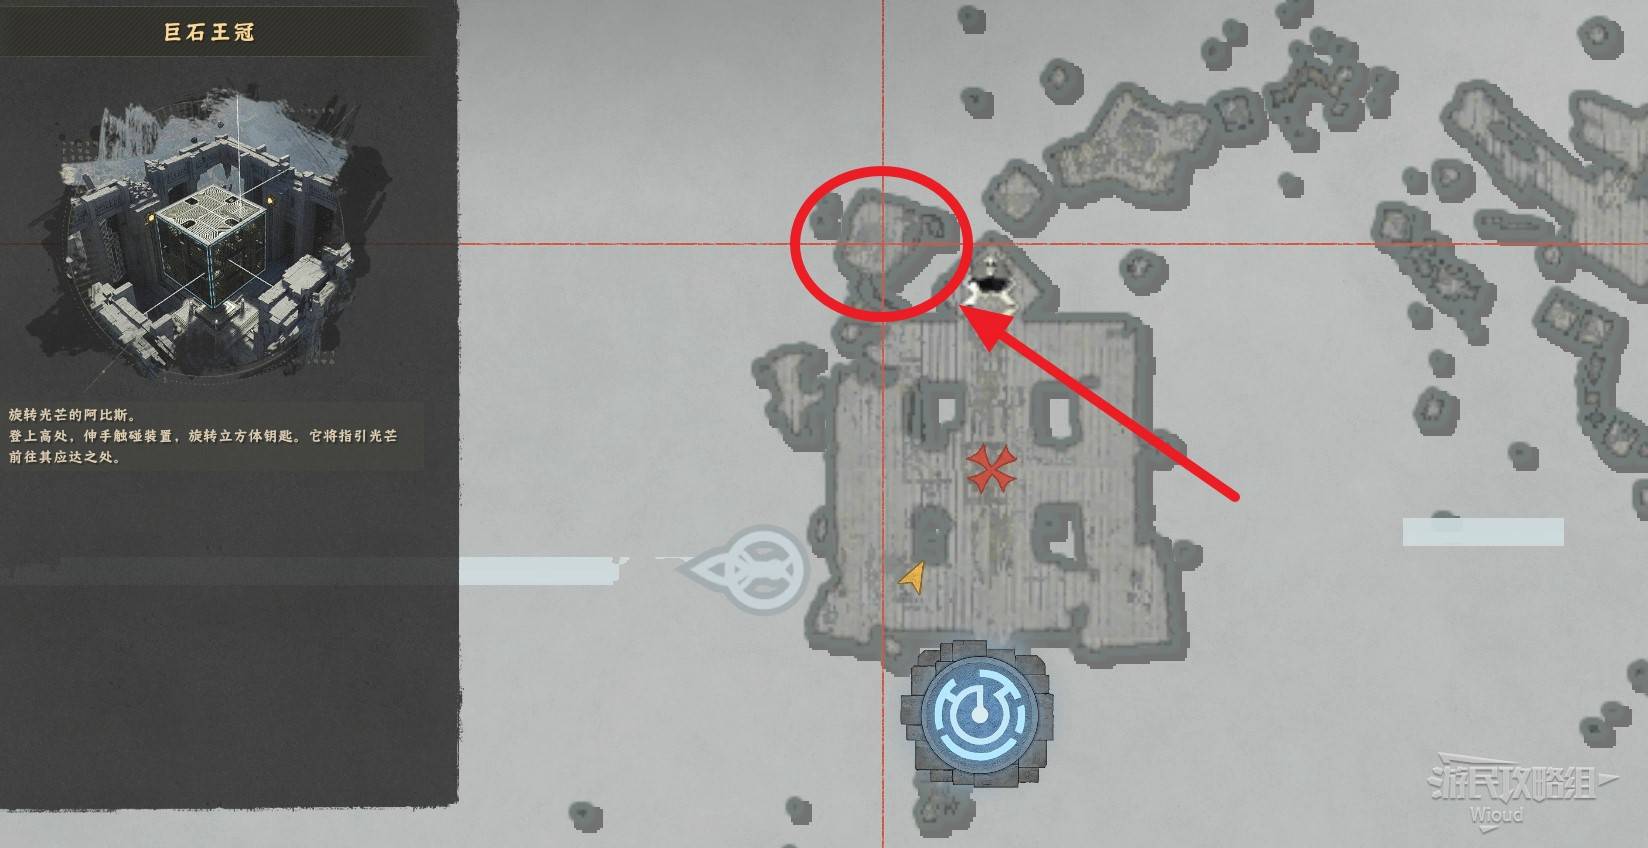
Image credit: GamerSky.com
Look up and use Axiom Power to grab the mechanism, controlling the cube in the center of the ruins.
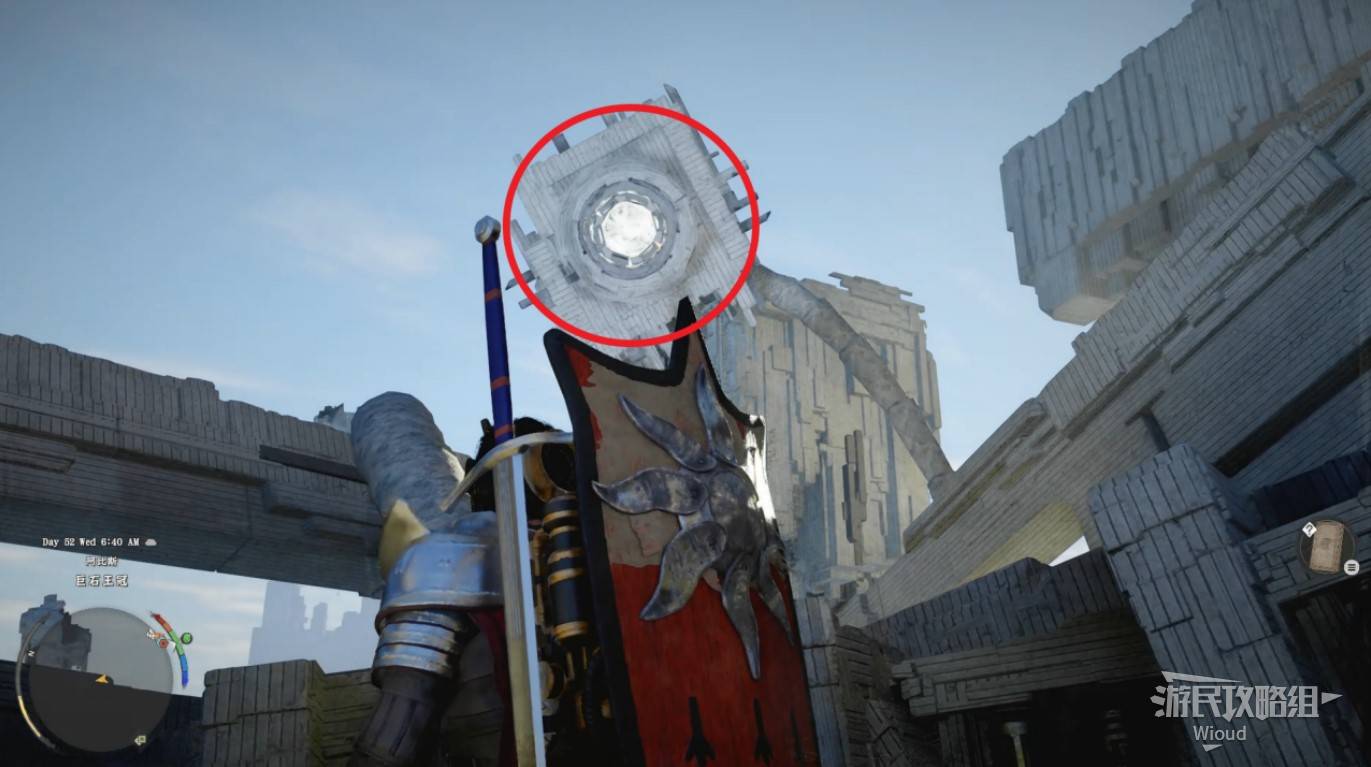
Image credit: GamerSky.com
The cube can be rotated freely on any face. Find the only face with two lasers, then orient your view toward the wall with two reflective mirrors. Slide the cube left and right so one laser is in the center and the other is in the upper-right corner. Then move down to align both lasers with the two mirrors on the wall.
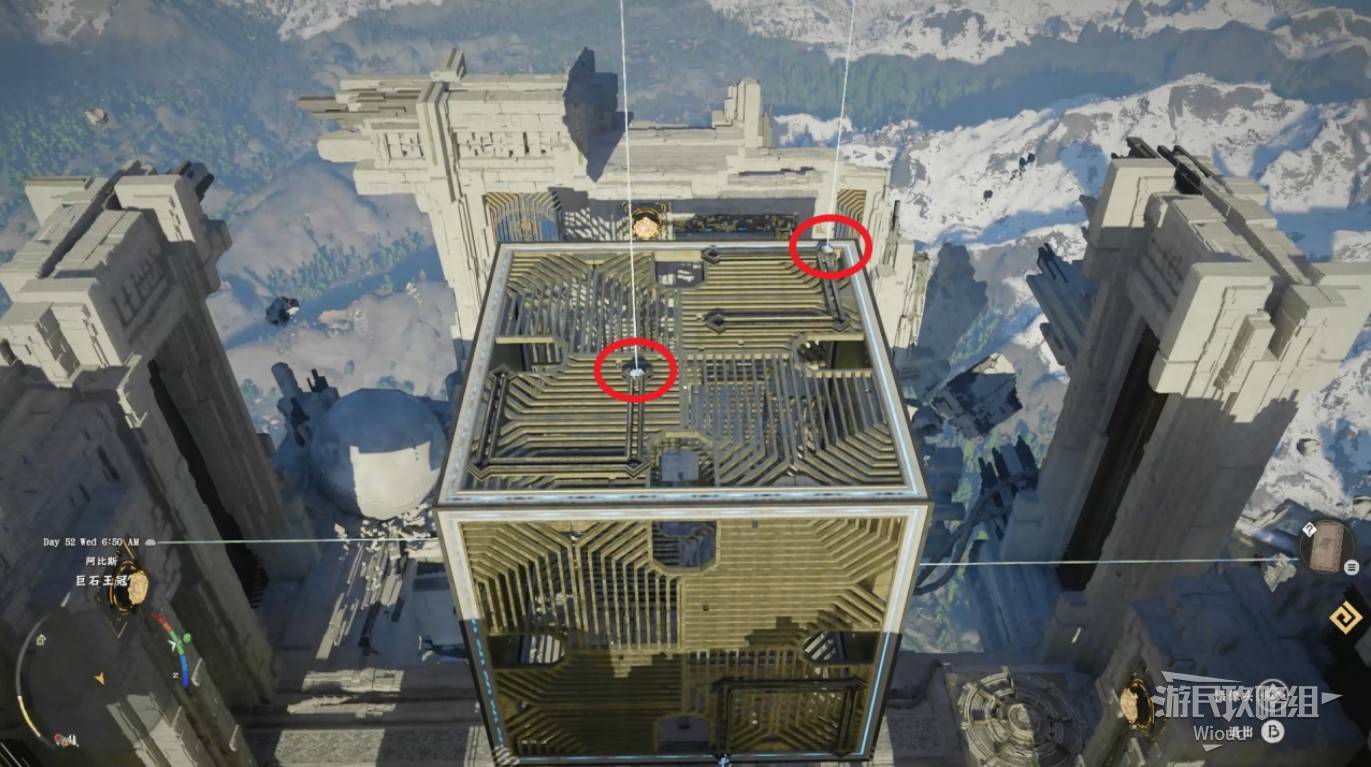
Image credit: GamerSky.com
Return to the center. Stand on the disc ahead, jump up, and use Vigor downward to activate the disc. Follow the path to collect an Abyss Artifact. Pass through the triangle door behind and continue to the teleporter at the end. Return to "Crescent Skyway."
Image credit: GamerSky.com
At the fork with two triangle doors, go left. Interact with the door at the end of the path to enter "Dimensional Skeleton."
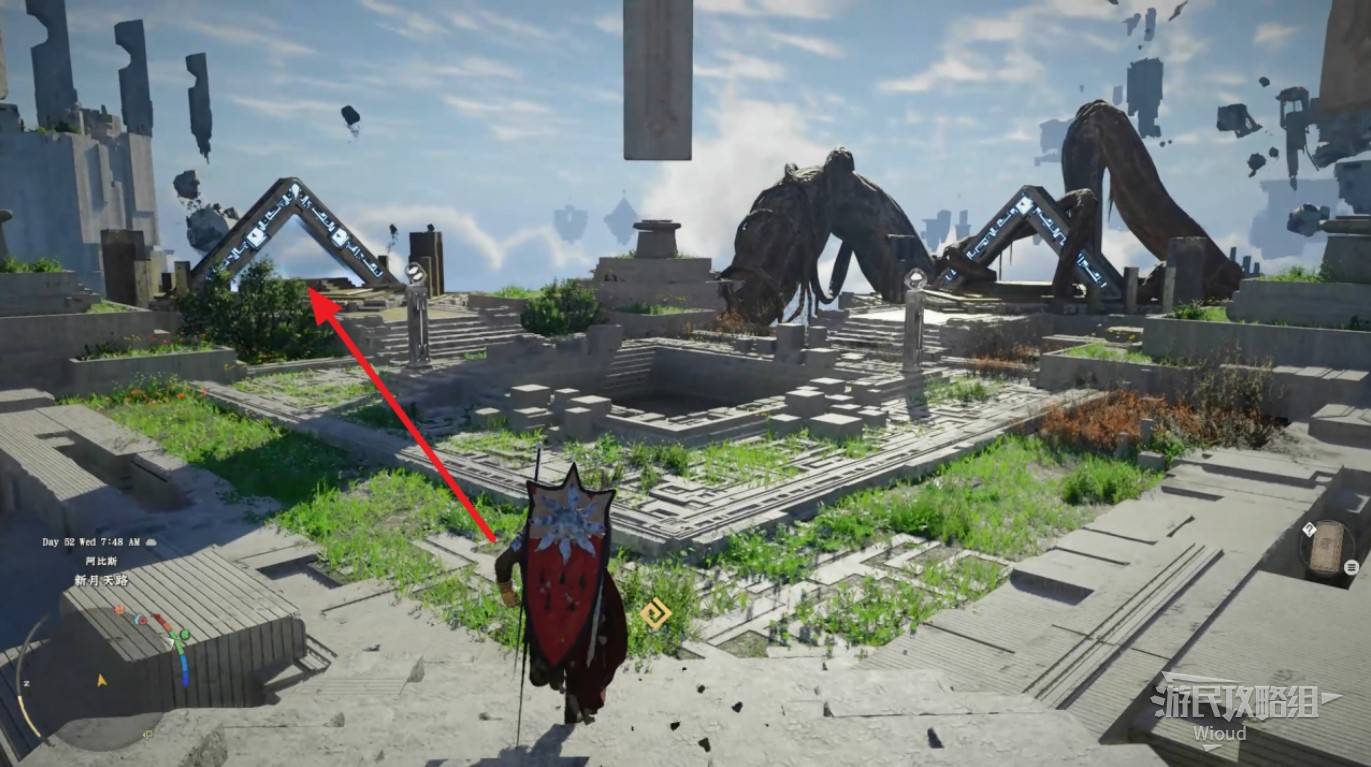
Image credit: GamerSky.com
Follow the path forward to an enormous disc facility. Activate it with Vigor, then take the teleporter opposite to go up. Open the large gate ahead.
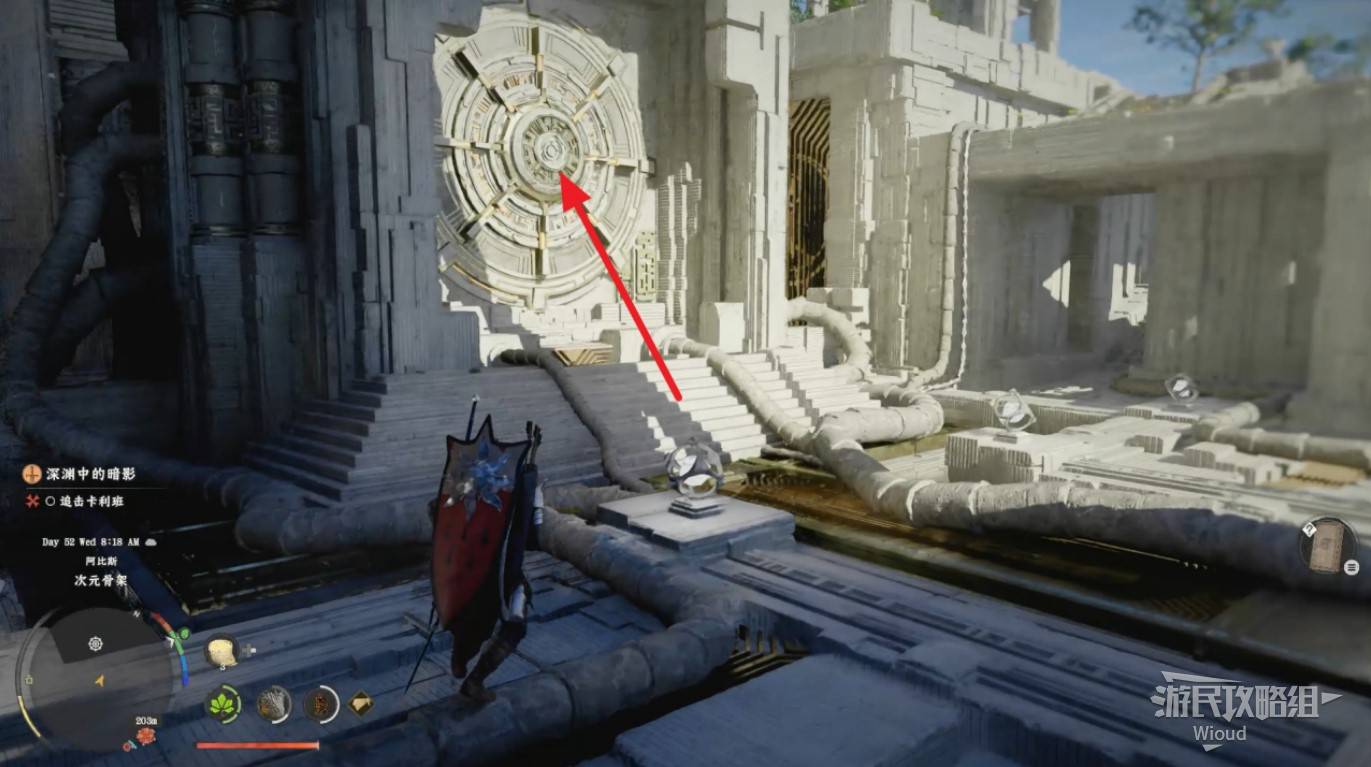
Image credit: GamerSky.com
BOSS FIGHT: DEVOURED CALIBAN
Devoured Caliban has 3 health bars. He frequently summons shadow clones that attack with slashes and thrusts. Most of the fight involves dodging these shadow attacks. When the clones stop attacking, focus all damage on the main body.
He also swings his own sword, occasionally hovers to fire arrows, and sometimes disappears to drop explosives on the ground — though these are easy to dodge. Whenever the boss stands still, dodge behind him, land a heavy attack combo, follow with light attacks, dodge the next shadow wave, and repeat.
In phases two and three, his attack patterns stay the same but shadow summons become more frequent, giving you less time to attack. As long as you keep dodging and wait for him to stand still, you can tank his melee damage while attacking and healing simultaneously. His highest-damage move is a jumping slash that can take most of your HP, but with good equipment and leveled Health, this fight isn't too difficult. Bring 100+ grilled meat as usual.
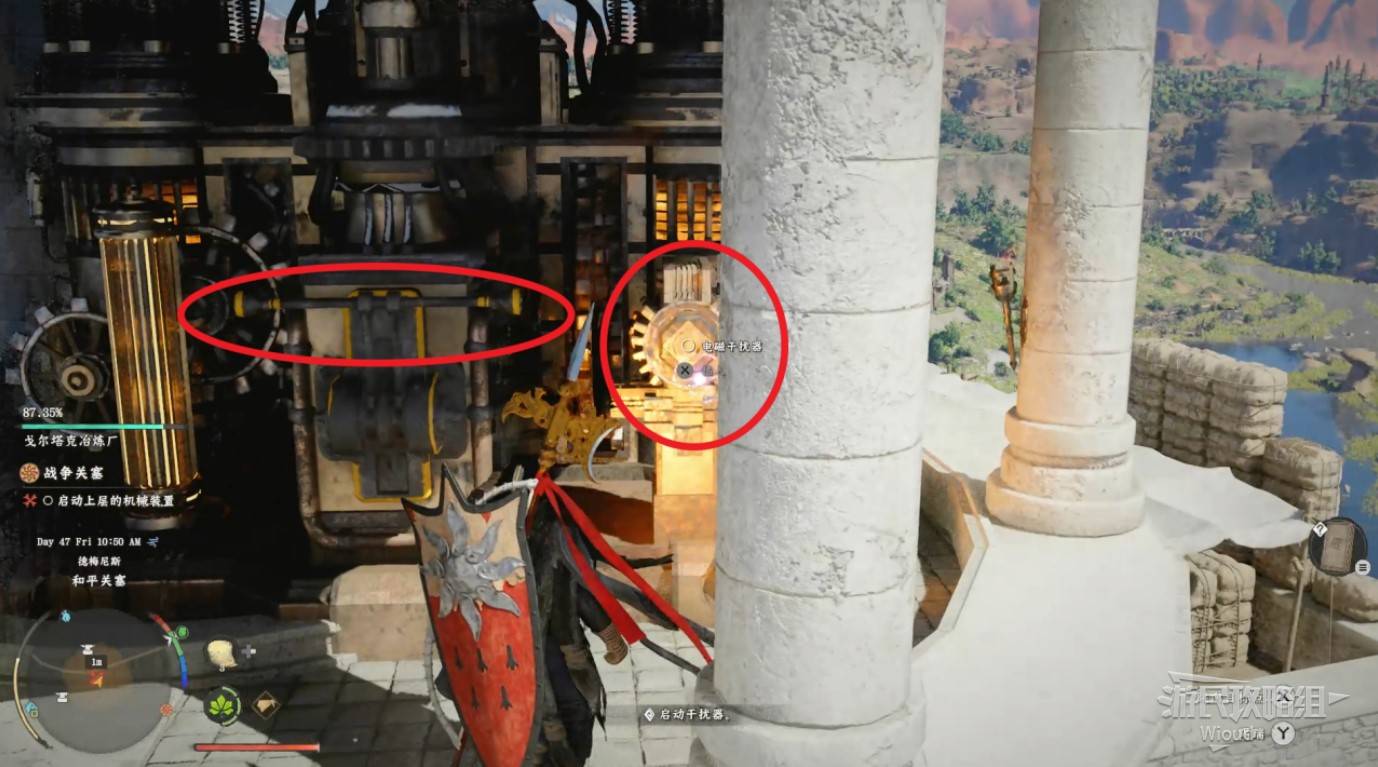
Image credit: GamerSky.com
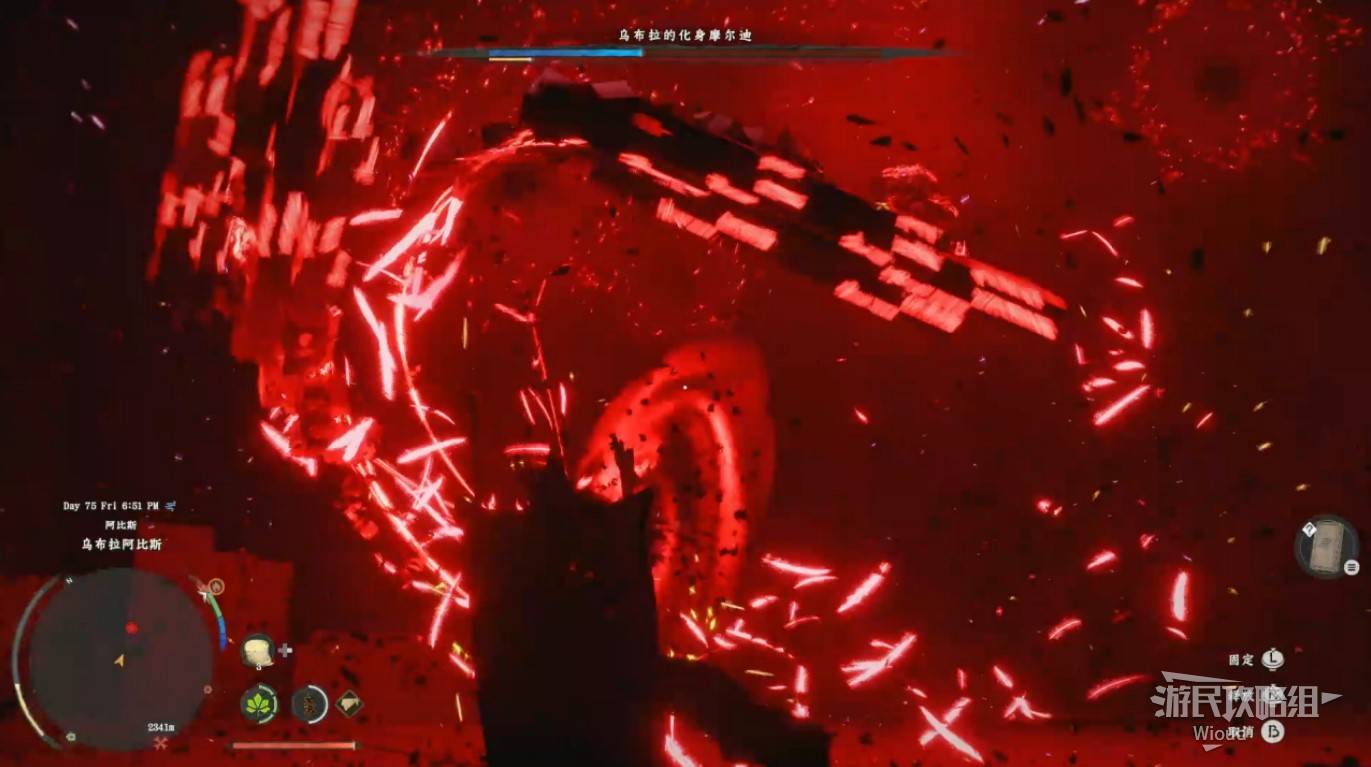
Image credit: GamerSky.com
BOSS FIGHT: UMBRA'S AVATAR MUELDIN
After defeating Caliban, the teleporter immediately leads to "Umbra's Avatar Mueldin." Save manually before entering.
WARNING: NEVER select the "Give Up" option and NEVER close the game! You'll be teleported far away and the gate to Caliban's arena becomes permanently inaccessible. Your best option would be reloading the manual save from before Caliban and defeating him again.
Umbra's Avatar Mueldin has 2 health bars — an enhanced version of the Mueldin you fought before, significantly more powerful. He uses the strongest boss moves from your entire playthrough.
Requirements before this fight: 100+ grilled meat, several revival pills, high-refinement equipment, Health attribute level 10. Shadow Mueldin's attacks can kill you in 1-2 hits depending on your stats.
Focus entirely on dodging. Parrying is extremely risky and unreliable due to frequent unblockable magic attacks. Always dodge behind him, wait for his attacks to miss, then chain a combo. Repeat.
His deadliest move is red lasers raining from the sky. The optimal counter is "Wind Curtain" to redirect them. Learn to recognize this move: the moment he charges red lasers, immediately activate Wind Curtain. After the lasers stop, he follows up with a jump attack 2-3 seconds later — prepare to dodge immediately.
Victory reward: False Judgment.
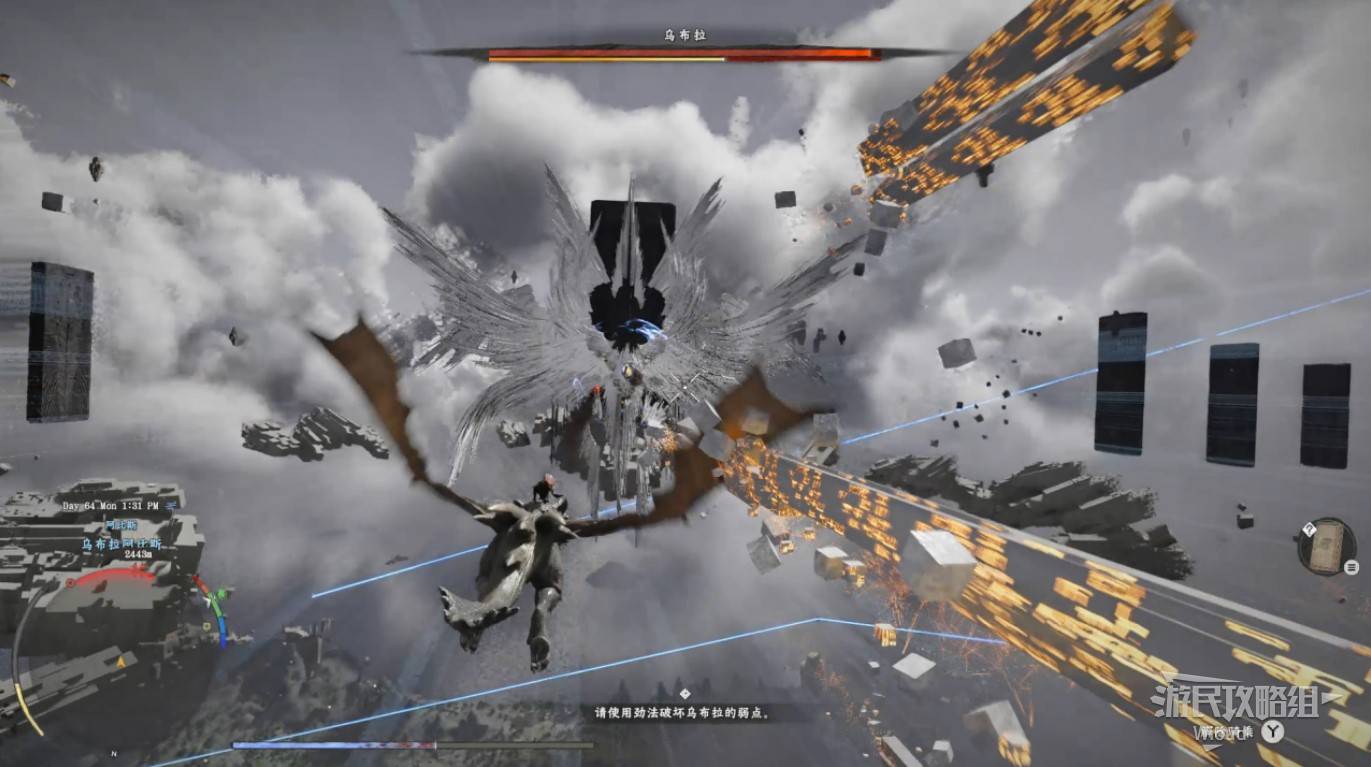
Image credit: GamerSky.com
FINAL BOSS: UMBRA
After defeating both bosses, the fight against "Umbra" begins. It has only one health bar. This is a mechanics-based kill — the overall process is simple. Pilot the dragon and continuously fire fireballs at the enemy to build up the Tenacity gauge below the health bar. When the gauge fills, fly your character to the enemy's face and use Vigor on its giant eye. Repeat twice to defeat it.
Victory reward: Doomsday Axe.
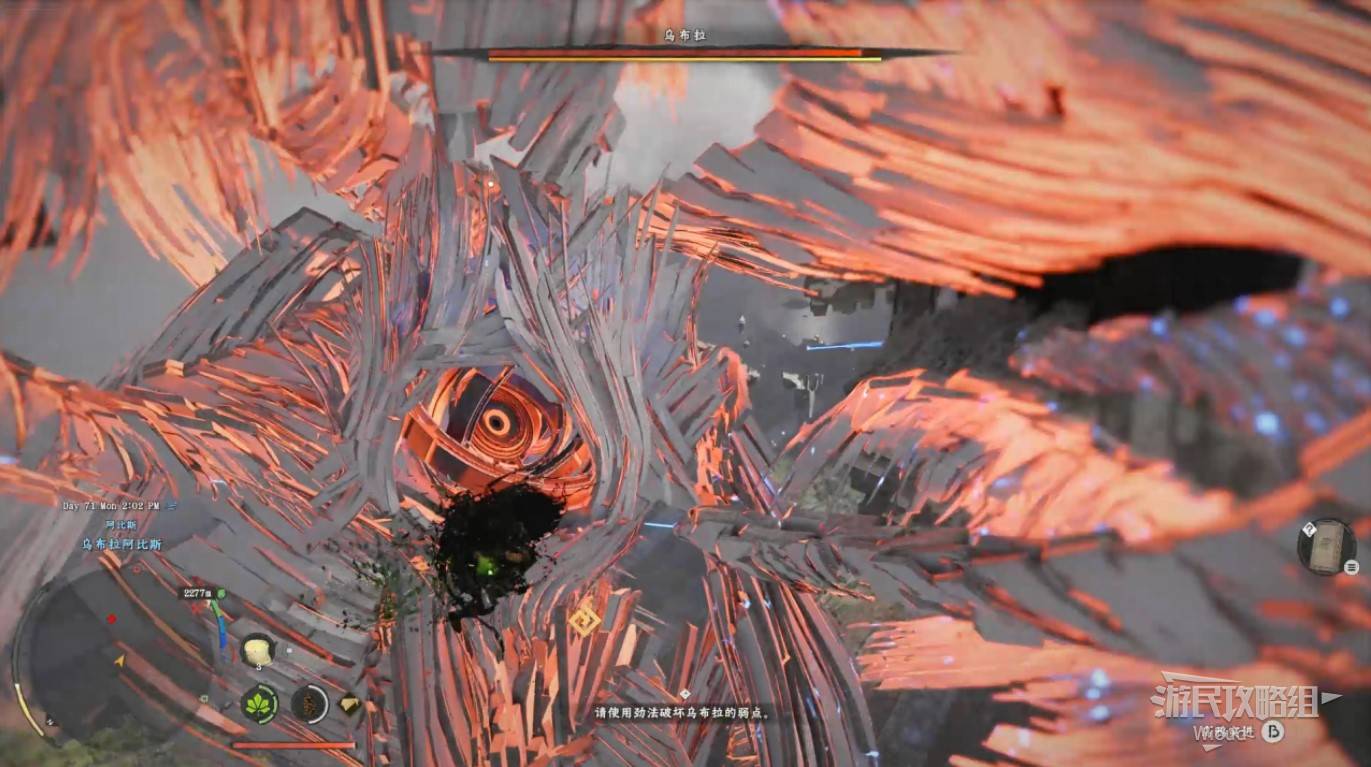
Image credit: GamerSky.com
Congratulations on completing the game!
Epilogue: Journey's End
EPILOGUE: JOURNEY'S END
Collectibles: None
Quest Chain: A New Beginning → Peace in Hernand → The Unyielding Shields → The Heart of Pywel → The Enduring Flame → Evolving City → The Desert's Edge → New Horizons
A NEW BEGINNING
Peace has returned to Pailune. Walk with Oongka through the town to the docks for a heartfelt conversation. Completing this sequence unlocks the Expert Storyteller trophy/achievement.
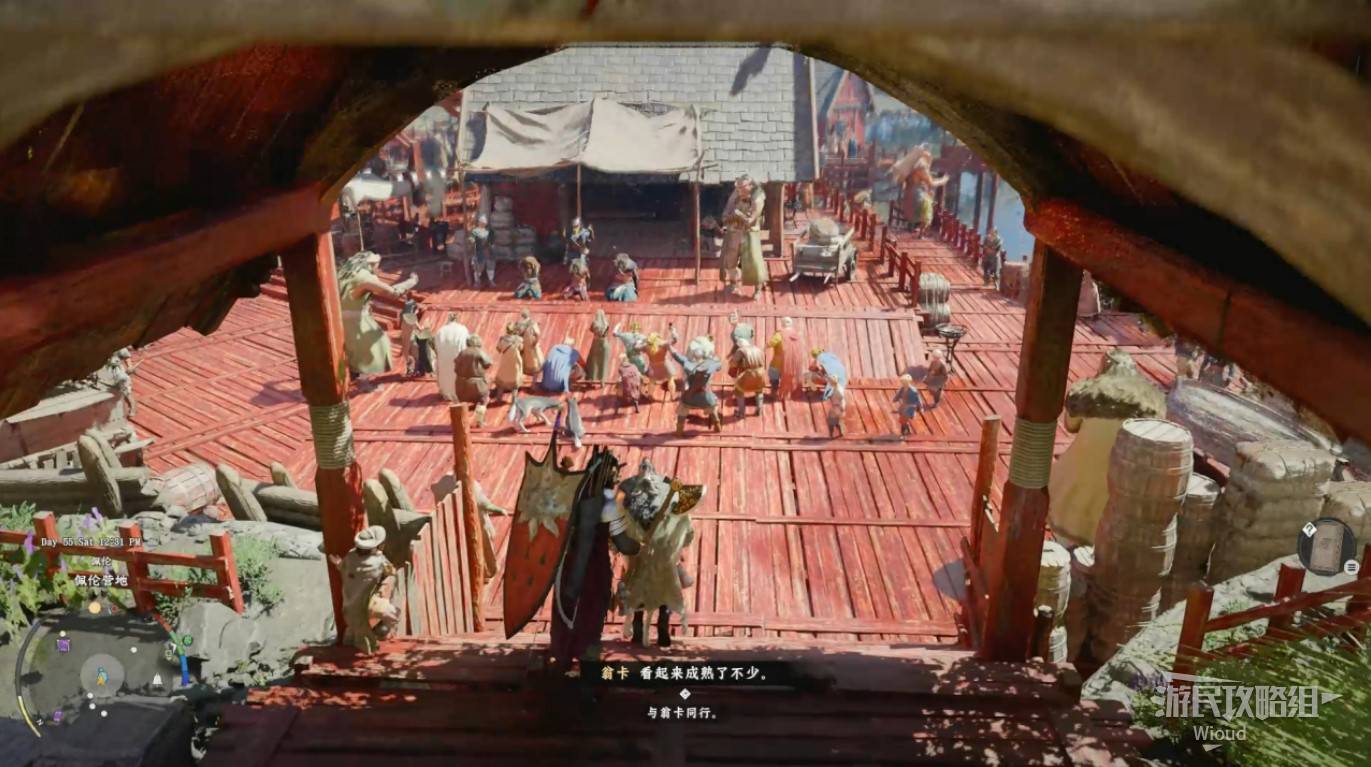
Image credit: GamerSky.com
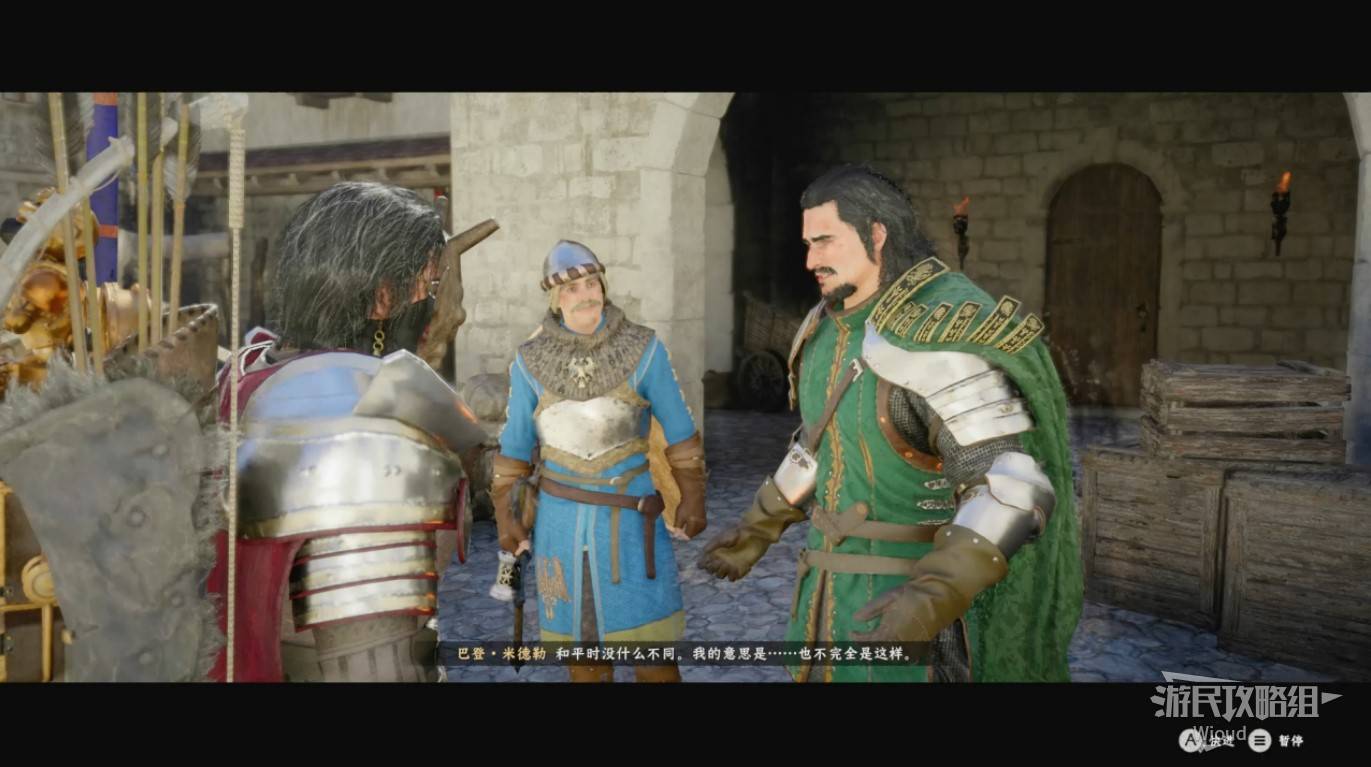
Image credit: GamerSky.com
VISITING YOUR ALLIES
The remaining quests involve visiting each ally you met throughout the story. These are short dialogue sequences that can be completed in any order, providing closure for every major character arc.
Image credit: GamerSky.com
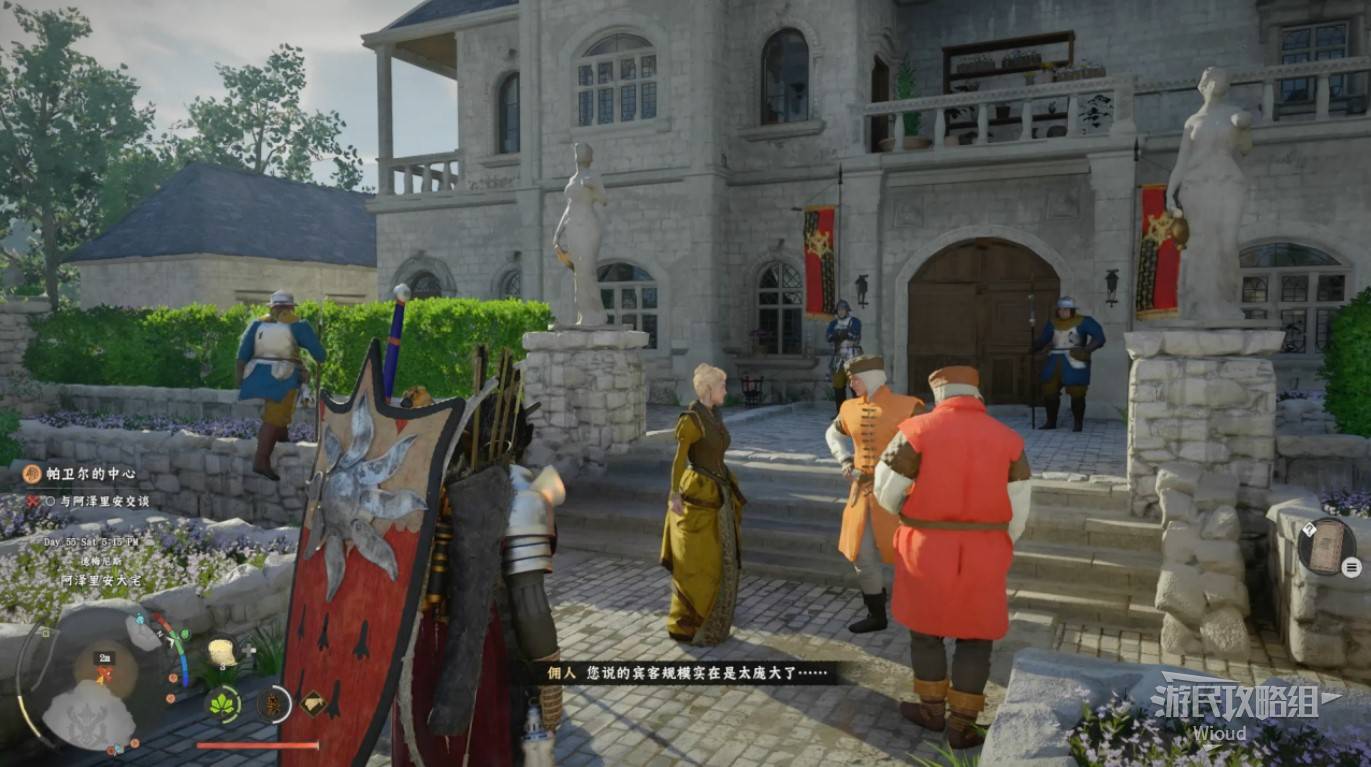
Image credit: GamerSky.com
Peace in Hernand — Return to Hernand to check on the townspeople and see how the city is rebuilding.
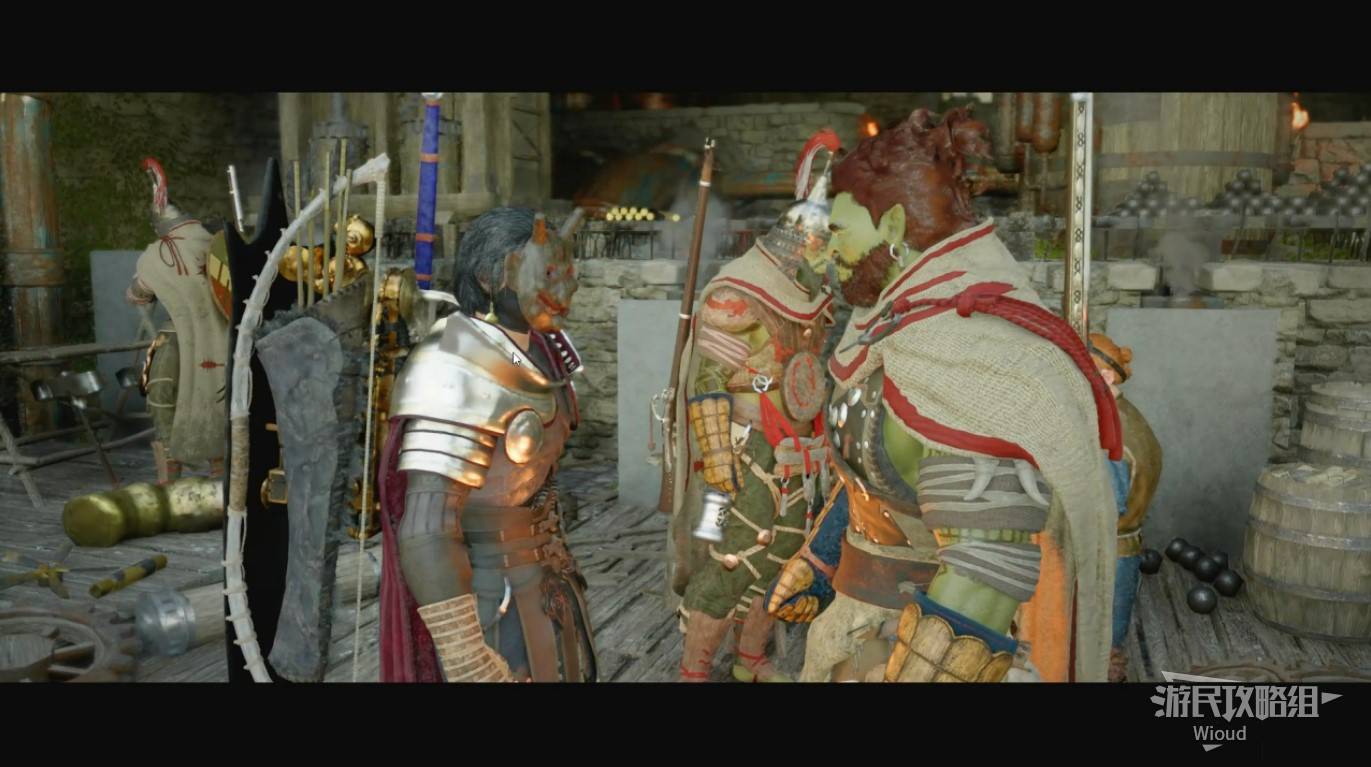
Image credit: GamerSky.com
The Unyielding Shields — Visit the Shield Bearers at their outpost. They reflect on the battles fought and lives lost.
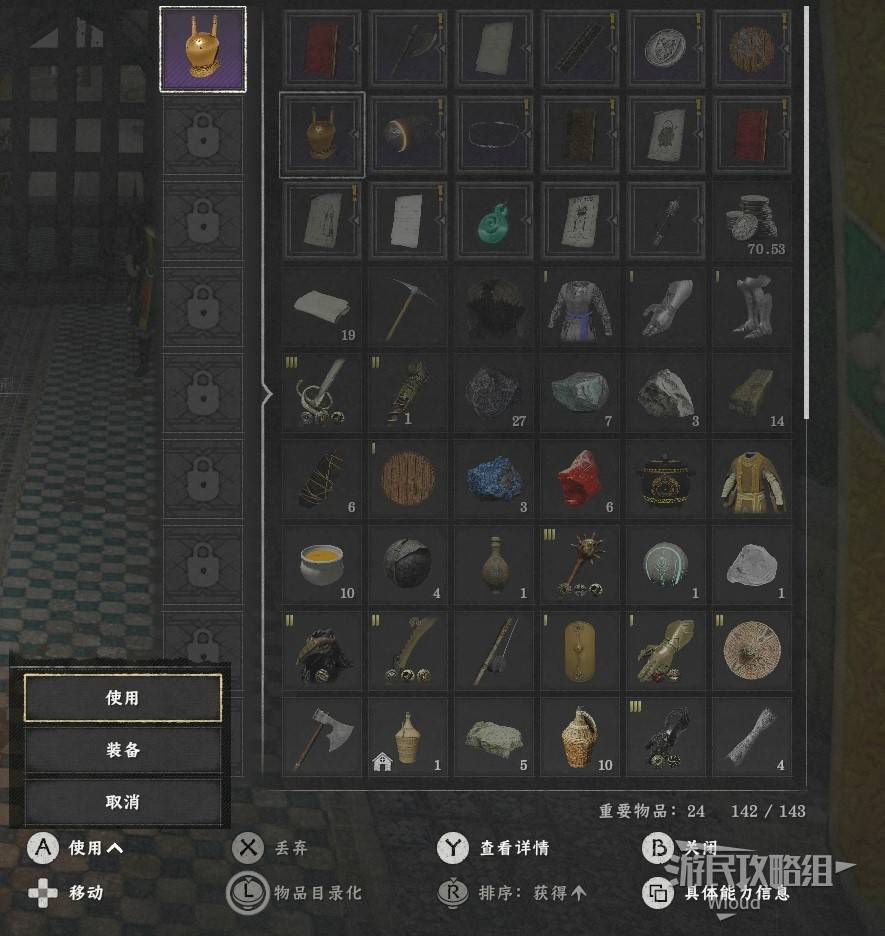
Image credit: GamerSky.com
The Heart of Pywel — Travel to the central region to witness how the landscape itself is healing.
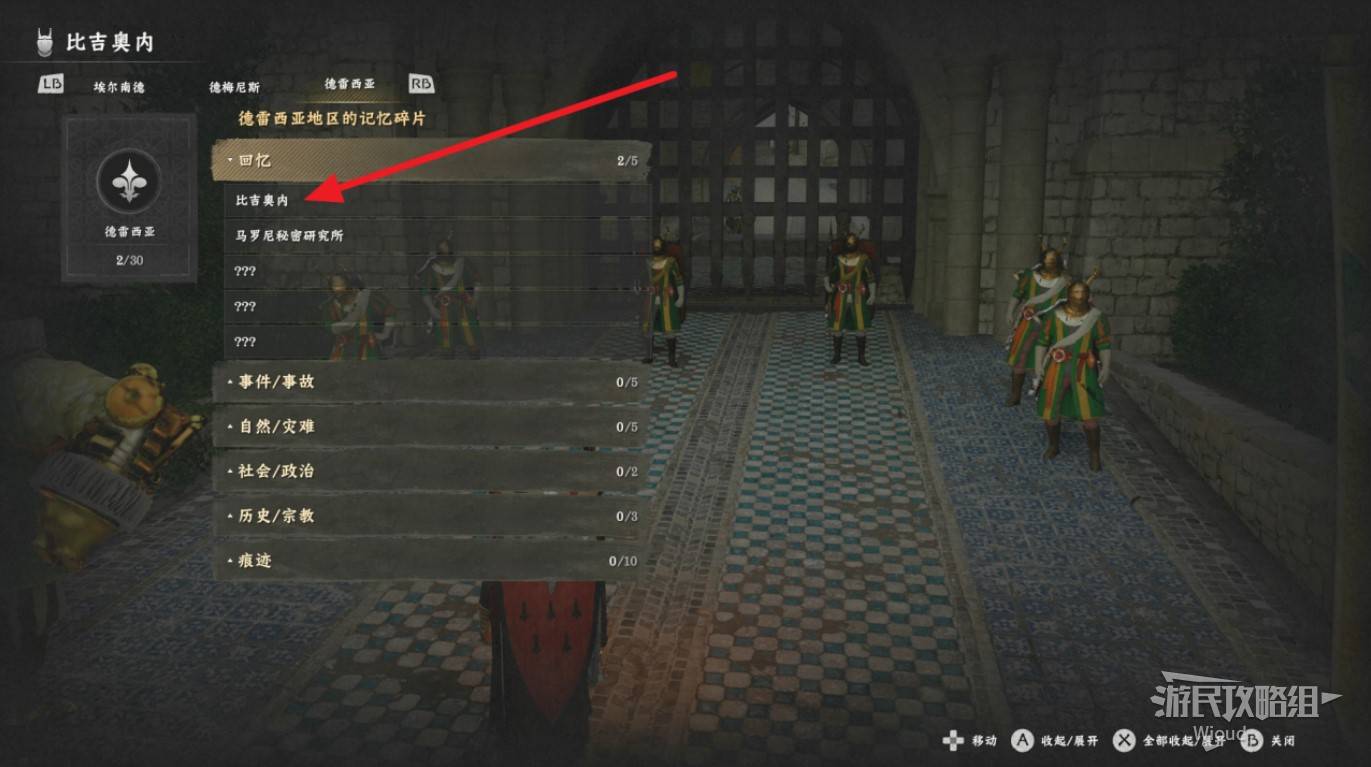
Image credit: GamerSky.com
The Enduring Flame — Visit the forge and its keeper, who speaks of forging a new future.
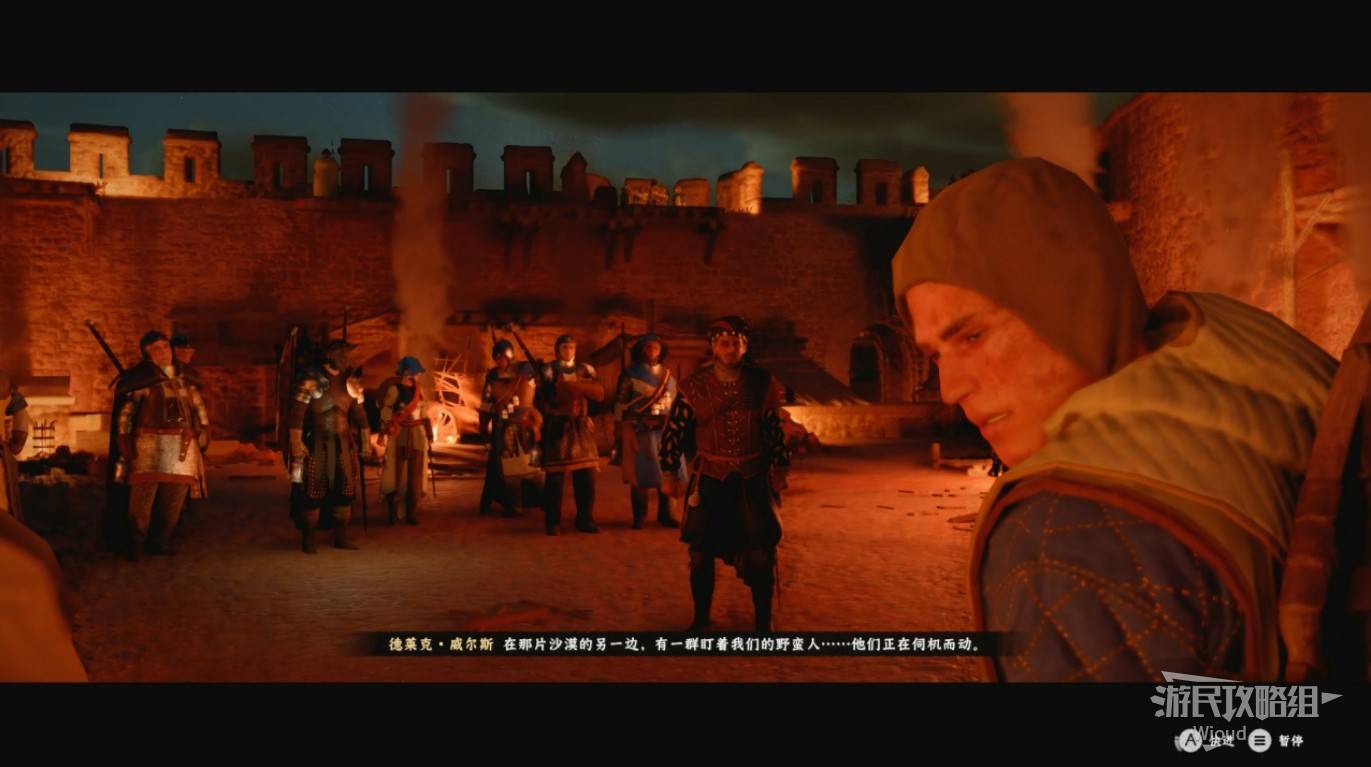
Image credit: GamerSky.com
Evolving City — See the reconstruction efforts in the major cities. New structures and trade routes are emerging.
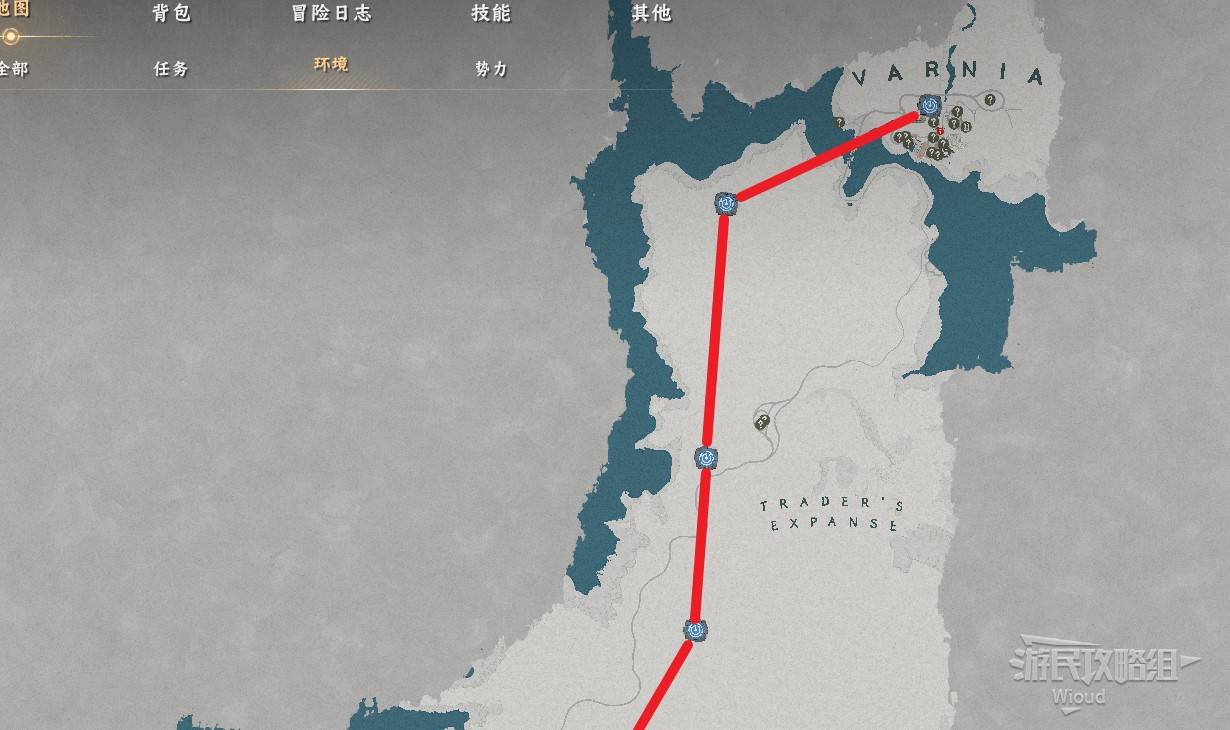
Image credit: GamerSky.com
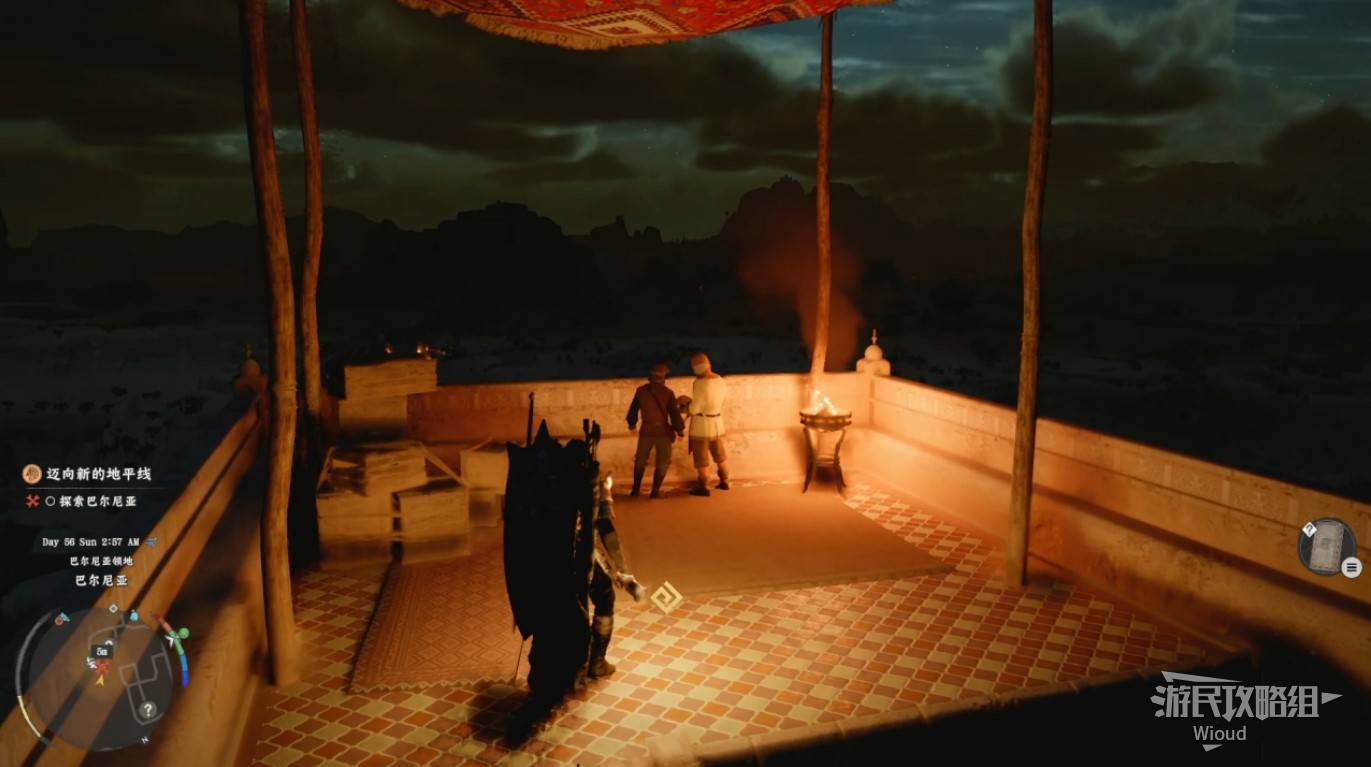
Image credit: GamerSky.com
The Desert's Edge & New Horizons — Journey to the desert border where Kliff contemplates what lies ahead. The final cutscene plays, concluding the main story of Crimson Desert.
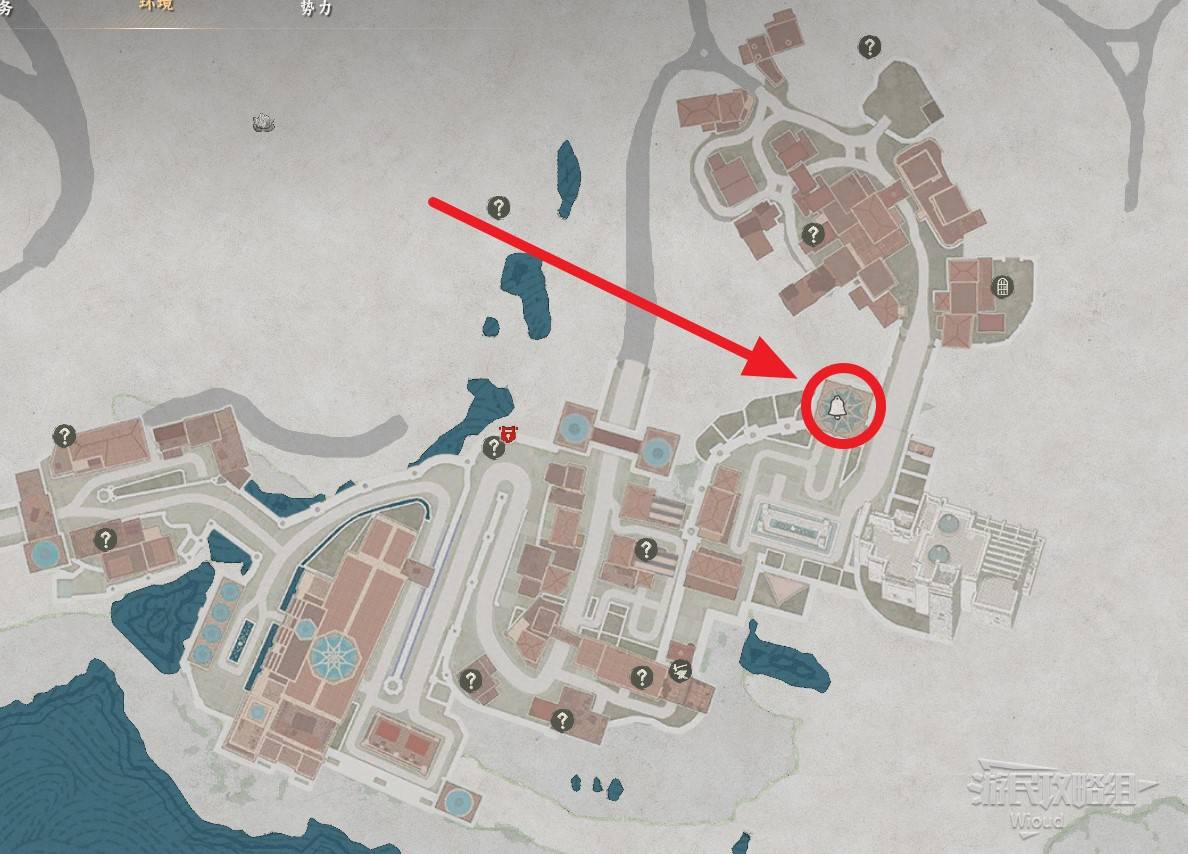
Image credit: GamerSky.com
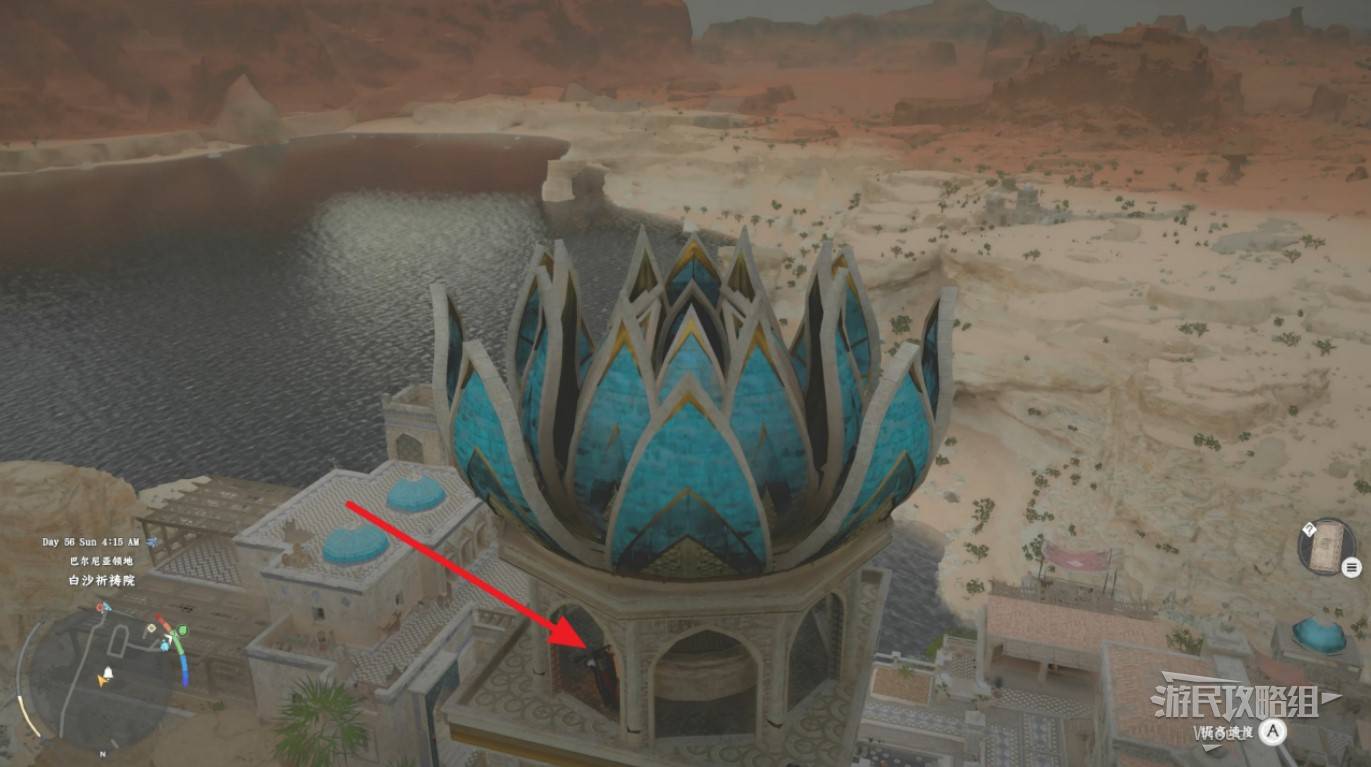
Image credit: GamerSky.com
SECRET ENDING — BELL TOWER
After completing all epilogue quests, visit the Bell Tower in Pailune. Interact with the bell to trigger a hidden cutscene that reveals additional lore about the Abyss and hints at future content.