Forbidden Knowledge Walkthrough
Books: 1 | Alchemy: 1
Quest Chain: Erostin's Message → Scholastone → The Right Path → Gate to Another World → Star Tower → Obsession and Madness → Descending Shadow
EROSTIN'S MESSAGE
Head to the marked location in Hernand. An NPC forces a letter on you — read "Erostin's Letter" to trigger the next objective.
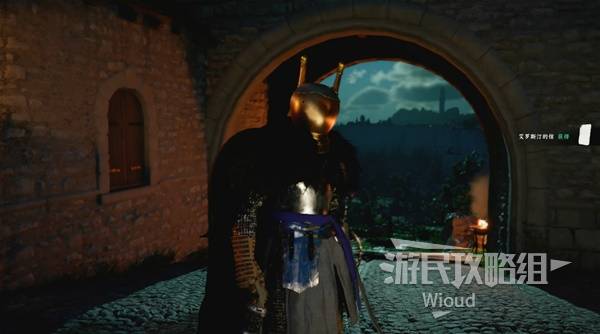
Image credit: GamerSky.com
SCHOLASTONE INSTITUTE
Go to the marked building's second floor and talk to the NPC. He sends you to a researcher and gives you a researcher's outfit.
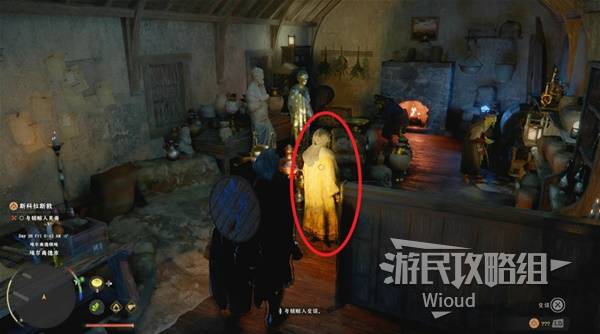
Image credit: GamerSky.com
Travel to the map marker on the left, equip the researcher outfit, enter the institute, and talk to the Dean on the bridge. Follow him to the next location.
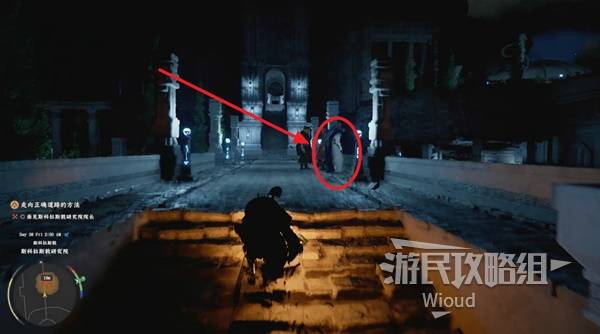
Image credit: GamerSky.com
THE RIGHT PATH — ENERGY BLOCK PUZZLE
After the conversation, skip time when prompted. Check the minimap for square icons — these are energy blocks.
Each block has a pillar nearby. Use Axiom Force to move the block into the square slot on the pillar, then hit the pillar with Force Palm to drive it in.
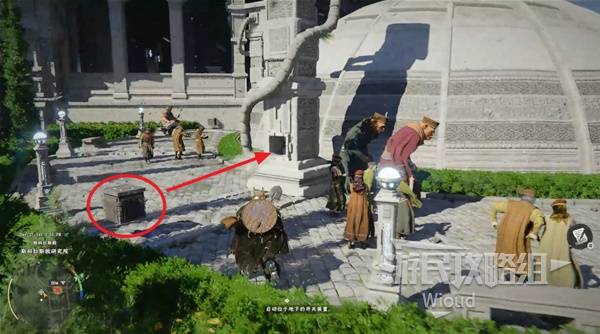
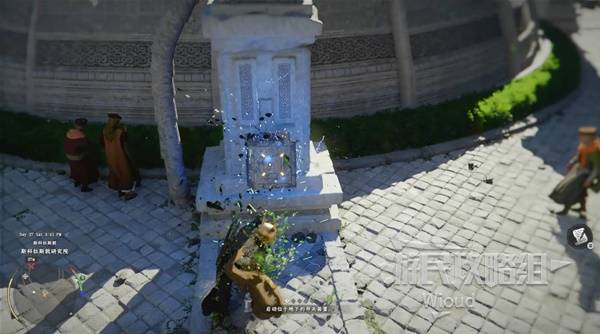
Image credit: GamerSky.com
Then jump off the right edge of the area and glide down to the lower level:
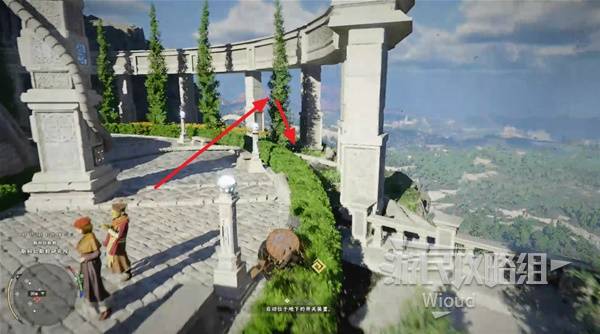
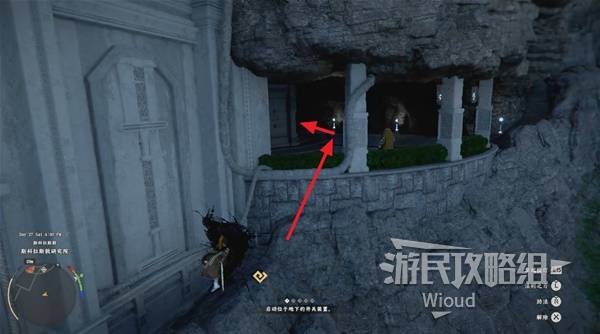
Image credit: GamerSky.com
GATE TO ANOTHER WORLD — SYMBOL PUZZLE
At the lower level marker, interact with the door. Click the blocks in the order shown below to solve the seal:
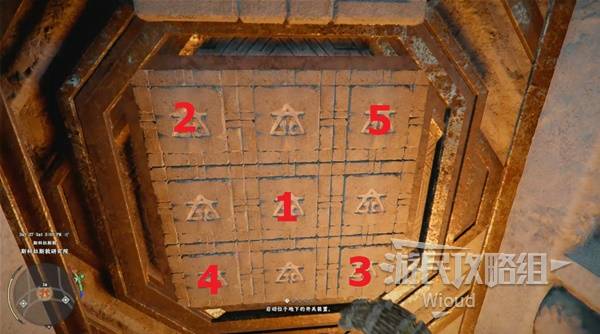
Image credit: GamerSky.com
Return to the upper level. Use Axiom Force to pull the black orb in the center — this triggers the boss fight.
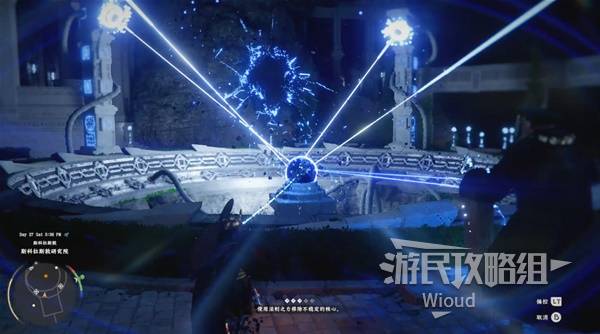
Image credit: GamerSky.com
NEW MECHANIC: BRILLIANCE REFLECTION — SPOT WEAKNESS
A new system unlocks: during Brilliance Reflection (light parry), press the additional button shown in the tutorial to identify enemy weak points.
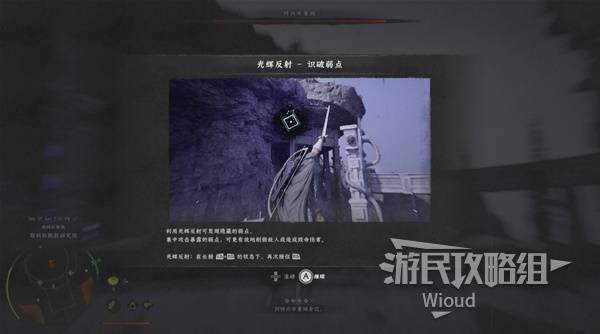
Image credit: GamerSky.com
BOSS: TENEBRUM
Tenebrum appears as a gaseous entity. Regular attacks deal NO damage — this is a pure mechanics fight.
Strategy: Climb the pillars around the arena, jump toward the boss, and use Force Palm in mid-air to strike it. This is the only way to deal damage.
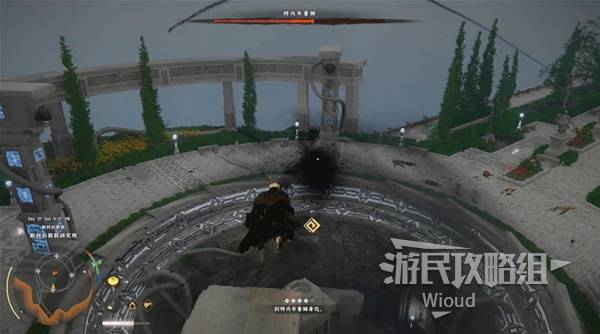
Image credit: GamerSky.com
After defeating Tenebrum, you receive a key to the Star Tower. Pick up the Abyss Artifact next to the Dean.
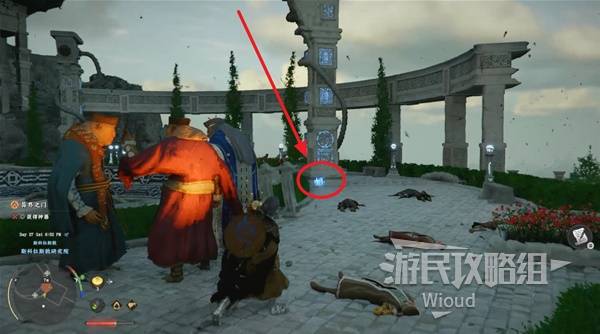
Image credit: GamerSky.com
COLLECTIBLES ROOM
Before heading to the Star Tower, follow the path shown below to a side room:

Image credit: GamerSky.com
Inside, find "Story of the Knowledge Helmet" and "Star Constellation Research Journal" on the desk. The Contribution Shop is on the right side.
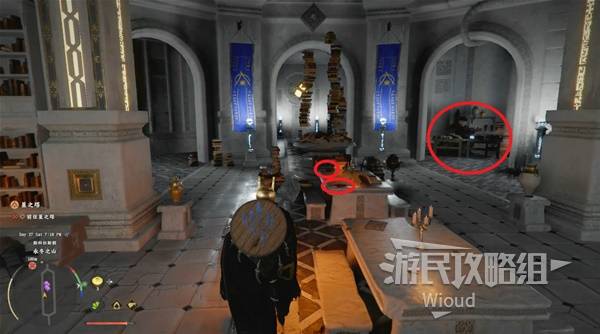
Image credit: GamerSky.com
Climb to the second floor: left bookshelf has the alchemy recipe "Platinum," right bookshelf has "World Ranged Weapon — Gun Collection Vol. 3."
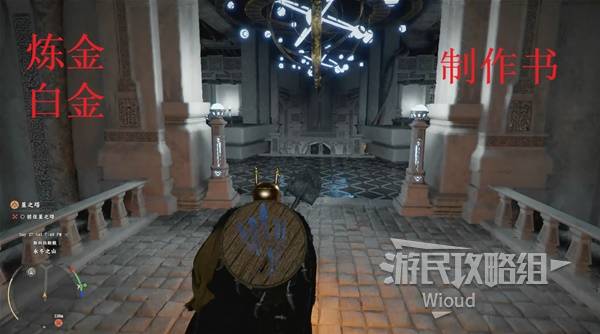
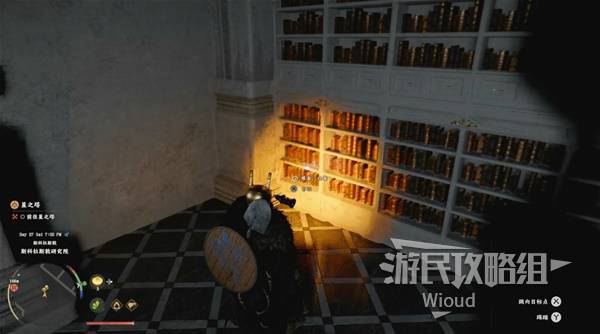
Image credit: GamerSky.com
STAR TOWER
Exit the room and follow the red path up the stairs to the Star Tower entrance. Use the Dean's key to enter.
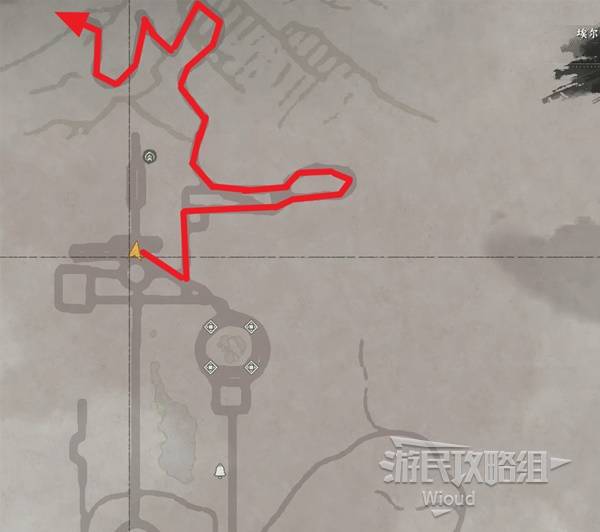
Image credit: GamerSky.com
STAR TOWER PUZZLE 1 — STONE TABLETS
To ride the central elevator, solve the seal puzzle first. Ignore the center puzzle initially:
- Go to the left room — push the panel on the right door to get a "Stone with Pattern"
- Go to the right room — push panels on both doors for 2 more stones
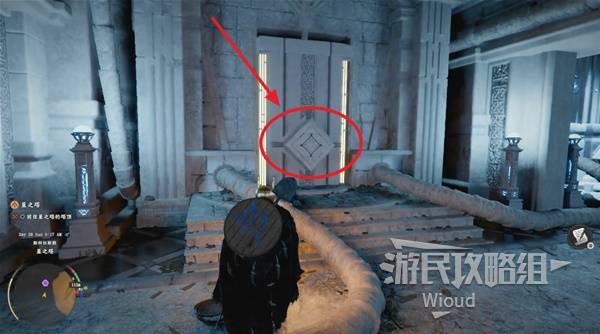
Image credit: GamerSky.com
Return to the center and insert all 3 stones into the 3 marked slots:
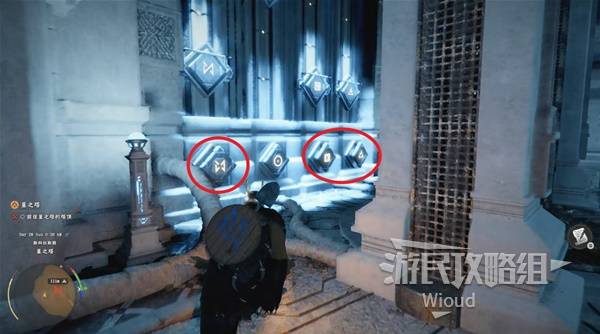
Image credit: GamerSky.com
STAR TOWER PUZZLE 2 — WALL PANELS
Climb the walls and grab the panels at the top — hang on them and slide down. Each track has 4 panels.
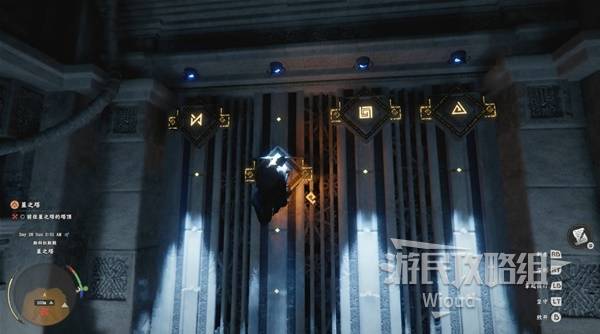
Image credit: GamerSky.com
Arrange the panels in order: 1, 2, 4, 3. Take the elevator to the top.
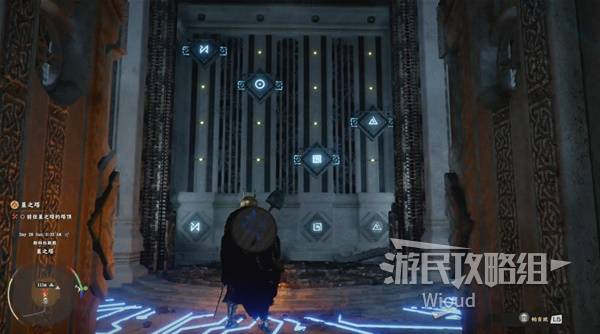
Image credit: GamerSky.com
SANCTUARY OF INSIGHT
At the top, activate the marker at the entrance, then jump to the opposite platform and climb to the peak.
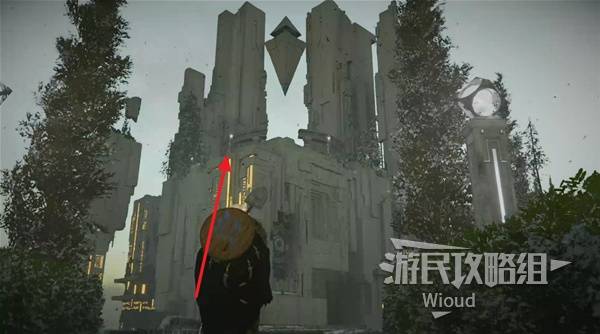
Image credit: GamerSky.com
Find the glowing white disc on the ground. Stand on it, jump, and use Force Palm downward twice to activate the mechanism.
A mysterious figure appears, blows you off the tower, and destroys the Abyss Artifact.

Image credit: GamerSky.com
Return to Howling Hill and enter the black tent for the chapter-ending cutscene.
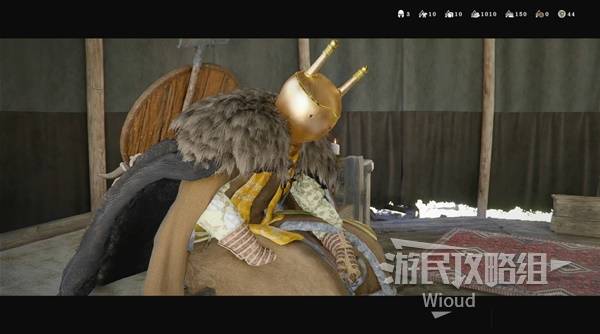
Image credit: GamerSky.com
Image credits: GamerSky.com