The Mysterious Cauldron Walkthrough
Quest Chain: Gilden Pottery Workshop → Repair the Great Cauldron → The Cauldron's Mysterious Power → The Cauldron's Purpose
GILDEN POTTERY WORKSHOP
Follow the quest marker to meet a dwarf wearing a Visione helmet. Talk to him to begin the quest.
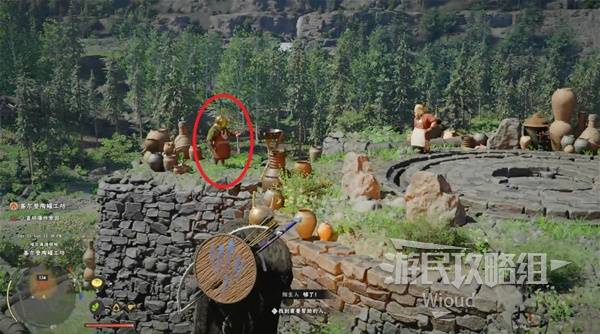
Image credit: GamerSky.com
CAULDRON 1 — SYMBOL ALIGNMENT PUZZLE
Your first task is repairing the main cauldron. There's a lever with 3 gear positions, each controlling one of the 3 rotating discs on top of the cauldron.
Switch between gear positions and push the rod to rotate each disc. Align all 3 disc symbols with the glowing symbol in the center of the cauldron.
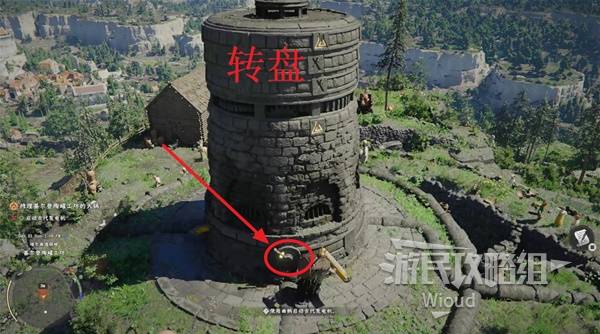
Image credit: GamerSky.com
When all 4 symbols glow blue, the alignment is correct. If nothing changes, the symbol is wrong or not properly aligned — keep adjusting.
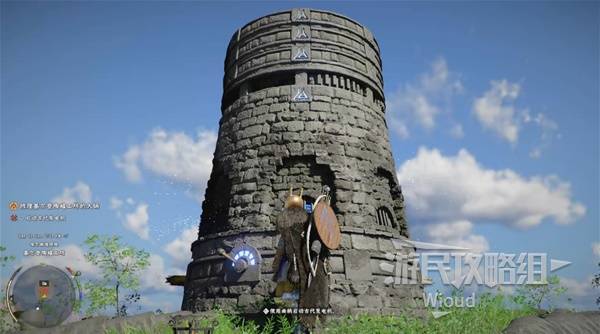
Image credit: GamerSky.com
REPAIRING THE REMAINING 3 CAULDRONS
After the first repair, 3 more cauldrons are marked on the map. We'll tackle them in order:
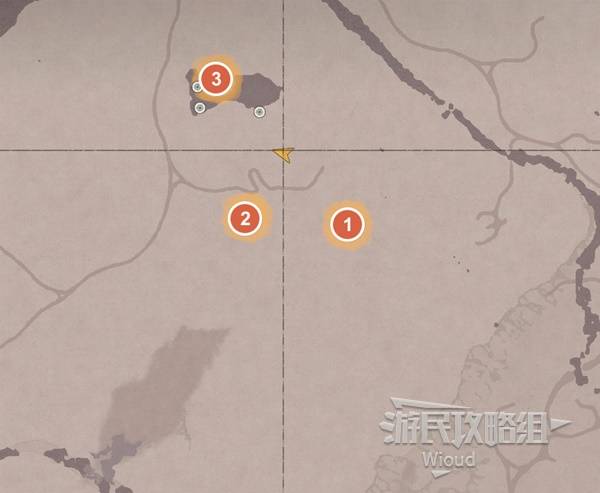
Image credit: GamerSky.com
CAULDRON 2 — PIPE RECONNECTION
This cauldron just needs its pipe reconnected. Find the broken pipe near the yellow-painted rod on the cauldron. Interact to reconnect it, then push the rod left to restart the cauldron.

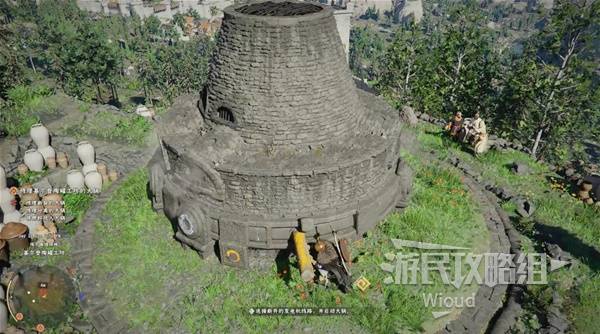
Image credit: GamerSky.com
CAULDRON 3 — AXIOM FORCE ASSEMBLY
This cauldron has been blown apart. Use Axiom Force to grab the scattered fragments and reassemble it like a jigsaw puzzle.
First, find a fragment with openings on both top and bottom — match it to the cauldron's broken edge:

Image credit: GamerSky.com
Drag it into position with Axiom Force:
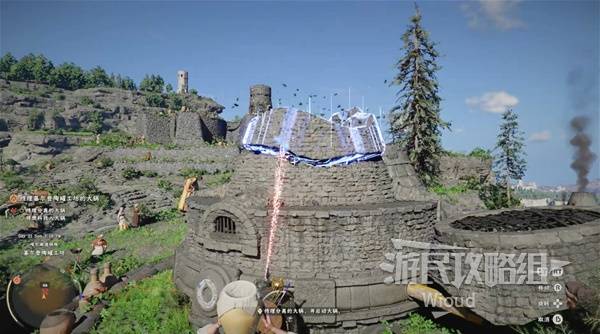
Image credit: GamerSky.com
Next, find a short piece with a sealed top (ventilation cap):
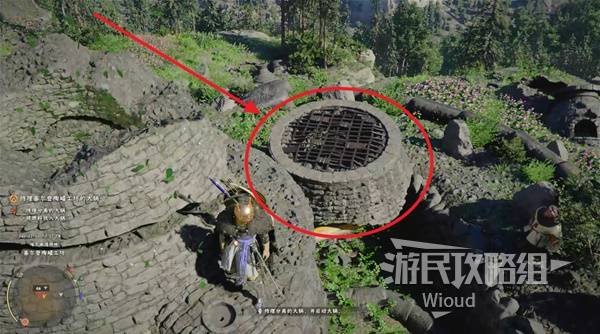
Image credit: GamerSky.com
Once assembled, stand on top and jump, then use Force Palm downward to lock it in place:
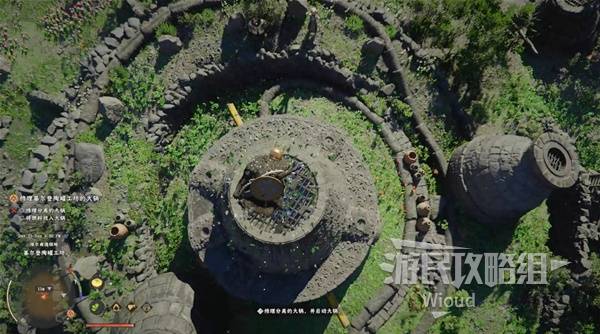
Image credit: GamerSky.com
CAULDRON 4 — FUEL ORBS
This cauldron needs fuel — blue energy orbs scattered around the area. Use Axiom Force to pull each orb and deposit it into the circular pipe beneath the cauldron.
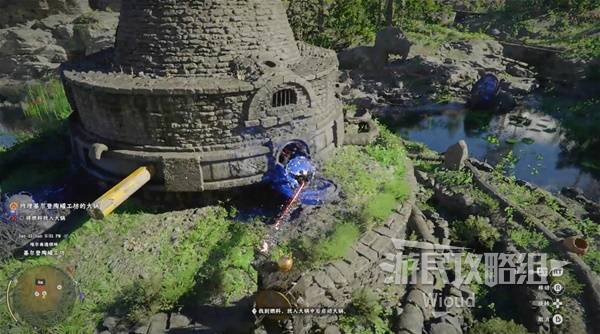
Image credit: GamerSky.com
The orb locations are marked on the minimap. Two tricky ones: one is embedded in a statue's eye, and another is at a cave entrance.
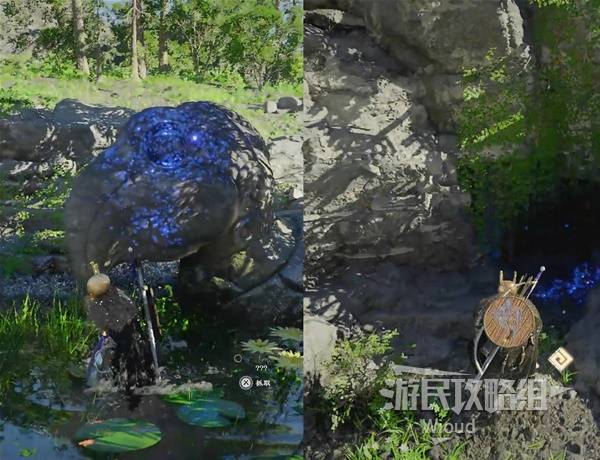
Image credit: GamerSky.com
THE CAULDRON'S PURPOSE
After all repairs, talk to the NPC and skip time when prompted. Push the railing — steam bursts from the center periodically. Push all the way to the end, and the cauldron launches into the air. Pick up the fallen cauldron.
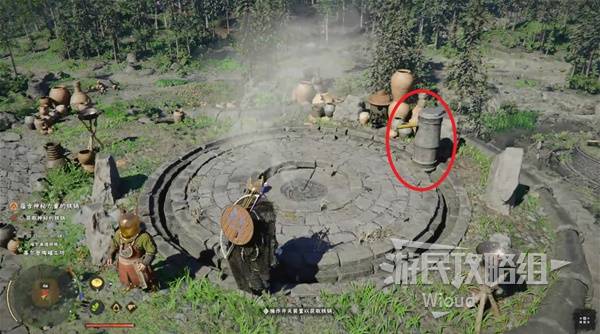
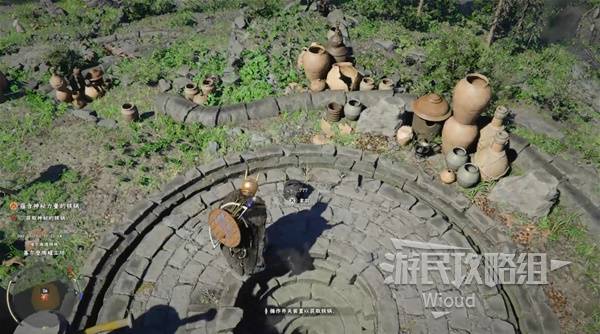
Image credit: GamerSky.com
Head to the next marker, talk to the NPC, and follow the on-screen prompts to capture the iron ball in the cauldron. Quest complete.
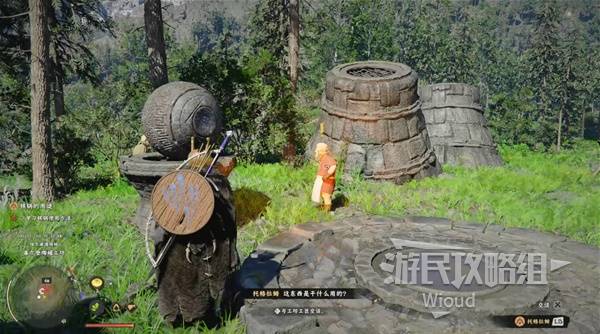
Image credit: GamerSky.com
Image credits: GamerSky.com