Behind the Mask Walkthrough
Crafting Book: 1 | Special Equipment: Sunset Reed Cloth Gloves
Sub-quests: Return → Traces in the Manor (Puzzle) → Inhuman Presence → Seeds of Unrest → Battle with the Devil (Boss Fight)
WARNING: This mission involves multiple combat encounters and a boss fight. Stock up on healing food before starting.
ENTER GLENBRIGHT MANOR
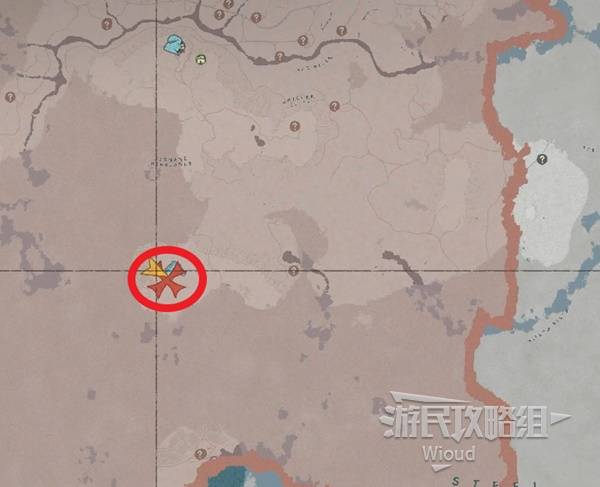
After rescuing Yarn, return to Howling Hill for a cutscene. Learn that Nela and Andrew, who were sent on a mission, have gone missing. Head to the quest marker to investigate.
Enter Glenbright Manor. Clear the enemies in the courtyard, then enter the main hall directly ahead.
FIND THE HIDDEN ROOM (PUZZLE)
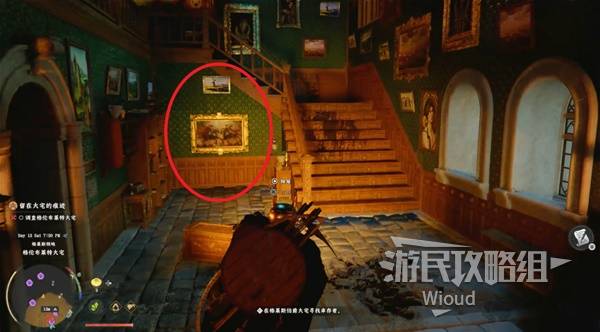
In the main hall, look right — there's a painting at the end near the staircase. This is a HIDDEN WALL. Walk into it to find a secret room with the "Grace Manor Basement Key."
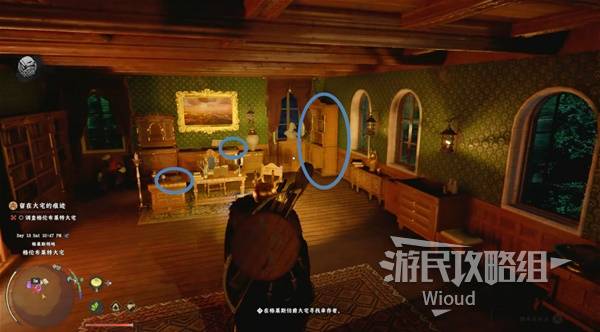
SECOND FLOOR EXPLORATION
Go upstairs. Directly ahead of the staircase, check the bookshelf on the left to pick up a "Ruby-Hilted Golden Dagger."

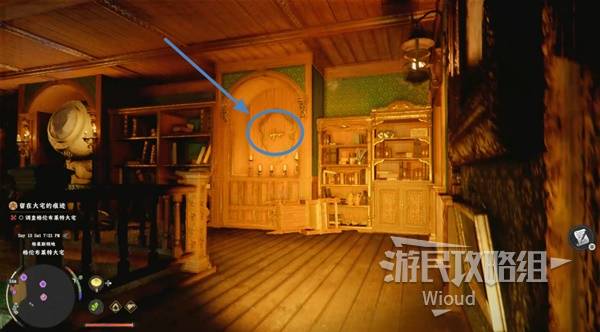
In the middle of the hallway, open the wardrobe (marked as "1") and interact with the wheel inside to direct light toward position "2." This reveals position "3" where you can grab the "Sapphire-Hilted Golden Dagger."
Enter the room at the end of the hallway:
- - Center: Interact with the memory fragment
- - Left desk: Pick up "Grace Manor Iron Door Key"
- - Center desk: Pick up "Count Grace's Journal"
- - Right bookshelf: Pick up "World Two-Handed Weapon Collection Vol. 1" (crafting book)
UNLOCK THE SECRET BASEMENT
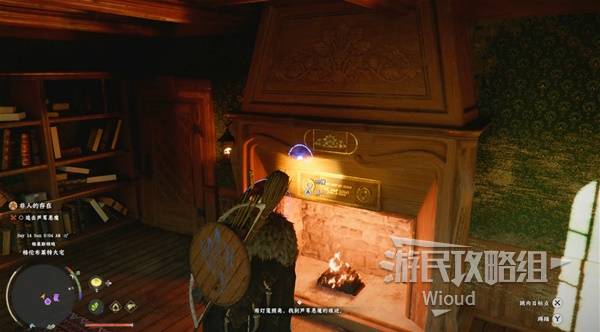
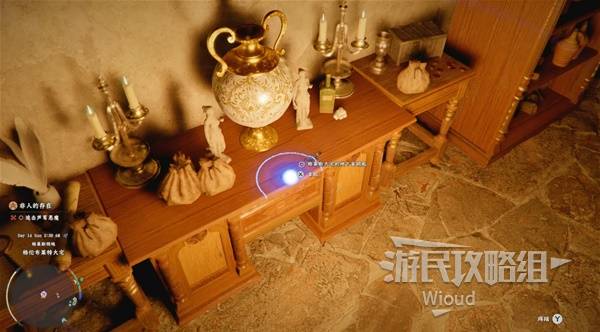
Talk to the survivor lying on the left side of the room. Then approach the fireplace on the left wall. Insert both golden daggers (Ruby + Sapphire) into the slots — a secret entrance to the basement opens on the right.
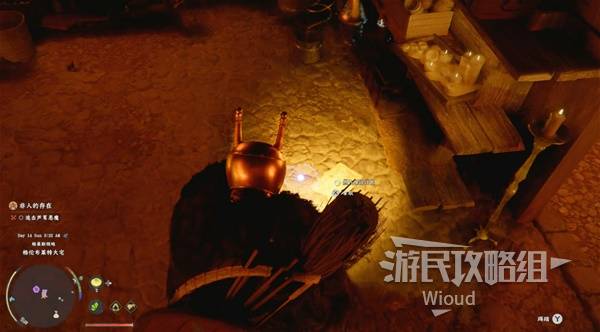
In the basement, check the right room's floor to find the "Hot Air Balloon Blueprint."
TRACK THE TRAIL
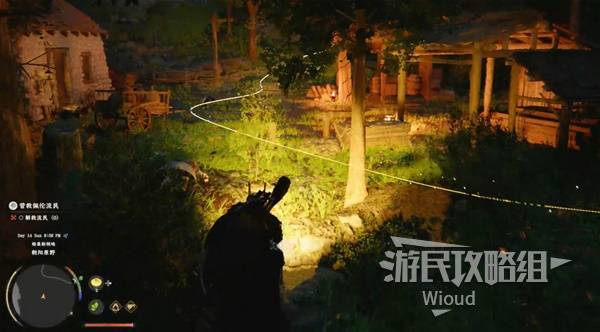
Leave the manor. Use your lantern to illuminate the area — you'll see a yellow thread. Follow it.
You'll encounter a wave of enemies along the way. Follow the thread to a house where a cutscene triggers — Nela and the other companions are hiding here with the manor's owner.
ASCEND TO THE REED DEVIL
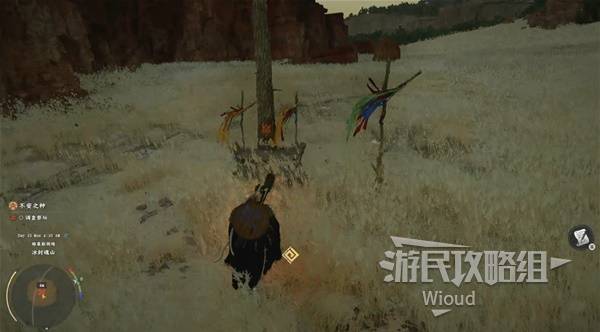
After the cutscene, use your lantern again and follow the yellow thread toward the summit of Frost Soul Mountain. Along the path you'll see countless spinning flags — these summon waves of enemies. The Reed Devil itself will appear several times alongside the adds to attack you.
Reach the altar at the summit and interact with it to start the boss fight.
BOSS: REED DEVIL
The Reed Devil unleashes relentless slash combos. Use your shield to parry during its attack chains, or flash your blade during gaps to stagger it.
The boss has two health bars with similar attack patterns and no devastating screen-wide attacks. Keep plenty of healing food ready and you shouldn't get stuck.

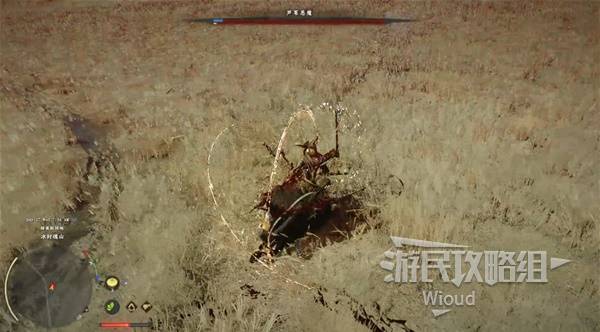
PHASE TRANSITION: When the first health bar is depleted, 5 totems appear in the arena. Destroy all 5 totems quickly to expose the boss's second health bar. Watch for the boss's attacks while breaking totems — don't take unnecessary damage.
REWARD: Defeating the Reed Devil grants the equipment "Sunset Reed Cloth Gloves."
Image credits: GamerSky.com