SIX PENSIVE STATUES AND EVIL SPIRITS
Collectibles: Turkan Helmet, Faith Wanderer Leather Gloves, Alchemy: Palmer Pill
Quest Chain: Morning Fog → Jijeong Temple in Chaos → Path to Enlightenment → Path of the Disciple → True Strength → Face the Inner Self
Rewards: Turkan Helmet, Faith Wanderer Leather Gloves, Turkan's Fighting Spirit, Abyss Artifact
Head to the waypoint area. Walk to the small courtyard to trigger a cutscene, then climb the stairs behind the statue up the mountain.
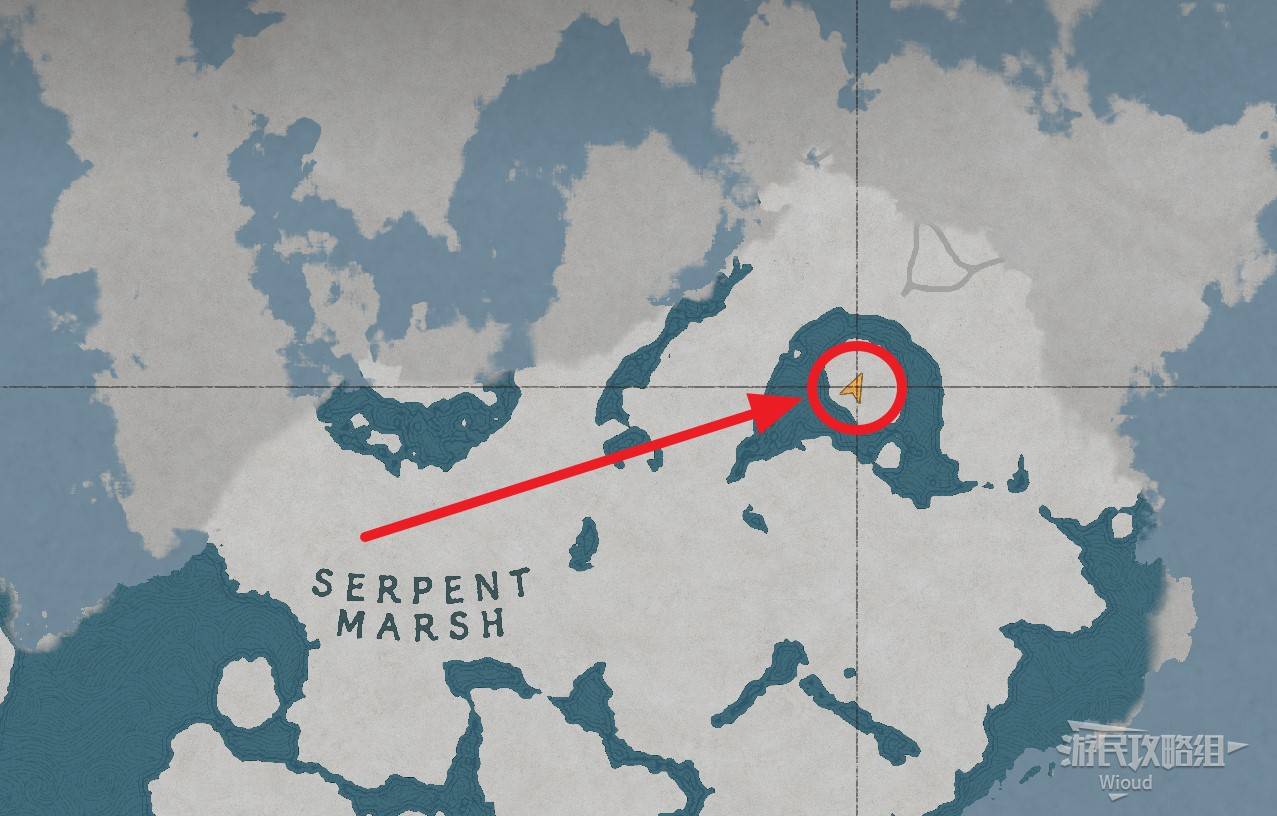
Image credit: GamerSky.com
Enter the damaged temple in the middle of the mountain to trigger another cutscene. An NPC will ask you to repair three broken statues.
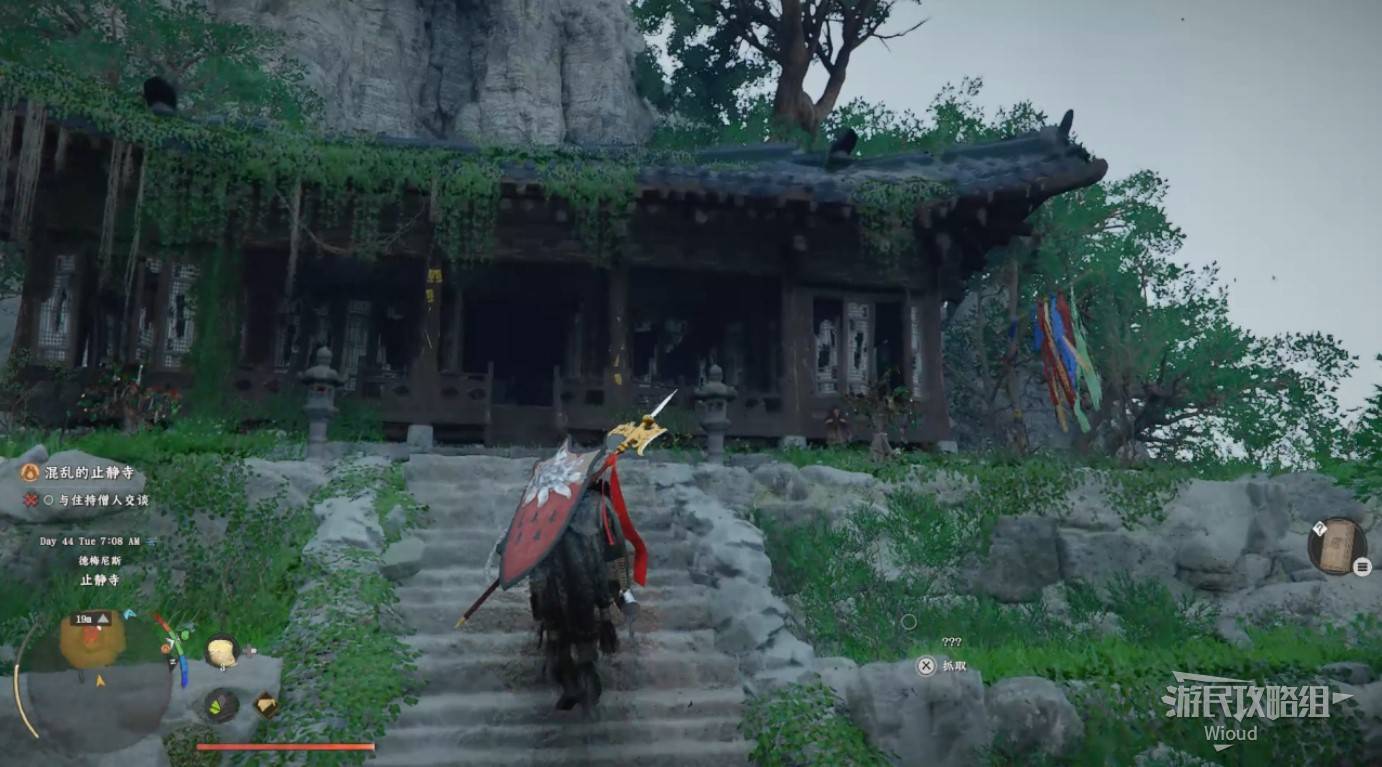
Image credit: GamerSky.com
REPAIRING THE FIRST STATUE
Go down the stairs you came up. The first statue is near the tiger mask. Before repairing, learn the skill "Vigor: Transfer" — grab objects with Axiom Power, then use Vigor to attach pieces when close to the joint.

Image credit: GamerSky.com
Find the broken hand near the courtyard entrance. Attach it to the right side of the statue, palm facing up.
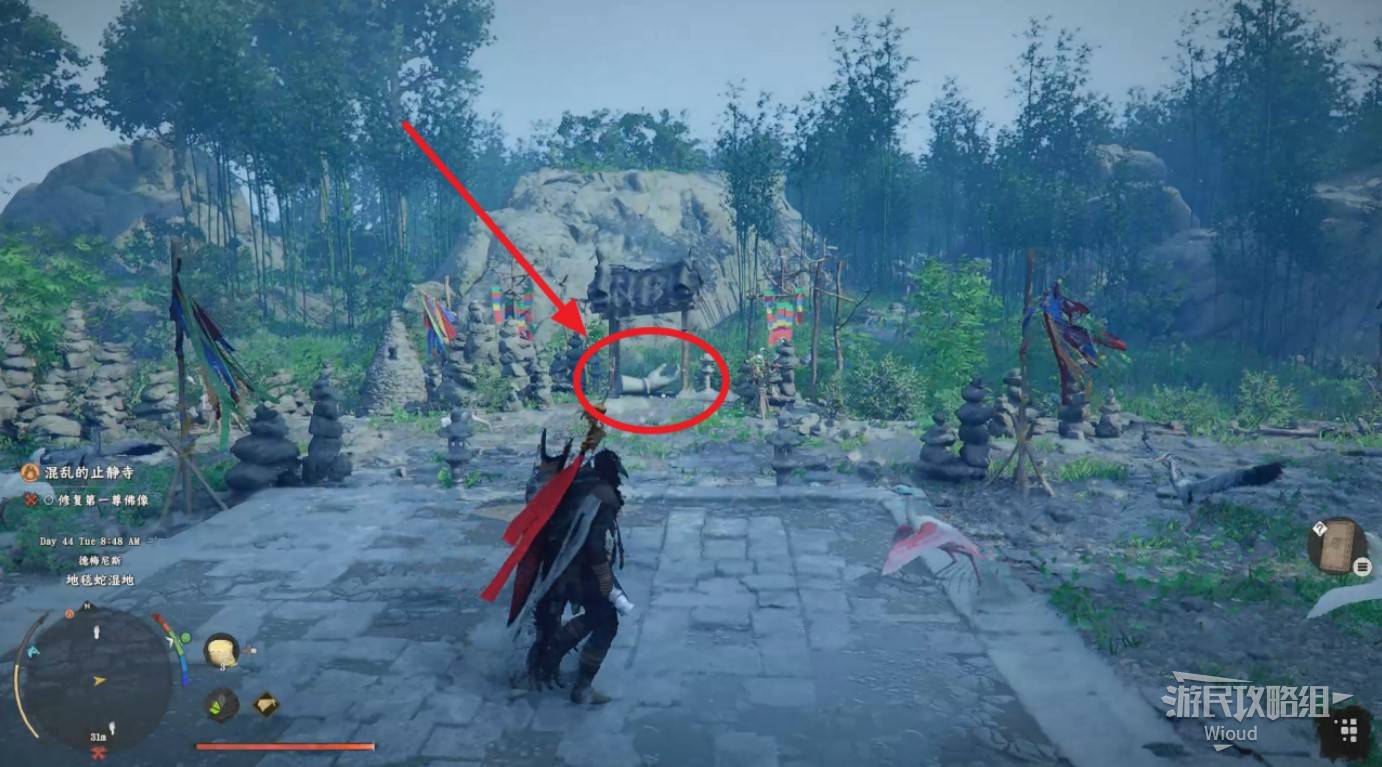
Image credit: GamerSky.com
Attach the left hand to the left side, palm facing forward.

Image credit: GamerSky.com
REPAIRING THE SECOND STATUE
Move to the second statue waypoint at the mountaintop. The statue's body has toppled over by the cliff edge. First place the body on the base at the top. Use the two stone lanterns in front of the base to orient yourself.
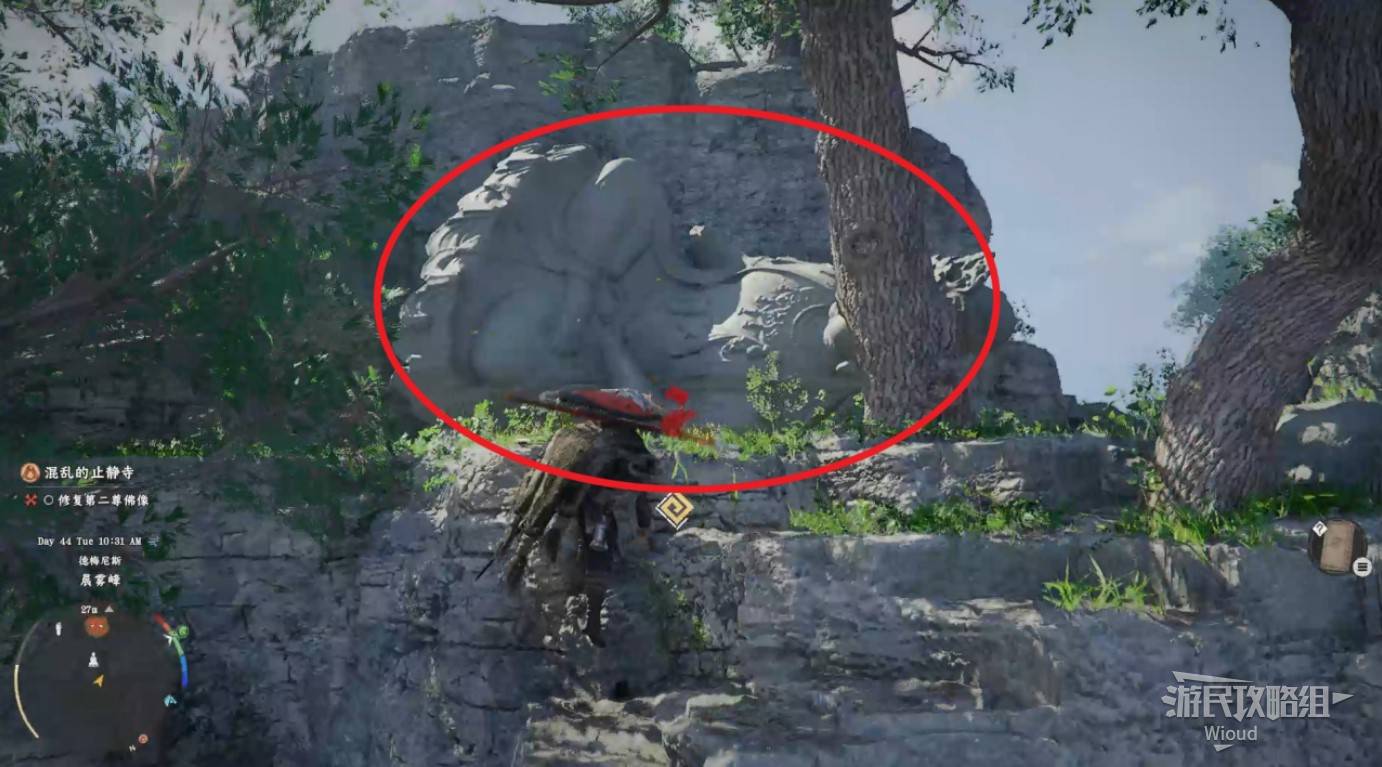
Image credit: GamerSky.com
Use the minimap to locate the two broken hands nearby. Attach them in the correct orientation.
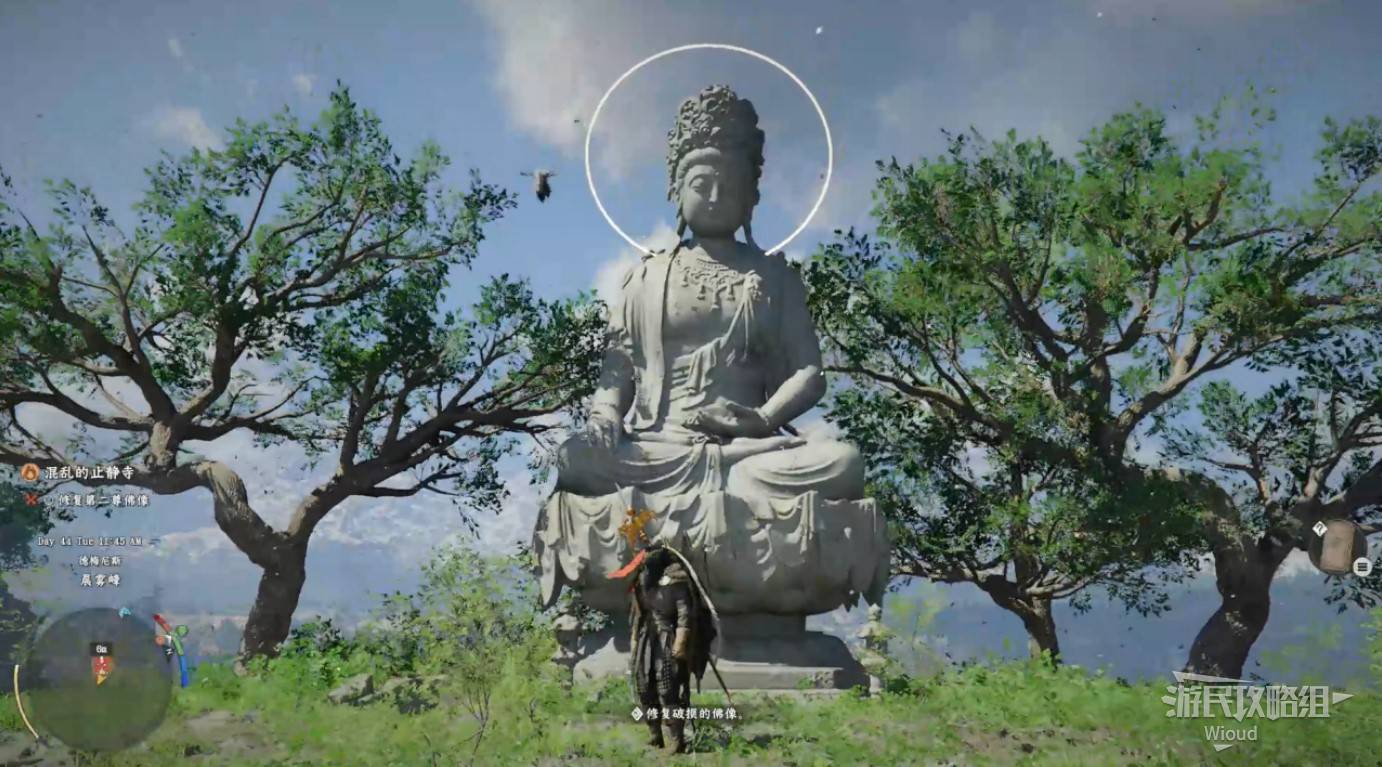
Image credit: GamerSky.com
REPAIRING THE THIRD STATUE
The third statue is hidden. Move to the waypoint mountain, then circle the base to find a hollow cave at the bottom — the statue is inside.
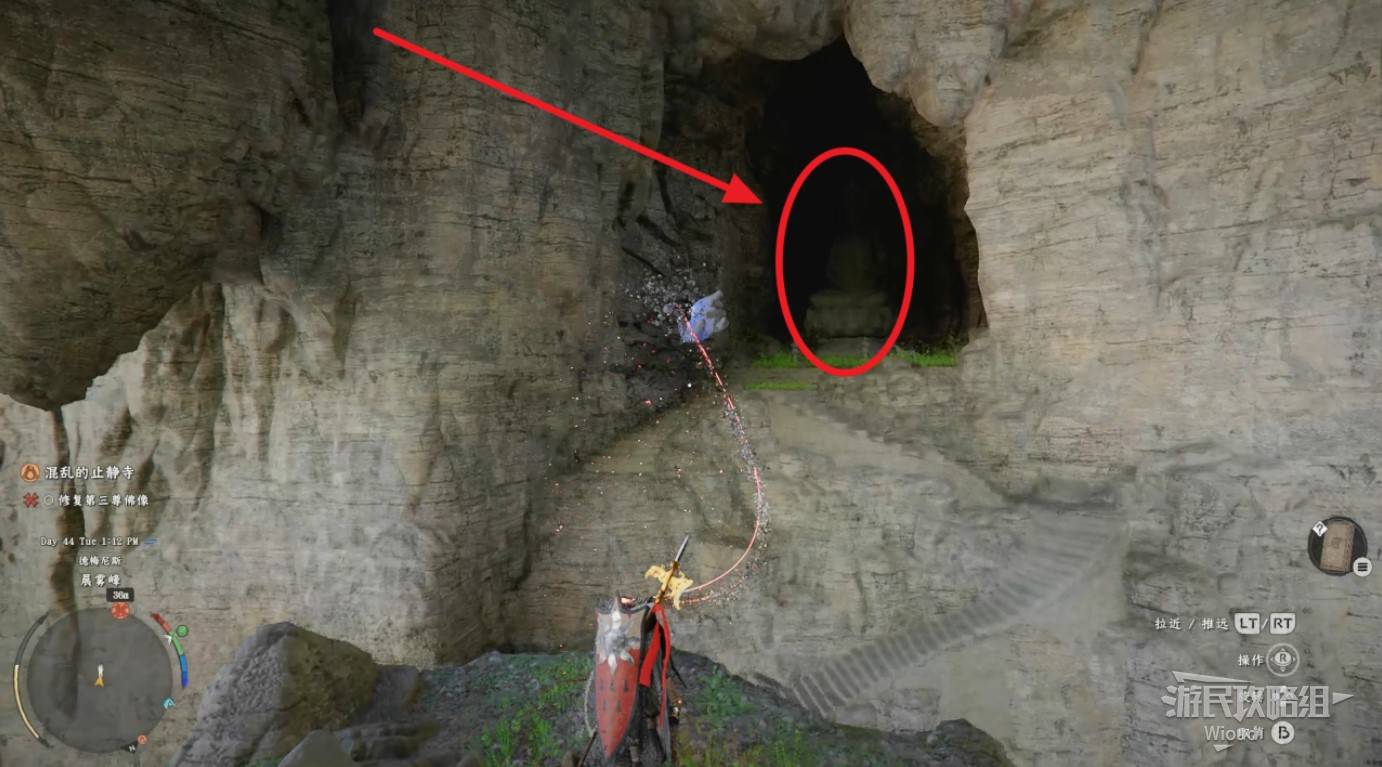
Image credit: GamerSky.com
This statue only needs two hands reattached. One hand is on the platform directly in front of the statue.
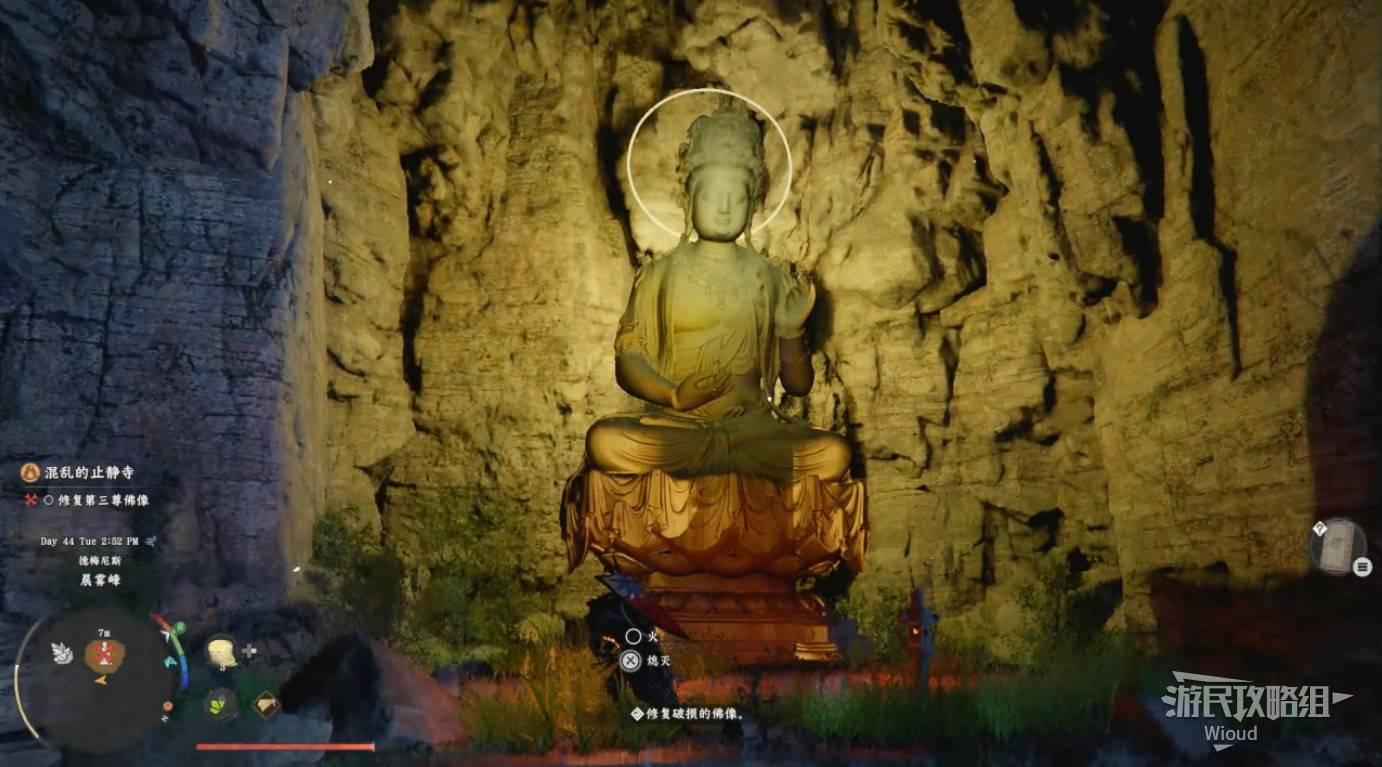
Image credit: GamerSky.com
TRAINING TRIALS
Go to the new waypoint and speak with the elder you met before to start the next phase.
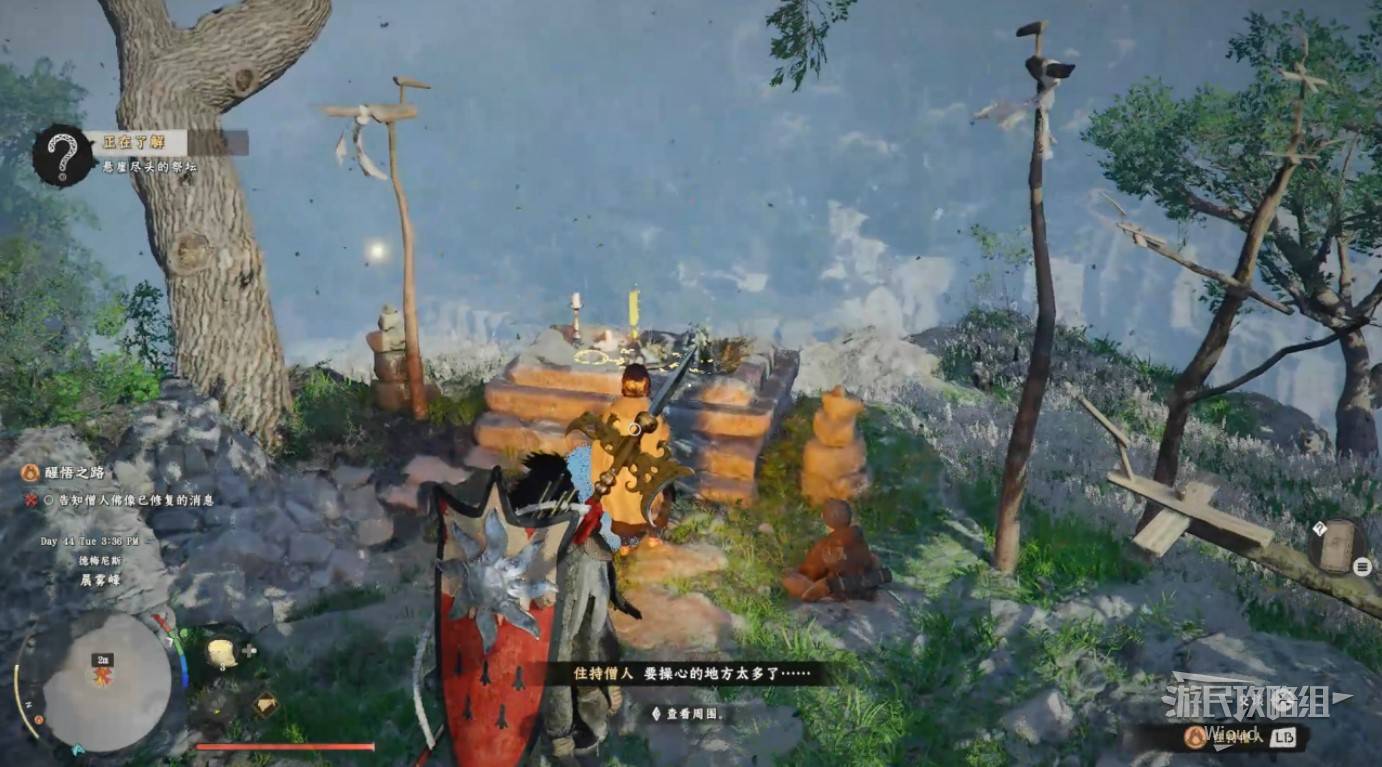
Image credit: GamerSky.com
Find the door in the middle of the mountain at the waypoint. Pass through from the other side to begin the trial. If the door won't open, try approaching from the opposite side.
A countdown starts. Touch all green orbs along the route and pass through the exit door before time runs out. Difficulty is moderate — after failing once to learn the route, the second attempt is usually successful.
If you fall far away, the system respawns you at the start but the timer keeps running. If too far away, wait at the entrance for the next attempt.
Each completed trial rewards an Abyss Artifact at the finish.
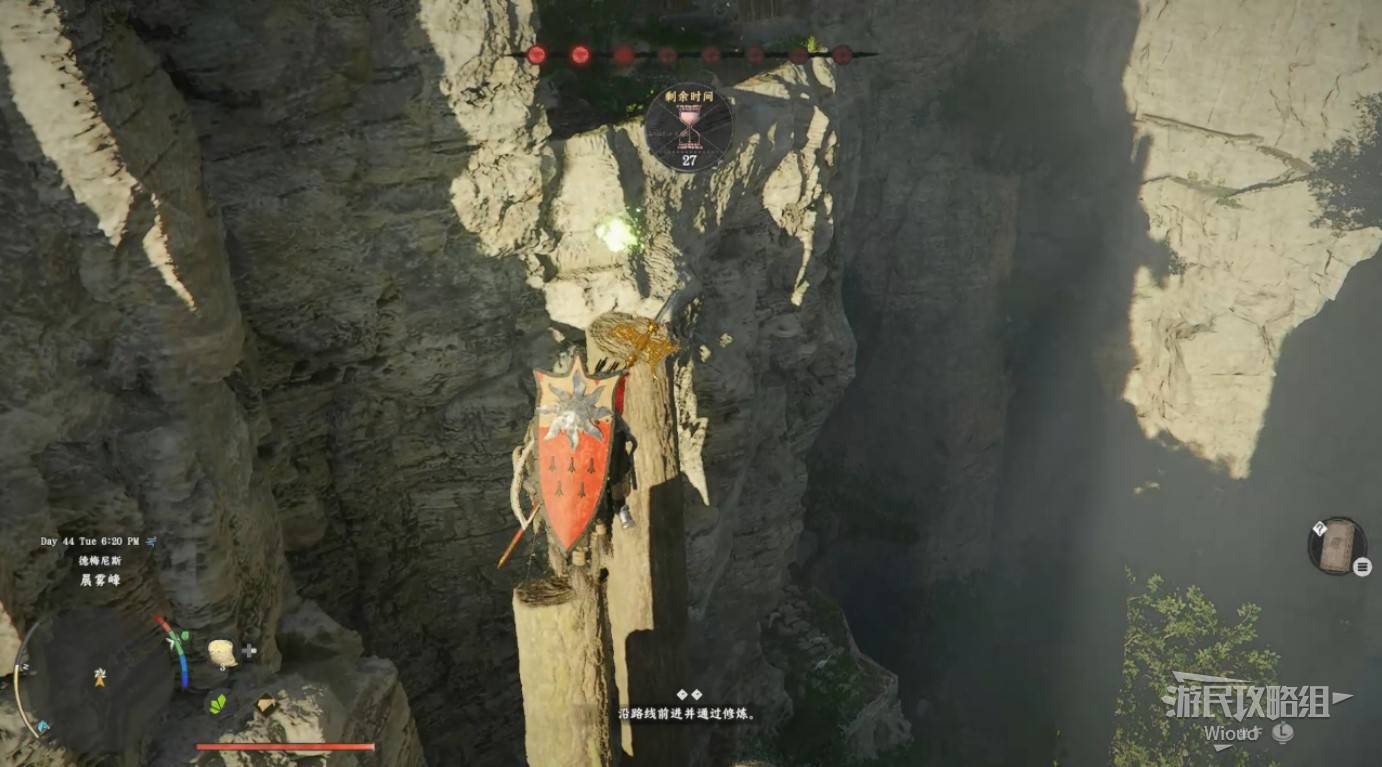
Image credit: GamerSky.com
BOSS FIGHT: TURKAN
Turkan fights primarily with fists. He has only one health bar with extremely fast punches and high damage, but low HP himself.
Recommended: Health attribute at least level 6 (base HP ≥ 750), equipped with level 6+ refined armor from the anvil and whetstone.
Block and counter at the right timing to break his guard — just hold the shield button. If you miss and get hit, roll away immediately. After a successful counter, follow up with 1-2 combo chains.
Lead with heavy attacks, then chain light attacks before he recovers. Alternatively, dodge behind him, wait for his combo to miss, then punish. Repeat this cycle.
The key is surviving his high-damage finishing moves, so max out health-related attributes. When he slows down and glows purple, he's about to summon spirits — back off immediately. During the purple barrage, block with your shield and heal, or dodge and heal simultaneously.
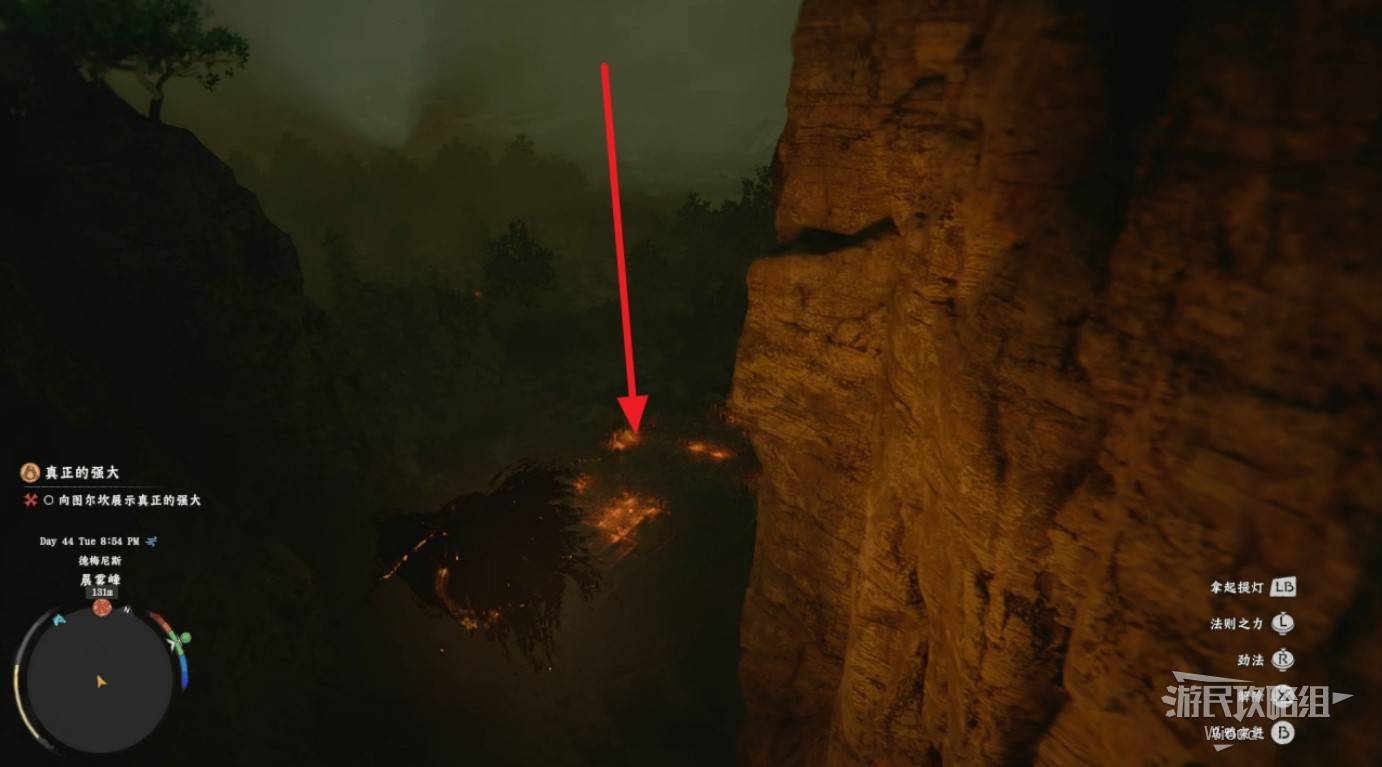
Image credit: GamerSky.com
Victory rewards: Turkan Helmet, Faith Wanderer Leather Gloves, Turkan's Fighting Spirit, and Abyss Artifact.
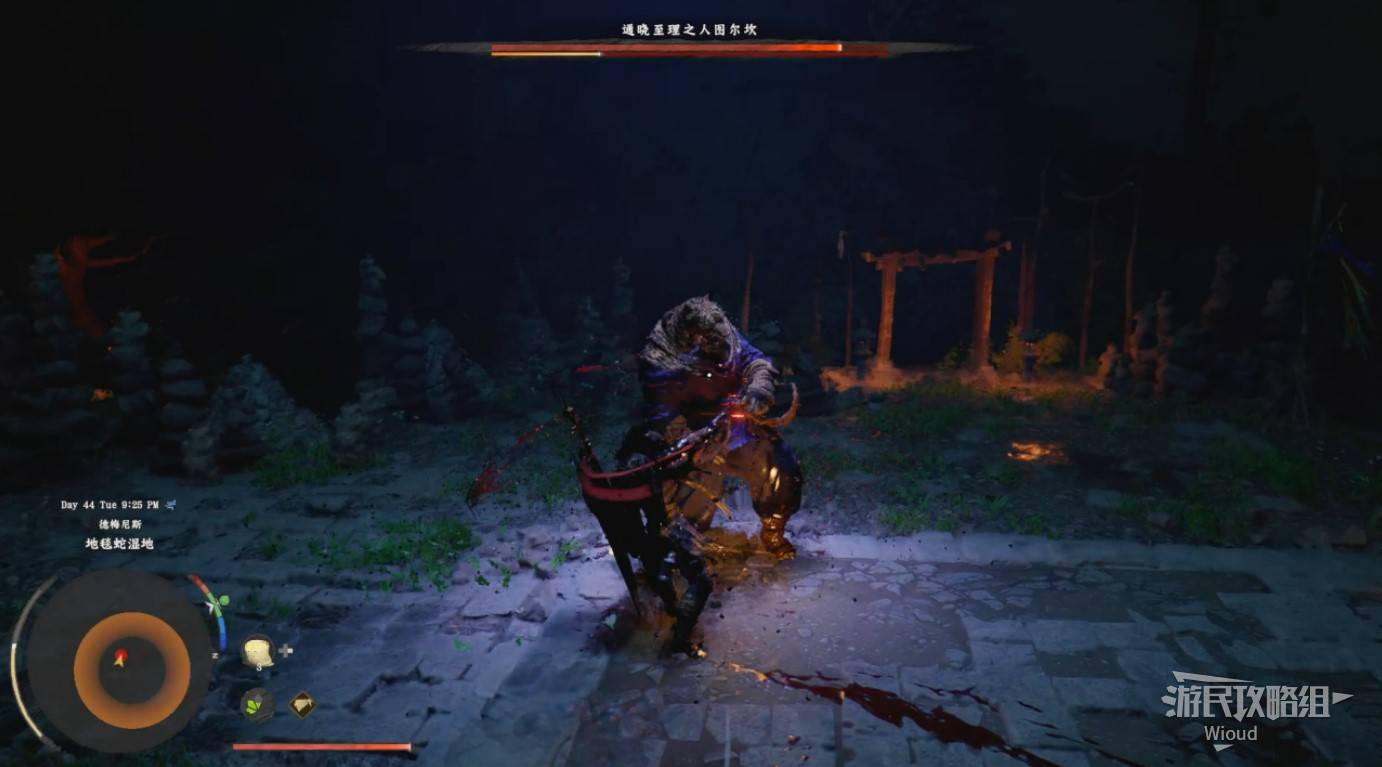
Image credit: GamerSky.com
ABYSS PUZZLE
After the boss, head to the mountaintop waypoint to enter the Abyss "Hermit's Roost." Go straight to the fork, turn left for a chest with a weapon inscription. Take the left staircase all the way down.
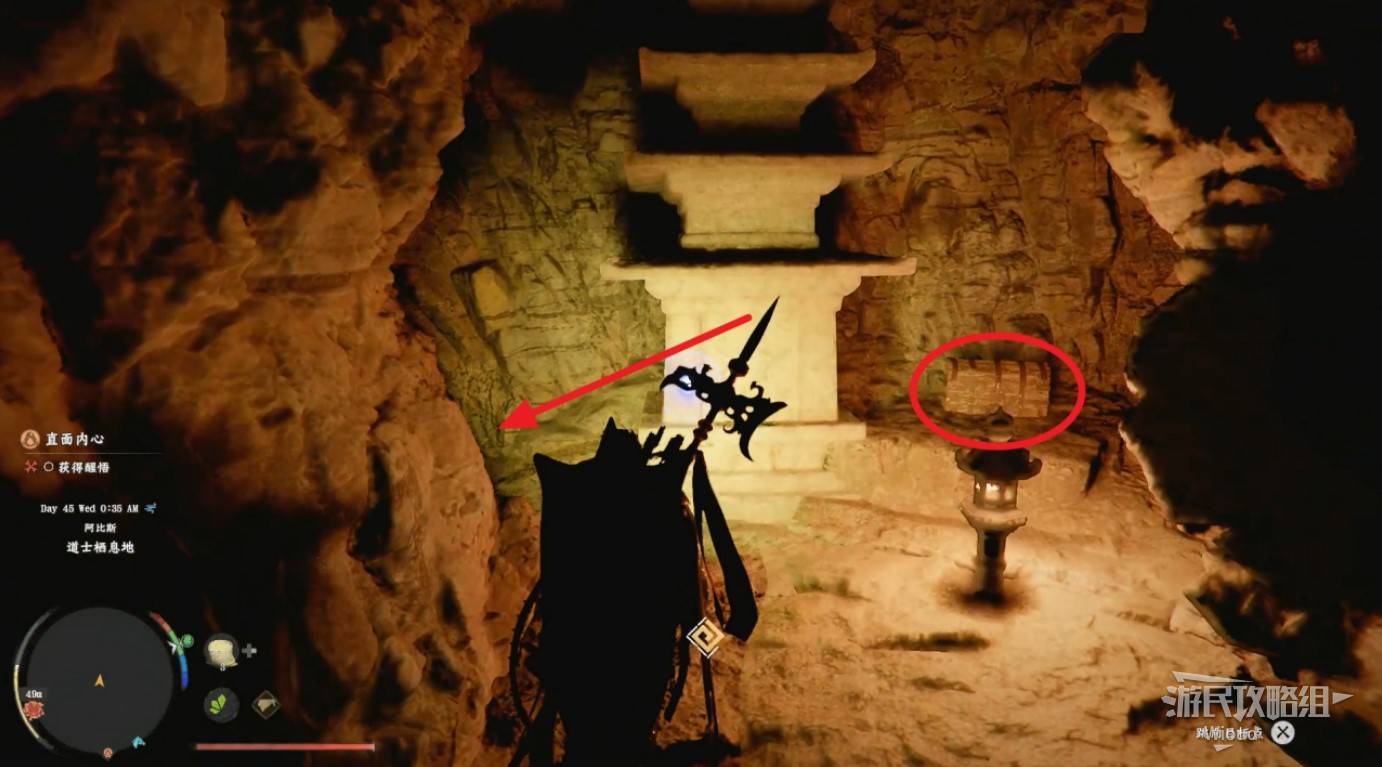
Image credit: GamerSky.com
Use a heavy sword attack to break the wall at the end. Water will pour out.
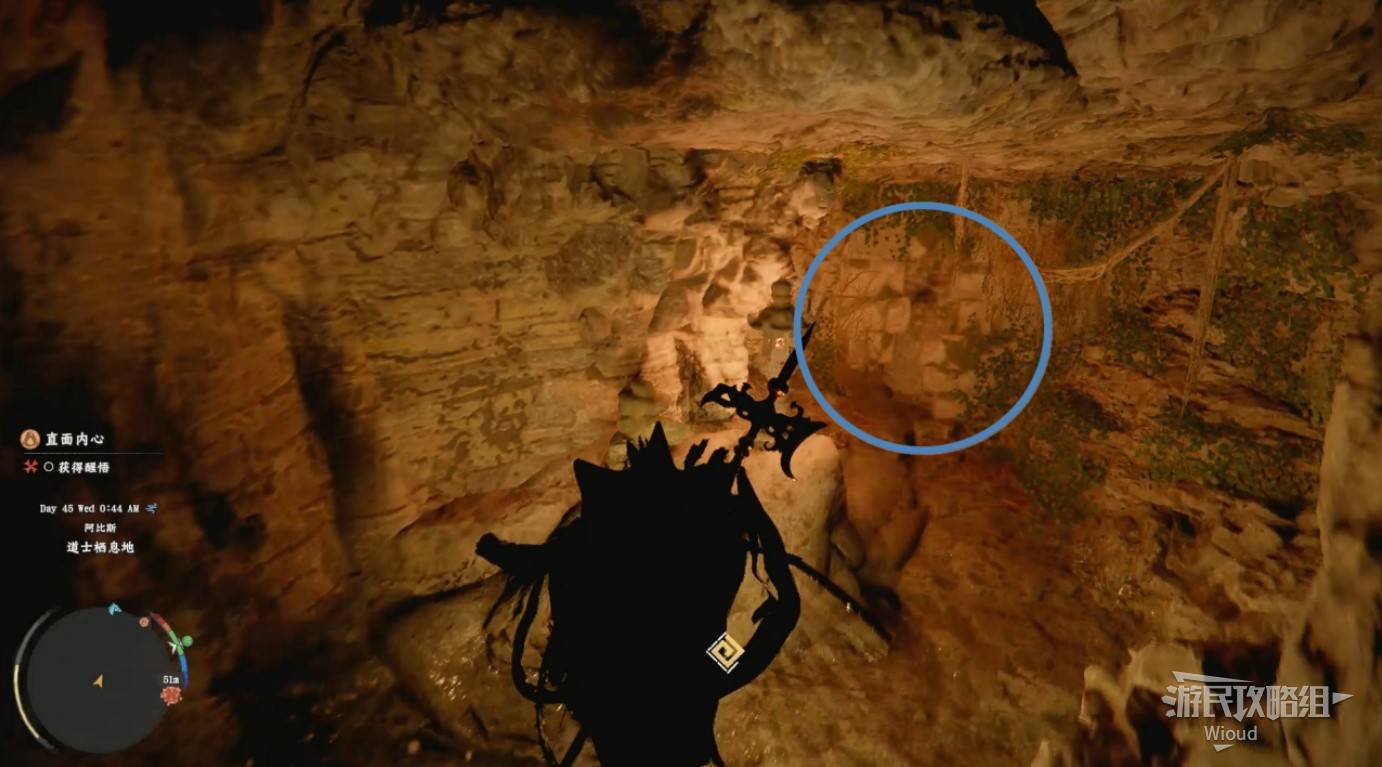
Image credit: GamerSky.com
Go back. The previously flooded area now reveals a tunnel. Use Axiom Power to pull out a lid from inside.
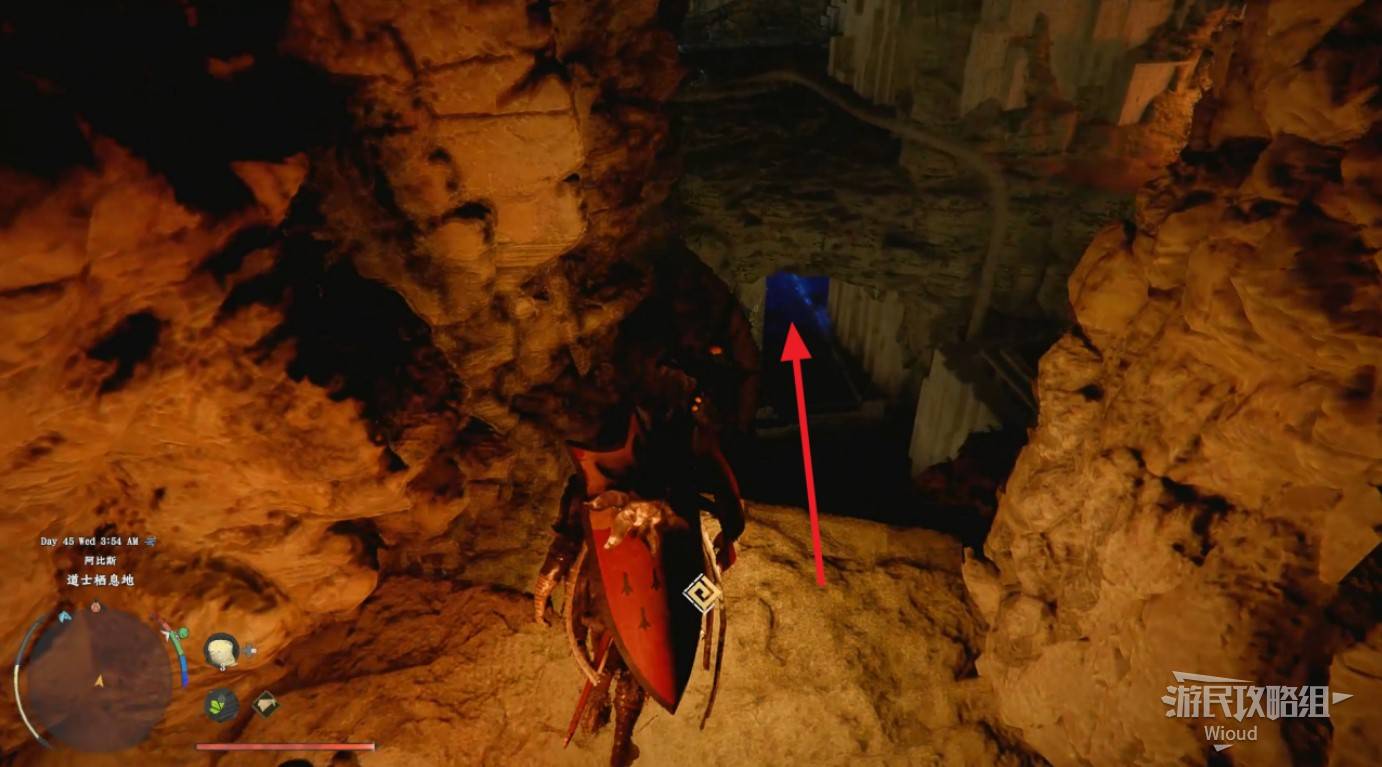
Image credit: GamerSky.com
At the fork, go right. Place the lid on the focus point, then use Vigor on the large disc to activate the mechanism.
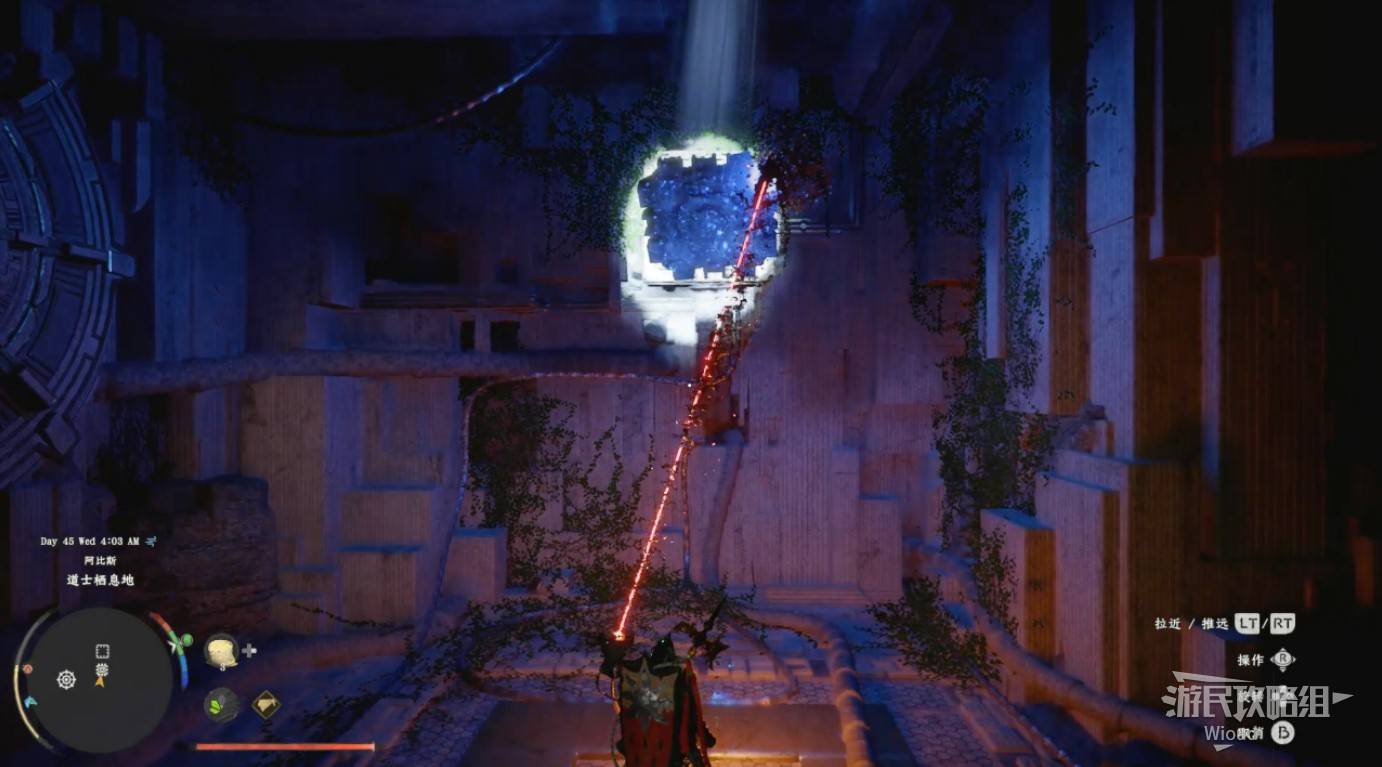
Image credit: GamerSky.com
Climb the stairs to find the alchemy recipe "Palmer Pill" — this lets you craft revival items, critical for later boss fights.
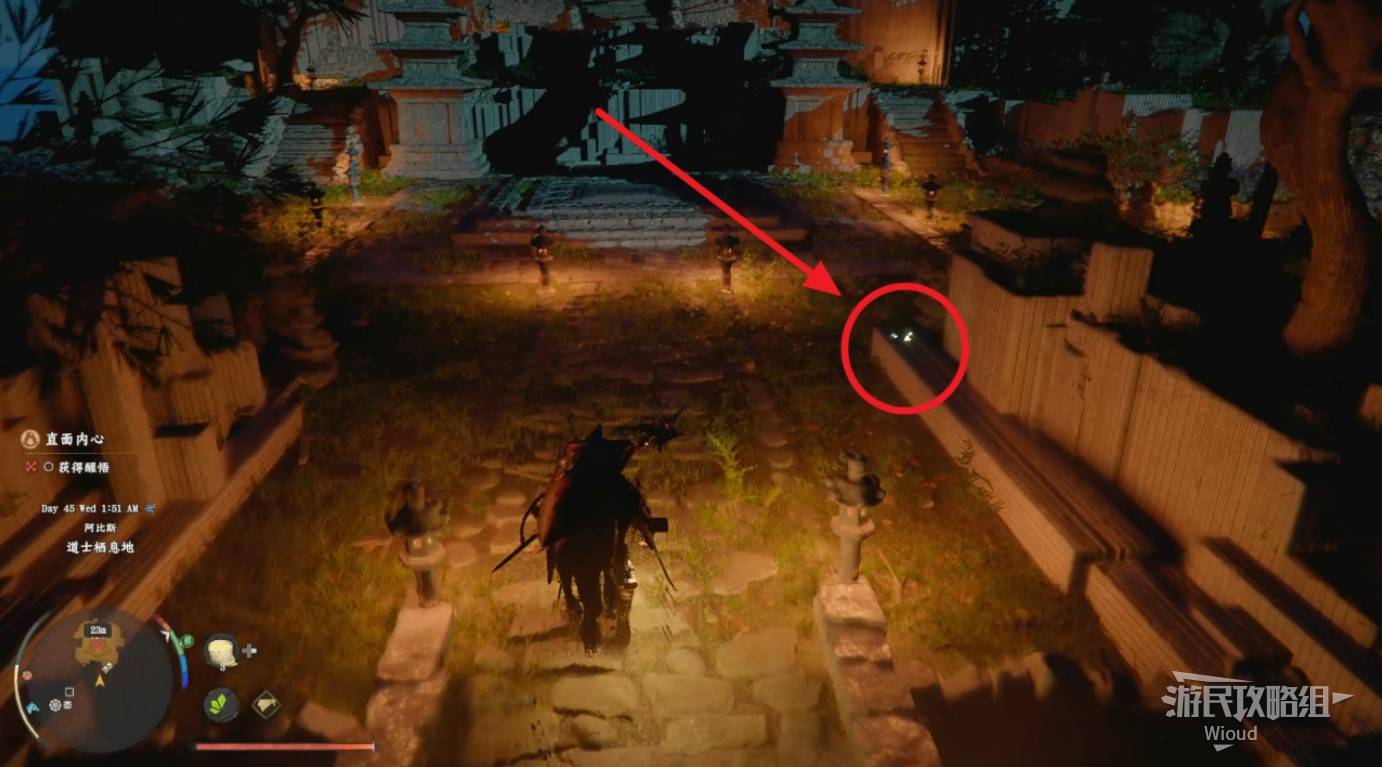
Image credit: GamerSky.com
Trigger a cutscene at the waypoint, then pass through the triangle door and use the teleporter at the end to reach an enclosed space.
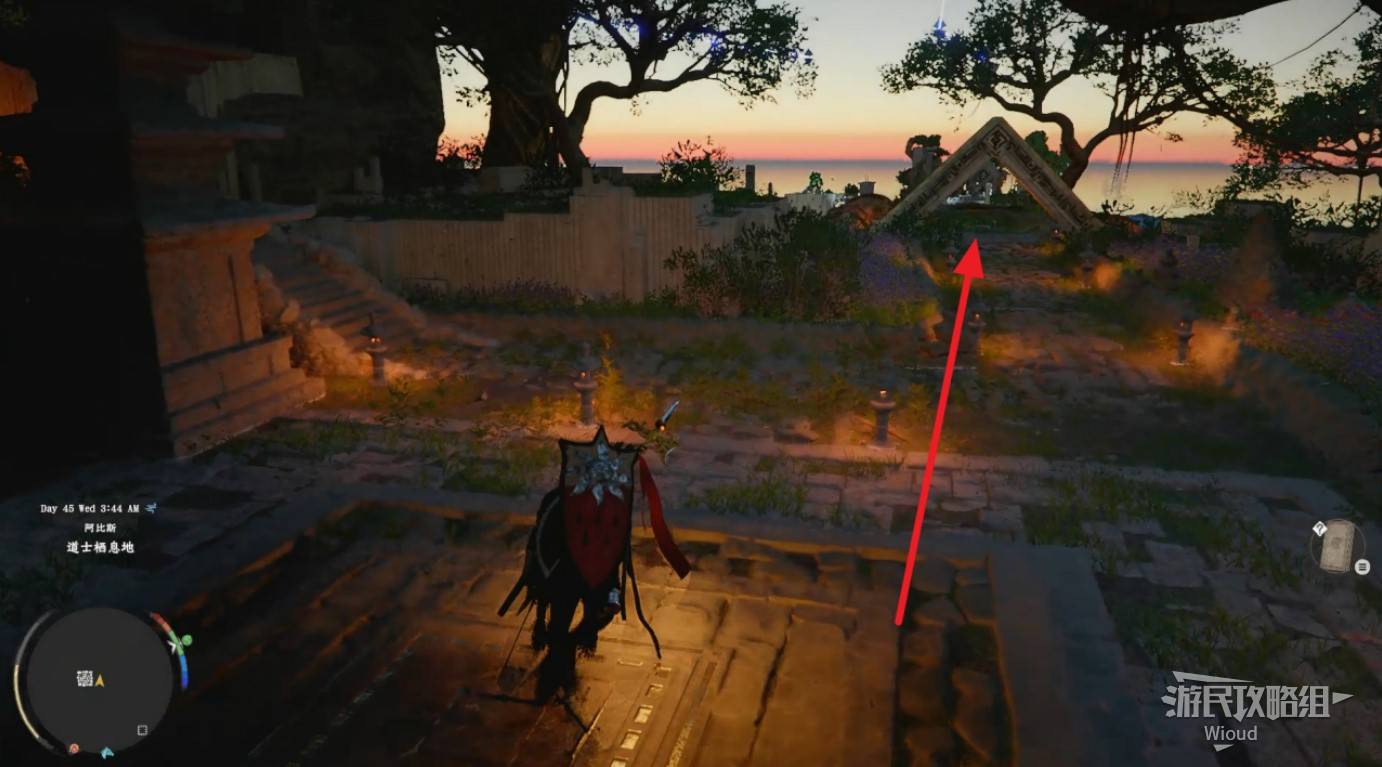
Image credit: GamerSky.com
Two floating batteries are inside. Install them into the three-battery housing.
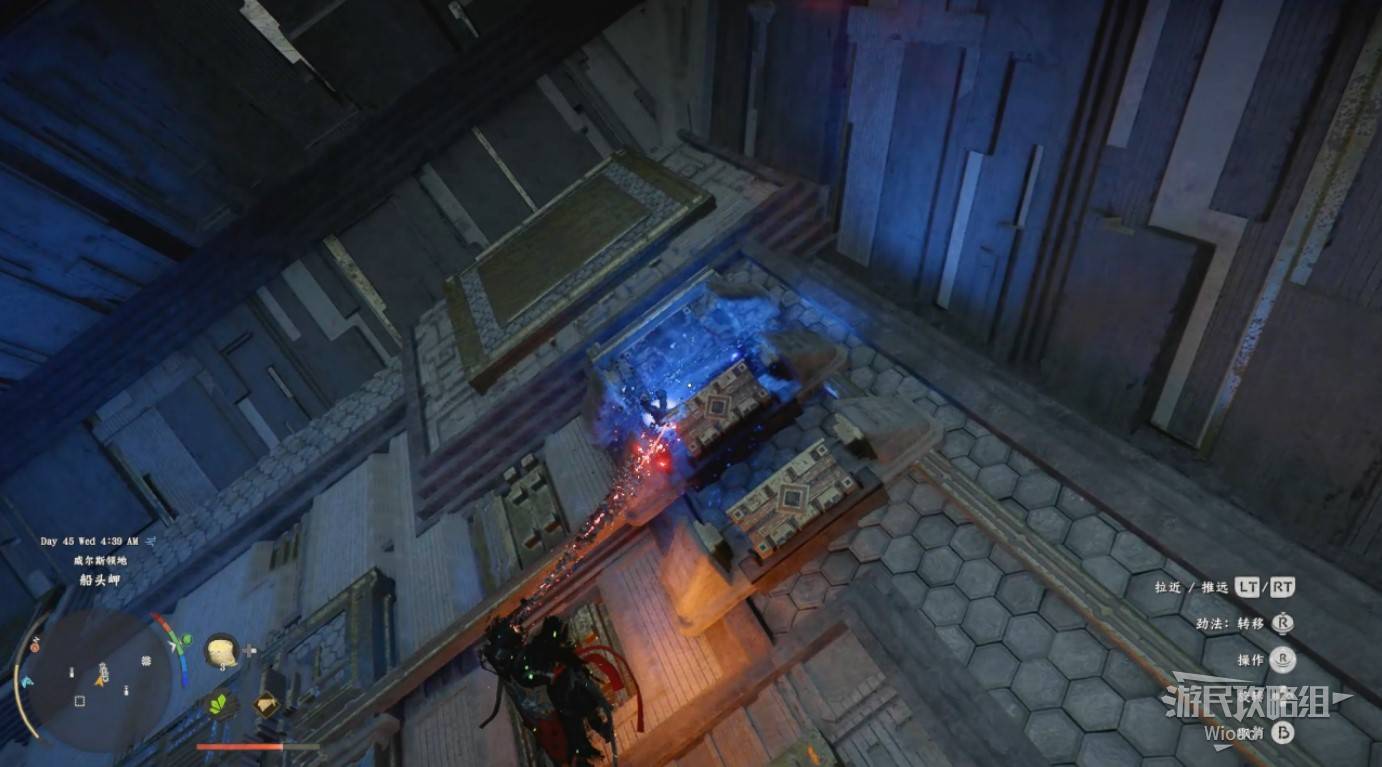
Image credit: GamerSky.com
Climb outside through the gap. A battery and cover plate are suspended in mid-air. Use the surrounding slopes to glide, then grab them with Axiom Power.
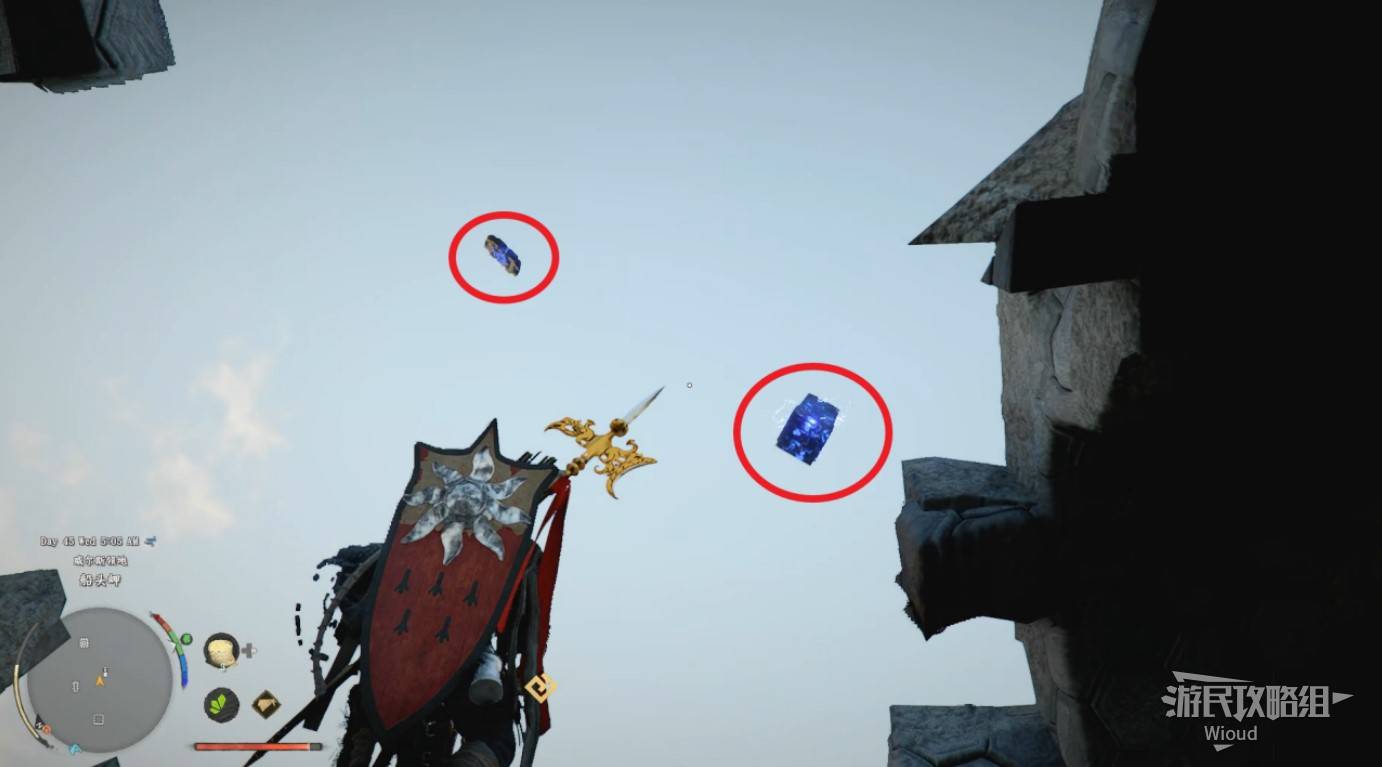
Image credit: GamerSky.com
Install the third battery and the cover plate. Once complete, the structure begins flying to its destination. Wait in place. When it stops the first time, a cover plate falls off — reattach it, then wait to arrive at the Abyss "Serpent's Path."
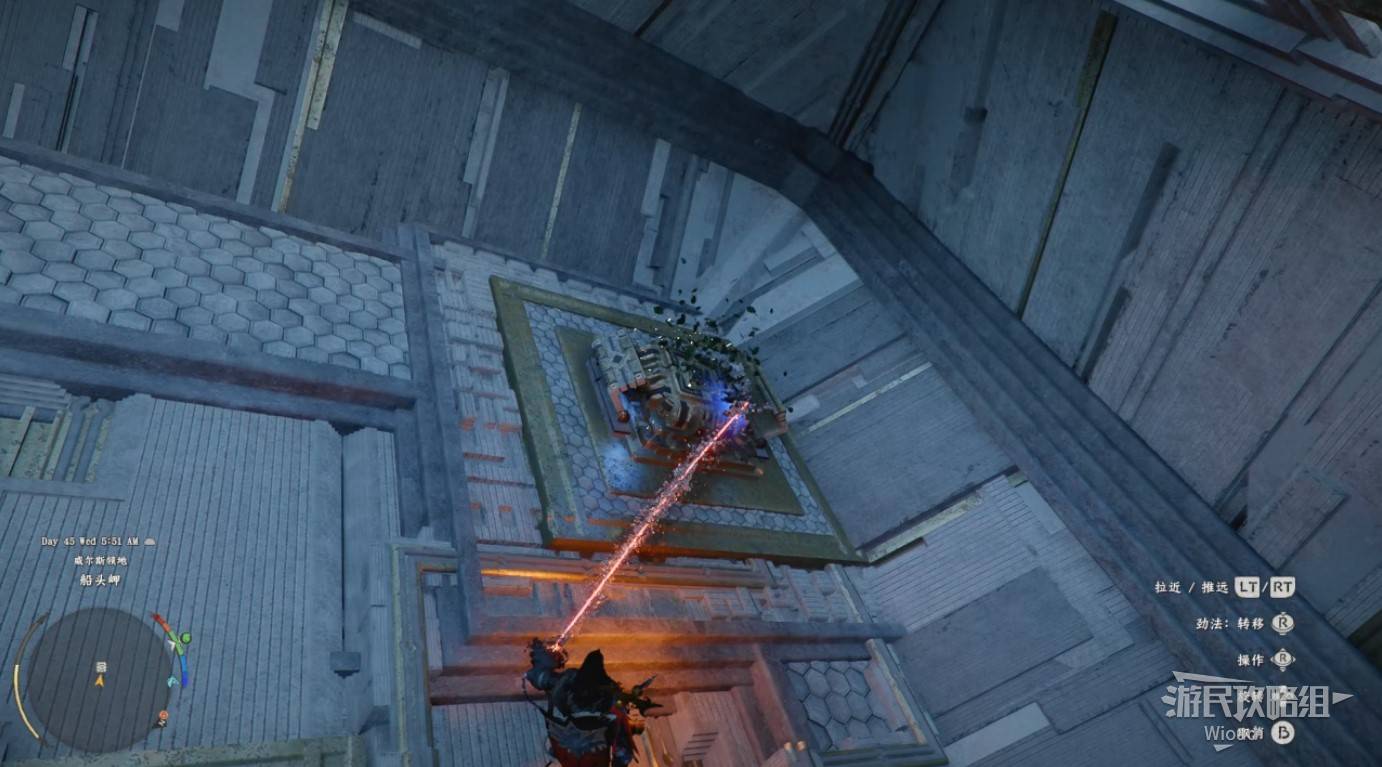
Image credit: GamerSky.com
Follow the path. Connect the power circuit along the red route to both side mechanisms. Enter the building opposite, activate the large disc with Vigor, jump up to ride the air current. Collect the "Glowing Fruit" and Abyss Artifact on both sides. Puzzle complete.
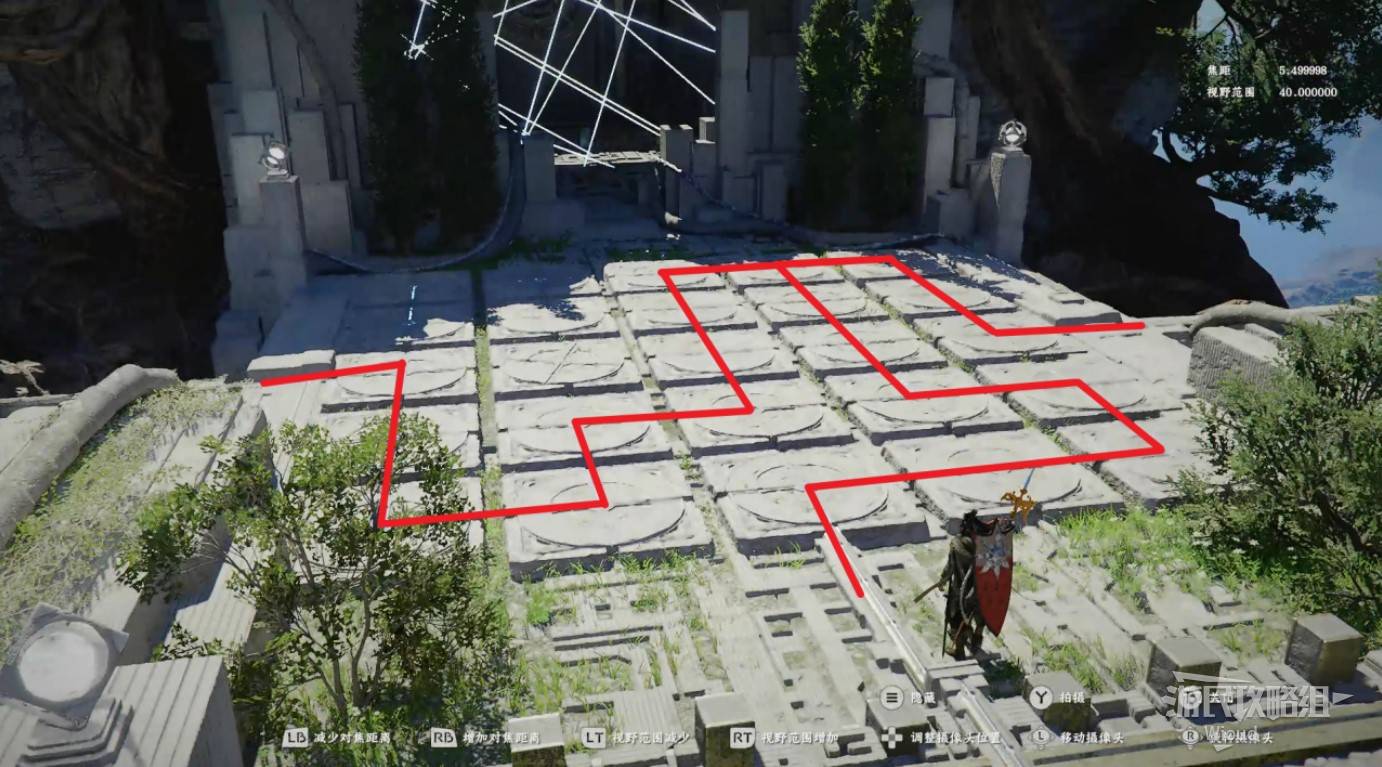
Image credit: GamerSky.com
Next: Veiled Witch Walkthrough